Fostering Willingness With Your Infant

by Dorothy Halverson, Principia’s Director of Acorn Programs

A question frequently asked by parents is, “Is it possible to expect my baby to lie still for a diaper change?”  Diaper changes can seem like a wrestling match once your little one has learned to turn over from back to front, or crawl or walk. Practicing those skills are much more interesting for your baby than lying still for a routine diaper change.  Rather than making a struggle of it, the parent should foster baby’s willingness.  Look at this as a period for happy one-on-one time with your baby. Use diaper changing as a time to talk and sing songs to your baby. Put aside a few special toys for your baby to hold while being changed. Rather than just focusing on the task to be done, routine diaper changes can turn into fun for both the parent and the child. 

Cooperation can also be gained while dressing your baby by playing games. Babies love to play peek-a-boo games, so play peek-a-boo with your child’s hands and feet as they go into sleeves and pant legs. As you get ready to zip the zipper, you can say “ZZZZZZZZip!” When snapping, say “snnnnnnnap!” Your baby will giggle with delight.

The introduction of solid foods may begin as early as 3 months. Introducing new foods helps expand your child’s palate. Start with just one teaspoon of smooth cereal, fruits, or vegetables.  This will help your baby get used to other tastes, though he main food will still be milk. Never force your baby to eat foods he doesn’t want to eat. 

Some babies and toddlers have a difficult time leaving their mothers, and some mothers never leave their children in someone else’s care. The parent should look for a right balance of togetherness with each child. If a mother is staying at home with her child, she should find some times to leave the child with a competent sitter when the child is awake, even if she just goes into another room of the home to have some time for herself. This will also help the child learn that after mommy leaves, she will return.

As you work with your baby, respecting his tastes and wishes, keeping a regular routine while allowing some exceptions, your baby can learn to be flexible and cooperative. 

When Can My Child Begin Solid Foods?

The following are some guidelines from the book, Nutrition: What Every Parent Needs to Know. Remember that each child’s readiness depends on his own rate of development. 

• Can he hold his head up? Your baby should be able to sit in a high chair, feeding seat, or infant seat with good head control. 
• Does he open his mouth when food comes his way? Babies may be ready if they watch you eating, reach for your food, and seem eager to be fed. 
• Can he move food from a spoon into his throat? If you offer a spoon of rice cereal and he pushes it out of his mouth and it dribbles onto his chin, he may not have the ability to move it to the back of his mouth to swallow it. It’s normal. Remember, he’s never had anything thicker than breast milk or formula before, and this may take some getting used to. Try diluting it the first few times, then gradually thicken the texture. You may also want to wait a week or two and try again. 
• Is he big enough? Generally, when infants double their birth weight (typically at about 4 months) and weigh about 13 pounds or more, they may be ready for solid foods. 

NOTE: Breastfeeding is recommended as the sole source of nutrition for your baby for about 6 months. When you add solid foods to your baby’s diet, continue breastfeeding until 12 months or as long as possible.

Introducing Finger Foods

Once your baby can sit up and bring her hands or other objects to her mouth, you can give your baby finger foods to help her learn to feed herself. Any finger food you give your baby needs to be soft, easy to swallow, and cut into small pieces. Some examples include: 

• Small pieces of banana 
• Wafer-type cookies or crackers 
• Scrambled eggs 
• Well-cooked pasta 
• Well-cooked chicken finely chopped 
• Well-cooked and cut up yellow squash, peas, and potatoes 

At each of your baby’s daily meals, she should be eating about 4 ounces, or the amount in one small jar of strained baby food. Limit giving your baby foods that are made for adults since these foods often contain more salt and other preservatives. Offering your baby fresh food is an excellent choice, but use a blender or food processor, or just mash softer foods with a fork before serving. All fresh foods should be cooked with no added salt or seasoning. Though you can feed your baby raw bananas (mashed), most other fruits and vegetables should be cooked until they are soft. Refrigerate any food you do not use, and look for any signs of spoilage before giving it to your baby. Fresh foods will spoil more quickly than food from a can or jar. 

Introduce good eating habits from the start. It is important for your baby to get used to the process of eating—sitting up, taking food from a spoon, resting between bites, and stopping when full. These early experiences will help your child learn good eating habits throughout life. 

Encourage family meals from the first feeding. When you can, the whole family should eat together. Research suggests that having dinner together as a family on a regular basis has positive effects on the development of children. Remember to offer a good variety of healthy foods and watch your child for cues that she has had enough to eat. Young children can self-regulate and will stop eating when they are full. 

NOTE: Food that requires chewing should not be given to your child at this age. Foods to avoid include: hot dogs (including meat sticks [baby food “hot dogs”]); nuts and seeds; chunks of meat or cheese; whole grapes; popcorn; chunks of peanut butter; raw vegetables; fruit chunks, such as apple chunks; and hard, gooey, or sticky candy. 

When your baby starts eating solid foods, it is normal for her stools to become more solid and variable in color, and to have a stronger odor, too. Your baby’s digestive system is still immature and needs time before it can fully process these new foods.

Making the Most Out of Playtime

Think of playtime as more than toy time. Playing is really any enjoyable activity that involves people, objects, or movement. Everything from blowing bubbles at each other to singing songs to splashing in the tub to chasing each other around the room qualifies.

Get down on the floor with your baby. You are the ultimate plaything, and any activity will seem more fun if your baby can share it with you. Talk to your baby while you play and you’ll help boost his language skills.

Introduce play activities when your baby is happy and rested. Playtime will be much more enjoyable for both of you if your baby is well-rested and ready for activity.

Stop when your child’s had enough. Take cues from your baby. He will let you know when he is done playing.

Give your child a chance to play alone and with others. Fifteen minutes is about the longest you can expect a 1-year-old to play alone. Solo play encourages independence, self-confidence, creativity, and language skills Learning to play with others usually develops between the ages of two and three.

Let your child choose activities and control the direction of his play.

Games and Activities for Toddlers (12-18 months)

Your child will like any toy or game that allows her to throw her whole self into it — balls, swings, and tiny climbing sets. Small hands are becoming more coordinated, too, and your toddler can probably now use toy sorters more efficiently, build even greater block towers, and scribble a drawing. Play involves lots of experimentation, like “What happens if I drop this ball?” or “What happens if I pull this lever?”

At this age, most children are very interested in the consequences of their actions, and because their memory isn’t well developed, they don’t tire of repetition. Toddlers also like to try out what they see adults doing, so look for toys that imitate daily life.

  • Large building bricks
  • Snap blocks
  • Push and Pull toys
  • Sorting and nesting toys
  • Climbing gym
  • Balls – underinflated beach balls, soft balls that your child can catch, kick, roll. Stay away from foam balls at this stage.
  • Washable crayons and paper – have just a few crayons available at a time and tape the paper to the floor or table
  • Ride-on vehicles
  • Picture books – your child will want to begin picking out his/her own books

Games and Activities for Babies (6-12 months)

Your baby is growing so fast during the first year and by the second half of the year, your baby is interested in exploring the world around him. Soon your baby will be crawling, cruising, or walking and interested in investigating what he can see.

Here are some activities to try with your baby:

  1. PEEKABOO

Materials needed: Small toys or books, blanket

What to do: Place a toy or book under a blanket, leaving part of the object showing. Then ask your baby, “Where is it?” and encourage him to look for it.

Variations: After your baby has mastered finding a partly hidden object, move on to hiding it completely under the blanket.

Skills learned: Fine motor skill development, object permanence

  1. STACKING

Materials needed: Plastic measuring cups or small cardboard boxes

What to do: Take turns stacking the cups or boxes and knocking them down.

Skills learned: Understanding cause and effect, fine motor skills
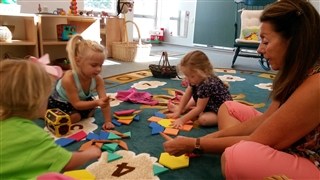
  1. PUZZLES

Materials needed: Wooden puzzles

What to do: Around 12 months of age, your baby will be ready for large wooden puzzles. Choose puzzles that have colorful shapes or simple pictures and knobs for grasping. Demonstrate how puzzles work and offer lots of praise when your child is successful. Puzzles take lots of patience and persistence, but are such a good activity!

Skills learned: Problem solving, fine motor skills, visual skills

  1. READING

Materials needed: Board or cloth picture books

What to do: Regularly read books to your baby, pointing to the pictures as you read and engaging her by changing your voice for different characters. Invite your little one to participate by touch the pictures, lifting the flaps, and turning the pages.

Skills learned: Language development, listening skills

  1. CLAP WITH ME

What to do: Around 6 to 8 months of age, your child will learn to clap. Enjoy clapping this rhyme with your child:

Clap, clap, one, two, three

Clap, clap, clap with me.

Clap, clap, four and five.

Clap, clap, bees in hive.

Clap, clap, six, seven, eight.

Clap, clap, you are great.

Clap, clap, nine and ten.

Clap, clap, begin again.

Skills learned: Imitation, rhyming

  1. RHYME TIME

What to do: Sing songs with real or made-up words that rhyme, like “thump, thump, thump, bump, bump, bump, jump, jump, jump.” Singing songs and repeating rhymes help your baby’s language development.

Skills learned: Develops auditory discrimination
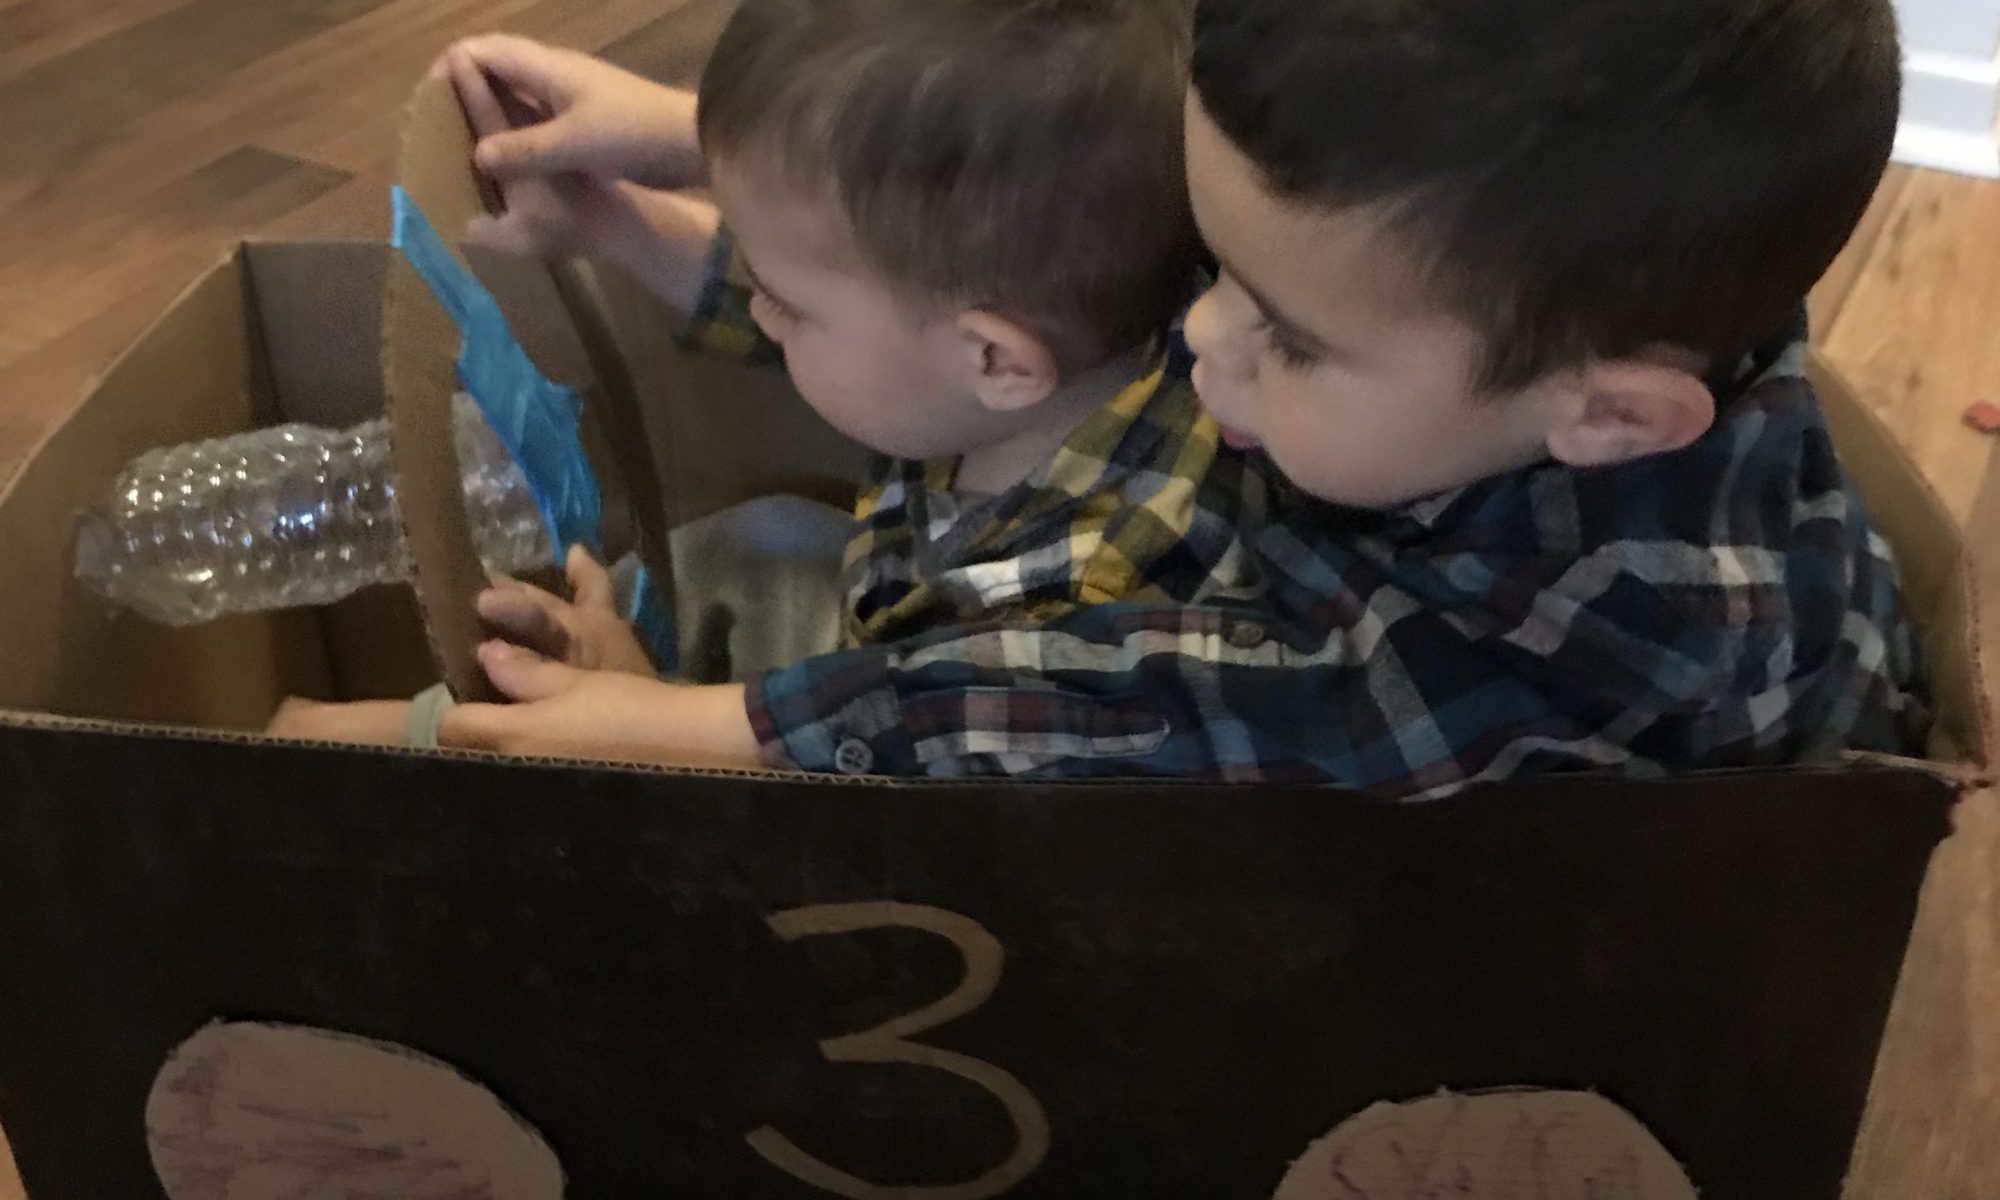
  1. SHAKE THE BOTTLE

Materials needed: Empty 16-ounce bottle, colored rice or pasta

What to do: Fill the bottle with the rice or pasta, and glue the top back on so your baby can safely watch and hear what happens as he shakes, rattles, and rolls the container. Babies this age are also learning about cause and effect, which is an exciting new skill.

Skills learned: Fine motor skills, auditory discrimination, cause and effect

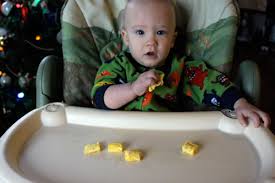
  1. DISAPPEARING CHEERIO

Materials needed: Cheerios, opaque plastic cups

What to do: Create your own version of the old-fashioned shell game by hiding a Cheerio under a cup and seeing if your baby can find it. This simple activity reinforces object permanence, a major concept.

Variations: Using two different-colored cups, put the Cheerio under one cup and move it around to see if your baby can remember which one was the hiding place. After your baby has found the Cheerio under the first cup, show him you are now putting it under the second cup and see if he remembers that the Cheerio has moved.

Skills learned: Attention skills, memory development, object permanence

  1. LIGHT SHOW

Materials needed: Colored plastic containers, mini flashlights

What to do: Turn on some mini flashlights, and drop them into empty water bottles, Tupperware, or any colored, lidded containers. Place your baby in tummy time in a dark room and let him explore the colorful lighted containers on the floor in front of him. Closely supervise as your little one grasps and turns, bangs and rolls the containers.

Variations: Take a flashlight out of a container, place your baby on her back and simply move the light slowly on a dark wall. Pause on objects and talk to or with your child about what she’s seeing.

Skills learned: Visual sensory stimulation, eye movement skills, sustained attention, socialization, bonding, body movement

  1. BAGGY FINGERPAINTING

Materials needed: Washable finger paint, a gallon-size zippered freezer bag, tape

What to do: Squeeze a couple of dark colors of washable finger paint into a zippered baggy and seal tightly. Add duct tape for extra security. Spread the paint around to coat the inside of the bag, then place it on the floor in front of your baby during tummy time. Show him how to make marks on the outside of the bag with his hand or finger.

Variations: Try this activity in a high chair when your child is able to sit independently.

Skills learned: Sensory development, fine motor skills, understanding cause and effect, early writing skills

  1. CONTAINER PLAY

Materials needed: Small toys, container

What to do: Place a few toys in a container with an opening a bit bigger than balls or pegs, plastic links, or other smaller items. Hand the container to your baby, who will probably turn it over and over, causing some toys to tumble out. Eventually, your baby will realize that something is rattling around inside and that toys seem to be falling out of it, so she will start shaking, banging, and reaching inside the container. Reload the container periodically until your child figures out how to do it on her own.

Variations: Once she’s gotten good at putting items in the container, you can extend the activity by choosing a narrow-mouthed container and longer toys, like rectangular blocks, pegs, and plastic spoons. Your baby will learn through trial and error that she has to turn the objects to fit them into containers.

Skills learned: Object manipulation and orientation skills


Games and Activities for Infants (Birth – 6 months)

The first six months with your baby is a special, precious time, as your baby transforms from a floppy-headed newborn into a tiny person who can sit and play when propped up. While babies will develop at their own pace, there are ways you can encourage their growth. 

Some games and activities include:

1. LISTENING

What to do: Sing and talk to your child using exaggerated tones of voice. Watch your baby’s facial expressions and see how he reacts to different pitches.

Skills learned: Language development

2. TRACKING

Materials needed: A small, soft, colorful toy, like a sponge ball or stuffed animal.

What to do: While your baby is lying on her back, hold the toy in front of her face and, if needed, wiggle it slowly or gently touch her with it to get her attention. Then move the toy from side to side, and encourage her to follow along with her eyes.

Skills learned: Visual tracking, visual development

3. DANCING

Materials needed: Music

What to do: Put on one of your favorite songs and, while holding your baby securely to your chest, gently move around together in time to the music.

Skills learned: Listening.  Dancing also encourages an interest in music and strengthens bonding with the parent.

4. SINGING

What to do: Next time your little one is having a meltdown or resisting a nap, sing him a hymn or lullaby in a soothing voice. 

Skills learned: Listening, emotional regulation

5. REFLECTIONS

Materials needed: Baby-safe mirror

What to do: Show your baby her reflection in the mirror, then ask, “Who is that?” Repeat with your own reflection and a sibling’s or a stuffed animal’s.

Skills learned: Visual, social, and emotional development

6. BABY SIT-UPS

What to do: If your baby has good head control, lay him on his back, place your hands under his arms, and gently guide him into a sitting position. As he gains muscle tone and strength, do these sit-ups by holding his hands and slowly bringing him to sit.

Skills learned: Motor skills, head control


7. FOLLOW THE LEADER

What to do: See how many actions your child can imitate in a row by tapping the table, opening and closing your hands, clapping, and waving. Tip: Start with something your baby is already doing, like banging a fist on the table.

Variations: Increase the challenge by adding new and more complex movements, but pay attention to your baby’s reactions. Scale back if she seems frustrated—the activity should be fun.

Skills learned: Imitation, back-and-forth conversation, memory

8. FLYING

What to do: Lay your baby tummy-down across your lap, and place your hands around his midsection so he’s fully supported. Then gently lift him up and move him up, down, back, and forth, like a rocket jetting into space. For extra giggles, add sound effects. This activity allows your baby to see the world from a different perspective, and there’s a gleeful aspect to that.

Skills learned: Body movement and stimulation

9. KICKING

Materials needed: Tissue paper

What to do: Tuck one or two sheets of new or used tissue paper under the cushion of a sofa or upholstered chair so that it hangs down to the floor like a curtain. Remove baby’s socks, and place her on her back, with her feet against the tissue and her knees slightly bent. Gently rustle the paper with your hand or tap her feet against it. Watch as your baby learns to play the game on her own.

Skills learned: Body awareness, cause and effect, sensory integration

11. GRABBING BASKET

Materials needed: Empty paper towel or toilet paper tubes cut into 1- to 2-inch rings, a low basket or a shallow pan

What to do: Fill the basket or pan with the paper tube rings, and place it in front of your baby while she’s in tummy time, propped on a pillow, or sitting on your lap with hands free to play. Encourage her to push and bump her hands up against the rings or use use the wall of the container to help her grasp them.

Variations: Swap out the cut tubes with ribbon strips or bath puffs to provide a different tactile sensation. (Always keep eyes on your baby and keep her within arm’s reach when using ribbons.) Golf balls are another fun filler, as they make a great noise when placed in a metal pan.

Skills learned: Grasp and release, tactile stimulation, hand-eye coordination

Blocks – The Lessons They Teach

blocks

by Dorothy Halverson, Director of Acorn Programs

Have you ever wondered why blocks are such an important part of any excellent early childhood classroom? Or why your child seems to like playing with them so much? Children learn best through hands-on experiences, and block play is a valuable part of a young child’s development. Using blocks, children can piece together shapes to create a bigger picture, whether it is a representation of something they have seen or from their imagination. Exploring with blocks also nurtures an understanding for math, science, language, and dramatic play. 

Blocks are a wise investment since children continue to use them as they grow. Infants and toddlers enjoy simply touching and gripping larger, textured blocks. As toddlers, they develop more muscle control and are able to combine blocks, stack them, or line them up. Around two, children begin to figure out which shapes will fit where, and get a head start on understanding different perspectives – skills that will help them to read maps and follow directions later on. Two-year-olds may demonstrate their first attempts at building structures, and show the beginnings of imaginative play. 

Around the age of three, children learn how to balance and fit pieces together to build sturdier towers, bridges, and enclosures. Threes and fours begin to recognize designs and patterns, their towers and buildings becoming works of art. In kindergarten and early primary grades, blocks allow children to recreate structures, cities, and landscapes from everyday life. 

When your child plays with blocks, building replicas of the world around her, she is like a little scientist, experimenting with balance, structure, space, and even gravity! Have you ever watched your child attempt to build a simple tower, only to have it fall down at a particular height? Perhaps you have noticed that she tried different ways of placing the blocks until finally she created a tower that stayed up! Amazingly, what she is doing is using the scientific method of experimentation, observation, and cause-and-effect to solve the problem of the tumbling tower. 

Given the many shapes that blocks come in, they are the perfect tool for hands-on learning about basic math concepts. While playing with blocks, your child may naturally begin to sort them by a particular attribute, such as shape or size. He may notice that long rectangle blocks make much better bases than the triangular ones, or that curved blocks need to lie flat on the floor. This exploration into the nature of shapes prepares your child for later geometric understanding. You may also notice that your child enjoys making long lines of blocks. This is an important first step in grasping the concept of measurement. Children often delight when they notice that things are the same length. As an example, your child may notice that his line of blocks is the same length as the living room rug. This is an ideal time to say to your child, “I wonder if you are the same size as your line of blocks? How can we find out?” Asking questions such as these, extends the learning and encourages your child to apply what he has learned from the first measurement of the rug to a new object — himself!   

When playing with blocks, children come across new experiences with each tower, house, and railroad they build. Children are developing sophisticated uses of language, stringing sentences together using larger vocabulary and in-depth thought processes. Block play is an effortless way to get children to practice language skills simply because there is so much to talk about! Many children like to describe what they’re building, or they narrate as they go along. Show interest in your child’s construction by asking open-ended questions such as, “What might happen if . . .” and “How many ways can you . . .” Asking open-ended questions about your child’s block play may inspire her to have new ideas, as well as nurture confidence in creativity. 

Of course, the “pretend play” aspect of block-building also supports the development of social skills. In an early childhood classroom, the block area is an active social center that encourages children to share, take turns, listen, and communicate. While blocks can be a solitary activity, in most classrooms they are the place where children congregate. Even in your own home you may notice that when you bring out the blocks, everyone wants to join in the fun! Perhaps it is the open-ended nature of blocks that makes them so good for practicing a variety of social skills. There is no one “right” way to build with them, thus requiring children to work creatively together to decide how to use them. 

Block play is open-ended, and its possibilities are limitless. Whether they are wooden, colored, snap-together, or boxes, blocks will enhance your child’s learning experience. Even as children grow and develop new interests and abilities, blocks remain an active, creative learning tool.

Traveling by Car with a Toddler

By Dorothy Halverson, Director of Principia’s Acorn Programs

Keeping a toddler who has just discovered the freedom of movement, belted in a car seat for a long car trip can appear to be an impossible task. But, with some planning and preparing ahead of time, your road trip with a toddler can be a joyous and harmonious experience. 

Before you leave on your trip, get a good night’s sleep and have your children start the trip well-rested. Be sure that your child’s car seat is installed properly, pack plenty of water, a flashlight, and basic car safety equipment, such as jumper cables. Make sure your road assistance plan is up to date. Charge your phone before you leave, and bring a phone charger and an extra battery. Consider getting a battery that is solar-powered. 

As you pack the car, plan for easy access to things needed on the road. Keep jackets, hats, and basic outdoor supplies, like sunscreen and mosquito repellent, in a bag in the car’s cabin. If you’re heading to a warm climate, pack swimsuits and towels in a beach bag. You may stumble across a great swimming hole! Keep a change of clothes, wipes, diapers, and re-sealable plastic bags handy. 

Some essentials for traveling with children include: 
1. A portable potty and TP. If you’re at that stage, this is priority number one. 
2. “Lovies” and Blankies. Your toddler will enjoy snuggling with them and the blanket can be used to play peek-a-boo, too.  
3. Car Toys. Toddlers love sticker books, magnetic storyboards, drawing boards, and other toys that don’t involve lots of small pieces or make a gooey mess. A baking sheet can be used to play with magnets and doubles as a playing surface so crayons and toy cars don’t easily roll and slide away. Toddlers also enjoy toys that light up, make noise, and have moveable parts. If possible, choose toys that are new or that your child hasn’t played with for a while. 
4. Ball. Having a ball to throw or kick at rest stops can bring lots of fun for your toddler. 
5. Entertainment. Play your child’s favorite musical tunes, sing songs together, make music on a kazoo. Choose popular children’s shows like Sesame Street or Dora the Explorer if you watch child-friendly movies in the car. It is, however, wise to limit screen time. 
6. Books. Bring board books that your toddler can look at independently – old favorites and a few new ones, too. 
7. Plastic Zip-loc bags. Use bags to hold everything from errant game pieces to crayons or leftover snacks. 
8. Snacks and Drinks! Bring a variety of snacks (e.g. graham crackers, animal crackers, cheese sticks, O-shaped cereal, bananas, yogurt pouches, grapes, apple slices, and oranges) Bring an insulated bag for string cheese, yogurt pouches, and other perishables. Use spill-proof sippy cups. 
9. Choose baby-friendly restaurants. Search for restaurants that offer free children’s meals and have play areas for running around and climbing. Or pick up food and plan a picnic in a neighborhood park. 
10. A nightlight. Hotel rooms or relatives’ houses can be very dark at night. 

Sometimes it is helpful to sync driving time with your child’s eating and sleeping routines. For example, you might consider leaving a bit before lunchtime and let your toddler eat in the car. Then your child may nap while you log some miles. 

Some parents buckle their pajama-clad toddlers into their car seats and begin their travel at bedtime. This works if you’re not too tired to drive late at night – and if you’re reasonably sure your child will stay asleep. Bring along whatever helps your child settle down (like a bedtime buddy, lovey, or favorite music) so you can incorporate your normal bedtime routine into the trip when driving at night. 

Be prepared for stops along the way. The beauty of a road trip is that you can pull over and get out whenever you want. Try not to drive more than a couple hours in one stretch. Expecting young toddler to sit still much longer is unrealistic. Plus, doing something fun along the way makes the car trip itself enjoyable. A quick game of tag or catch at a park, or a stop at a roadside attraction can break up a drive without losing too much time. 

The secret is planning. Once you’re on the road, it can be hard to know where to stop. Before you leave, ask friends who know the route to recommend pit stops. Check online for playgrounds, parks, and old-fashioned attractions, such as giant statues and popular tourist stops. 

After a long day on the road, you’ll all need some time to unwind. Use your first day and night to help your family get used to new surroundings. This includes adjusting to new beds, strange sounds, and unfamiliar faces. Explore the neighborhood, check out the hotel’s facilities, or just spend time sitting around the living room visiting with relatives. Follow your child’s lead: Your toddler will want to check out every nook and cranny where you’re staying before he feels completely comfortable. 

Rent or borrow baby gear whenever possible. Most vacation destinations are well-prepared for visiting families, and make renting high-quality gear convenient and affordable. You can rent cribs, strollers, highchairs, backpacks, swings, and countless other toddler necessities. If you’re staying with friends or relatives, try to arrange ahead of time to borrow baby equipment from your hosts or a neighbor. 

Download an app, like Roadside America and Roadtrippers, to help you discover good places to stop along the way. Or try iExit, which tells you what services – like bathrooms and gas stations – are available at upcoming highway exits. 

Taking a trip with a toddler can be delightful. Toddlers show you the little things you may have forgotten about – bugs on a tree, the stones on the ground, and the bolts in a picnic table. They make sure you see the birds, flowers, trucks, and animals on your trip. Traveling with a content toddler is like bringing your own entertainment. It enriches your experience while providing important lessons in solitary play and patience in your child. 

Teaching Young Children about Gratitude

By Dorothy Halverson, Director of Acorn Programs

“Gratitude is much more than a verbal expression of thanks. Action expresses more gratitude that speech.” 
Science and Health with Key to the Scriptures, p. 3
 

Gratitude is one of the most important concepts to teach children. By learning gratitude, children become sensitive to the feelings of others, developing empathy and other life skills along the way. Grateful children look outside their one-person universe and understand that their parents and other people do things for them (e.g. prepare dinner, give hugs, buy clothing and toys). Indeed, instilling grateful feelings early will benefit your child later in life. 

Children as young as 15 to 18 months can begin to grasp concepts that lead to gratitude. They start to understand that they are dependent; that mommy and daddy do things for them. In other words, toddlers comprehend that they are separate beings from their parents, and that mommy and daddy often perform actions to make them happy, like playing peek-a-boo, even if they can’t yet articulate their appreciation. 

By age 2 or 3, children can talk about being thankful for specific objects, pets, and people. It is helpful to take time at the dinner table or at bedtime for everyone to express gratitude about their day. Toddlers just learning to talk can participate in this activity, especially as it is modeled for them each day. 

By age 4, children can understand being thankful not only for material things like toys but for acts of kindness, love, and caring. 

Gratitude is most easily taught through daily conversations and modeling. Children model their parents, so lead by example and use “please” and “thank you” when you talk to them. You might say, “Thanks for that hug — it made me feel really happy!” Insist on their using the words, too. After all, “good manners and gratitude overlap.”  

Ideas for teaching gratitude: 

  • Work gratitude into your daily conversation. Try to weave appreciation into your everyday talk — “Aren’t the colors in the sunset beautiful?” “I’m so happy when you listen!” Take time to reflect together each day, sharing all the good that happened. 
  • Give children responsibilities. Allow children to feel a part of the home by helping care for it. By participating in simple household chores like feeding the dog, stacking dirty dishes on the counter, and taking the folded laundry to each family member’s room, children realize the importance of lending a helping hand. 
  • Find a goodwill project. Research ways children can actively participate in helping someone else, even if it’s as simple as making cookies for a neighbor. As you’re stirring the batter or adding sprinkles, talk about how you’re making them for a special person, and how happy the recipient will be. 
  • Encourage generosity. Donate toys and clothing to charitable organizations. Children are often inspired when they see you giving to those in need, so spend time together going through your child’s closet to find something special to give to another child in need. 
  • Write thank-you notes. Toddlers’ cards might just be scribbles or stickers, but then attach your own words of thanks. As children grow, the scribbles become drawings, then longer letters. Younger children can even dictate the letter while you write. Just the act of saying out loud why your child loved the gift will make him feel more grateful. 
  • Practice saying no. Of course, children ask for toys, video games, and candy, and when every whim is granted, it can be difficult to feel grateful. Saying “No” on a regular basis helps diminish the feeling of entitlement and allows children to work through disappointment. 
  • Create a gratitude journal. Each day have your child list one thing that makes her feel grateful. This will help your child focus on all the good that unfolded during the day. 
  • Be patient. Gratitude requires weeks, months, even years of reinforcement. Be patient and know that from gratitude flows joy!