Black and White Sensory Bin

Materials:

  • A large plastic tub or sensory table
  • Several bags of white rice, depending on the size of your tub
  • A bag of dried black beans
  • Black or white measuring cups or scoops
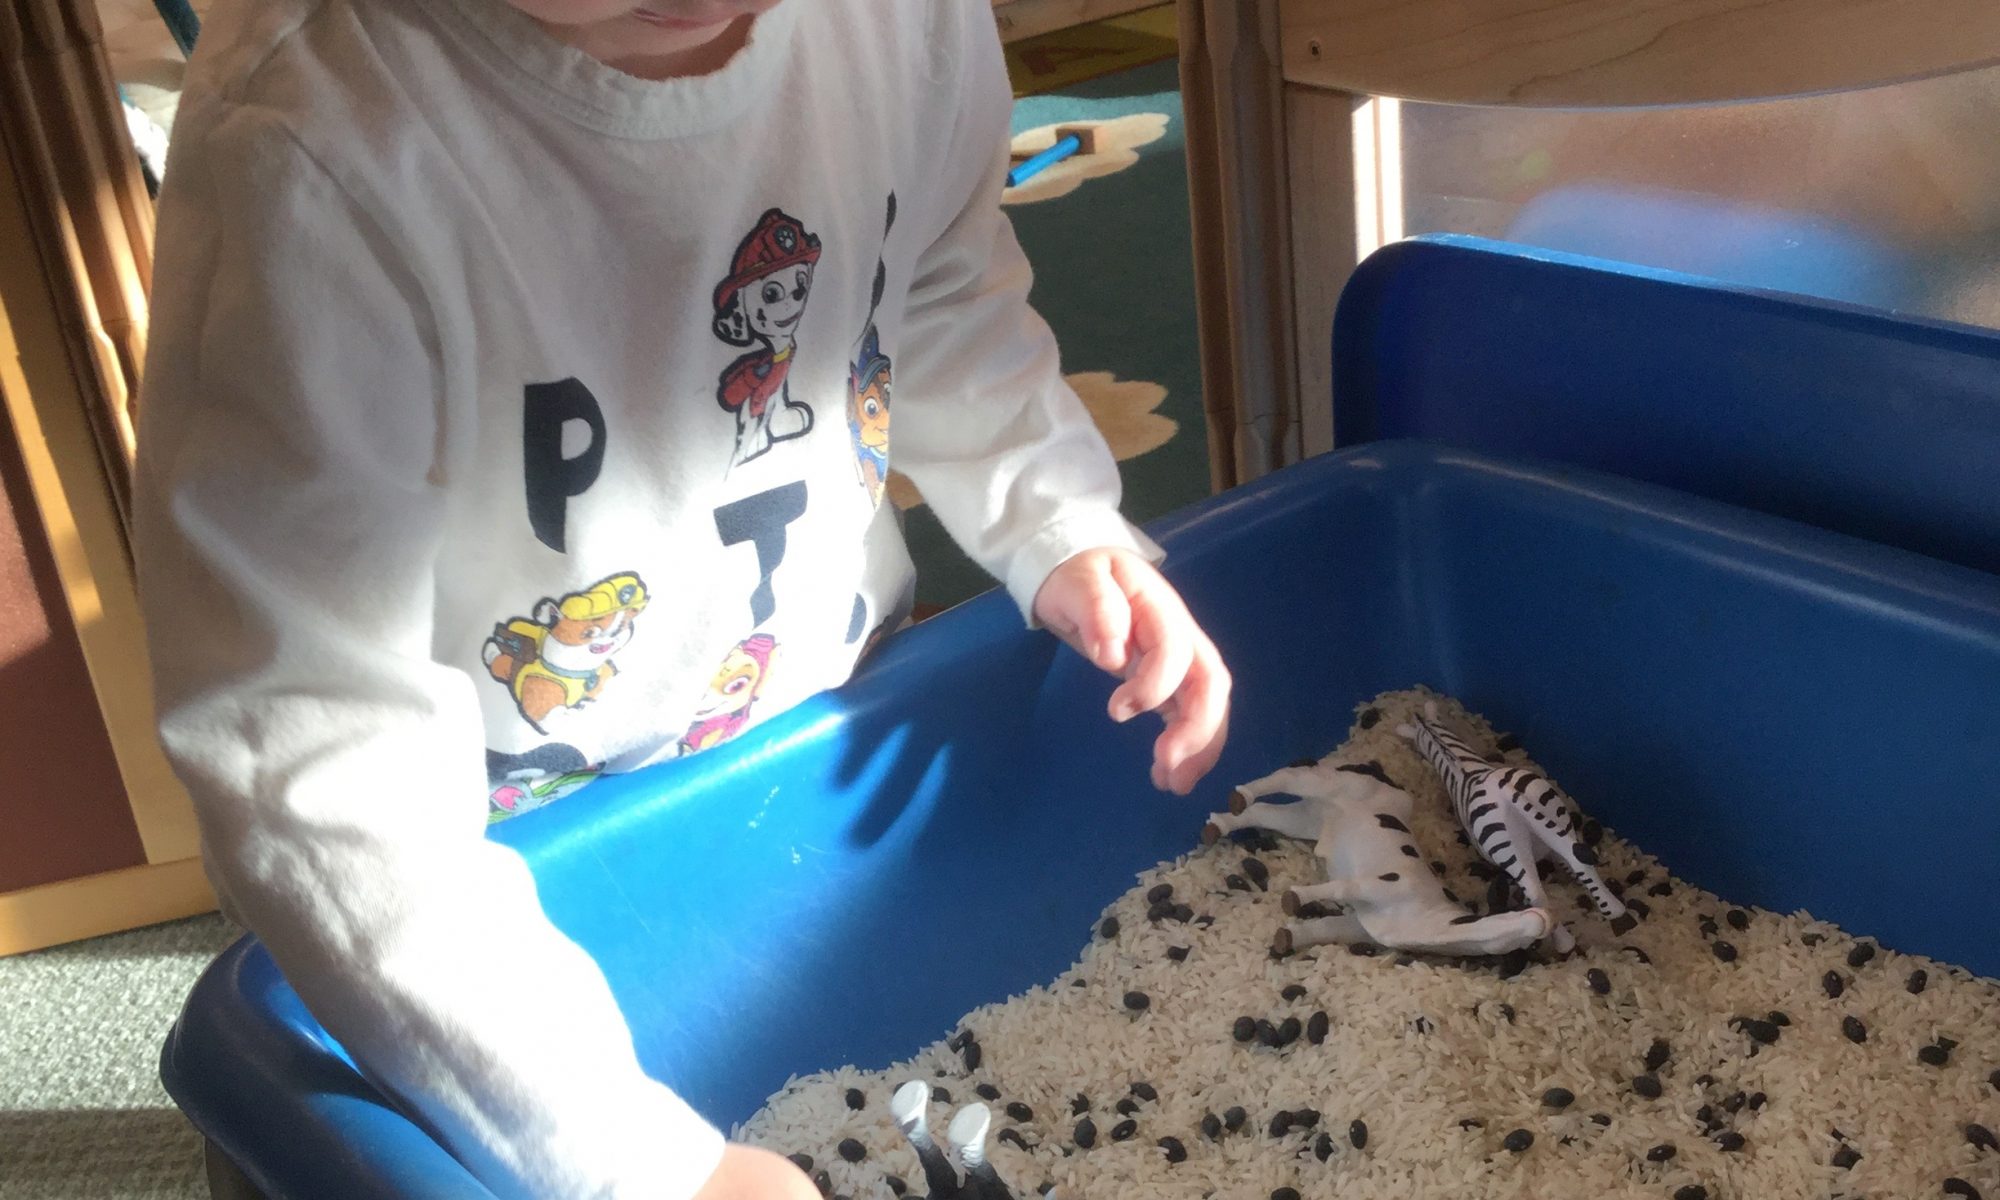
  • Black and white plastic animals

Directions: Fill your tub with several bags of white rice, to a depth of about 2 inches. Add a bag of black beans and let your child mix them in. Feel free to use other black items if you wish, such as black buttons, pompoms or even checkers! We used a black measuring cup set for pouring the rice. We also had a couple of short, white PVC pipe pieces that we included for scooping the rice into. The children poured rice into the PVC pipe and watched it come out the other end—amazing! Finally, we added some plastic animals—a mother and baby zebra, a black and white cow, a penguin, and mother and baby white tiger, a black and white horse, etc. The children loved burying the animals in the rice and digging them up again!

A Study in Black and White (Process Art for Toddlers)

Materials:

Materials:

A white sheet of construction paper
Masking tape
Black tempera paint in a cup
Child’s paintbrush
Cut-outs of white circles and other shapes
Glue stick

Directions:

Tape the construction paper securely to the work surface to keep it from moving during the painting process. Invite your child to dip the paintbrush into the cup of paint and “sweep” it across the paper. Encourage him to paint all over the paper. After your child is finished painting, set the paper aside to dry.

Once dry, give your child some of the white circles. Using the glue stick, encourage him to glue the circles wherever he would like to put them. Press firmly, so they stick. When we did this activity in our class, we came across some black and white cocktail napkins, which we cut into strips. Some of the children enjoyed gluing the strips on their painting as well. The end result is quite unique!

Mess-Free Jingle Bell Painting

Materials     
Shallow plastic container with lid
Sheet of paper
2 or 3 colors of tempera paint
Plastic spoon
4 or 5 jingle bells

Directions       
Trim your piece of paper to fit inside the box.  Using a spoon, drizzle the paint on the paper, being careful not to make big globs.  Before dropping the jingle bells into the box, we shook them, rolled them on the floor, and played with them a little bit.  Then I took one and dropped it in the box, asking Baby H. if she could drop one in, too.  She did, so I handed her the other bells and she dropped them in as well.  We securely closed the box, and I showed H. how to shake it.  This was the fun part for her!  If you have a box with a transparent lid, it allows your child to see the bells rolling around.  But if you don’t, your little one can still hear the bells jingle as they roll around, which is another experience!

When the rolling and shaking is no longer appealing,  open the box and remove the bells.  What remains is a lovely piece of art created using jingle bells!

Christmas Painting with Pine Boughs

Materials     
White construction paper; butcher paper works well, too!
2 or 3 colors of tempera paint
Freshly-cut pine boughs to paint with

Directions       
Painting with pine boughs is a unique, prickly-tickly experience!  You’ll want to take your little one with you to help select the  pine boughs. Be sure to take time to smell them and to feel the “pointiness!” 

This can really be done on any color paper, with your choice of colors.  I found it most effective to squirt little drops of color all over the paper and sweep the pine boughs through the paint.  The effect is a very wispy one, with some mixing of the colors, but the paint won’t be too muddy.  If your child really enjoys the process, let him/her do several paintings.  And if you choose to paint on butcher paper, you can use the end result for a unique wrapping paper after it’s dried!


Peanut Butter and Celery Reindeer Snack

Ingredients   
5 celery  stalks
Peanut butter
Wilton’s Candy Eyeballs (about $2.70 @ Target)
10 small pretzels, broken in half
10 fresh raspberries

Directions     
Wash the celery stalks and pat dry with a paper towel. Trim off both ends of the stalks and cut the stalk in half. Spread the peanut butter into the stalks.  Stick two eyeballs in the peanut butter towards the top of each stalk. Break (or cut) the pretzels in half, and put the halves above the eye balls, curving in towards each other. Finally, add one raspberry to the other end of the stalk for the nose. Now your reindeer is ready to eat!


Reindeer Antlers Dice Game

Materials     
Paper or Solo cup
2 craft sticks
6 spring-type clothespins
Small paper plate or piece of cardboard
2 googly eyes
Pompom for nose
Glue gun
Scissors or Exacto knife
A die (1/2 a pair of dice J)

Directions       
Use the glue gun to glue the googly eyes and the pompom to the cup, making the reindeer’s face.  Put a little glue around the base of the cup and stick it to the paper plate for stability.  Cut a slit in the top of the cup wide enough to insert the craft sticks, which are the base of the antlers.  Demonstrate to your child how to drop the die and touch the dots as you count them.  One-to-one correspondence is tricky for children under 5, which is why they should touch each dot.  They tend to rote count faster than their finger moves!  Once they’ve counted the dots on the die, they may put that number of clothespins   on the craft sticks, creating antlers.  After they’ve added the clothespins, remove them, and try it again!  Additionally, squeezing the clothespins is also great fine-motor practice!

Light Table Christmas Lights/Patterns

Materials     
A few strands of cut yarn
Floral marbles in a variety of colors
Light table or mirror
Tissue paper cut-out of Christmas tree, optional

Directions     

This activity can really be done on any flat surface, but doing it on a light table or a mirror gives it an added dimension! 

Lay the strand of yarn out on the table. Take a few of the floral marbles and place them on either side of the piece of yarn. As you place the marbles, tell your child you’re making Christmas lights, and invite him to try. There are many options for this activity. You can ask your child to use specific colors, make a pattern with the marbles, or just let him proceed on his own. From the picture above, you can see that my little friend made “partners” with his marbles, matching the same colors on either side of the yarn. You can also encourage simple patterning, using just two colors and alternating them. This activity provides good fine motor practice, too, as your child picks up the marbles and places them along the yarn!           

Strawberry Santas

Ingredients   
1.5 dozen strawberries, rinsed and dried
1 cup whipped frosting (from a can or home-made)
1 Tbsp. mini chocolate chips

Directions       
Cut the stem end of the strawberries off so that the berries sit up straight on a paper towel.  Next, cut off about 1/3 of the pointy end of the strawberry and blot dry.  Use a piping bag or a quart-size Ziploc bag with a hole cut in a bottom corner to pipe the frosting onto the strawberry base.  Top it off with the pointy end of the strawberry (the hat).  You can add a drop of frosting to the tip of the hat, and use a toothpick dipped in the frosting to make a couple of buttons down the front.  Finally,  place 2 mini chocolate chips in the frosting for Santa’s eyes.  Enjoy!

Glittery Pine Cone Ornaments

Materials     
Pine cones
Paper cups
Elmer’s glue
White acrylic paint
Popsicle stick for mixing
2 flat-bottomed meat trays
Silver glitter
Waxed paper
Thin Christmas ribbon or string
Glue gun
Warm, soapy water and a few rags for clean-up

Directions       
Take  your child on a nature walk to search for pine cones.  Choose ones that  are nicely formed and let them air dry overnight.  Thoroughly mix the Elmer’s glue and white acrylic paint in the paper cup, using the popsicle stick.  Your mixture should be 50 percent  glue and 50 percent paint.  Pour the glue/paint mixture into one of the meat trays.  Let your child roll the pine cone in the mixture, using his hands to gently spread the mixture over the pine cone.  You don’t have to completely cover the pine cone.  Pour a generous amount of silver glitter into the other meat tray.  Let your child roll the pine cone vigorously in the glitter, coating it all over.  Set the pine cone on the waxed paper to dry overnight.  Cut an 8-inch piece of thin Christmas ribbon and tie the ends together.  Use the glue gun to glue the string to the bottom of the cone.  When the glue cools, it’s ready to hang on your Christmas tree!

 If you prefer, you can make several of these pine cones, but don’t attach the string.  They make a lovely display just sitting in a bowl or basket with a few sprigs of evergreen or holly!

Light Table Christmas Tree

Materials     
Large sheet of green cellophane or tissue paper
Scissors
Tape
A variety of small plastic shapes, beads, play gems, etc. for decorating the tree
Light table or tray

Directions       
Cut a simple Christmas tree shape out of the green cellophane.  Use the tape to affix it to the light table.  Encourage your child to use the plastic shapes to add “ornaments” to the tree.  The decorating can be done over and over again, just by rearranging the shapes