Written by Mildred Cawlfield
Adapted by Dorothy Halverson
Thought has changed over the years about how rigid or flexible a baby’s schedule should be. There was a time when it was believed that a baby should be put on a strict four-hour schedule from birth, that the clock should determine when he should be fed, bathed, even held and loved. Parents were told that it didn’t matter what the baby did; it was what they did that counted. So they suffered while the baby screamed, feeling that they would harm the baby by picking him up if the clock didn’t indicate it was time to do so.
Parents who went to the other extreme and fed baby every time he made a sound, or didn’t dare to awaken him, felt tied down because they couldn’t plan their time with any predictability. These babies didn’t have the necessary help in learning a sense of time and order.
Fortunately, the schedule can be used as a tool rather than a slave driver. It should be the outgrowth of your own and your baby’s individual sense of rhythm and order. Babies differ from birth. Some eat enough at a time to be happy with a flexible four-hour schedule. Others, particularly if you are nursing them, may need to be fed every two and a half or three hours for a while.
In the early weeks, babies are changing quickly, and their needs are not always the same from one day to the next. Knowing this, you can work toward a four-hour schedule that will fit in with your life style but will also stay in tune with baby’s needs. As the baby works toward sleeping through his night feedings, his afternoon and evening feedings may be closer together than his morning ones, or vice versa.
If he doesn’t awaken within four hours between feedings during the day, it may be helpful to awaken him to encourage longer sleeping periods at night. Generally, by the time your baby sleeps regularly through the night, you and he can establish a fairly predictable routine which will allow you to make plans and will give him a sense of time, order, and consistency.
For a while, your baby will have four meals a day (after he has dropped one and then the other of his night feedings). Around six months, three meals a day will be sufficient especially once solid foods are introduced. A small amount of water may be added to your baby’s diet after six months when baby seems hungry or thirsty. Also, a small amount of water may be needed in very hot weather. Two naps a day will continue until the morning one no longer seems necessary.
As long as little children are getting adequate food and rest, their schedules can be varied to fit their parents’ routine. For example, if one of the parents goes into work in the afternoon and works late into the evening, you might choose to have your baby or toddler go to bed around 10:00 p.m. and awaken him to start the day at 10:00 a.m. with meals and naps coordinated to fit his parents’ routine. However, once the child nears school age the parents will need to adjust the schedule (gradually) so that he is awakening earlier, ready for a full day, and putting him to bed earlier at night.
A good schedule meets the needs of both child and parent.

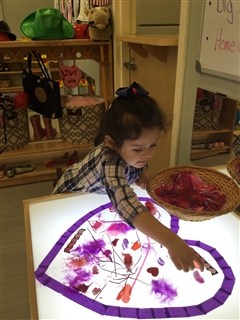
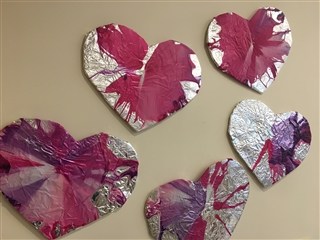
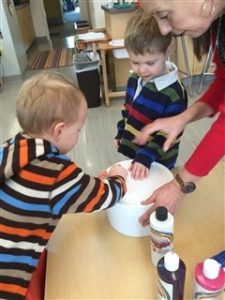 Place a small sheet of foil in the bottom of the salad spinner. Add 2-3 drops of each color of tempera paint onto the foil. Place the top on the spinner and invite your child to spin the spinner by turning the handle or pressing on the top knob. Take off the lid and remove the foil. Observe how the colors mixed together. If using primiary colors note what two colors mixed to make a new color. Dry completely, then gently fold the foil over the cardboard shape or form board.
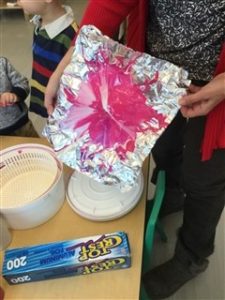
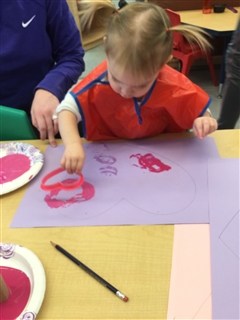
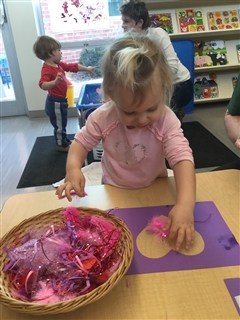
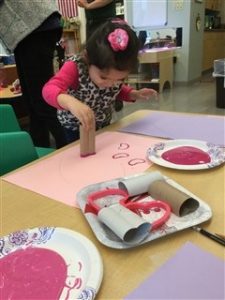 Bend the ends of toilet paper cardboard tubes into the shape of hearts. Pour a different color paint onto each paper plate. Invite your child to dip the cardboard tube into the paint and then make a heart print on the paper. Use cookie cutters in the same manner. Allow your child to continue exploring, covering the paper with hearts. Display the art once the paint has dried.