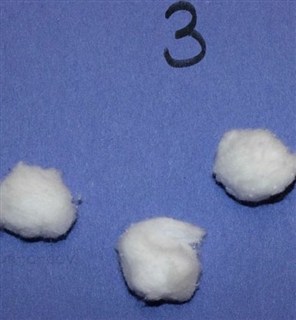
Materials
Blue construction paper
Sharpie marker
Cotton balls
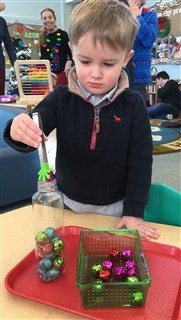
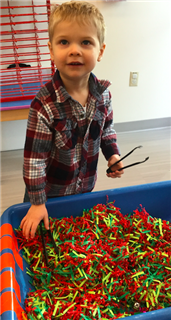
Tongs
Directions
Write a numeral on each piece of construction paper. Place a bowl of cotton balls in front of your child. Invite your child to use the tongs to count out the correct number of cotton balls to match each numeral on the pieces of construction paper.
For toddlers: Focus on numerals 1 and 2.
For preschoolers: Provide your child with numerals 1-10. Once your child has identified the numeral and placed the correct number of cotton balls on the paper, encourage your child to put the papers in numerical order.
 Ingredients