Materials
White construction paper
Black tempera paint
Paint brush or sponge brush
Tape
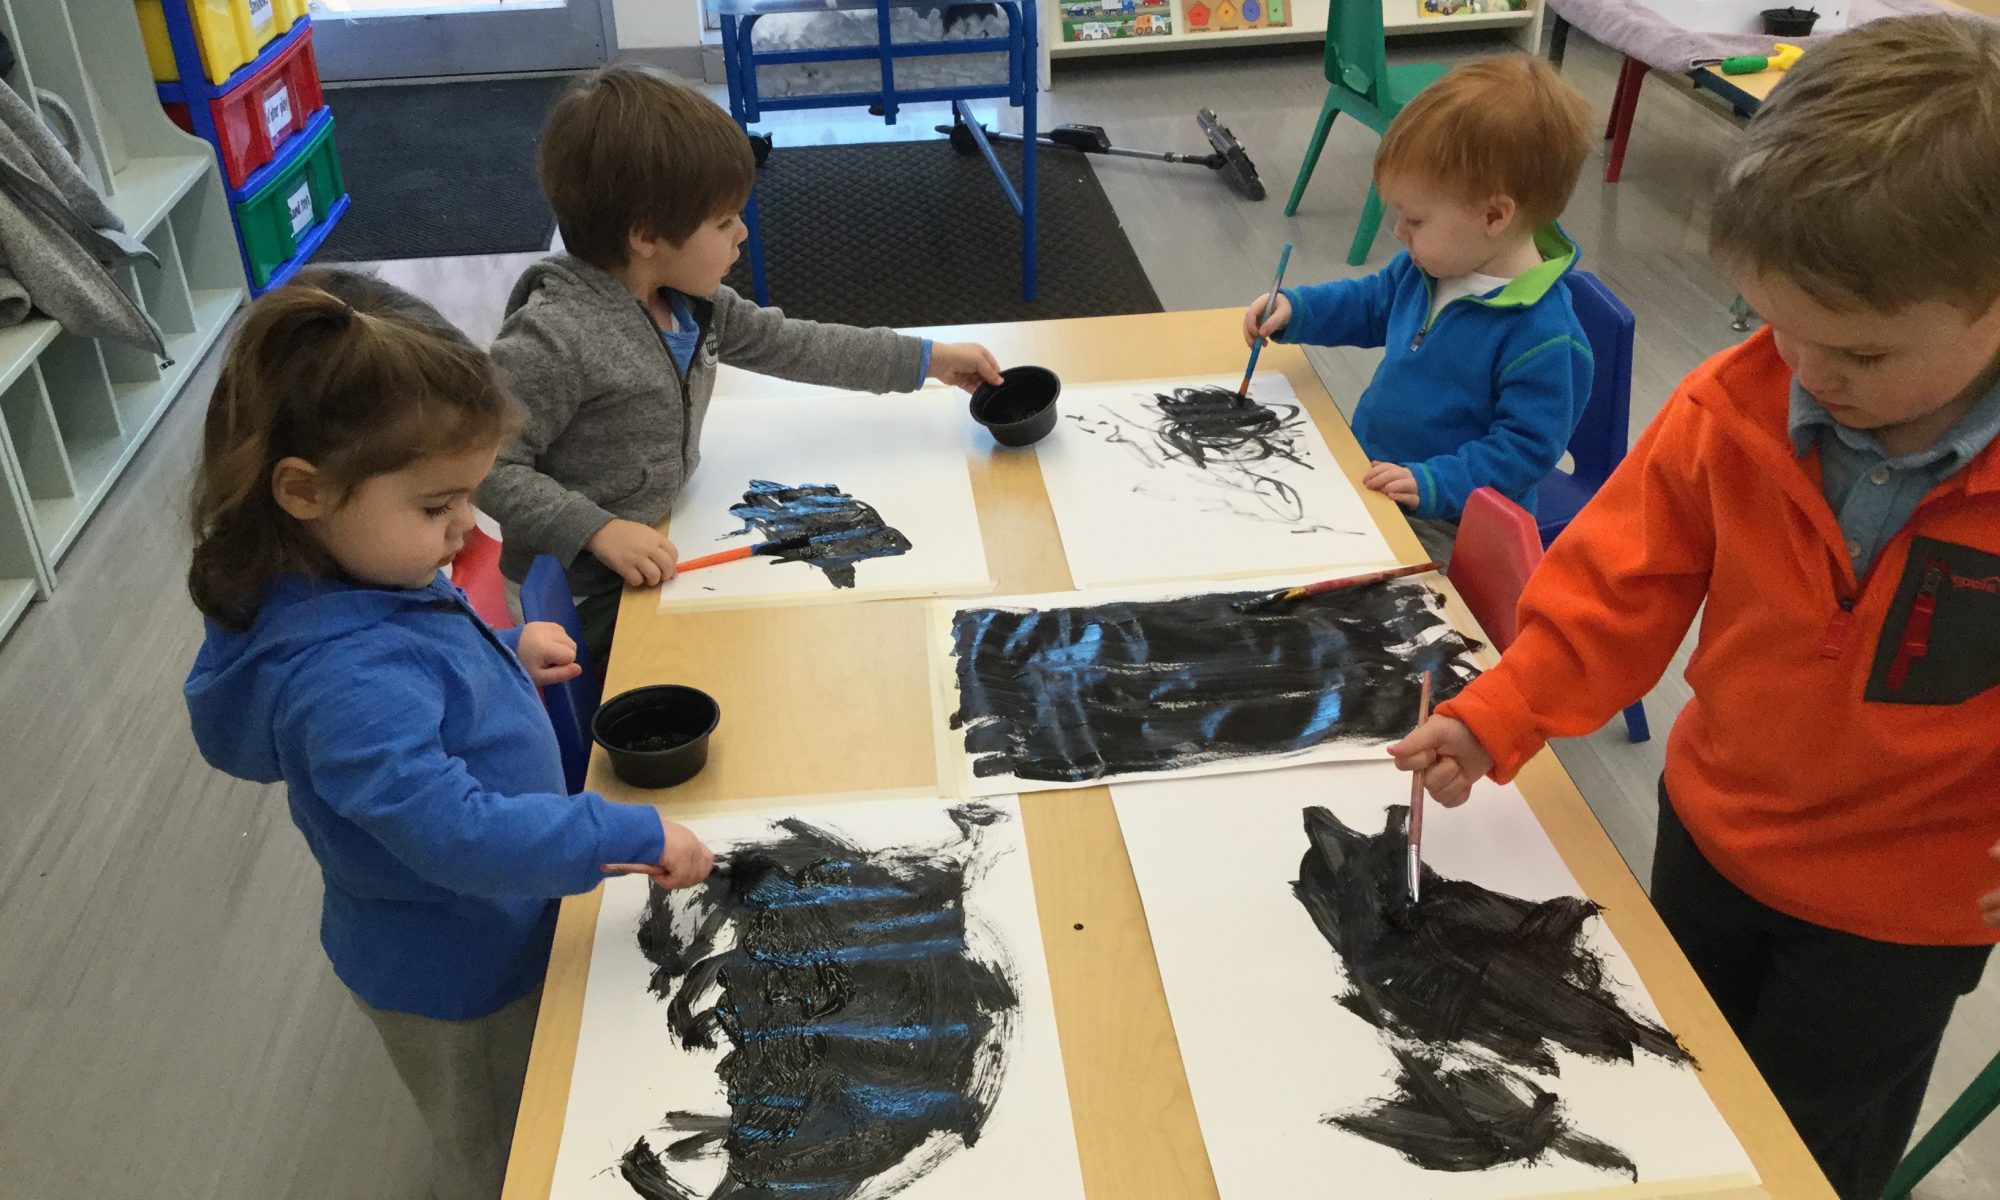
Directions
Secure paper by taping it to the table top or work surface. Pour a small amount of black paint into a plastic cup or bowl. Invite your child to dip the paint brush or sponge brush into the black paint and then brush it across the white paper. Encourage him to make circles, horizontal and vertical lines, and to just enjoy the process. Allow painting to dry before displaying.