Gold and Blue Collage

Materials

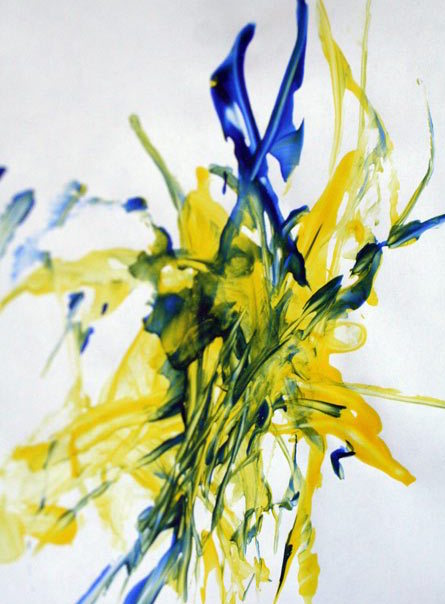
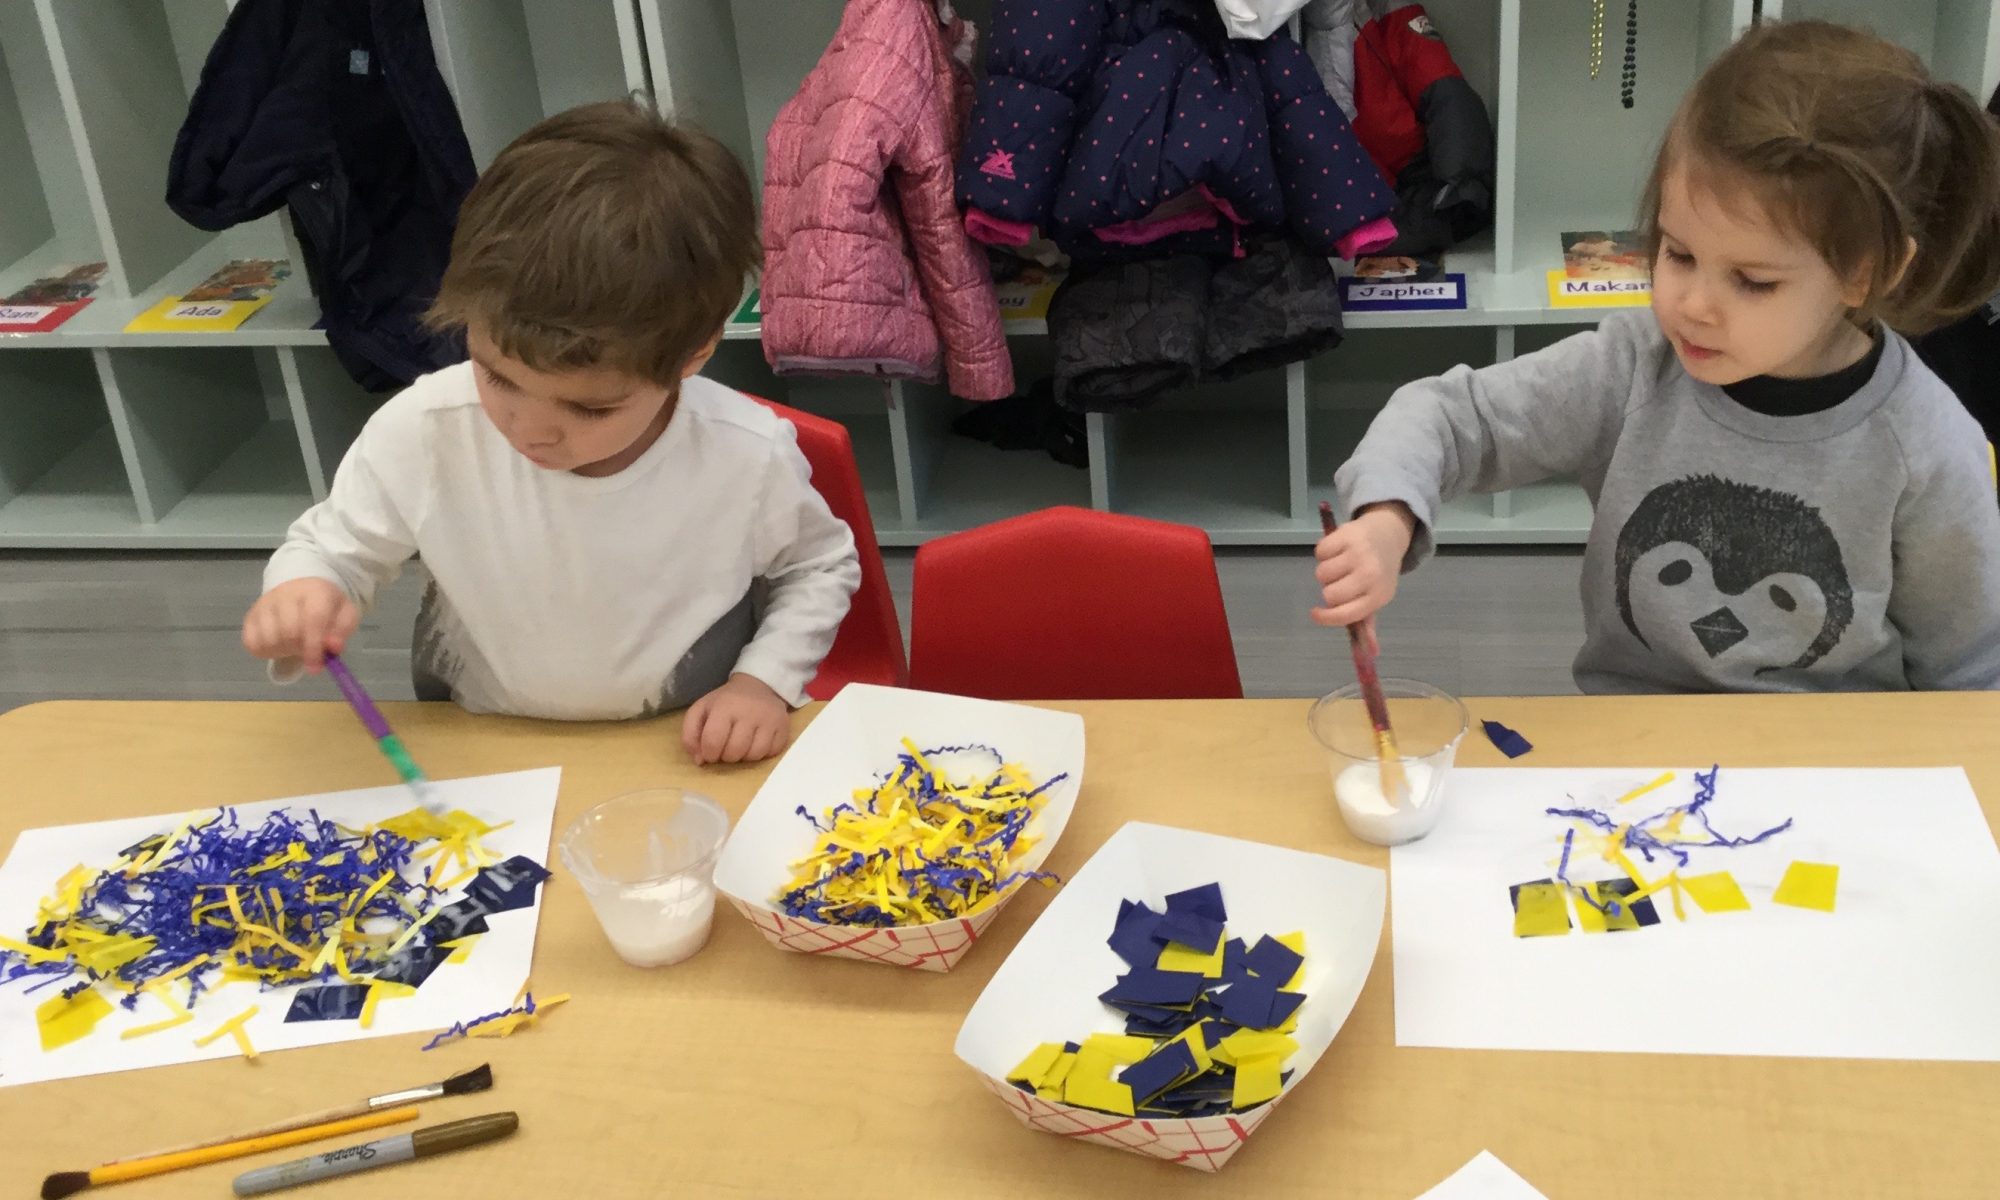
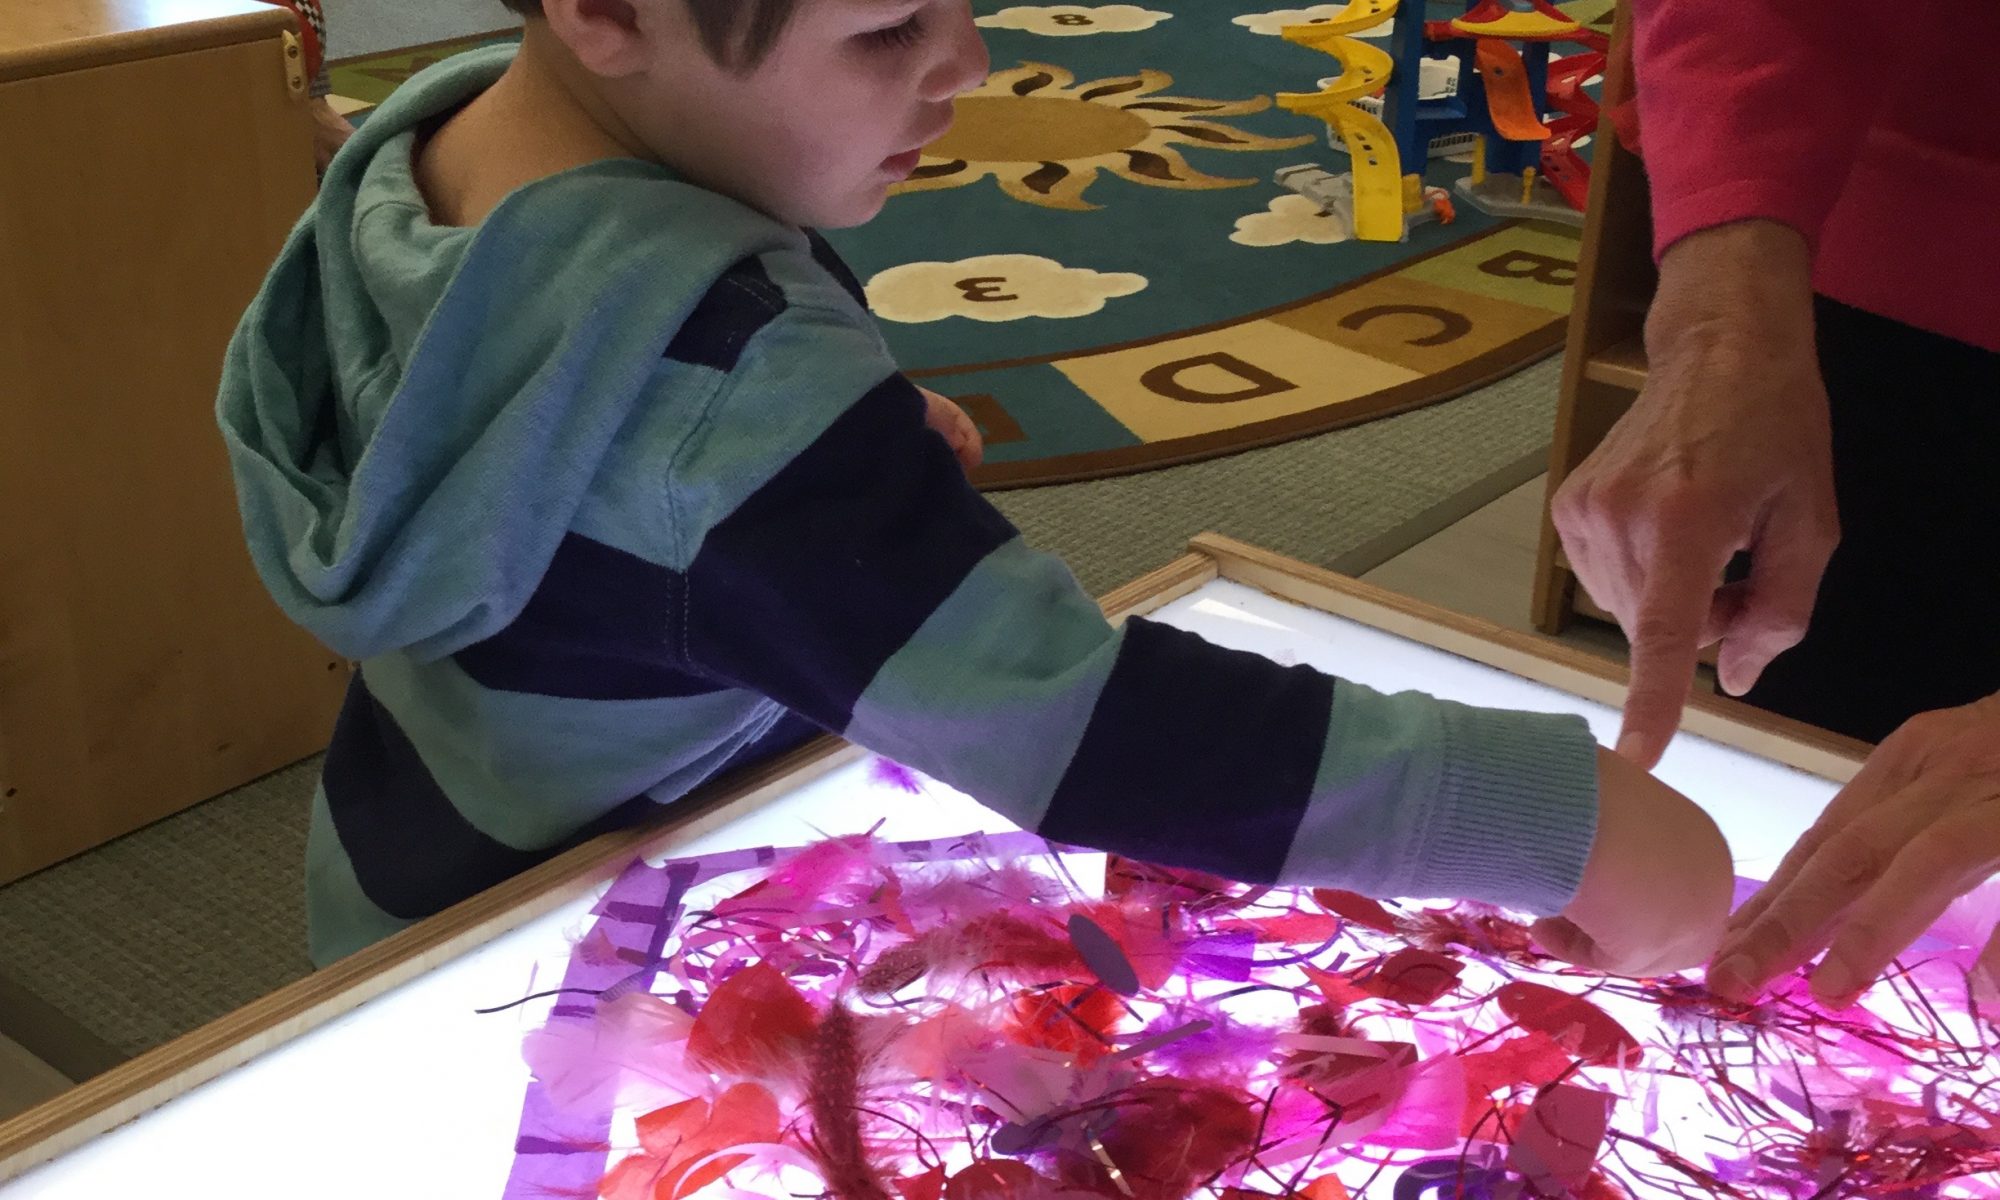
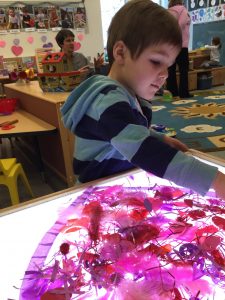
Variety of blue and gold materials for gluing (feathers, gold paper, tissue paper, confetti, etc.)
Paint brushes
Elmer’s School Glue
Large piece of construction paper
Containers to hold materials
Paper plate or container for glue

Directions

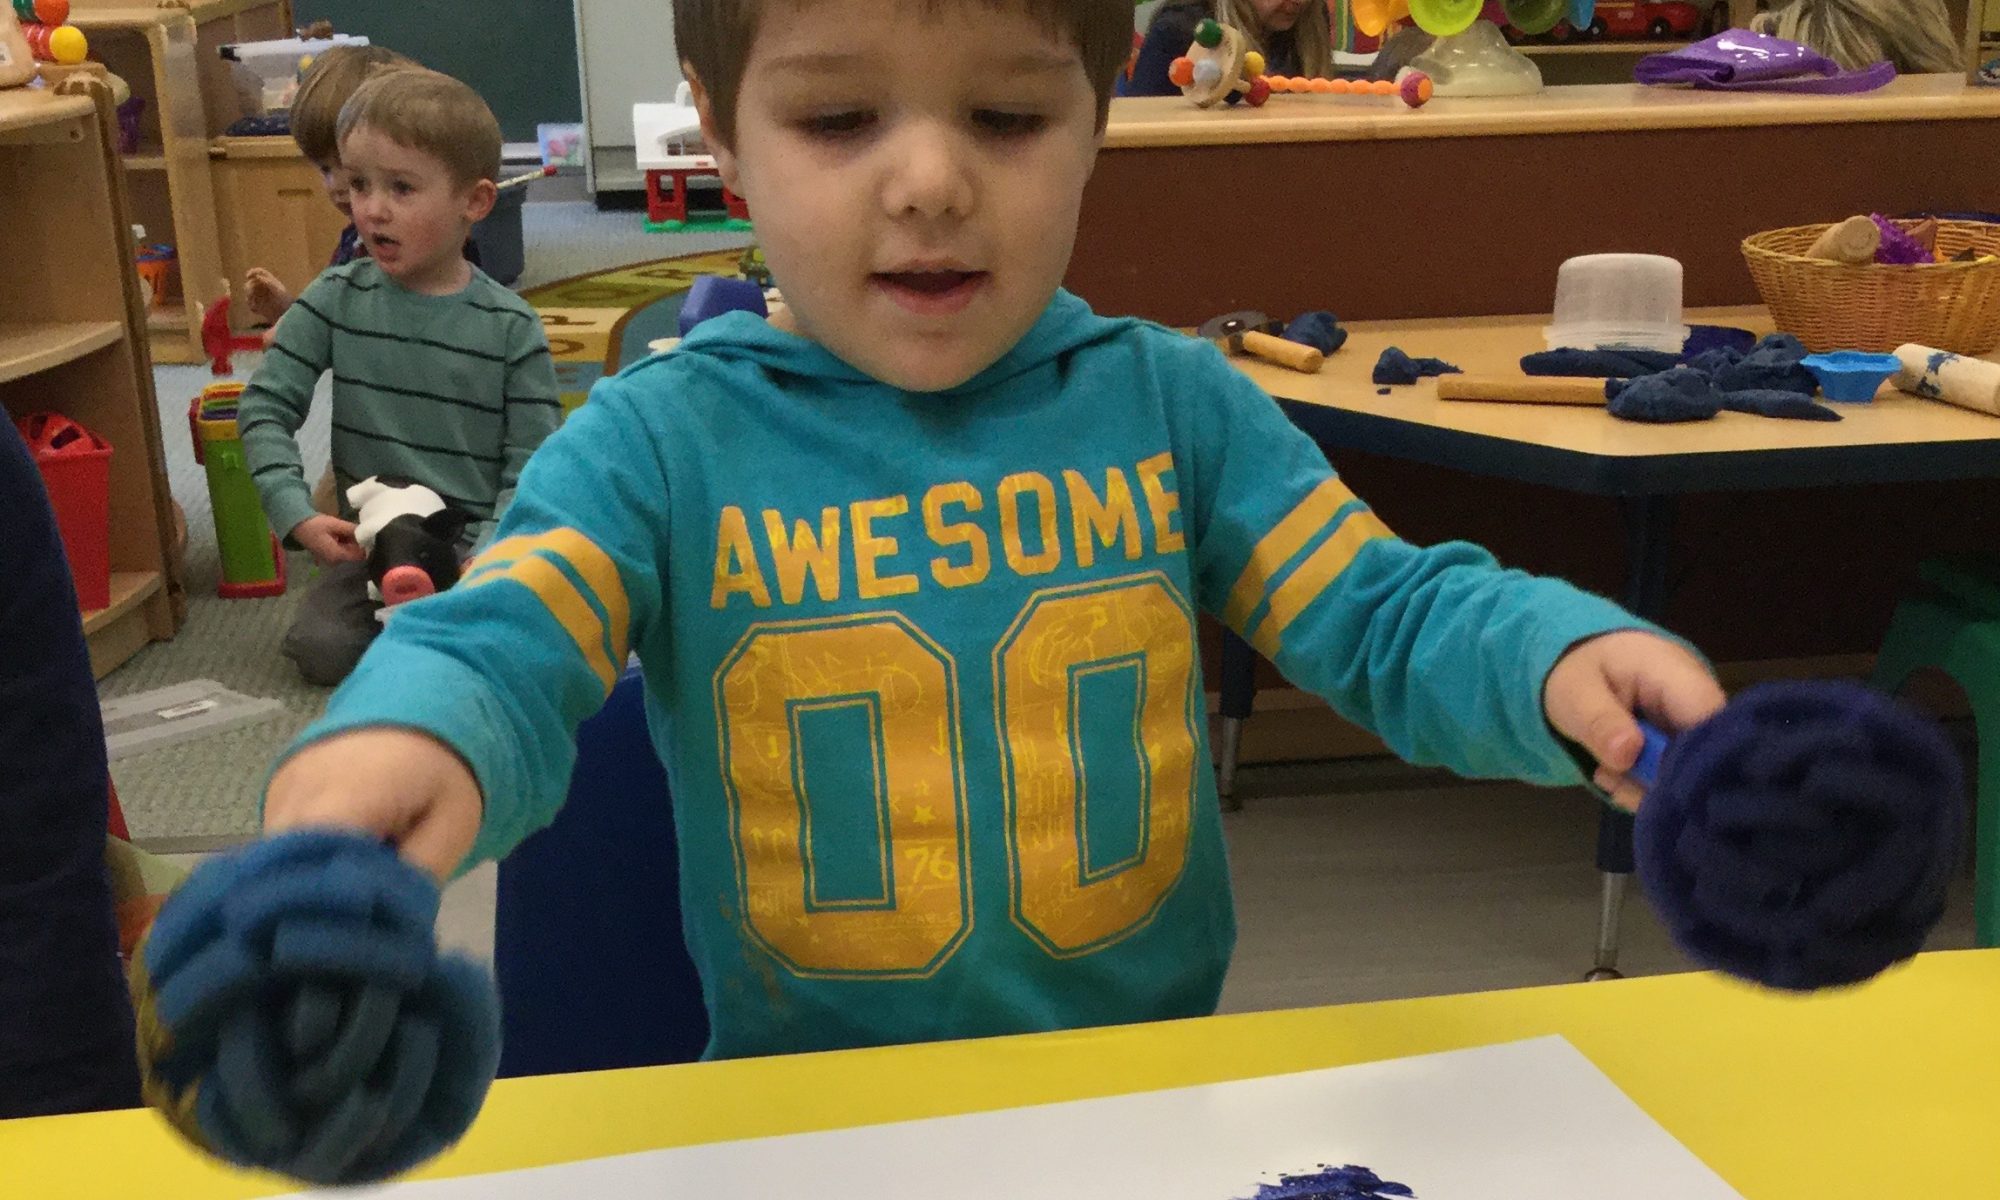
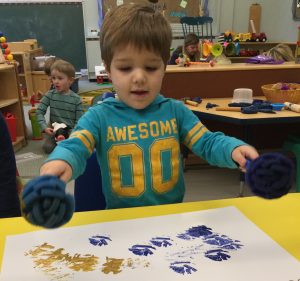
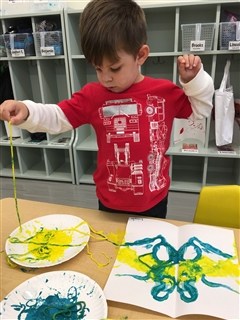
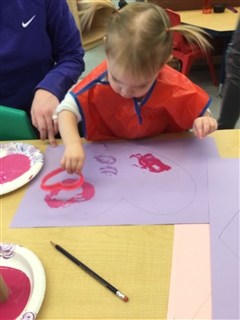
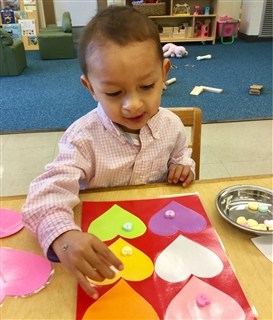
Place gathered materials on a tray or basket. Pour glue into a small container. Invite your child to add glue to the large construction paper and carefully place a few materials at a time to cover the glue and make a collage. Dry complete before hanging.

Dish Wand Painting

Materials
1-2 colors of tempera paint
2 paper plates
2 clean sponge dish wands
Large piece of construction paper

Directions

Cover work space with newspaper. Pour a different color of tempera paint onto each paper plate. Using a sponge dish wand, invite your child to dip the wand into the paint and then dab it on the large piece of construction paper.  What happens when one color of paint mixes with the other color of paint. Once dry, display.

Yarn Painting

Materials
Tempera paint
String
Paper plates
White construction paper

Directions
Place a piece of white construction paper onto the work space.  Fold the paper in half. Cut string into pieces approximately 18 inches in length.  Pour a small amounts of different colors of tempera paint onto paper plates. Invite your child to hold onto the end of one piece of string and dip the string into the paint.  Have him lay the string onto the paper, still holding the one end. Fold the paper in half and help your child press firmly on top of the paper with your hand while pulling the string out from the paper. Repeat with another piece of string dipped into another color paint.  

Allow paint to dry and then cut paper into desired shape (mitten).

Yogurt Silly Putty

Ingredients
Yogurt  (we used strawberry)
Cornstarch
Bowl
Spoon or Spatula for mixing

Directions
Invite your child to mix together 1 cup of yogurt and 3/4 cups of corn starch. When the mixture is no longer sticky, pick it up and roll the putty into a ball (to further mix the yogurt and corn starch). If it’s too sticky, sprinkle in additional corn starch. If it’s too dry, add a bit more yogurt.

Matching Foam Hearts

Materials
Foam hearts of various colors or patterns 
Strip of poster board
Permanent marker
Basket or container for hearts

Directions
Using a permanent marker, draw a small grid with two columns and 6-8 rows on the strip of poster board.  Place pairs of colored and/or patterned hearts in a small basket or plastic container.  Invite your child to find pairs of hearts and place them next to each other on the grid. Once all of the hearts have been paired and placed on the grid, count the pairs.

To adapt for the activity for younger children, glue or stick one of each color heart on the left column and invite your child to choose one heart at a time and match it to a heart on the grid by placing it next to the heart. Continue until all the hearts have been paired. Encourage your child to count as you touch each pair of hearts.

Heart Print Placemats

Materials
Several toilet paper cardboard tubes
Heart-shaped cookie cutters 
Tempera paint (we used red, pink, and purple
Paper plates
Large construction paper
Tape

Directions
Tape the paper to the table.  Bend the ends of toilet paper cardboard tubes into the shape of hearts. Pour a different color paint onto each paper plate.  Invite your child to dip the cardboard tube into the paint and then make a heart print on the paper. Use cookie cutters in the same manner. Allow your child to continue exploring, covering the paper with hearts. Display the art once the paint has dried or use as a special placemat for a valentine lunch or dinner.

Sorting and Counting Conversation Hearts

Materials
Construction Paper in the colors of candy Conversation Hearts
Candy Conversation Hearts
Small tongs (optional)
Glue

Directions
Cut out one color construction paper heart for each color of candy heart.  Glue all hearts onto a larger piece of construction paper. Place about 20 conversation hearts in a small bowl. Invite your child to take one heart out of the bowl at a time and place it on the correct color paper heart.  Once all the hearts have been sorted, ask your child to count how many hearts there are on each paper heart.  What color heart has the most?  What color heart has the least?

Lesson Extensions:
Young Toddlers:

  • Simplify activity by only having two different color hearts in the bowl and two hearts cut out of construction paper

Preschool:  

  • After sorting the hearts, encourage your child to make addition and subtraction problems with the hearts (i.e. 4 green hearts and 2 pink hearts = 6 hearts)
  • Create patterns with the colored hearts
  • Line the hearts up 2 by 2 and practice counting by 2’s
  • Make groups of 10 with candy hearts and practice counting by 10’s.  Can you count to 100 by 10’s?

Clear Contact Paper Heart Collage

Materials
Clear Contact Paper
Collage materials in reds, pinks, purples, and lavenders (feathers, ribbons,  tissue paper, tinsel, etc.)
Masking tape

Directions
Cut a large heart shape out of contact paper.  Using the masking tape, tape the heart shape (sticky side up) onto a hard surface – floor, table, window or wall.  Invite your child to place various collage pieces onto the contact paper in an interesting design.  Once your child has completed placing materials onto the contact paper, remove it from the hard surface and press the sticky side onto a window.  You child will enjoy observing the sunlight shining through the colorful artwork.

Spaghetti Painting

Materials
Cooked and cooled noodles
Finger paint
Paper
Paint shirt and paint mat

Directions
Put paint in a bowl or on a plate so noodles can easily be covered with paint. Dip a noodle in paint and then apply to paper to create painted picture. Try dipping the noodle in more than one color and watch how the paint mixes on the paper.

For even more fun, try using different shapes of noodles. Compare what type of design each noodle creates on the paper. If your preschooler is a bit timid with slimy textures, have a washcloth or paper towel available so they can paint a bit and easily wipe their hands clean.

Matching Shapes

Materials
White paper
Shapes you have around the house or magnetic shapes

Directions
Trace around the various shapes with a writing instrument.  Place the shapes out for your child to see. Invite your child to match the shapes to the shapes drawn on the paper. Help you child name the various shapes. 

Did you child match all the shapes?