Rainbow Sensory Bottles

Materials:      
Six sturdy, recycled plastic water bottles, such as the Voss or Core brands
One pkg. of Clear Water Jewels (from Michaels—about $3.25 per pkg.)
Water-based food coloring in purple, blue, green, yellow, orange, and red
Hot glue gun

Directions: Reconstitute half a package of clear water jewels in a dish tub with at least three inches of water. One package reconstituted makes about four quarts of water pearls, so half a package will be plenty! It takes four–six hours for the water jewels to reconstitute, so plan ahead. Add more water if you need to. When they’re ready, use a funnel to put the desired amount in each bottle. Add a little water and food coloring to each of your six bottles. If you plan to keep the rainbow jars for a while, I recommend using hot glue to secure the tops on the bottle. You definitely do not want water jewels anywhere but in the bottles! 

Your little one will enjoy handling the bottles, comparing them to one another, perhaps rolling them on the floor, turning them upside down, drinking in the colors with her eyes.

You may also want to create a clear bottle using just water and adding small items that are rainbow colors and will float in the water. Tiddlywinks, small colorful pompoms, colorful rubber bands, etc. are fun choices. Just don’t add anything that might rust!

If you have a sunny windowsill where you can keep the bottles when your child is not exploring them, it creates a rainbow effect wherever the light hits.

Rainbow Letter Match

Materials:      
If you have a magnetic chalkboard, great. If not, a dry-erase board or a large sheet of paper will work just fine.

Markers in purple, blue, green, yellow, orange, and red
Magnetic alphabet letters in purple, blue, green, yellow, orange, and red

Directions: Assuming you don’t have a magnetic chalkboard, use your markers on paper or dry-erase markers on a dry-erase board to draw the stripes of a rainbow in an arc shape. Start with purple on the bottom, then blue, green, yellow, orange, and red on top. Make the space between stripes wide enough to accommodate the letters. Let your child match the magnetic letters to the matching stripes. When they’re finished, you’ll have a rainbow of letters! How many can your child identify? (Fun to know, but not really an expectation for this activity.)

Rainbow Cake

Ingredients:   
White cake mix
Eggs
Oil
Water
Wilton Icing Color (you need six) purple, blue, green, yellow, orange, red)
Hand mixer
Six small bowls
Bundt pan

Instructions: Make the white cake mix according to package directions. Divide the batter into six equal portions (about 2/3 cup each). Mix a small dollop of red food color into the first portion and mix thoroughly with the mixer. Pour it into your greased pan. It’s OK if it’s not evenly distributed, but if it is spread throughout the pan, your whole cake will have some red in it. Rinse your beaters before moving on to the next color. Next, mix a little orange color in the next portion and add it on top of the red. Do the same for yellow, then green, blue, and finally purple. Bake your very colorful cake according to package directions. Let it cool slightly, and then remove it from the pan. When completely cool, slice and enjoy with a cold glass of milk!

Bubble Wrap Rainbows

Materials:      
Sheet of white construction paper
Tempera paint in the following colors: purple, blue, green, yellow orange, red
Sheet of bubble wrap large enough to cover the construction paper

Directions:  Simply popping bubble wrap is a really fun activity for a toddler. But creating unique rainbows at the same time is even better! And even though there are typically seven colors in representations of rainbows, for our purposes, six colors work just fine!

The first step is best done by mom or dad. Squirt a thin line of paint in an arc shape starting at the bottom center of the paper. Start with purple and add each color in the order listed in the materials. When finished, carefully lay the sheet of bubble wrap on top of the construction paper. Show your child how to press on the bubble to pop it, which also spreads and blends the paint. Encourage your child to use both of index fingers together to pop the bubbles—it makes it a little easier. And of course, you can pop the bubble wrap right along with her. When you’re finished, carefully remove and toss the bubble wrap to reveal a stunning rainbow!

Ball Play and Ball Pit

Materials:      
Muffin tin
Ball pit balls
Small blanket or scarf

Directions: This is a great activity for 12-month-olds or slightly older. You can pick up a bag of balls at Walmart or from Amazon relatively inexpensively. They’re lightweight and the right size for toddlers to grasp easily.

I put the balls in a small tote bag. Then I set the muffin tin in front of Baby T, took a ball from the bag, and put it in the tin. He immediately picked up my ball and mouthed it. Then he went for what was in my bag, still holding the ball from the tin. I let him get a ball and then emptied the tote bag in front of him. He reached for a ball and put it in the tin when I asked him if he could. He kept the first ball, taking a few seconds to mouth it again while using his other hand to put another ball in the tin. I used the blanket to throw over the tin. He was surprised for a moment, but then pulled it off to reveal the balls. He was happy to add more balls to the tin for a couple of minutes and had equal enjoyment dumping the tin out and doing it again!

You could extend this activity for an older child by lining up a couple of baskets to throw the balls into. Or you might make a simple ramp to roll the balls down. And it doesn’t hurt to introduce color names by saying “Oh, you’ve got a blue ball!” 

Try making your own ball pit by adding them to your Pack ‘n Play. It probably takes 100+ balls to cover the bottom of it. You can also enjoy them in the bathtub!

The Joy of Music

kid with drum

By Dorothy Halverson, Early Childhood Principal

From the soft chimes inside their cuddly, soft toys to the full orchestration of Disney’s Fantasia, children learn how to distinguish different sounds, rhythms, and melodies. Music is innate to every child, and it is filled with Godlike qualities—tenderness, precision, beauty, joy, unity, accuracy. And since these qualities are from God, no one can lack them. Music educates the whole man and ignites all areas of development. No one is without his or her own sense of harmony and the ability to express it. Each of us comes with our own instrument, and each of us can learn to use it with freedom, joy, and fulfillment.
 
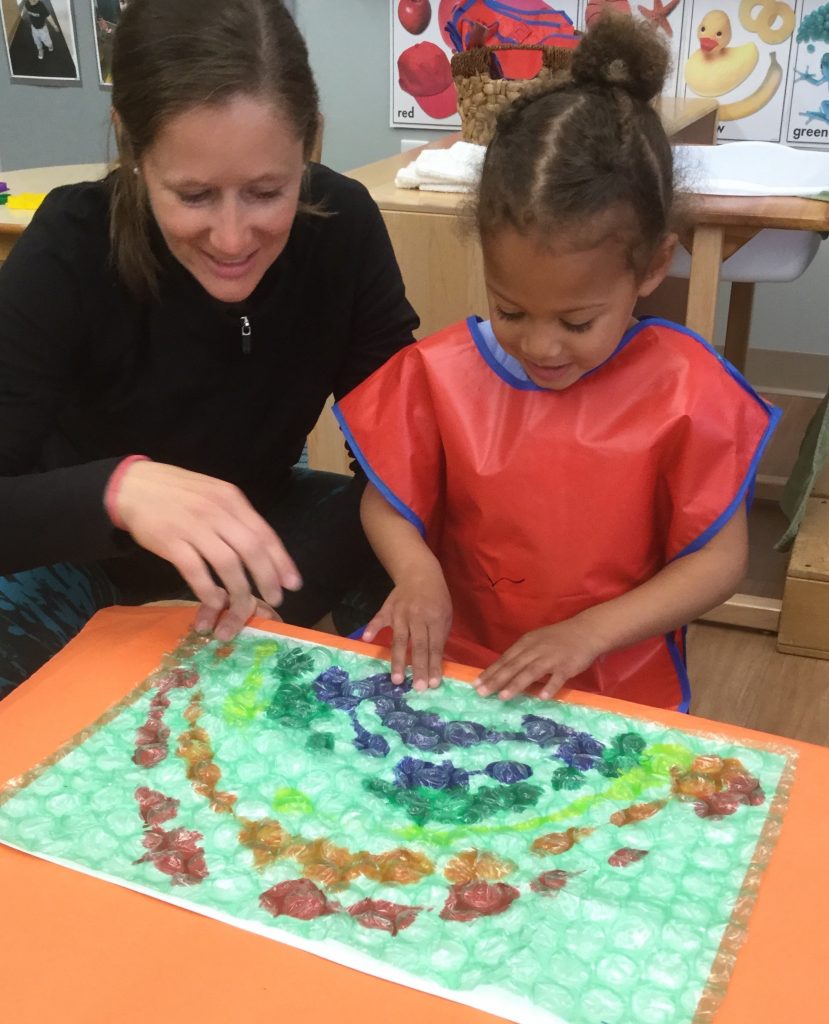
Children learn to be musical just as they learn to talk, walk, and dress themselves. They learn through example, trial and error, imitation, and play. Even if you feel you aren’t a great musician, there are lots of ways that you can nurture and help your child develop the musical skills that will enliven and enrich his life and will lay the foundation for musicianship.
 
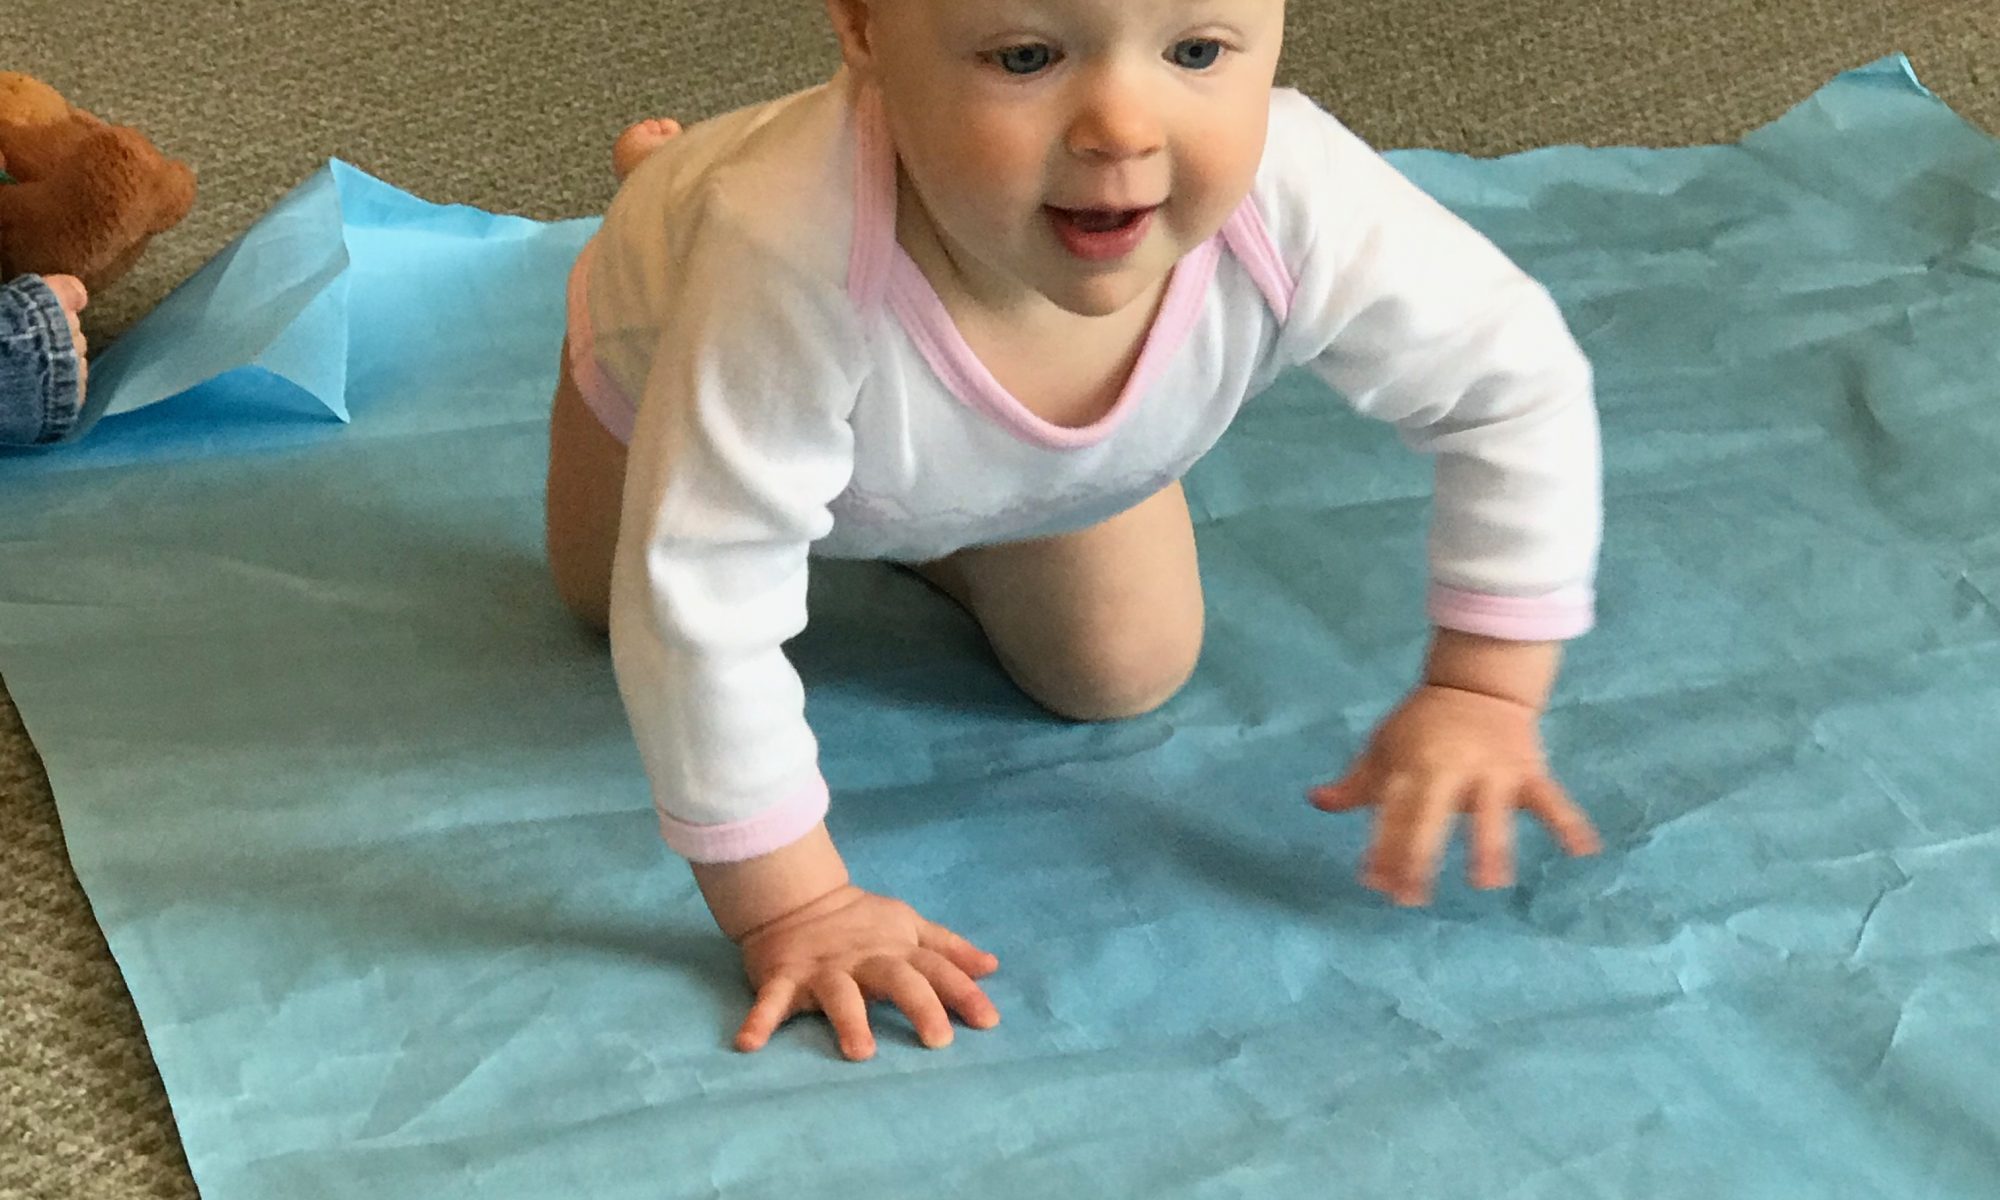
Infants respond beautifully to music. As you dance with an infant in your arms, take her to the changing table, singing, “This is the way we change your diaper,” or hum a soothing lullaby to comfort her and help her fall asleep, you are building a relationship that fosters trust. Sing simple, short songs in a high, soft voice. Try making up one or two lines about bathing, dressing, or eating to sing to them while you do these activities. Just start putting to melody some of the thoughts and words that come to you, and you’ll have a song. Children love to hear songs with their names and to laugh at the silly songs you make up about what they’re doing. Sing as you hold and play with your baby—she will love watching your mouth. Recorded music can’t possibly substitute for YOU, whether the opportunity happens at bedtime, while you’re picking up toys together, or traveling in a car.
 
Young infants enjoy toys that make musical sounds. Hang musical mobiles, and give babies wrist and ankle bells to hold. Babies’ random movements soon become intentional as they learn that they can make sounds by moving things. Offer toys that make sounds as they are used, such as balls with bells inside or push-and-pull toys that make musical sounds as they roll across the floor.
 
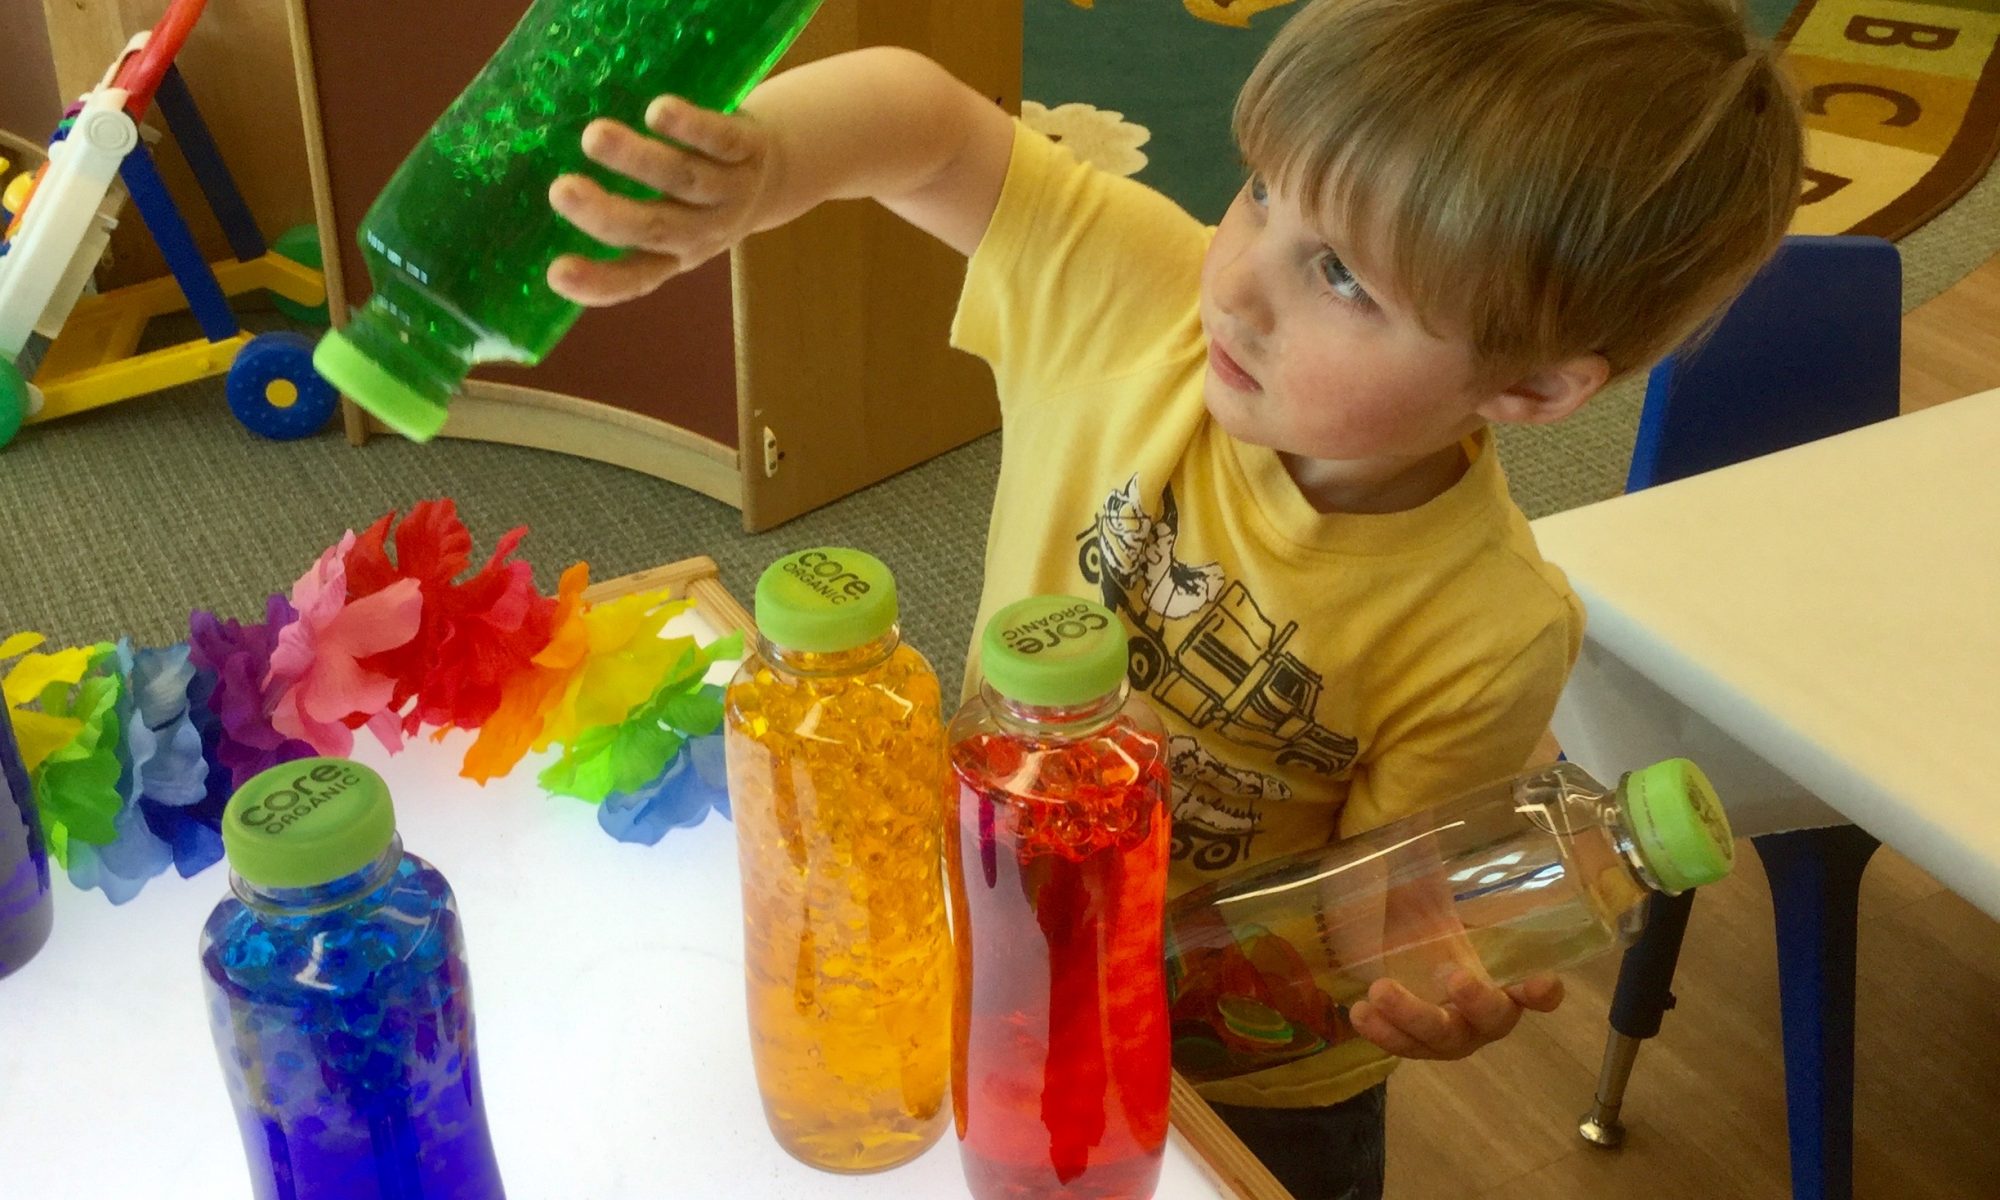
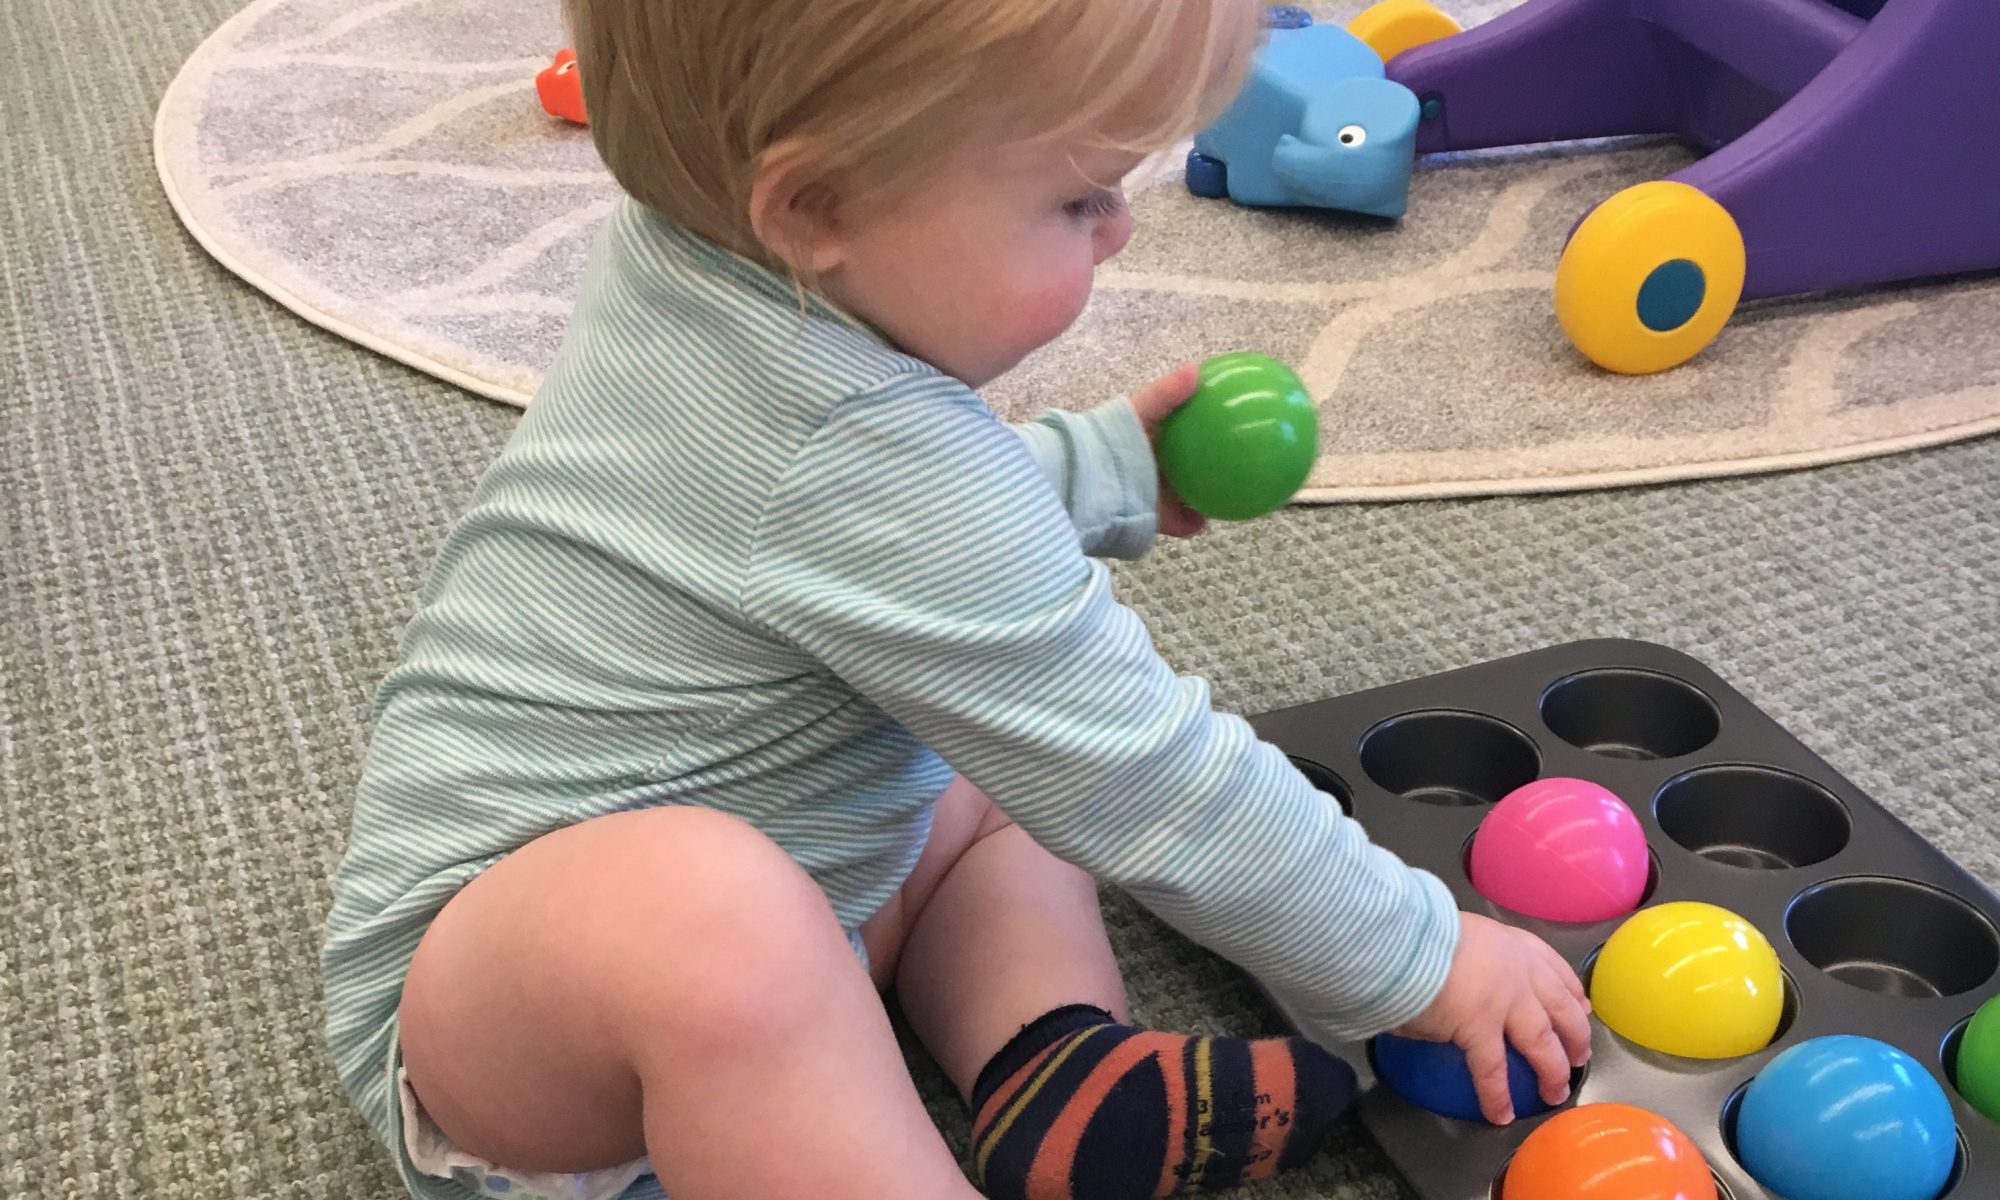
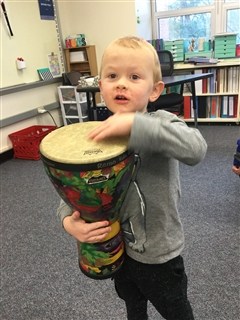
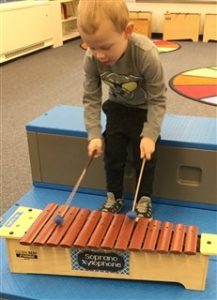
Mobile infants use their bodies as their first rhythm instruments, but you will also want to offer other simple rhythm instruments. Possibilities include drums, xylophones, rattles and shakers, tambourines, clackers, maracas, and wood blocks. These allow children to create and respond to music as they bang, ring, swish, and click. Make sure that anything with small objects inside or attached, such as a shaker or bell, is secure and does not present a choking hazard.
 
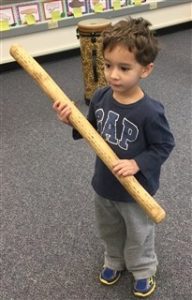
As your child’s language skills improve, he will join you as you sing. Sometimes the child will repeat sounds over and over, such as “da-da, da-da, da-da.” Your child may half-babble and half-talk as he sings a familiar song such as “Baa, Baa, Black Sheep.” With your child’s increasing balance and physical coordination, he will enjoy playing simple rhythm instruments and moving to the beat. You may want to make your own instruments. For example, drums can be made from oatmeal containers and cymbals from metal pie pans.  Make rattles and shakers by filling containers with rice, macaroni, or dried beans and fastening the containers very securely. Create a rain stick by using a paper towel tube, some rice, and tape. Turn pots and pans upside down and offer wooden spoons. Observe as your child experiments with different rhythms and sounds.
 
As you interact with your mobile baby, you can promote both his pleasure in and learning from music and movement. Here are some ways to help your child focus on his experiences:
  • Encourage your child to respond physically to music by swaying and moving slowly when the music is slow.
  • Identify different sounds, like a clock ticking or the beating of a drum. Mimic or imitate mechanical sounds. This will encourage him to experiment with and control his voice.
  • Teach simple fingerplays, such as “Open, Shut Them” and “The Wheels on the Bus.”
  • Vary the speed at which you chant rhymes. Sing “Pat-a-Cake” very slowly and then more quickly and invite your child to tap his outstretched hands in your hands to the beat.
  • Move with your child to the beat; bounce him on your knee or in your lap as you chant “Bounce and bounce and bounce away. Bounce and bounce and bounce all day. Bounce high, bounce low. Bounce and bounce and bounce we go!”
 
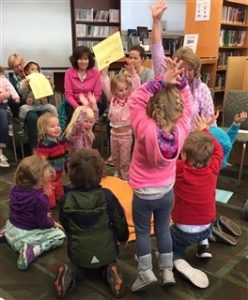
Toddlers love to dance and move to music.  They are fascinated by the nonverbal sounds they can make. They continue to sing and to enjoy music and fingerplays as social experiences. Share the fun of dancing, marching, and singing together. Use music and movement experiences to build a positive relationship—“Let’s hold hands and stomp through the leaves together.” The key to toddler music is the repetition of songs, which encourages the use of words and memorization.   
 
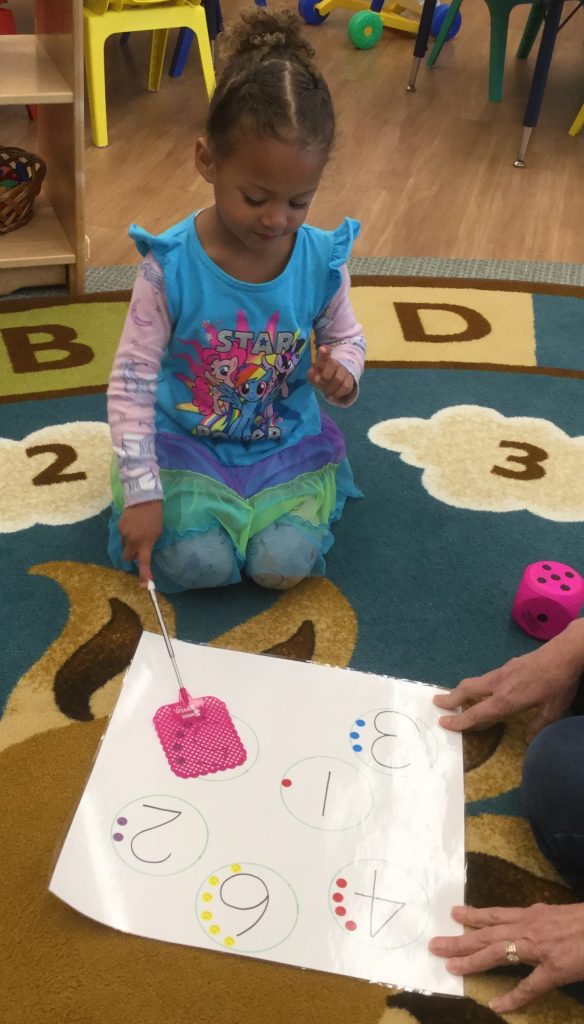
Two-year-olds love rhythm and repetition. They have become good listeners and are responsive to music with complex patterns. They move their whole bodies in different ways to various kinds of music, jumping, bouncing, falling, and swaying. They love to twirl and fall like autumn leaves and spinning tops, and they begin to sing some of the lyrics of familiar songs.  You will notice that your child can fill in words when you pause, especially when the songs include rhyme and repetition. Encourage your child to focus on the beat by inviting him to clap, stomp, march, or drum to the music’s beat. He may also enjoy creating original melodies or new verses for his favorite songs.
 
Music and movement experiences play an important role in language and literacy development. Songs can be used to promote an awareness of sounds and to encourage children to experiment with language.  Songs, rhymes, and fingerplays are wonderful ways to help children extend language and build vocabulary. As you live music and enjoy it with your child, you’ll see its influence in areas such as memory, speech, listening, coordination, confidence, creativity, and self-control. These processes demand and develop character qualities such as courage, self-discipline, obedience, focus, decisiveness, selflessness, and inner stillness. 
 
The aim in living and teaching music really is to find the nobility in man by involving him in the search for the beautiful, and as you and your child grow together, you’ll enjoy a new and deepening bond with him—one to be cherished and treasured.

SWAT—Number Recognition Game

Materials:      
Large piece of white paper
Paper cup
Black marker
Small stickers (optional)
Fly swatter
Oversized foam die

Directions:  Draw the numbers 1 through 6 randomly on the paper using the black marker. Make the numbers about 3 inches high. Use the paper cup to trace a circle around each number. Place the correct number of stickers on the circle outline for each number so your child can count them if she’s having trouble identifying the numbers. 

Show your child how to drop the die between her legs (while sitting on the floor). Have her count how many dots are showing on the top of the die.  Look for that number symbol on the sheet. When she finds it, let her swat it with the fly swatter. We try to swat the number the right number of times—i.e., if her number is 3, she swats it three times!

Pastel Tortillas

Ingredients:   
Mini tortillas (we used four-inch ones)
Two or three colors of food coloring
New or VERY clean small paintbrushes
Two or three ramekins with a tablespoon of water in each
Shredded cheese
Toaster oven

Directions: Prepare the ramekins by adding a few drops of food coloring into the water and mixing it with the paintbrush. One color for each bowl. Invite your child to dip her brush into a color and paint a design on her tortilla. Let her use each color. If  the tortilla gets very watery, blot it a little with a paper towel. We didn’t have a problem with it being too wet. When the “painting” is finished, let your child drop some shredded cheese on her tortilla, spreading it around a little bit with her fingers. Then bake it in a toaster oven briefly—just until the cheese has melted. Let it cool for a minute or two, then it’s ready to eat! We folded the tortilla in half like a taco and ate it that way.

Pastel Soap Foam

Materials:      
Liquid dish soap
Small pitcher of water
Red, blue, and yellow food coloring
Large mixing bowl
Hand mixer
Large plastic tub to contain your soap foam

Directions:  Pour about three tablespoons of dish soap into the mixing bowl. Add an equal amount of water to the bowl. Add several drops of red coloring. Mix on high speed for several minutes until the foam forms peaks. When you’re ready, pour the foam into the large plastic tub. Rinse your bowl and beaters, and repeat the process, adding the blue coloring this time. Beat on high speed until it forms peaks. Dump it into the large tub. Repeat, adding the yellow coloring. When it forms peaks, pour it into the tub. We made a fourth batch, leaving it white.

Add spoons and cups, or just invite your child to scoop it up in his hands.  Explore the foam, touching it, scooping it up and blowing it, and even putting a little on his face! If you’re concerned about your little one eating it or getting it in his eyes, use baby shampoo instead of dish soap. Unfortunately, the foam won’t last too long, so plan to whip it up and use it right away. It’s great, clean fun while it lasts!

Paper Play

Materials:      
A large sheet of butcher paper, approx. 4” x 6”  (A large sheet of gift wrap would work well, too.)
1 eager, crawling toddler

Directions:  Scrunch up the sheet of paper into a ball and then spread it out again on the floor. Put your baby at one end and quickly go to the other end. Encourage your baby to come to you. This is a great time for baby to be in a onesie and a diaper! Talk to him about the crunchy noise the paper makes. Let him crawl as much as he wants. Try rolling a small ball across the paper for him to fetch. When his interest wanes, scrunch the paper into a ball again and try rolling it to him. Most toddlers love exploring paper, and it’s a great interactive activity to do with your child!