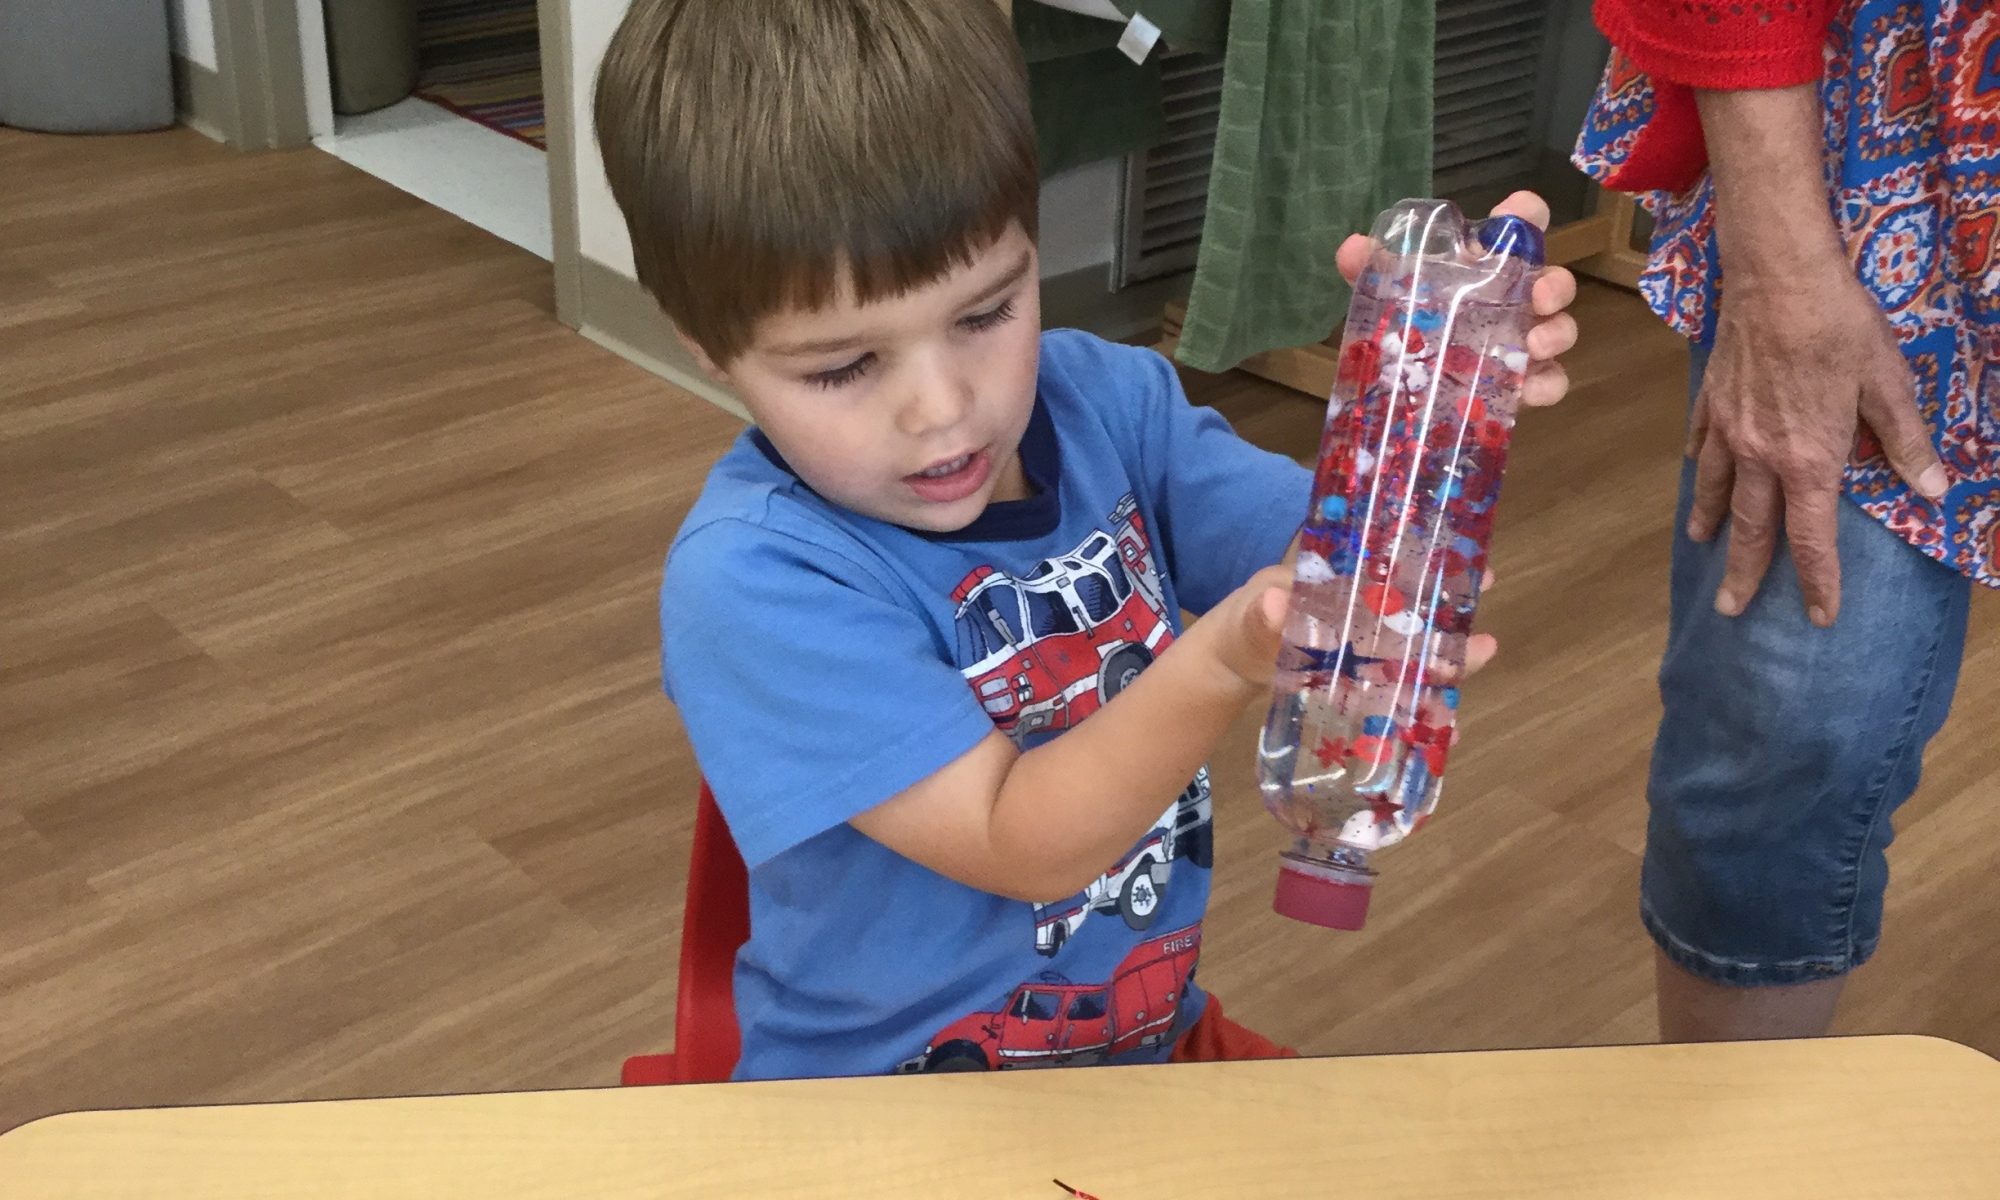
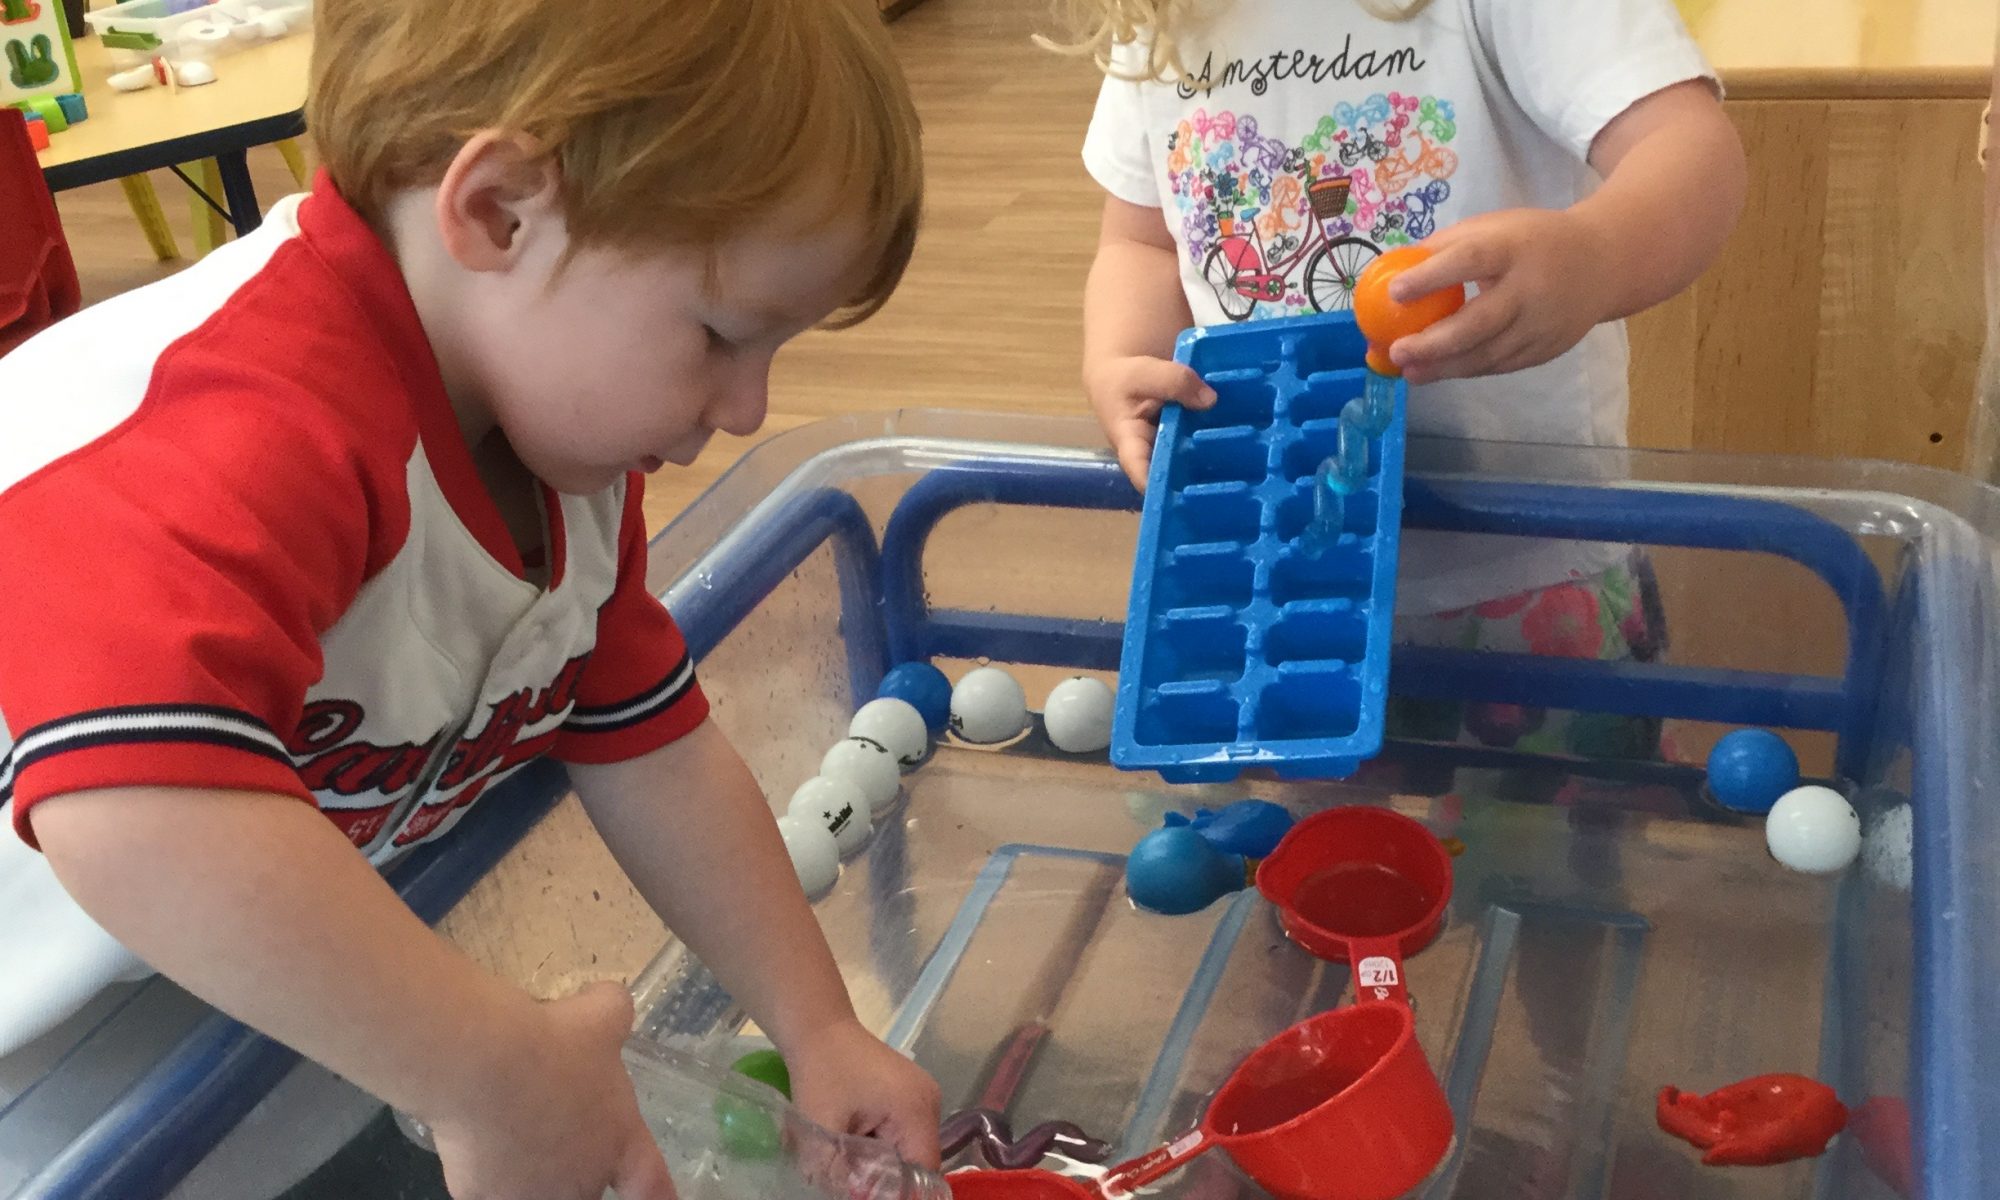
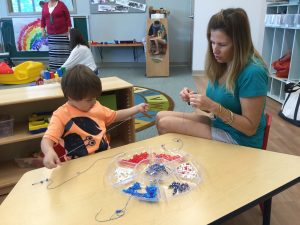
To make a liquid sensory bottle add:
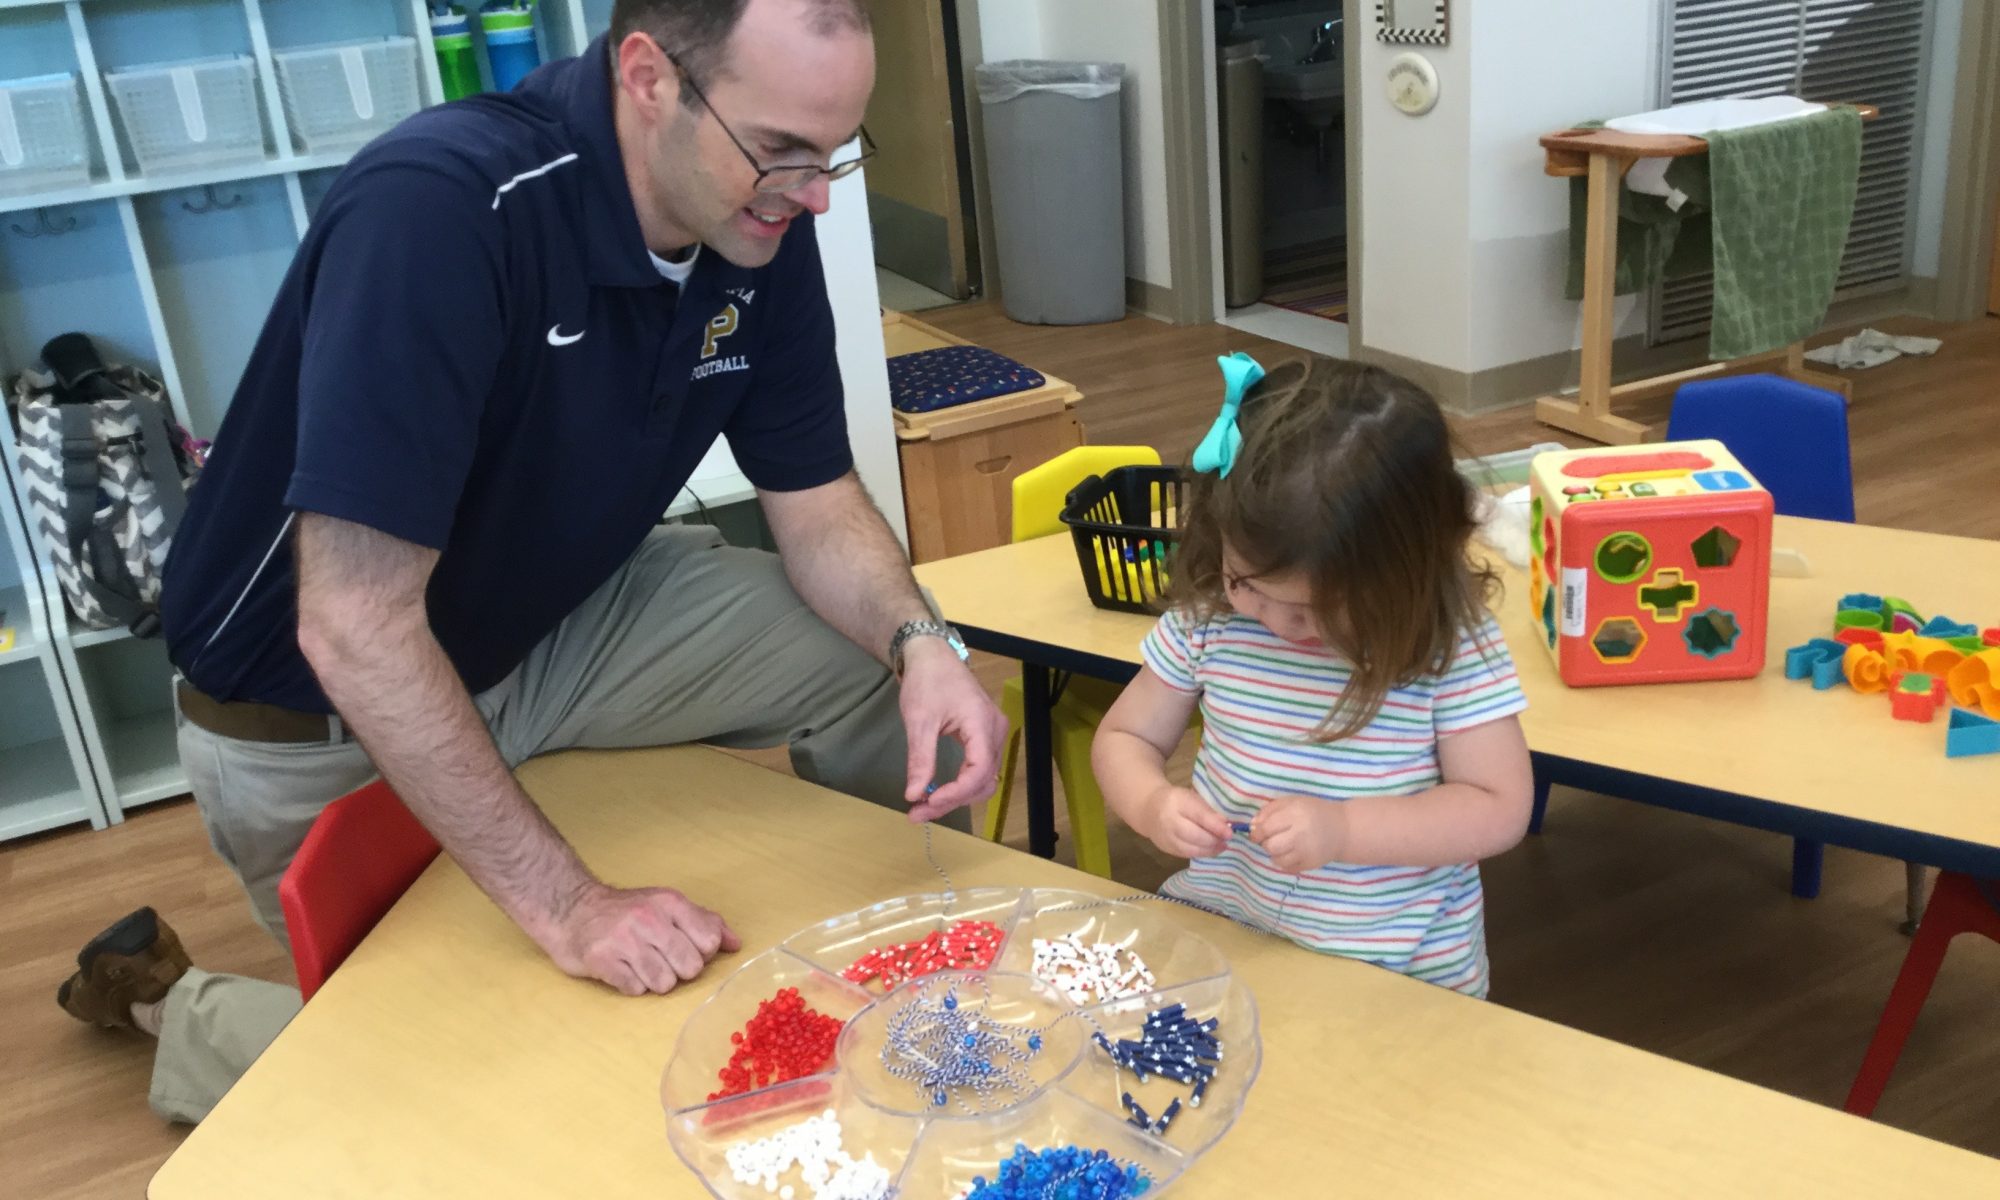
Red, blue, silver Mylar strips
Red, white, blue beads
Silver glitter
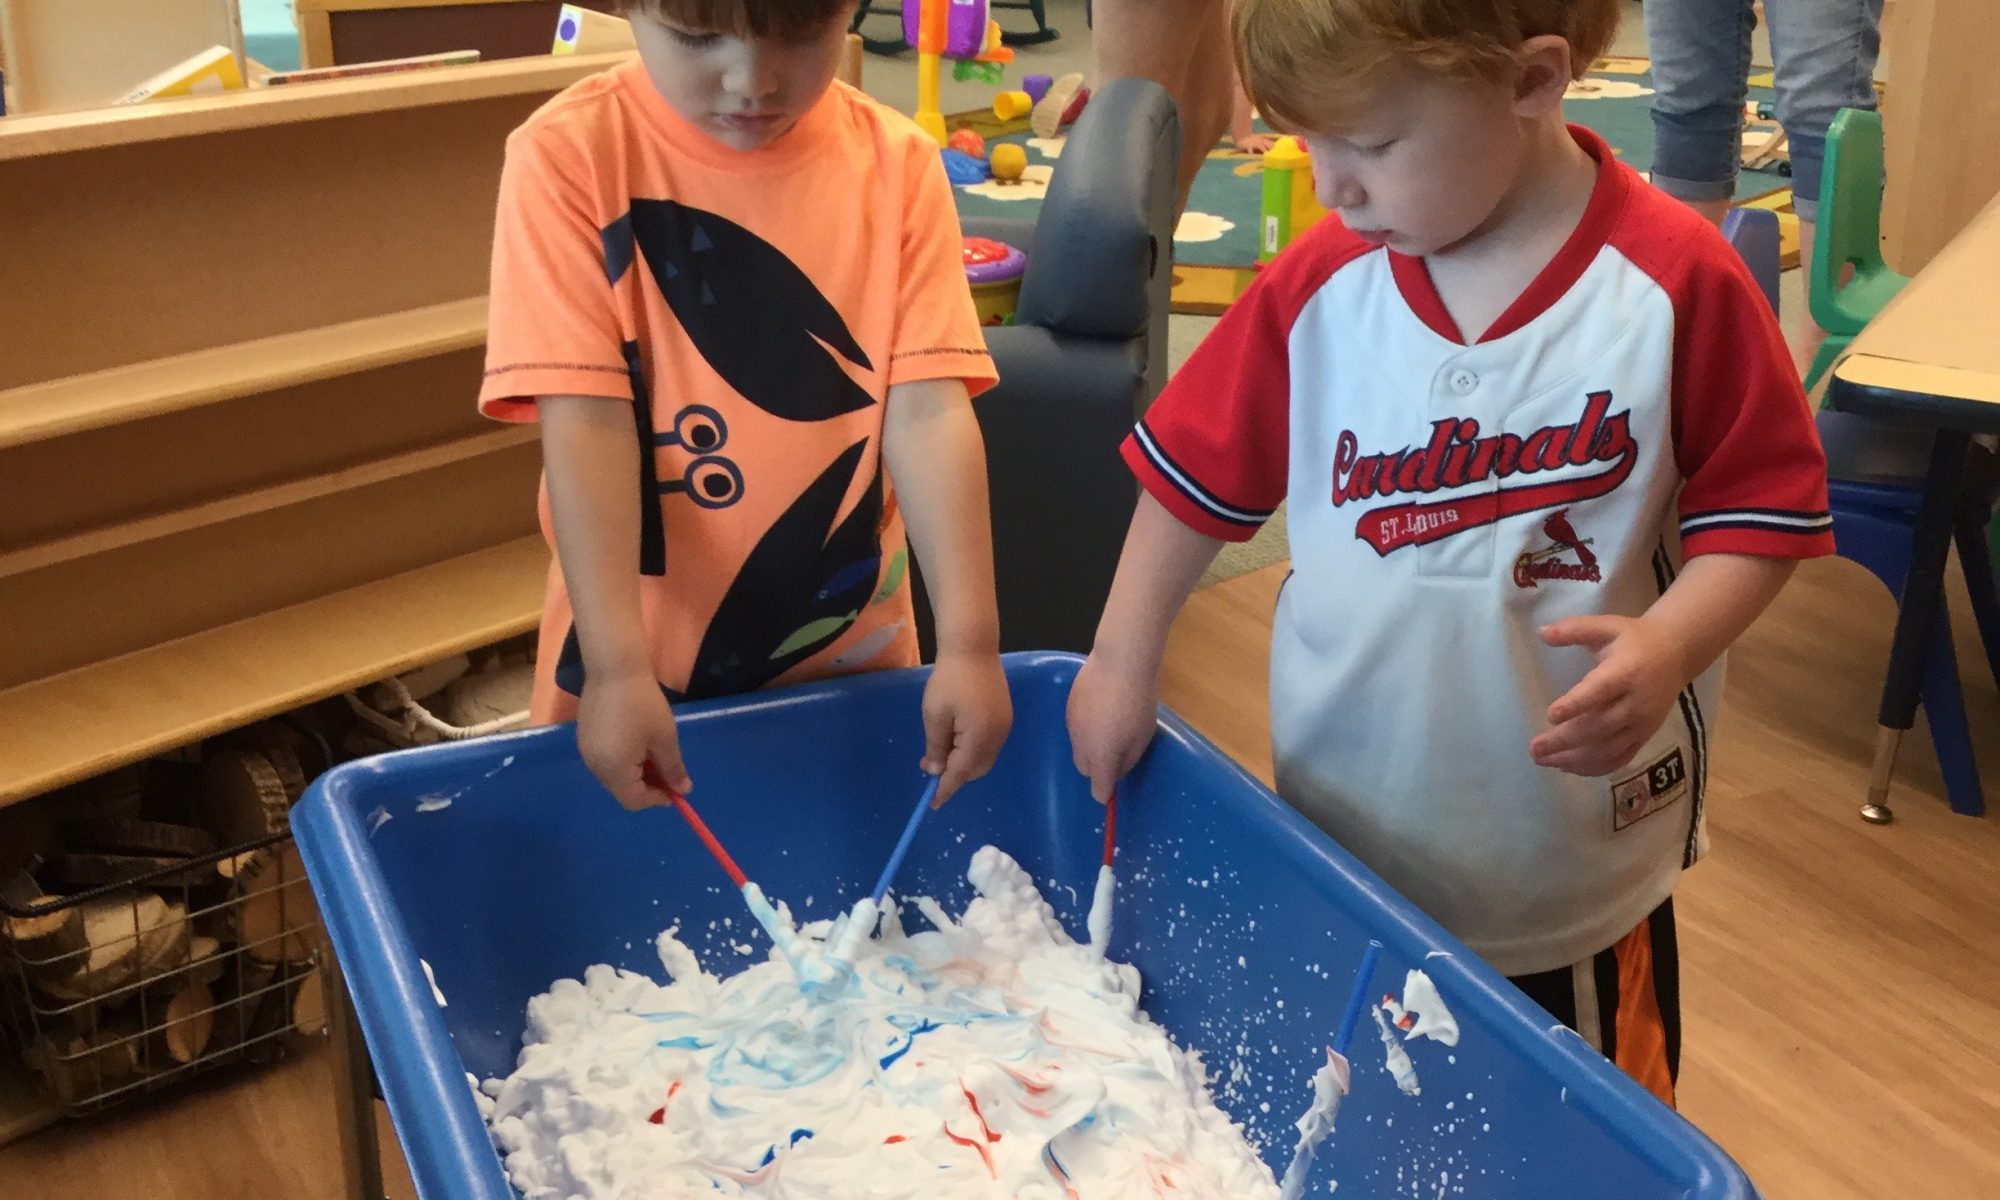
To make a dry sensory bottle add any of the following:
Colored rice
Beans
Split peas
Toys
Sand
Feathers
Beads
Tinsel
Supporting Christian Science families and their young children
Colored rice
Pretzel rods
White Chocolate
Patriotic Sprinkles
Wax or Parchment Paper
Melt white chocolate in microwave as directed. Stir. Invite your child to dip the end of the pretzel into the melted white chocolate. Lay it on the wax or parchment paper. While chocolate is wet, sprinkle red and blue jimmies, colored sugar, or other patriotic sprinkles on top. Continue the process of dipping pretzels into chocolate and decorating with sprinkles. Serve as a special patriotic snack.
1 12×18 sheet of royal or dark blue construction paper
Star stickers (silver or white)
Red and White Crepe paper
Glue stick
Scissors
Holepunch
String
Fold the construction paper in half lengthwise. Invite your child to place star-shaped stickers all over one side of the blue construction paper. Once your child has finished sticking stars on th construction paper, flip the paper over. Cut strips of red and white crepe paper about 15 inches in length. On the back side of the blue paper, invite your child to glue the strips of crepe paper at the bottom of the blue paper, hanging down in a red and white pattern. Tape or staple the ends of the blue paper together to form the shape of a windsock. Punch four holes around the top of the windsock. Place string through the holes and tie at the top. Hang.
Materials
Large plastic tub or container for water (not too deep!)
Various red, white, and blue objects
Whole Milk
A baking pan
Red and blue food coloring
Liquid dishwashing soap
Pour some milk into the baking pan, enough to cover the bottom of the pan. Drop several drops of blue and red food coloring around the milk. Add a “squirt” or two of the dishwashing liquid and watch the colors burst and swirl. The dishwashing liquid separates the fat from the other liquids in the milk. If the fireworks slow down, just add another squirt of dishwashing liquid.
Materials
1 can shaving cream (non-scented is suggested)
Large container
Red and blue food coloring
Plastic straws
Directions
Place shaving cream in large container. Invite your child to add 4-5 drops of red and blue food coloring on the shaving cream. Using a plastic straw, invite your child to explore what happens when he moves the straws (or his hands) around the shaving cream. What happens as the blue and red mix? What new color does blue and red make when mixed together? Enjoy the fun sensory experience!
String
Blue pony beads
Red and white striped straws
Scissors
Scotch tape
Cut straws into one inch pieces and set them out with a small container of blue pony beads. Cut a piece of string long enough to fit over your child’s head when tied. Leave a little extra for tying the finished necklace together. Tie a pony bead to one end of the string. This will keep the beads and straws from slipping off the string. For easier threading, wrap a piece of scotch tape on the other end of the string. Invite your child to thread beads and straw pieces onto the string. If interested, encourage your child to create a simple pattern. When your child has finished threading beads and straws, tie the ends of the string together to make a necklace.
For younger children, try using pipe cleaners for threading rather than string. They can turn their finished creations into bracelets!
Sliced, fresh strawberries
Fresh blueberries
Vanilla yogurt
Clear plastic cups or tumblers
Wash fruit and slice strawberries. Invite your child to spoon some vanilla yogurt into the bottom of the cup. Then add strawberries, followed by more yogurt. Next add blueberries and another layer of yogurt. Top with more strawberries and blueberries. Enjoy!
Cardboard toilet paper rolls (one for each color of paint used)
Red, white, and blue tempera paint
Large sheet of dark blue construction paper
Paper plates
Sponge brush or small paint brush
Scissors
Glitter (optional)
Using a pair of scissors, make a cut approximately two inches long from the end of the cardboard tube towards the center of the tube. Continue making two inch slits around the circumference of the tube approximately one inch apart. Press the tube on a hard surface to make the strips fan outward. On separate paper plates, pour different colors of tempera paint. Invite your child to dip the cardboard tube into the paint and press it onto the large construction paper. If needed, use a sponge brush or paint brush to cover the strips of cardboard. Press onto the dark construction paper. Continue making fireworks by using the various colors of tempera paint. Sprinkle wet paint with silver glitter. Hang when dry.
Materials
Teddy Bear Counters
Ice Cube Tray
Directions
Place several teddy bear counters in a small basket or container. If you are just introducing repeating patterns to your toddler, create a simple pattern using the teddy counters on the top row of the ice cube tray. Then invite your child to copy what you did by placing the same colors of teddy bear counters in the bottom row of the tray. Say the pattern together. Are they both the same? Continue to repeat this lesson until your child can easily copy patterns.
Next, you may want to start a pattern with the counters and invite your child to extend your pattern, filling the ice cube tray with a teddy bear in each section. Check the pattern by pointing and saying it out loud.
The last step is to encourage your child to generate his or her own patterns. Find other materials around the house that can be used to create patterns (e.g. buttons, silverware, old keys, cereal, etc.)
Have fun looking for patterns in the environment and discovering patterns on clothing, and in books, songs, and poems.