Fingerpainting on a Transparent Surface

Materials      
Yellow tempera paint, thoroughly mixed with shaving cream
An acrylic transparent surface or tempered glass (a sliding glass door is a great option)
Plastic spoon
A piece of construction paper
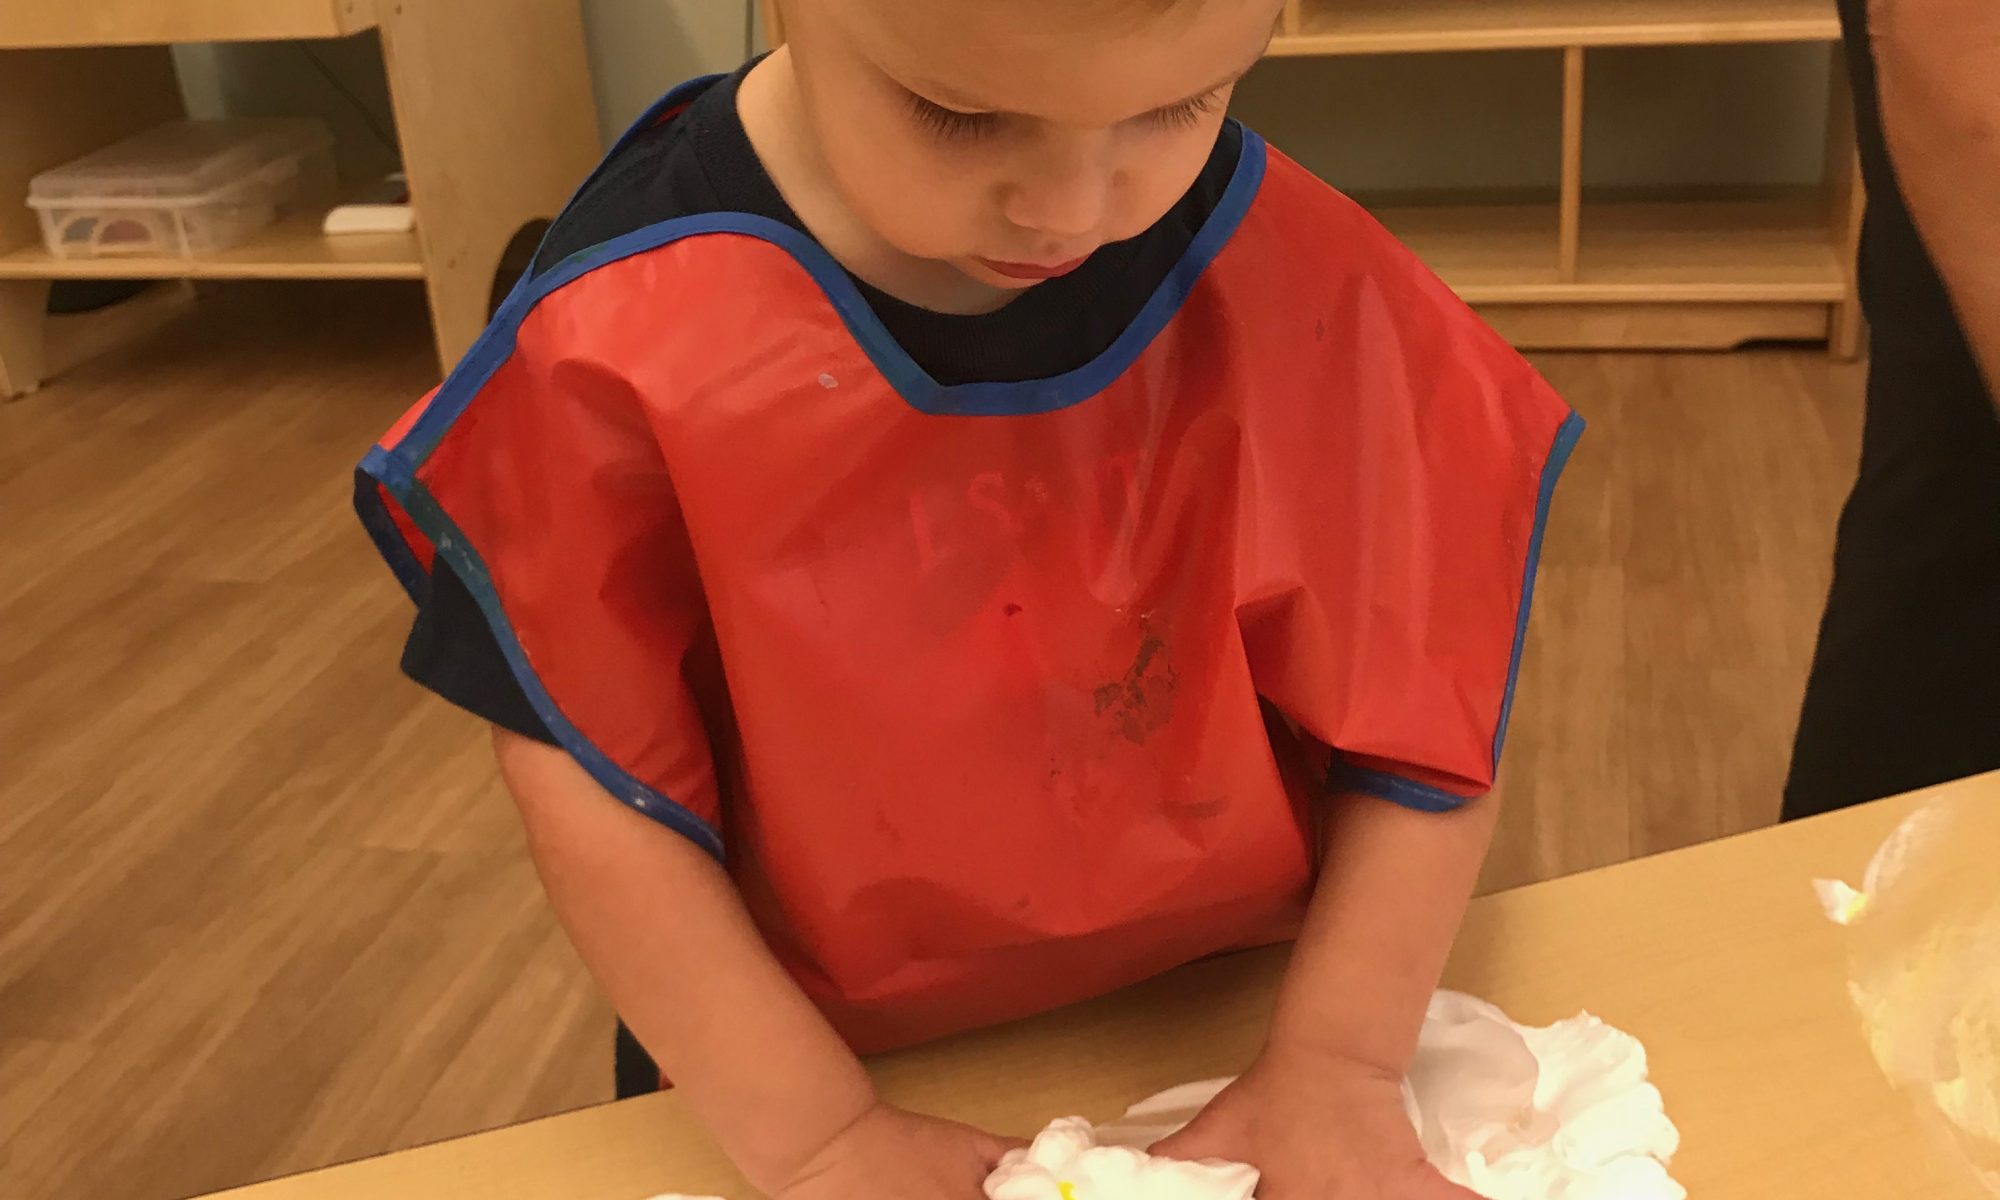
One of dad’s old t-shirts for a paint smock
A squeegee and damp rag for easy cleanup

Directions     
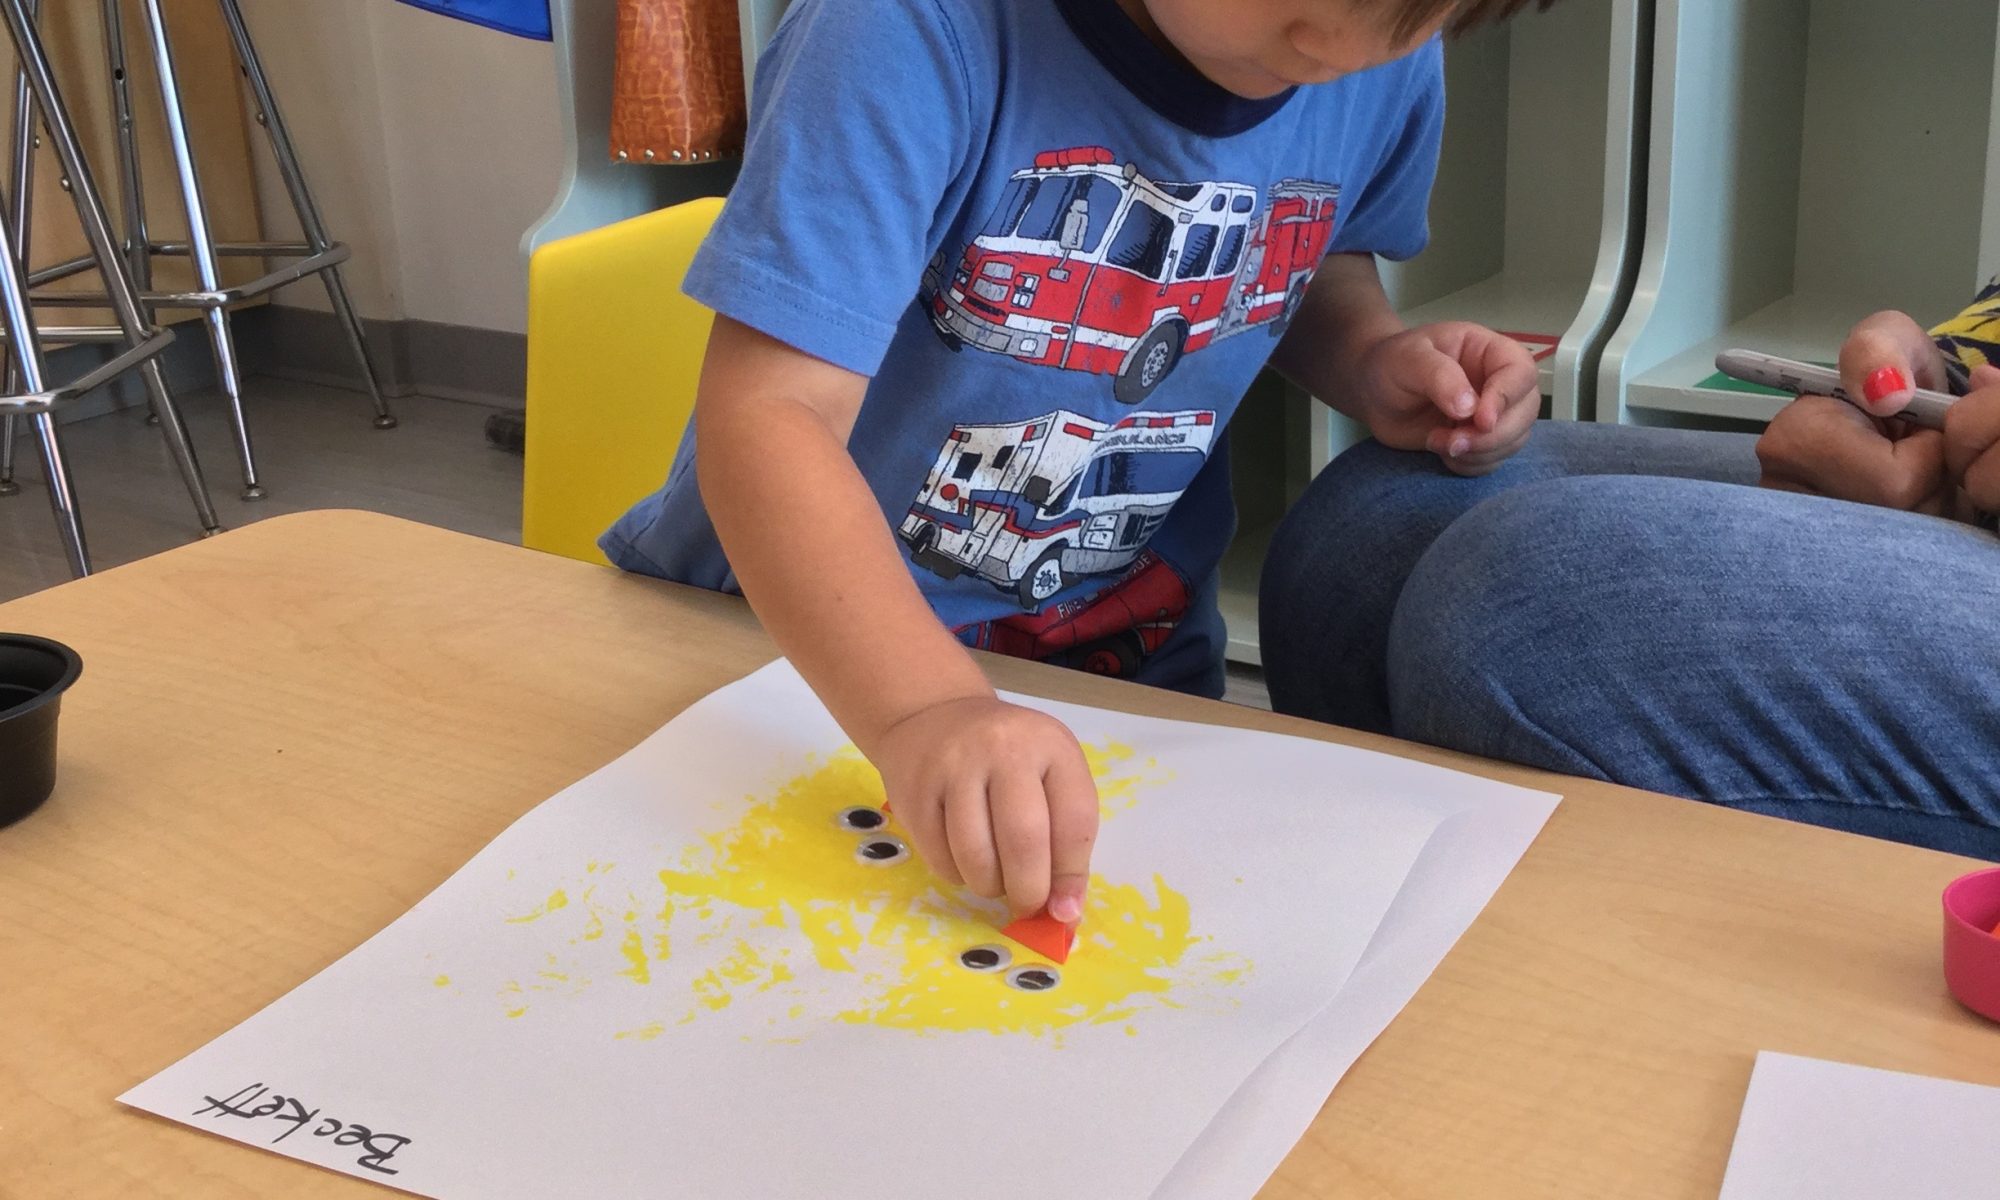
Squirt the shaving cream into a paper cup, almost to the top. Add liquid tempera paint and mix thoroughly. Add more tempera to get the shade you want. Use the spoon to drop the paint mixture onto your surface. 

Demonstrate how to spread the paint around with your hand.  Encourage your child to do the same.  Show your child how to make lines and circles with her fingers. When finished painting, place the construction paper over the painting and smooth it gently with your hands to make a print.  Use the squeegee for quick clean-up and the damp rag for little hands.

Cornbread and Jam

Ingredients    
Basic boxed cornbread mix
Eggs and milk as called for in the package directions
Strawberry jam
Muffin tin
Cooking spray or muffin liners

Directions       
We love to cook in Acorn, and try to cook once each week!  First, all helpers must wash and dry their hands.  To be most successful, try to have everything you will need on a tray and easily accessible—measuring cups, measuring spoons, cornbread mix, measured amount of milk, right number of eggs, mixing bowl, muffin tin, and muffin papers, if you use them.  If you’re cooking with one or two children, give them specific jobs—the egg cracker, the milk pourer, and, of course, the mixer!  Cooking is a sequential process, and children need to know that, so be sure to let them do their specific “jobs” in logical order, but be sure you’re talking to them and explaining what you’re doing as you do it.  And it goes without saying that children need to understand that ovens are hot and not to be touched! 

Cooking is a wonderful opportunity to use new vocabulary and touch on basic math concepts. And it’s very creative! When we make cornbread muffins, the final step is to let each child add a little squeeze of jam to their muffin before it goes into the oven.  Extra yumminess!  And remember to leave the oven light on as the muffins bake so your helpers can observe what’s happening as  they cook!

Clothespin Pinch

Materials:
Small plastic container or box (like a child’s shoe box)
Yellow sticker dots
Yellow spring-type clothespins

Directions:
Place the yellow sticker dots about 2” apart around the top edge of your box. If you have yellow clothespins, great! If not, use the regular wooden ones. If you want to, you can use a yellow highlighter to color the tips of your clothespins.

Show your toddler or preschooler how to pinch the clothespin to open it up; then pinch it to one of the yellow dots on your box. Continue until interest wanes. This is a great activity to practice the pincer grip, which is important for when your child is learning how to hold a pencil properly!

Strawberry-Pineapple Snack Skewers

Ingredients & materials needed:
6-inch bamboo skewers
Strawberries, washed and hulled
Pineapple chunks

How to make:
For toddlers, cut strawberries and pineapple chunks into toddler-sized bites.  Place fruit on skewers, alternating fruits. You can add a small marshmallow on the tip of the skewer to hold everything in place. Toddlers will enjoy pulling the fruit of the skewers!

Banana Dolphins Snack

Ingredients & Materials:      
1 banana per child
Sharp knife
Black marker
Clear plastic tumbler
I package Berry Blue Jell-O, prepared and cut into small squares
Goldfish crackers

How to make:
Using a sharp knife, make a cut in the stem of the banana, just into the fruit. This is the dolphin’s mouth. 

Draw a black dot for the eyes on the yellow peel on both sides of the mouth.  Cut off the top 2/3 – ½ of banana, including the stem, and place it in the cup.  Spoon in some of the Jello to look like water.  Insert a Goldfish cracker in the dolphin’s mouth. 

Enjoy!

Shaving Cream and Food Coloring

Materials:      
Shaving cream (NOT gel)
A few drops of liquid food coloring
A tub of water, or a sink nearby for easy cleanup

Directions:      
Squirt a mound of shaving cream on a tray or, better yet, directly on the table.  Invite your toddler to put his hand(s) in the shaving cream, spreading it around in front of him. You may have to demonstrate the process to get him to try it.  Show him how you can use your finger to make circles, lines, and squiggles.  After a few minutes of experimenting, add a few dots of food coloring. It’s concentrated, so you don’t need too much! Encourage your child to mix the shaving cream and color together. If you like, you can gently press a piece of paper on top of the colored shaving cream to make a print!

Cleanup is easy!  Use a squeegee to collect most of the excess shaving cream.  Then use a damp rag to wipe the residue off the table.

Yarn Play

Materials:      
3 skeins of inexpensive yellow yarn (I used two skeins of bright yellow and one of pale yellow. It’s not necessary to use quite so much!)
Scissors to cut the yarn to various lengths
A large plastic tub

Directions:      
To cut the yarn, insert the scissors into the center of the skein and cut it into chunks. Fluff the cut yarn with your fingers and put it into the tub.

Invite your toddler to touch the yarn—How does it feel?  Let them explore the softness. Can they hold all the yarn at once? How does it feel on their face?  Can you show me a long piece of yarn? A short piece?  Can they wear it on their head like hair? 

Don’t be surprised if your child wants to lay on the yarn or jump on it! Be prepared for yarn to end up on the floor. A child-size rake will clean it up quickly. After exploring the yarn, try hiding some small toys in the yarn for your child to find!

Baby Chick

Materials:      
White construction paper
A loofah bath sponge
Yellow paint, poured in a shallow pan
A black Sharpie
A pair of “googly eyes”
Double-sided tape or Elmer’s glue
A small, diamond-shaped orange piece of paper, folded in half

Directions:      
Invite your child to dip the loofah into the yellow paint and dab the center of the white construction paper, creating a circular blob. Once your toddler is finished dabbing the paint, set the painting aside to dry for a few hours. When dry, let your child tape or glue the googly eyes where he wants them. Glue the diamond-shaped orange beak below the eyes. Mom, or an older child, can draw a pair of stick legs to complete the baby chick!  

Pompom Sort

Materials:      
At least two different colors of pompoms
Color-coded cups that match the colors of your pompoms (I used two of the Fisher-Price Basics Stack and Roll Cups)
Tongs (for older children)

Directions:      
Make a hole in the bottom of your cups big enough to push a pompom through. Use a colored marker to outline the hole you’ve made to indicate which color pompom should go in that cup. 

Pick up a pompom and show your toddler how to push it through the hole in the cup. Let your toddler try it, encouraging him to match the pompom color to the color on the cup. Continue matching pompoms to the correct cups. When done, lift up the cups to reveal where the pompoms went!               


Golf Tees and Marbles

Materials:      
Flat piece of Styrofoam
A dozen or so golf tees
Marbles

Directions:      
Insert the golf tees into the Styrofoam, making sure they’re straight. 

Put the marbles in a small dish or cup and demonstrate how to carefully place a marble on the top of a tee.  Let your toddler try it. 

This is a great activity to practice fine motor skills, persistence, and accuracy!