Materials
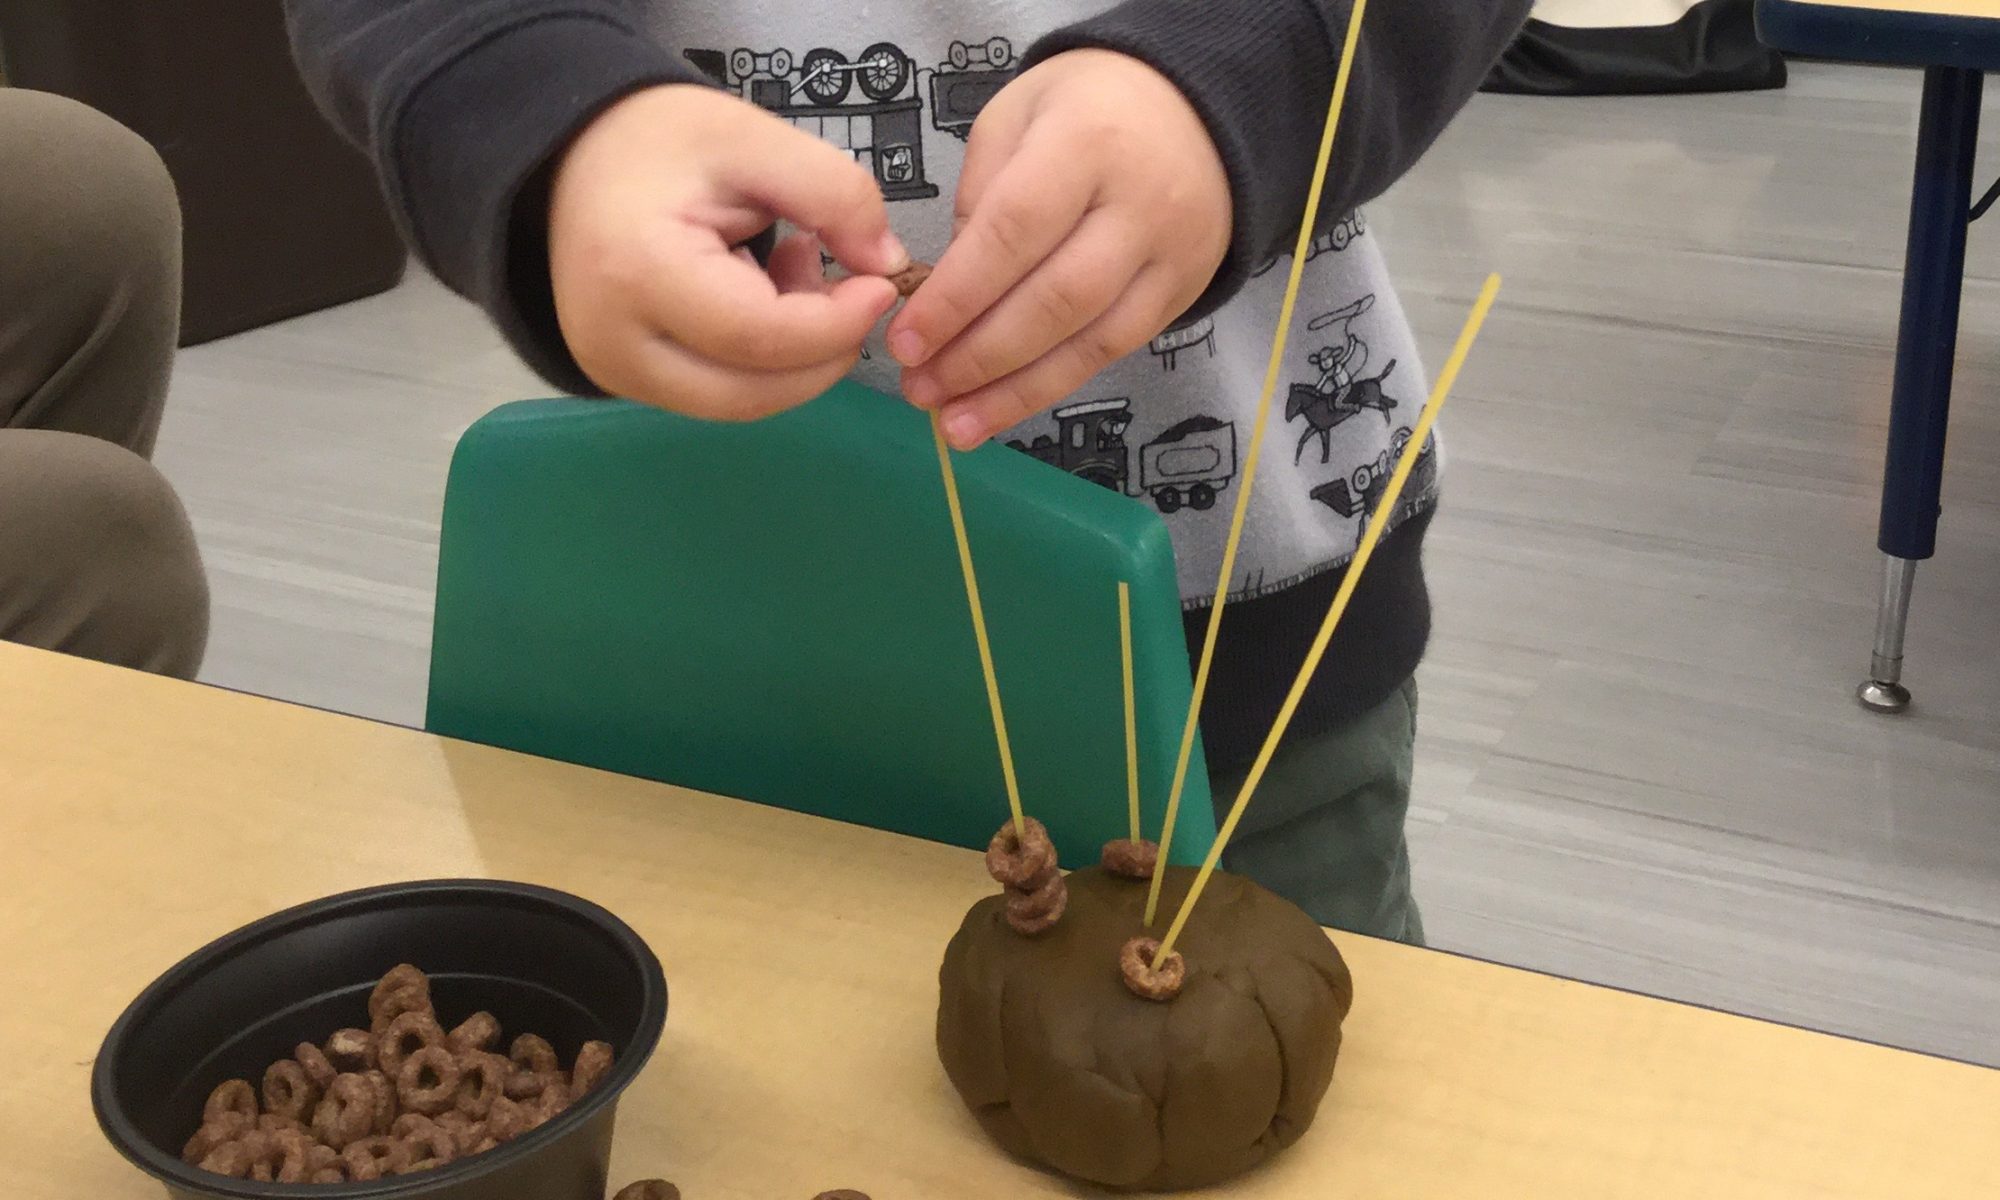
Ball of brown play dough
A few pieces of uncooked spaghetti
Chocolate Cheerios
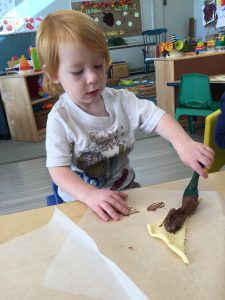
Directions
Make a ball of brown play dough to act as a base for the spaghetti. Insert the spaghetti pieces securely into the play dough. You can break the spaghetti so that some pieces are shorter than others. Show your child how to thread a piece of the cereal onto the spaghetti and push it down to the bottom. Our rule is that if you come across a piece of broken cereal, you have to eat it! (But plenty will get consumed even without the rule!)
This is a great fine-motor skill, and requires both hands to be successful. And using the chocolate cereal makes it a fulfilling activity for your child!


 Directions