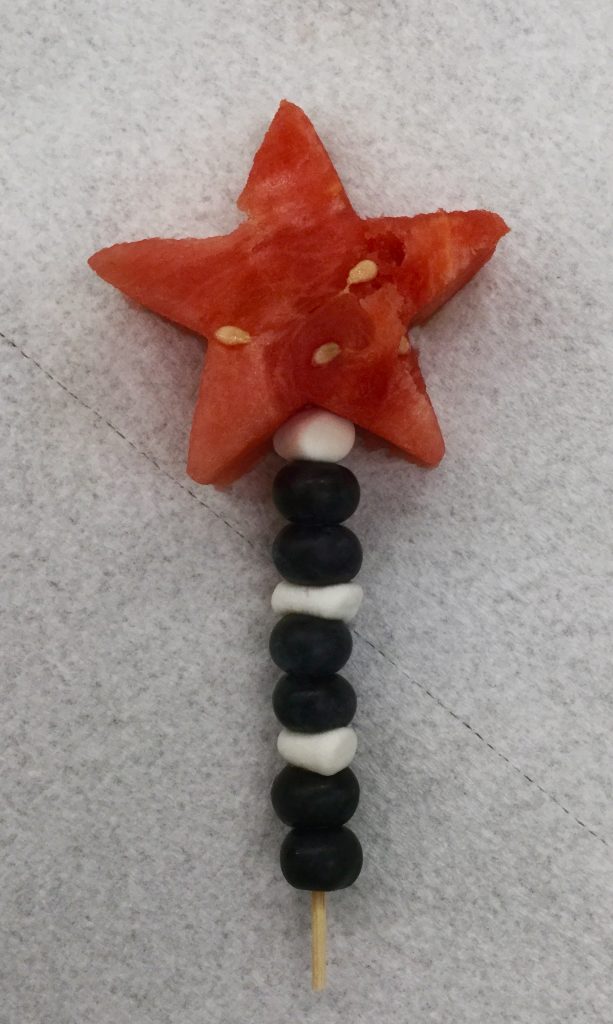
Painting Blocks

Materials:      
Two-inch unfinished wood blocks
Small cups of undiluted liquid watercolors
Small paintbrushes

Directions:  Cover your work surface with newsprint to avoid staining. Pour a small amount of liquid watercolor into a plastic cup, add a small paintbrush, and invite your child to paint a block. There are six sides to paint, so encourage your little one to apply a little watercolor to each side. Use as many or as few colors as you like.  Liquid watercolors work better than paint. The watercolor soaks into the wood, and drying time is very short. When the blocks are completely dry, use them to create unique structures!

Sand Towers

Materials:      
Large tub of sand or a sandbox
Cardboard tubes of various sizes and circumferences (from toilet paper, paper towels, wrapping paper, etc.)
Funnels
Large spoons

Directions:  Place the cardboard tubes upright in the sand. We used serving spoons to spoon sand into the tubes. We put a funnel in one of the tubes and encouraged the children to see if that made the process more efficient. Apparently it did, since they put the extra funnels in other tubes. When a tube was filled with sand, the children picked up the tube and planted it in another spot to fill again. This was such a simple activity to set up, but it engaged the children for quite a while!

Light Table Color Match

Materials:     
Flat glass stones (clear as well as translucent) in a small bowl
Black Sharpie
Markers to match the colors of your stones
Clear cellophane to cover the light table

Directions:  Cut the clear cellophane to fit the surface of your light table.  Scatter several glass stones over the surface. Use the black Sharpie to trace the glass stones. Use the colored markers to color in some of the circles to match your stones. Invite your child to place a stone on a circle. If the circle is uncolored, a clear stone would be placed there. If the circle is colored red, a red stone would be placed on it. Continue placing stones on the matching circles.  If your child doesn’t yet know the colors, point to one of the colored stones saying, “This one is red. Can you find another red stone?” Help your child if necessary.  When play is finished, invite your child to collect all the stones by color, i.e., “Find all the red stones and put them in the dish. Now find all the stones that are blue,” etc.

Red, White, and Blue Spiral Activity

Materials:      
Light table or horizontal mirror
Red dry-erase marker
Clear, red, and blue floral stones

Directions: Draw a large spiral shape on the light table or mirror with the dry-erase marker.  Present your child with a small bowl of the floral stones. Show him how to pick up the stones and place them on the spiral. You can work with the concept of patterning, placing a red, then clear, then blue stone on the spiral, repeating the same sequence to create a pattern. Or you can practice eye-hand coordination, letting your child pick up random stones and placing them next to each other on the spiral. We even observed a little boy counting how many stones he’d lined up. You could extend the counting by asking, How many red stones did you place? How many blue? How many clear? 

Doing this activity on a light table creates a beautiful work of art! If doing this on a mirror, the reflection adds another dimension to explore and observe. This is a fun activity to set aside when interest wanes and come back to on subsequent days. The children are always intrigued by it!

Red, White, and Blue Sensory Activity with Shaving Cream

Materials:      
Large, shallow plastic tub
One full can of shaving cream
Red and blue food coloring
Glitter (optional)
Red, white, and blue plastic straws

Directions:  Shake the can of shaving cream thoroughly. Spray the full can into the tub as evenly as possible. Distribute a few drops of red food coloring evenly throughout the shaving cream. Do the same with the blue food coloring. Sprinkle some glitter if you wish. Give your child some plastic straws to swirl through the shaving cream, mixing the colors and creating designs. Invariably, the children like to do some of the swirls with their fingers. This is a favorite activity of the Acorn kids!

Red, White, and Blue Fruit Sparklers

Ingredients:   
Slices of watermelon about 5/8” thick
A star cookie cutter
Blueberries
Mini marshmallows
Bamboo skewers

Directions:  Using the cookie cutter, cut stars from the watermelon, one star per number of sparklers you choose to make. Rinse and pat dry the blueberries. Skewer one mini marshmallow, then two blueberries, one marshmallow, two blueberries until you fill the skewer. Put the watermelon star at the top. Serve and enjoy!

Patriotic Sensory Bottles

Materials:  
An eight-ounce plastic water or juice bottle with lid
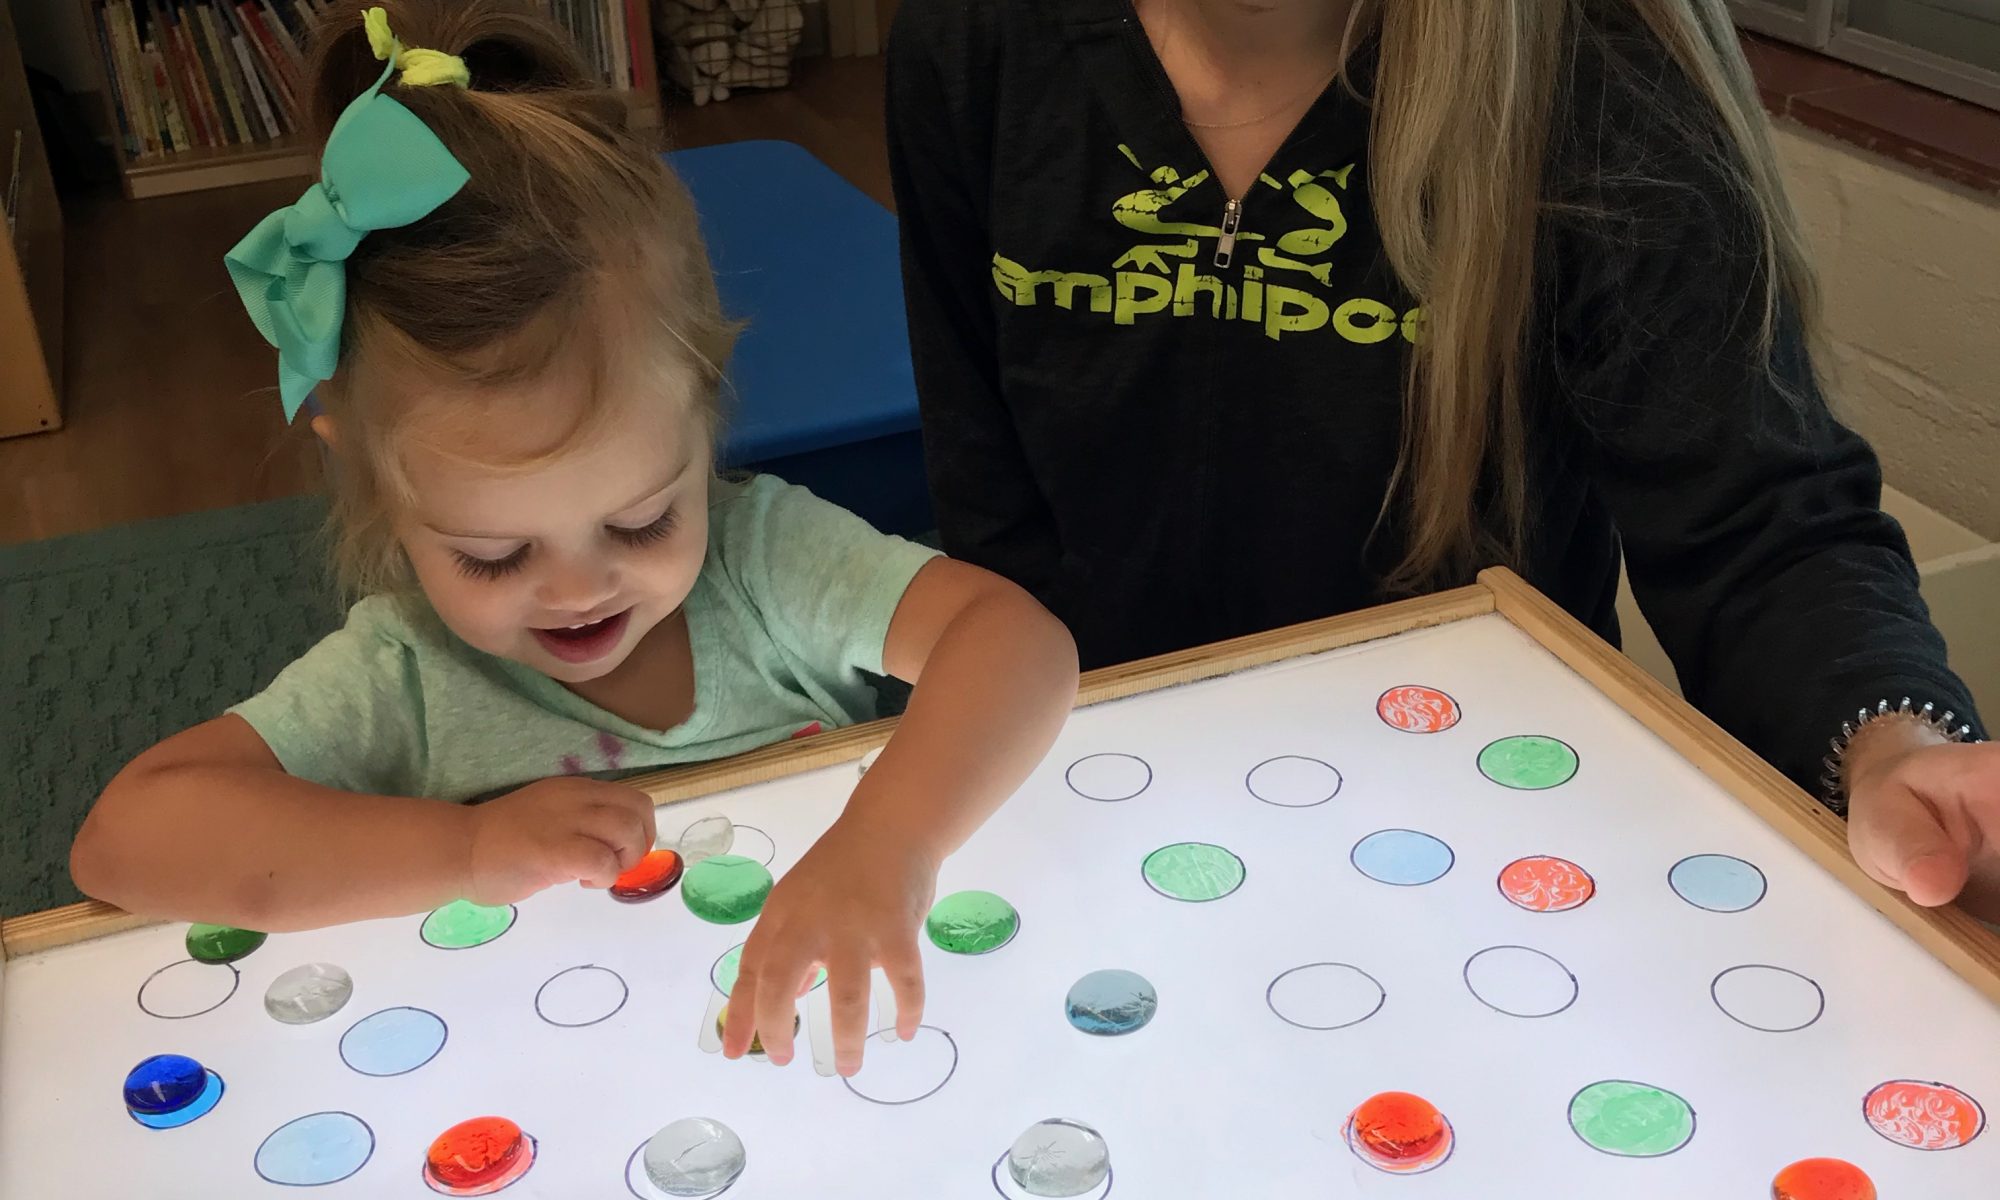
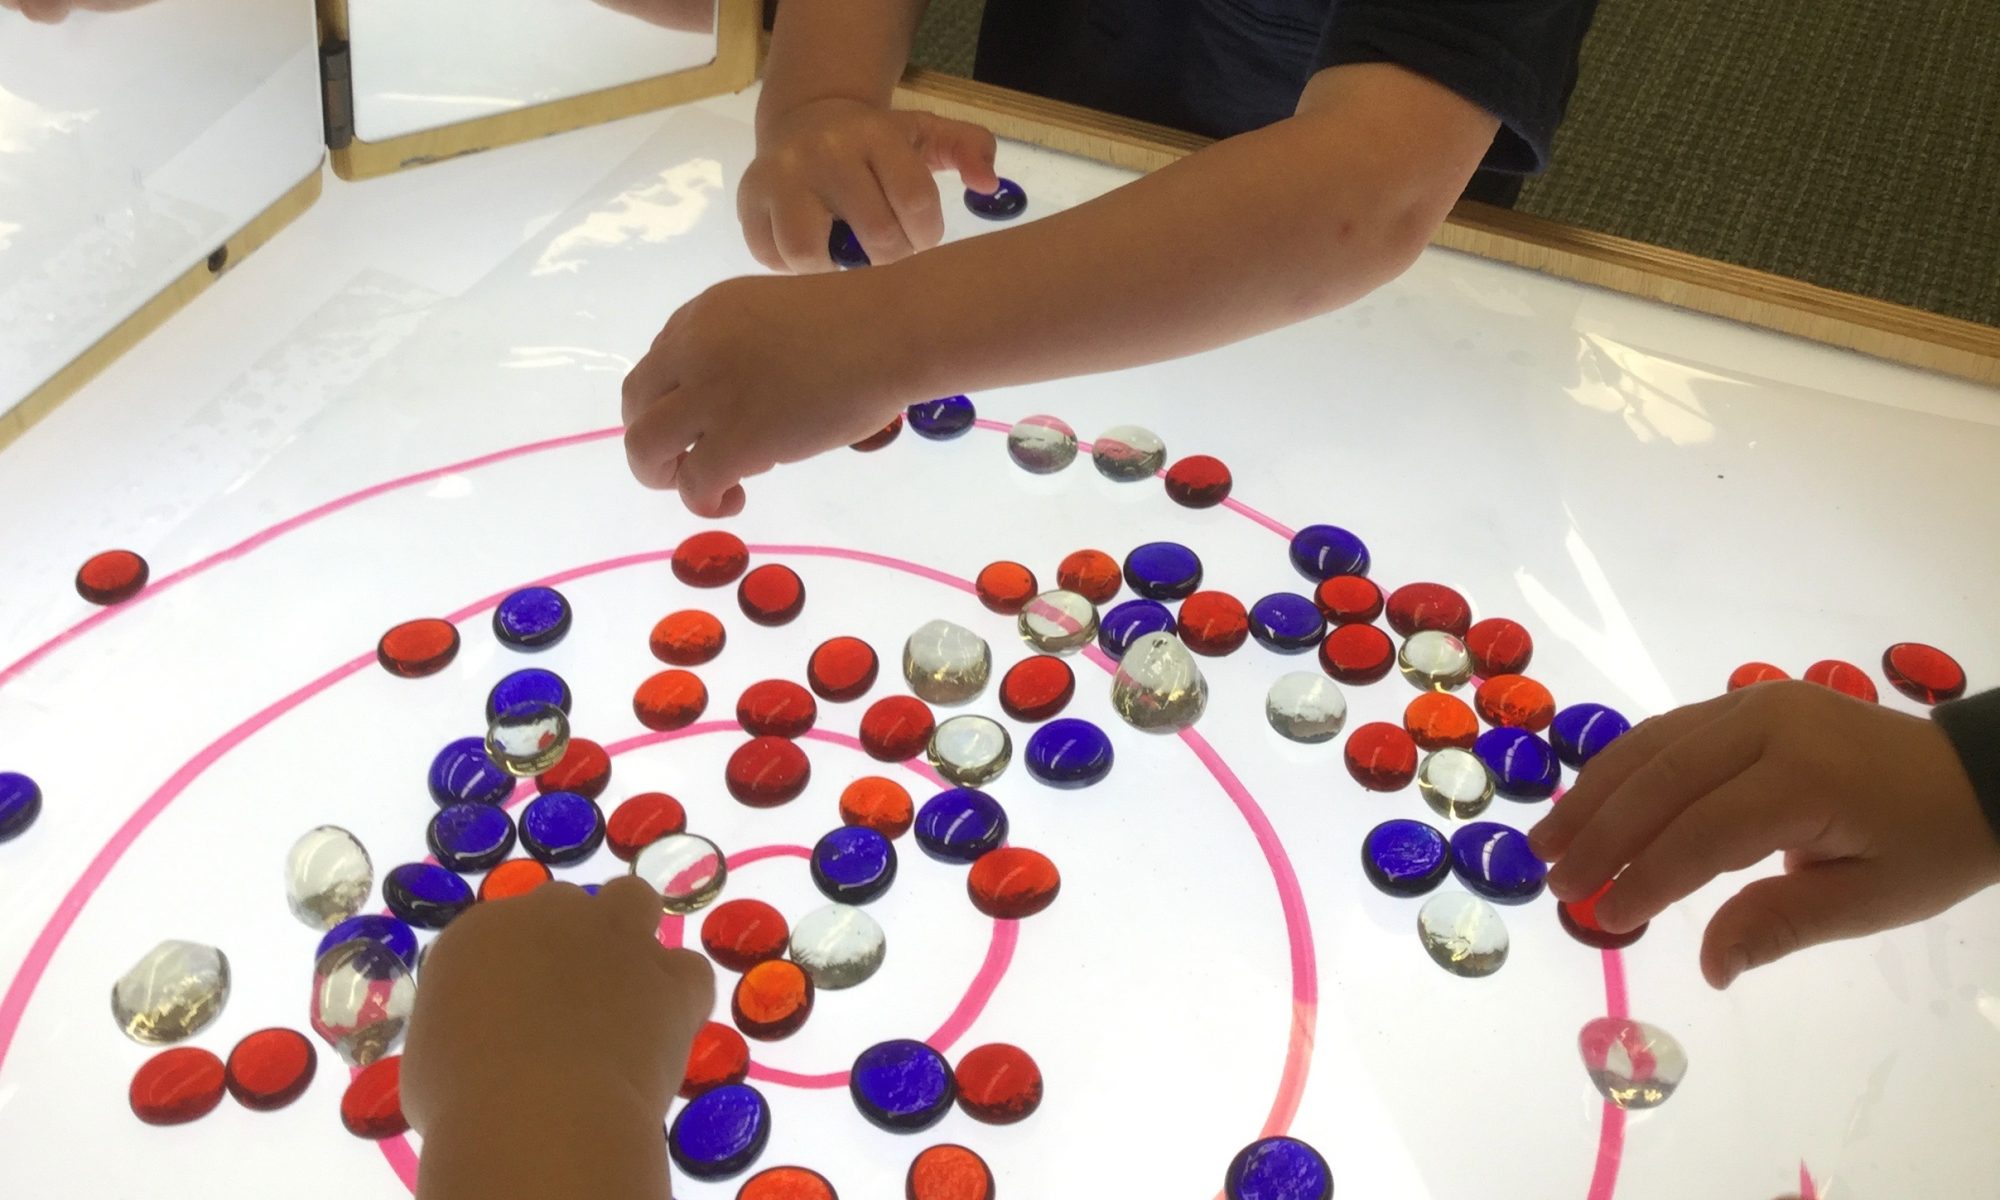
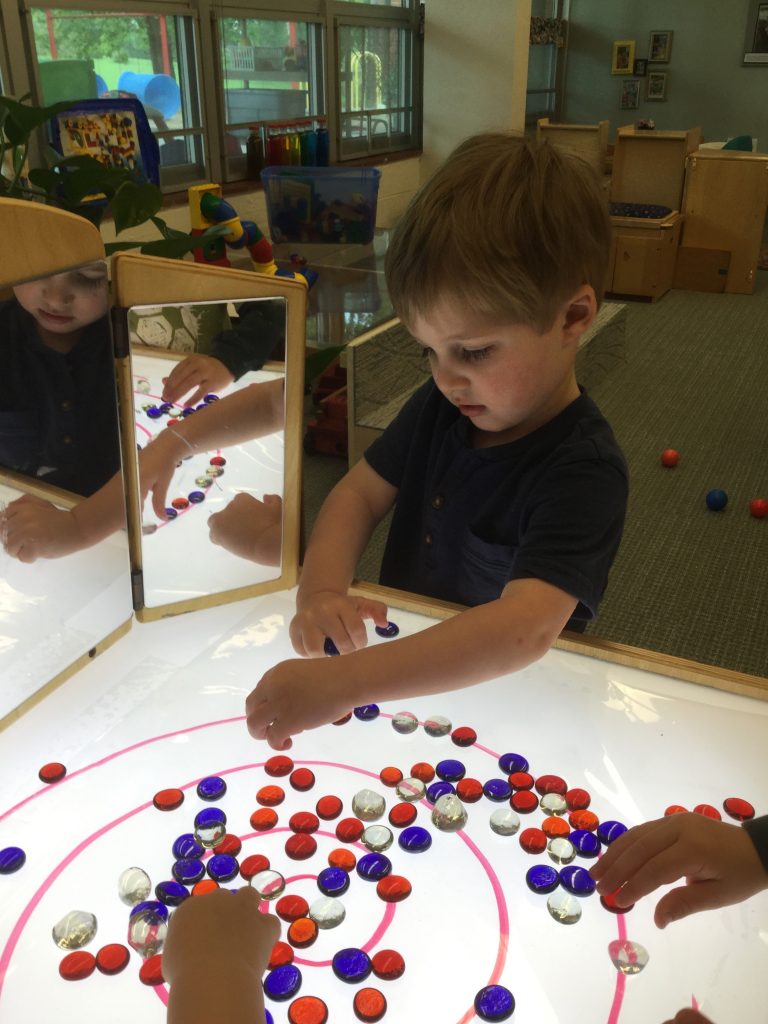
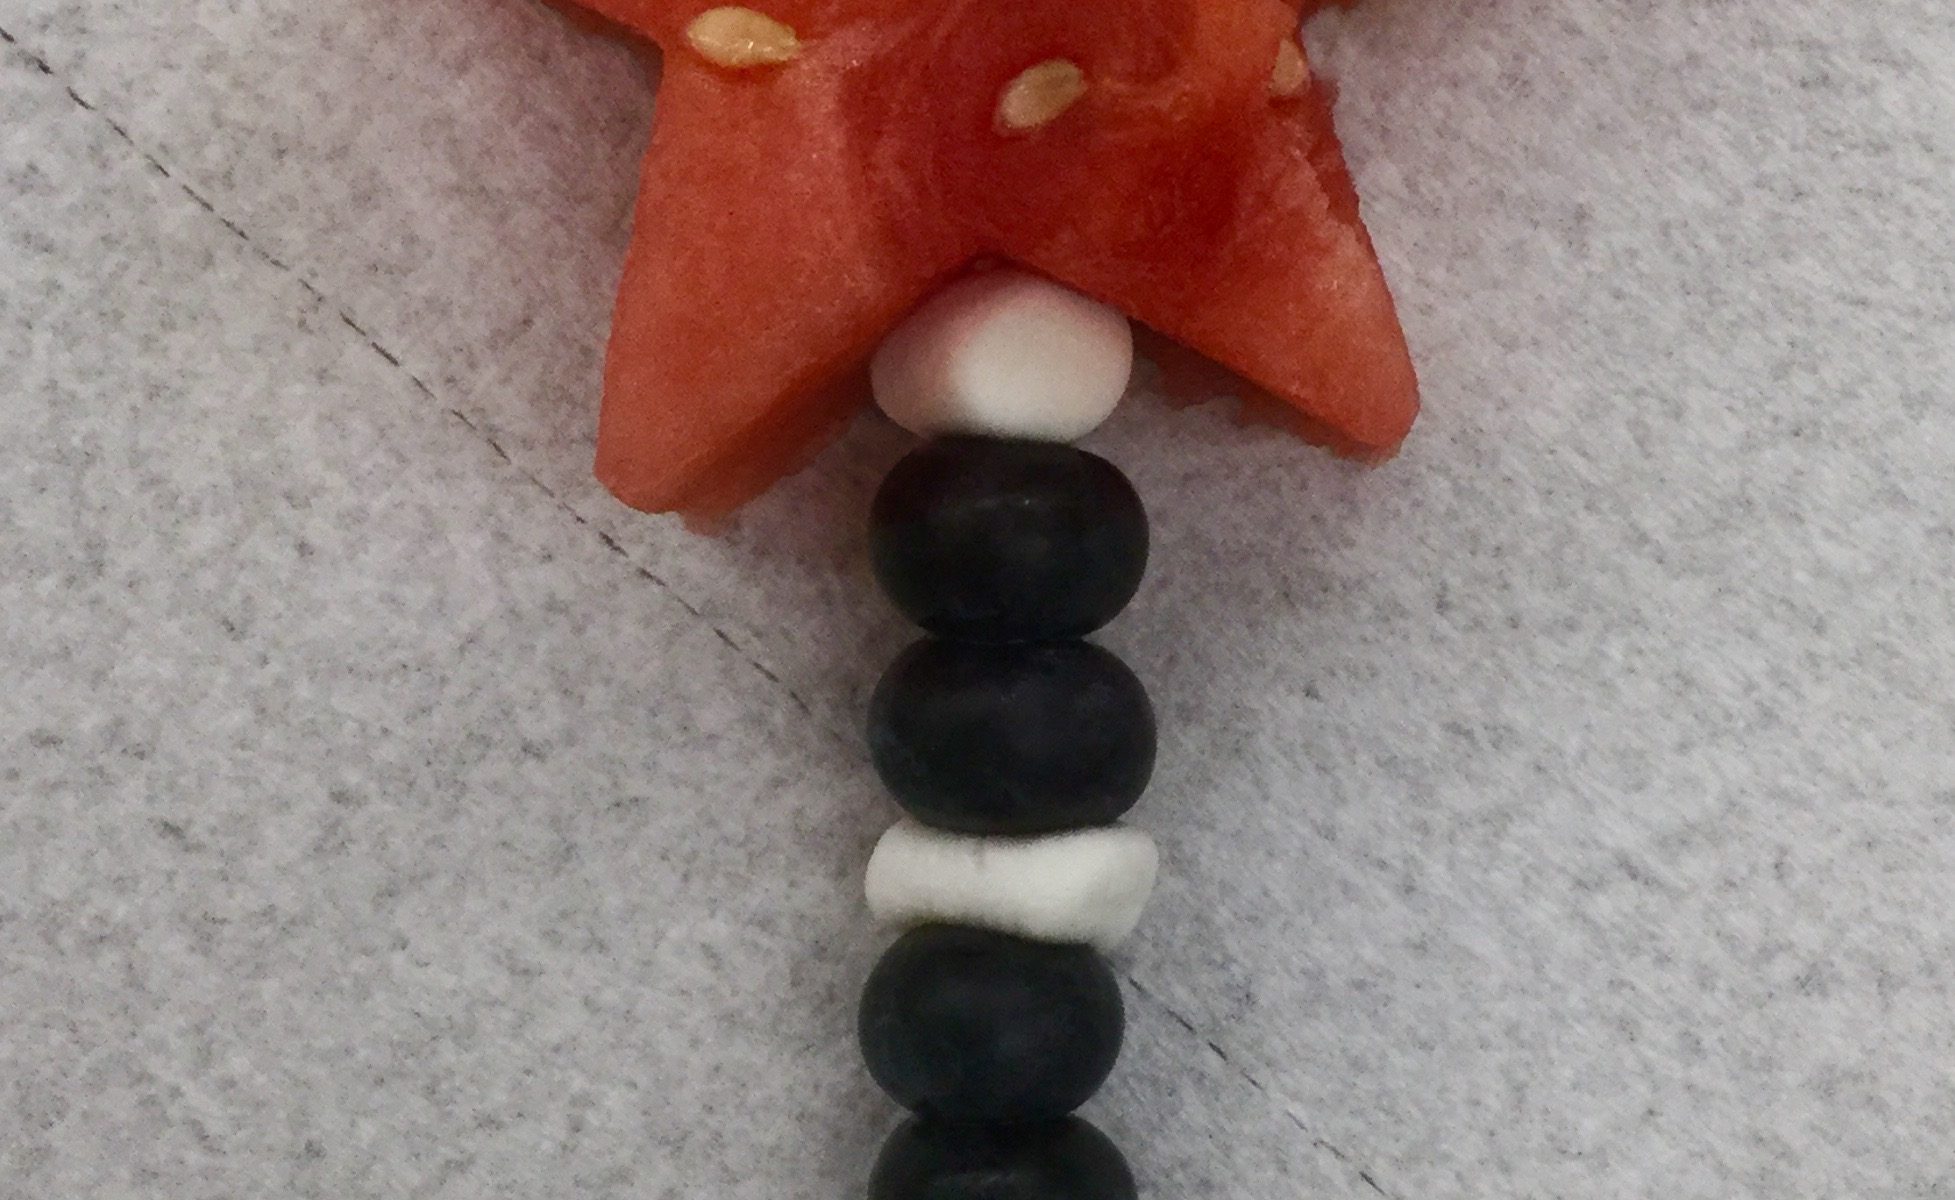
Small red, white, and blue items to put inside the jar, i.e., buttons, beads, tiny pieces of torn aluminum foil, mylar gift bag stuffing, Rexlace (cut into pieces), plastic straw pieces, etc.
Glue Gun
Water

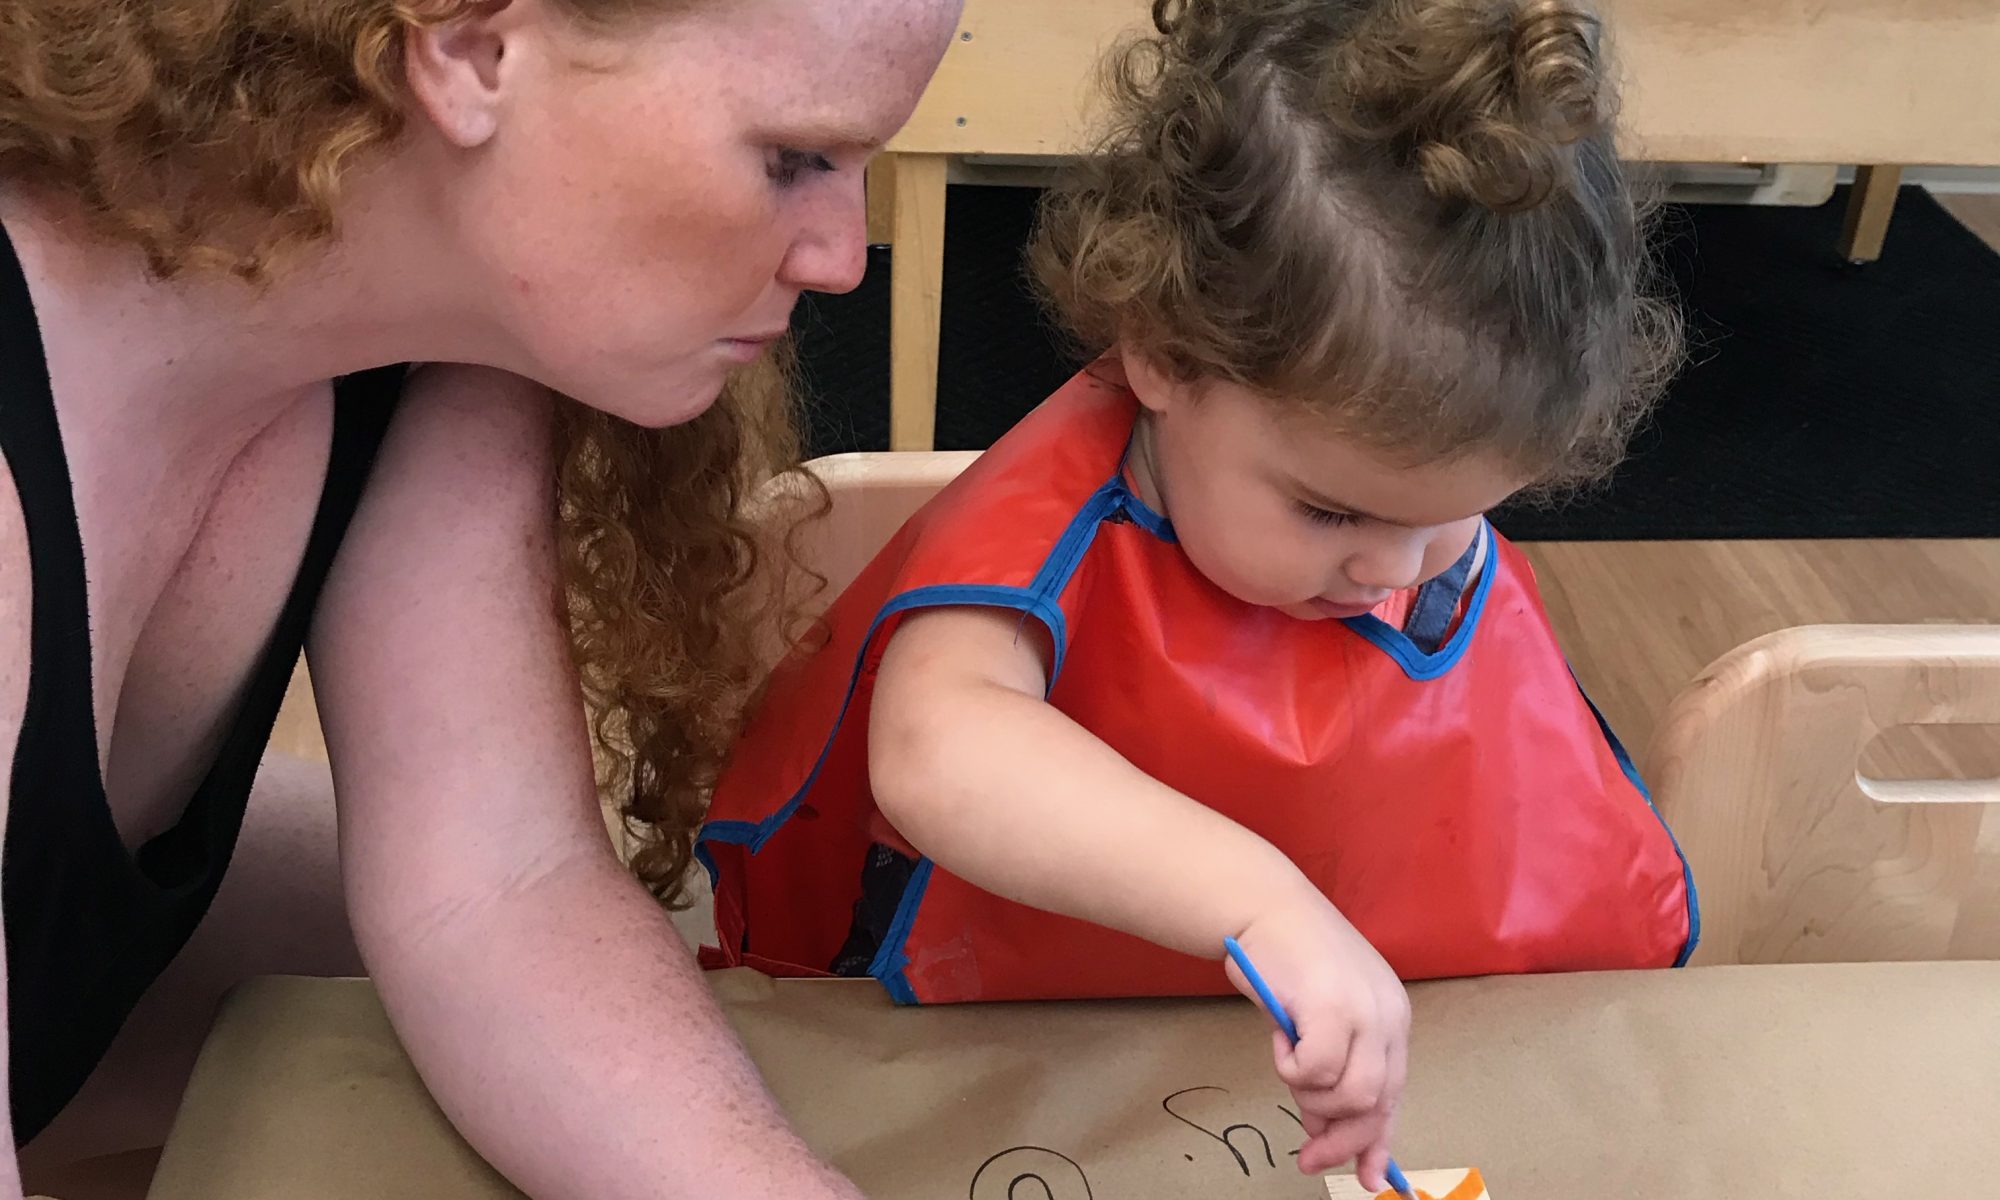
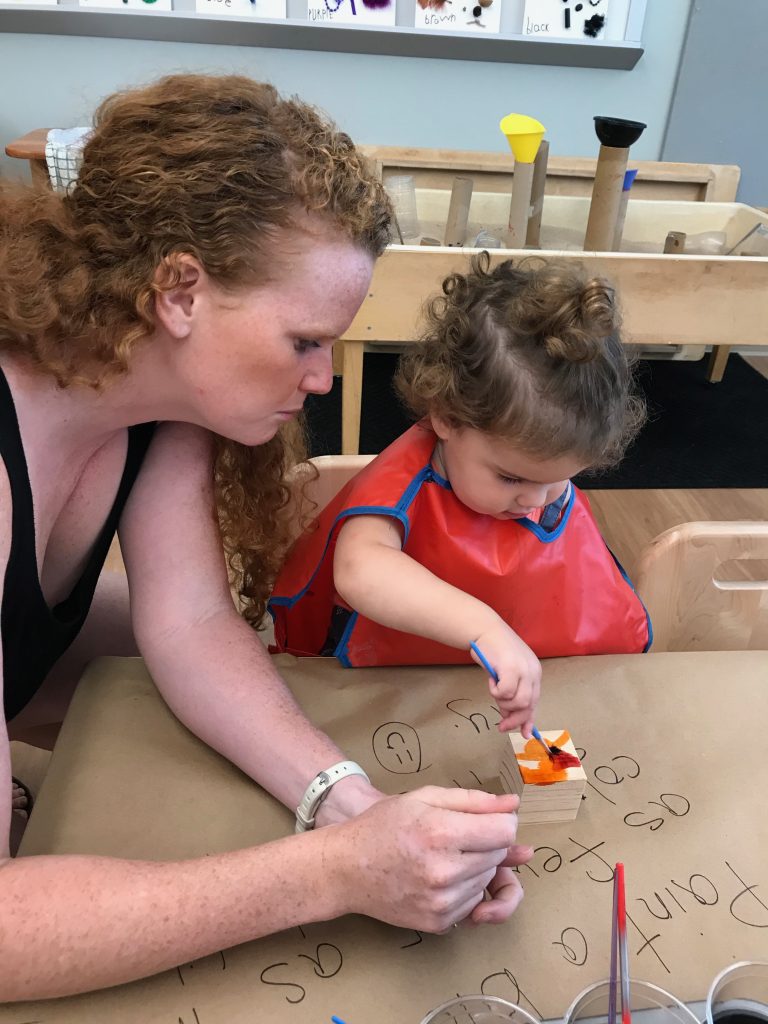
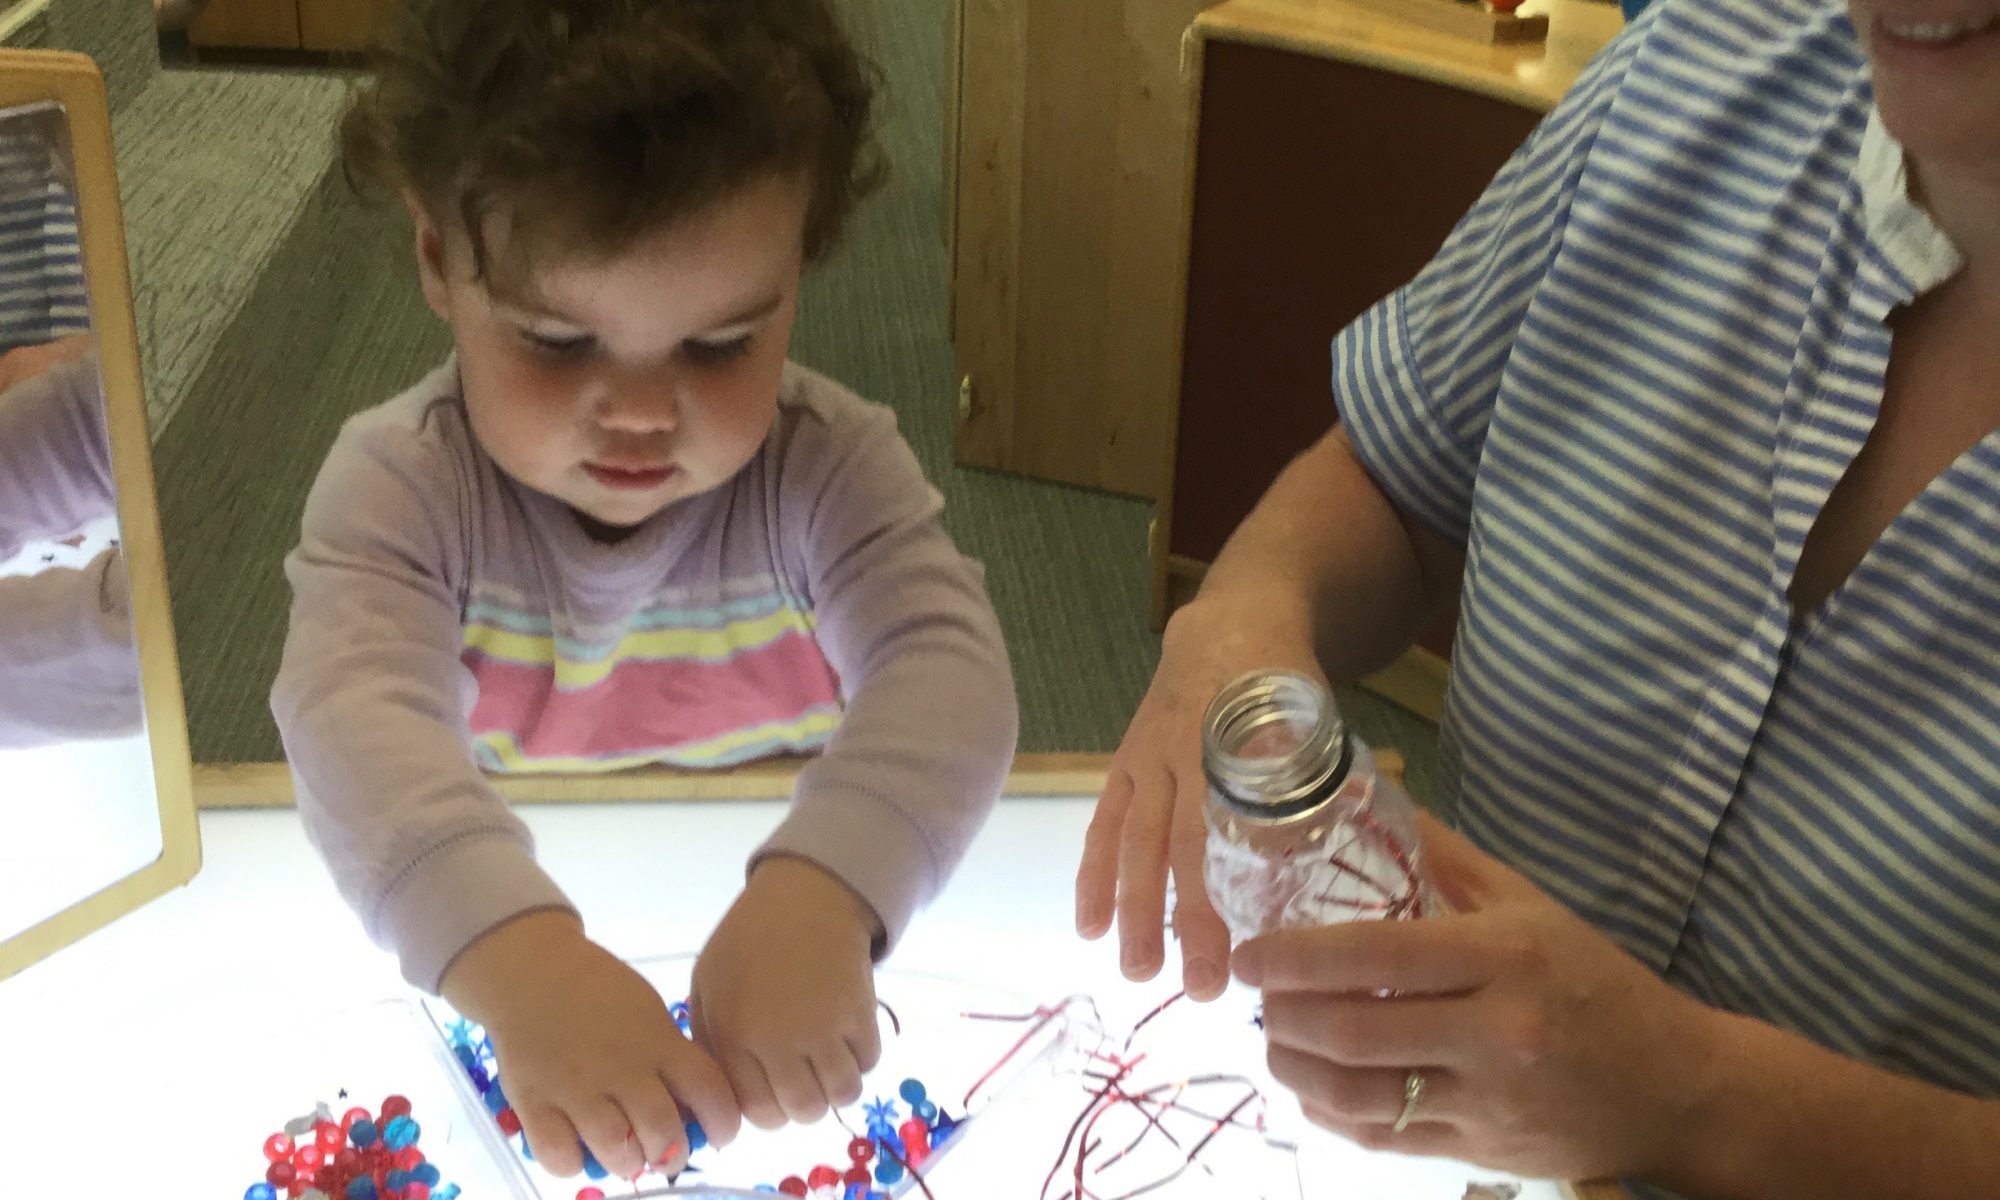
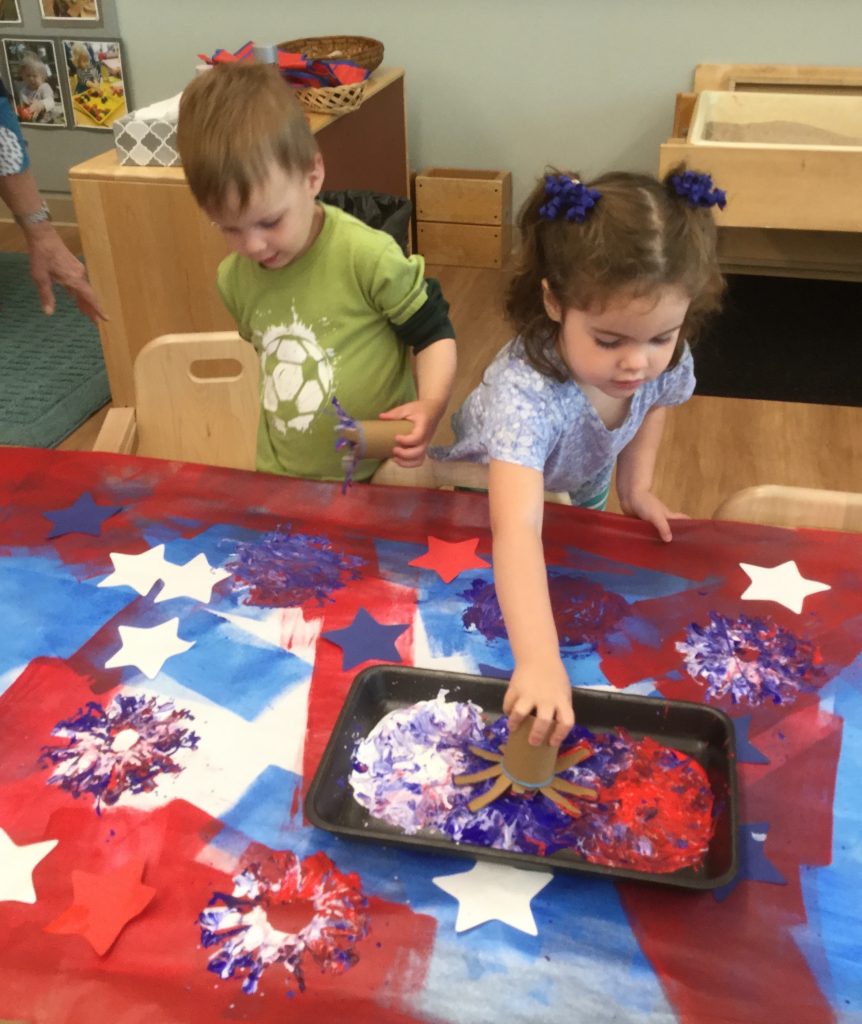
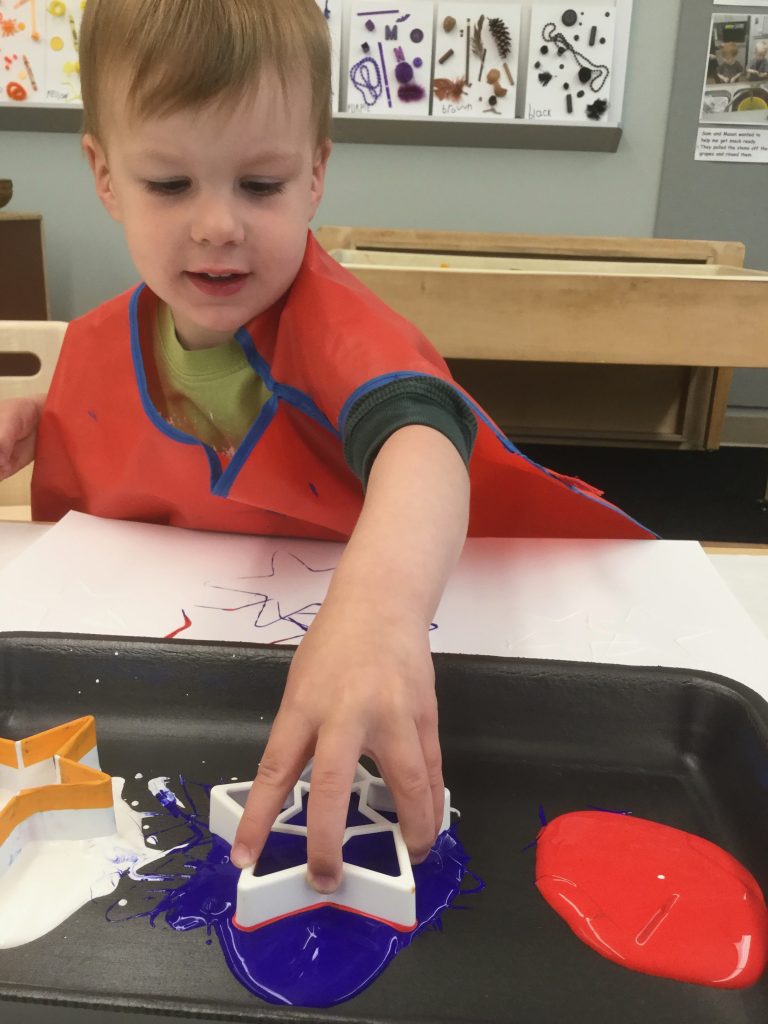
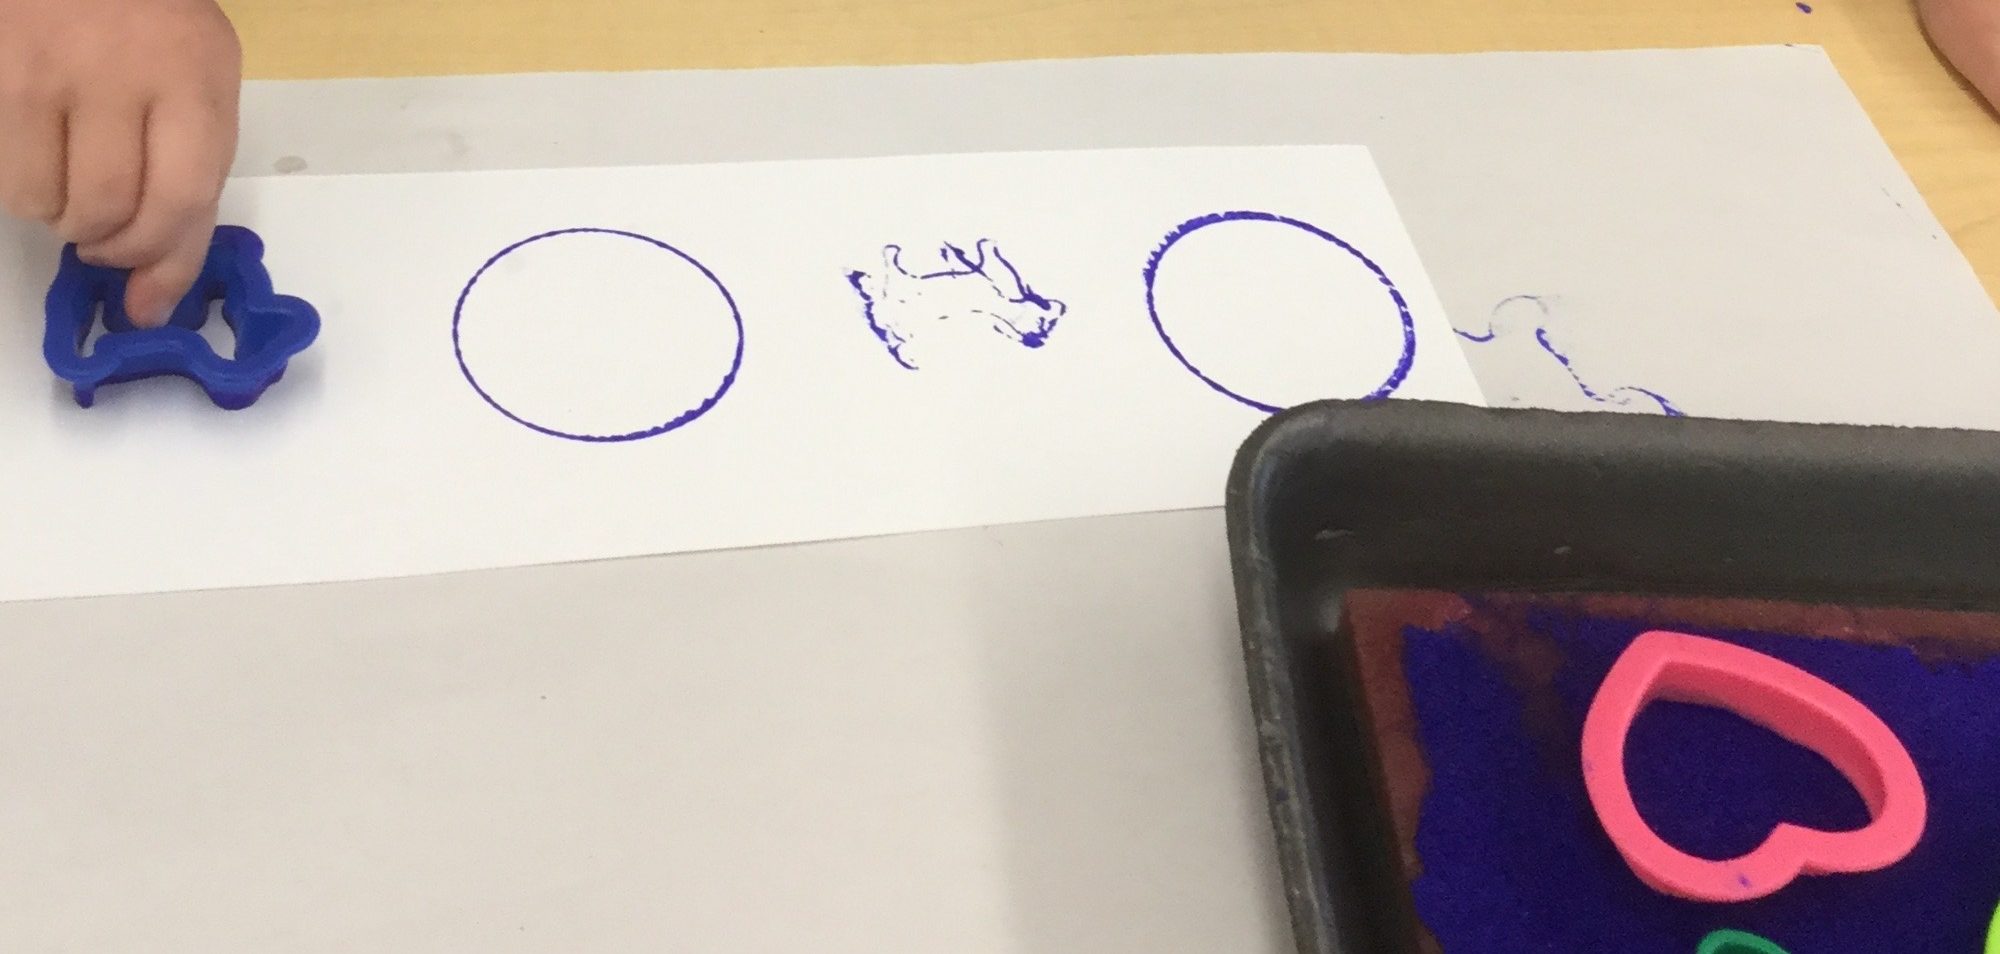
Directions:  Sensory bottles are an engaging and safe way for very young children to explore and examine tiny items up close without concern for mouthing or swallowing the items. Tiny collections of things have always had a fascination for little people. And with careful supervision, very young children can make their own sensory bottles almost all by themselves.

Thoroughly rinse a clear plastic juice or water bottle. Remove the label and any sticky residue from it. (Goo Gone is great for this.) Provide a variety of items to insert into the bottle, and encourage your little one to do just that. Showing your child how to pick up one bead or one button at a time will help develop her pincer grip, which is an important skill prerequisite for mark-making and drawing later on. There should be enough items minimally to cover the bottom of the jar. You can certainly assist by adding more. Fill the jar with water, leaving some air space at the top. Screw on the lid, and let your child shake the jar, tip it upside down, etc. If you decide the bottle needs more items inside, remove the lid and add more. If you’re happy with it, remove the lid, add a few beads of glue from the glue gun, and quickly screw the cap on tightly. Adding glue under the lid insures that your child won’t unscrew the lid accidentally! Enjoy!

Making Fireworks

Materials:      
Red, white, or blue construction paper
Red, white, and blue tempera paint in a Styrofoam tray
Two or three toilet paper tubes
Rubber band
Scissors

Directions:   
Tape the construction paper to the work surface so it doesn’t shift while painting. Pour the three paint colors into the Styrofoam tray. Stretch the rubber band 1/3 of the way down the first toilet paper tube. Using scissors, cut from the end of the tube to the rubber band. Make additional cuts around the tube at 1/8” intervals, cutting to the rubber band each time. Bend the cuts outward, down to the rubber band. Remove the rubber band and follow the same process with the other tube(s). 

Holding the uncut end of the toilet paper tube, dip the turned-out cuts into the blue paint. Press it on the paper. It will look like a blue starburst. Then dip the same tube into the white paint. Stamp it on top of the blue starburst. Then dip it a third time in the red paint, stamping on top of the other colors. You will create what looks like patriotic fireworks!

Cookie-Cutter Art

Materials:      
Star-shaped cookie cutters of various sizes
Styrofoam meat tray
Red, white, and blue tempera paint
White construction paper

Directions: Pour a small amount of each paint color into the meat tray. Tape the construction paper to the table, and set the cookie cutters out for your child to choose from. Choose a cutter yourself and demonstrate how to dip it into the paint, holding the sides so that fingers don’t touch the paint. Make a print and pick up the cutter. Dip it again and make another print. It’s okay if the paint colors start to blend—the effect of the blended colors is quite pleasing. Let your child try it. Often young children will try to rub the cookie cutter all over the paper, rather than make a print and lift it up to make another print. That’s fine, as children need a chance to explore the process and the materials so they can develop their own creative style. Art is always about the process, not the product!

Stamping a Pattern

Materials:      
Styrofoam meat tray
An old sponge
Blue tempera paint
A few cookie cutters
A narrow strip of construction paper

Directions:  Dampen the sponge, and place it on the Styrofoam tray. Pour some paint on the sponge and spread it all over the sponge. (We used an expired gift card to spread the paint around—works great!) Ask your child to choose two of the cookie cutters.  Dip the first one into the paint-saturated sponge. Let your child know that he’s going to make the first print on the left side of the paper strip. After he makes a print, invite him to dip the second cookie cutter in the paint and make a print next to the first shape. You can tell him he’s created a sequence of two shapes. Repeat the process, stamping with one shape and then the other all the way to the end of the strip of paper.

I limit the pattern to just one color, as we’re focusing on making a pattern, not on color. When he’s a confident pattern-maker, you can certainly introduce a two-color pattern!