Exploring with Magnets

Exploring with Magnets

Materials

Magnets
Variety of metal materials
Workspace

Directions

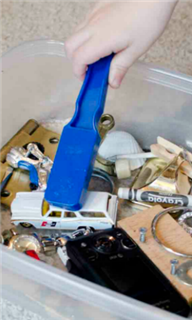
Set out a variety of magnets and metal objects. Invite your child to explore with the magnets.  Do all the metals stick to the magnets? What is non-metal objects are added? Do wood or plastic objects stick to the magnets? It’s fun to make a paperclip chain by sticking the first paper clip to the magnet and addind on to make a long chain.  How many paperclips can be added?

Button Sorting

Button Sorting

Materials

Variety of buttons in different colors and sizes
Defining workspace – (i.e. hand towel, piece of paper, small bowls, tray with sections)

Directions

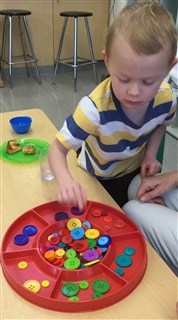
Place a variety of buttons in a small container or on a tray.  Invite your child to sort the buttons into groups by their color.  Count the buttons in each group.  Ask, “Which group has the most?”

For preschool age children, encourage the children to write the number of buttons for each color.  Make a graph with the colors of each of the button groups.  Encourge your preschooler to color in one square per button.  Ask, “Which one shows the most ?”, “Which one has the least?” “How many more red buttons are there than blue buttons?”

Ask you preschooler if he can find a differet way to sort the buttons (i.e. size, how many holes, etc.)

Grilled Cheese Sandwiches

Ingredients

White bread
Butter
American cheese slices
Griddle
Pastry brush

Directions

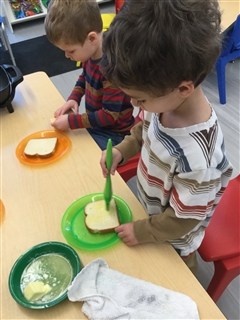
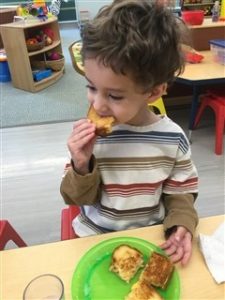
Grilled Cheese SandwichesMelt 2 tablespoons of butter in a small dish. Place two slices of bread on a plate and invite your child to use a clean pastry brush to brush butter onto the bread. Have an adult place the bread, butter-side down on a hot griddle.  Place one piece of American cheese on top of the bread. Place the other piece of bread on top of the cheese, butter-side facing up.  Cook on low/medium heat allowing the cheese to melt and the bread to turn golden brown.  Flip to toast both sides of the sandwich. Remove from heat once both sides of the sandwich are golden brown. Cut into quarters and enjoy as a tasty snack or delicious lunch.
Sorting and Matching Candy Conversation Hearts

Sorting and Matching Candy Conversation Hearts

Materials

Construction Paper in the colors of candy Conversation Hearts
Candy Conversation Hearts
Glue

Directions

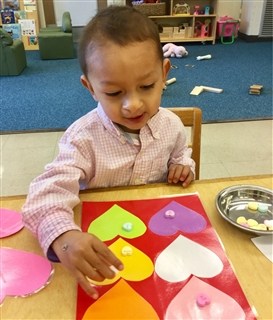
Cut out one color construction paper heart for each color of candy heart.  Glue all hearts onto a larger piece of construction paper. Place about 20 conversation hearts in a small bowl. Invite your child to take one heart out of the bowl at a time and place it on the correct color paper heart.  Once all the hearts have been sorted, ask your child to count how many hearts there are on each paper heart.  What color heart has the most?  What color heart has the least?

Lesson Extensions:
Young Toddlers:

  • Simplify activity by only having two different color hearts in the bowl and two hearts cut out of construction paper

Preschool:  

  • After sorting the hearts, encourage your child to make addition and subtraction problems with the hearts (i.e. 4 green hearts and 2 pink hearts = 6 hearts)
  • Create patterns with the colored hearts
  • Line the hearts up 2 by 2 and practice counting by 2’s
  • Make groups of 10 with candy hearts and practice counting by 10’s.  Can you count to 100 by 10’s?

Race to 10 Game!

Race to 10 Game!

Materials

Duplos
1-2 Dice

Directions

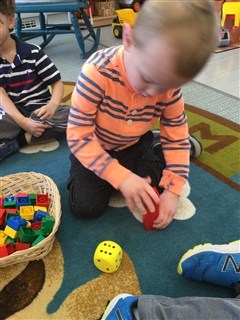
Invite your child to roll one die.  Count the dots on the die, then ask your child to stack the same number of Duplos on top of each other.  Take turns rolling the die and stacking the Duplos. The first one to get to 10 wins!

Lesson Extension

Preschoolers:  To make the game more challenging for older children, use 2 dice and race to 20. Once you get to 20, continue rolling the dice and subtract the number of Duplos from your stack.

Observing Candy Conversation Hearts in Various Liquids

Observing Candy Conversation Hearts in Various Liquids

Materials

Candy Conversation Hearts
5 Clear Plastic Cups
Sprite or 7-Up
Vinegar
Water
Rubbing Alcohol

Directions

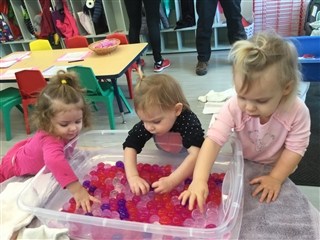
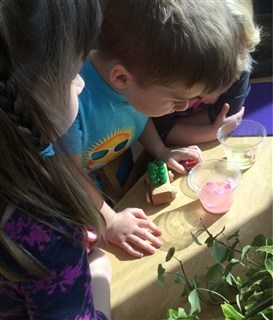
Ask:  What do you think will happen when we put candy hearts in different liquids? Lets watch and see!  Invite your child to pour a little bit of each liquid into separate cups. The 5th cup is for air (the constant for the experiment). Then invite your child to drop 3 pieces of candy into each of the cups – including the cup with just air. Observe what happens as the candy reacts to the different liquids.  Ask your child what he sees happening to the candy hearts?

Yogurt Silly Putty

Yogurt Silly Putty

Ingredients

Yogurt  (we used strawberry)
Cornstarch
Bowl
Spoon or Spatula for mixing

Directions

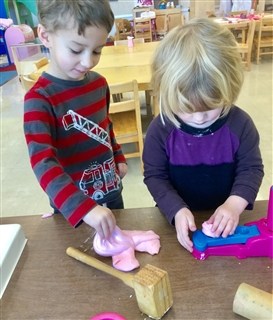
Invite your child to mix together 1 cup of yogurt and 3/4 cups of corn starch. When the mixture is no longer sticky, pick it up and roll the putty into a ball (to further mix the yogurt and corn starch). If it’s too sticky, sprinkle in additional corn starch. If it’s too dry, add a bit more yogurt.

Making Special Valentines

Making Special Valentines

Materials

Variety of stickers, doilies, cut out hearts, feathers
Construction paper in valentine colors
Glue or glue sticks
Markers

Directions

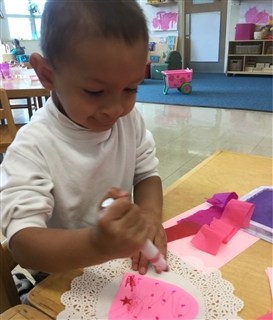
Place the materials on a tray on the work space.  Invite your child to help you fold the paper in half to make a card shape. Observe your cihild as he chooses different materials to glue onto the card. Once the card is complete, encourage your child to give it to a special friend or relative.

Car Track Painting

Materials

Tempera Paint
Paper Plates
Large construction paper
Toy cars

Directions

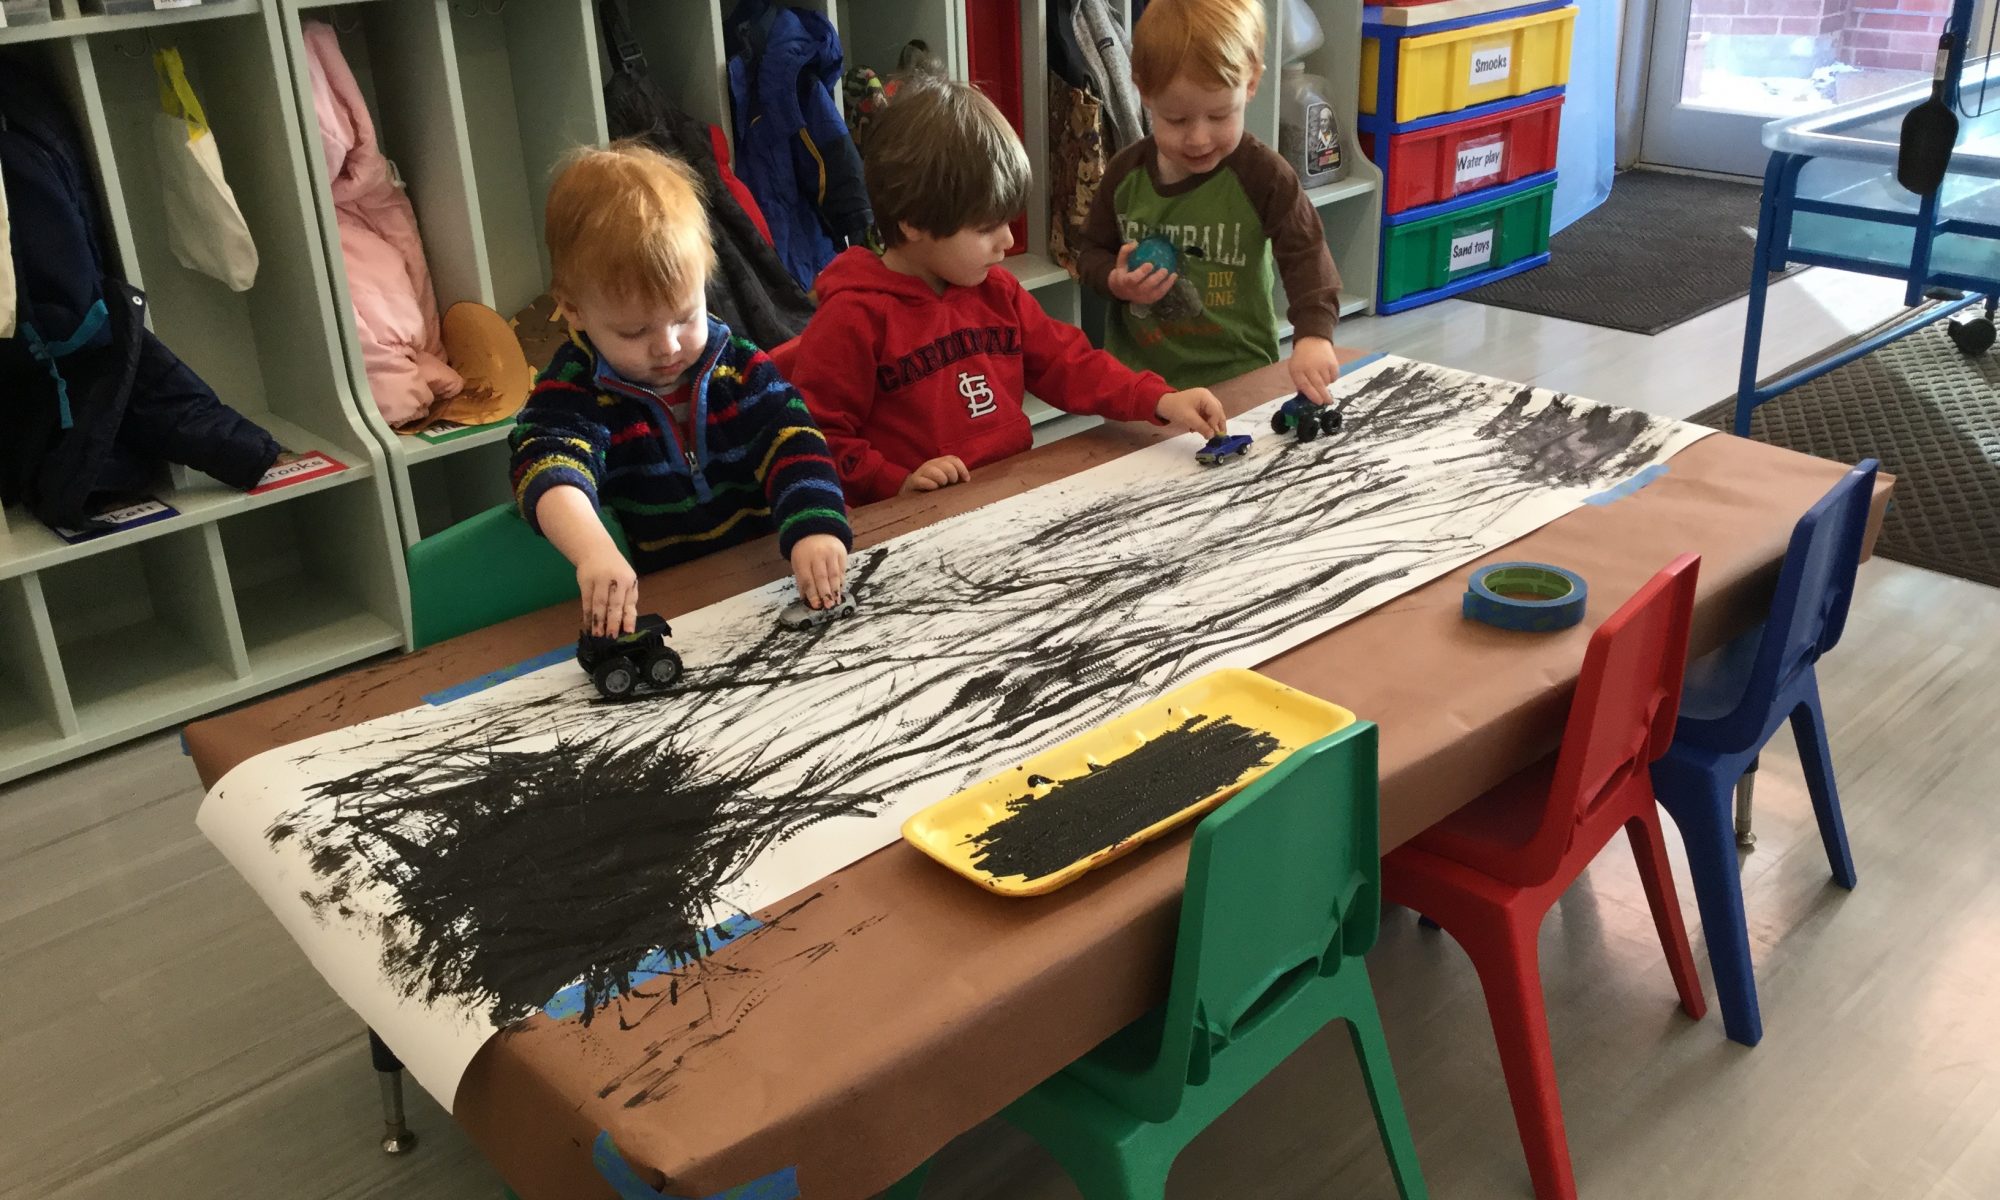
Cover the work space with newspaper.  Lay a piece of construction paper on the work space. Pour tempera paints onto the paper plates – one color per plate. Invite your child to choose a small toy car to roll in the paint on the paper plate, and then drive on the construction paper making fun, painted tire tracks. Dip the car’s tires again in paint and continue until your child is satisfied with his creation.  Allow to dry completely before displaying.