Staying on the Road

Materials:      
12 x 18” Sheet of construction paper
Crayon
Tempera paint and brush
Tape

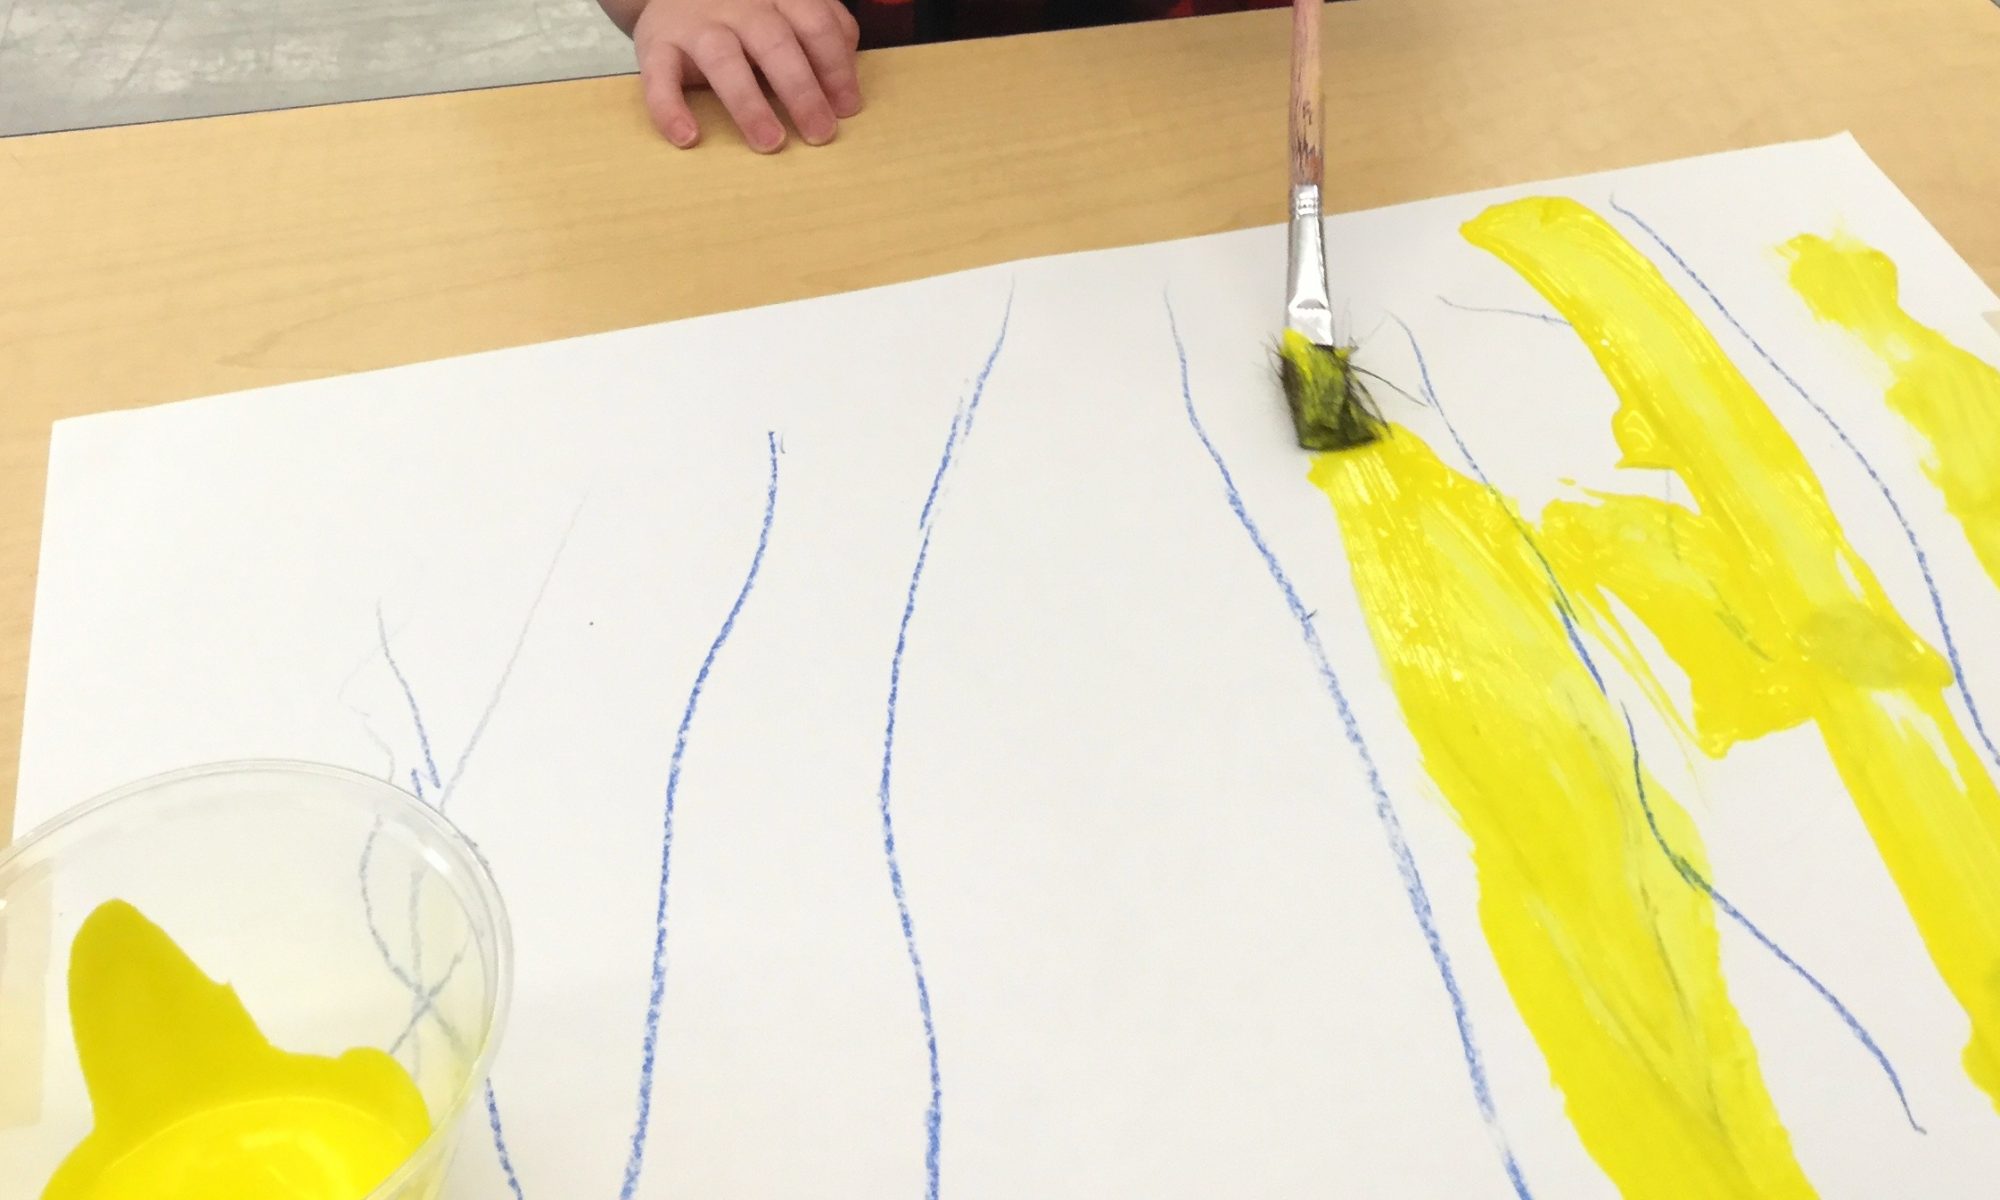
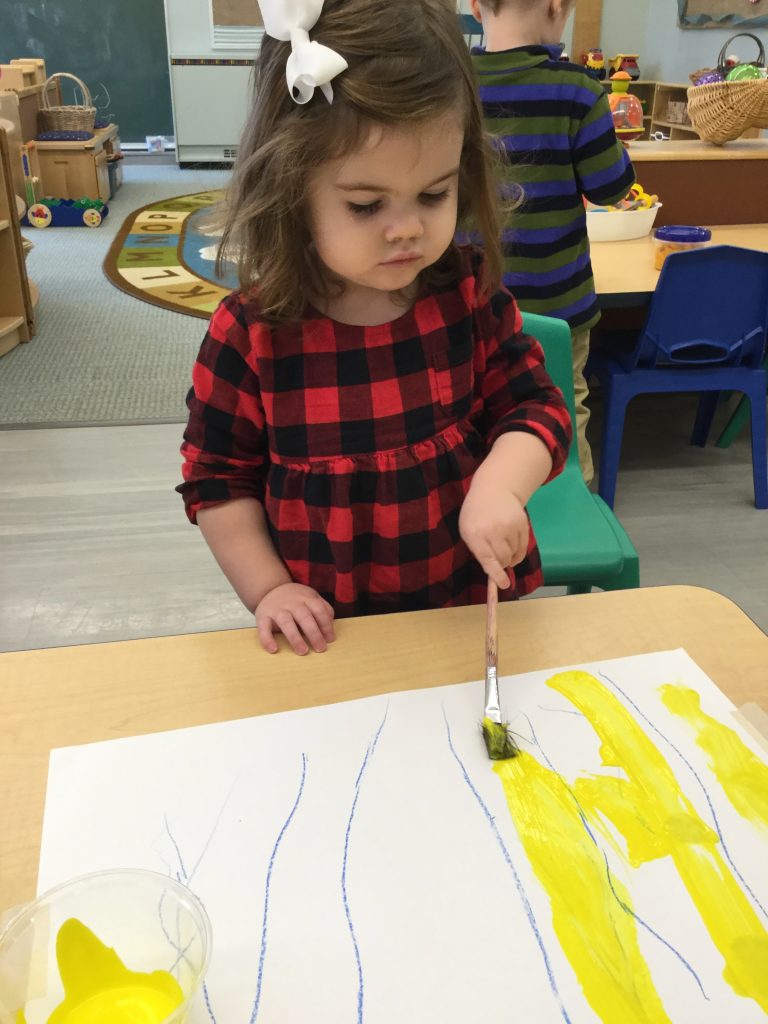
Directions: Set the paper in front of your child. Tape the sides of the paper to hold it in place. Demonstrate how to draw a line from the top of the paper to the bottom with a crayon. Invite your child to do it. Say, “We’ve made a road! I can drive my finger down the road. Now you try.” Try to leave some space between the lines, about an inch and a half. Let your child continue drawing lines from top to bottom across the paper. Once the lines are finished, invite your child to dip a paintbrush into the paint and paint up and down the road, being careful to stay within the crayon lines.  Continue painting down each “road,” encouraging your little one to stay between the lines.

This is a wonderful activity for developing grip, eye-hand coordination skills, and an awareness of lines. Eye-hand coordination is essential for writing and other fine-motor activities later on and can be enhanced through activities like this one!

Making the “Stars and Stripes”

Materials:      
White construction paper, 9” x 12”
Red construction paper, 9” x 12” cut into inch-wide strips
Blue construction paper, cut into a 4” x 5” rectangle
White crayon
Watered down glue or glue sticks

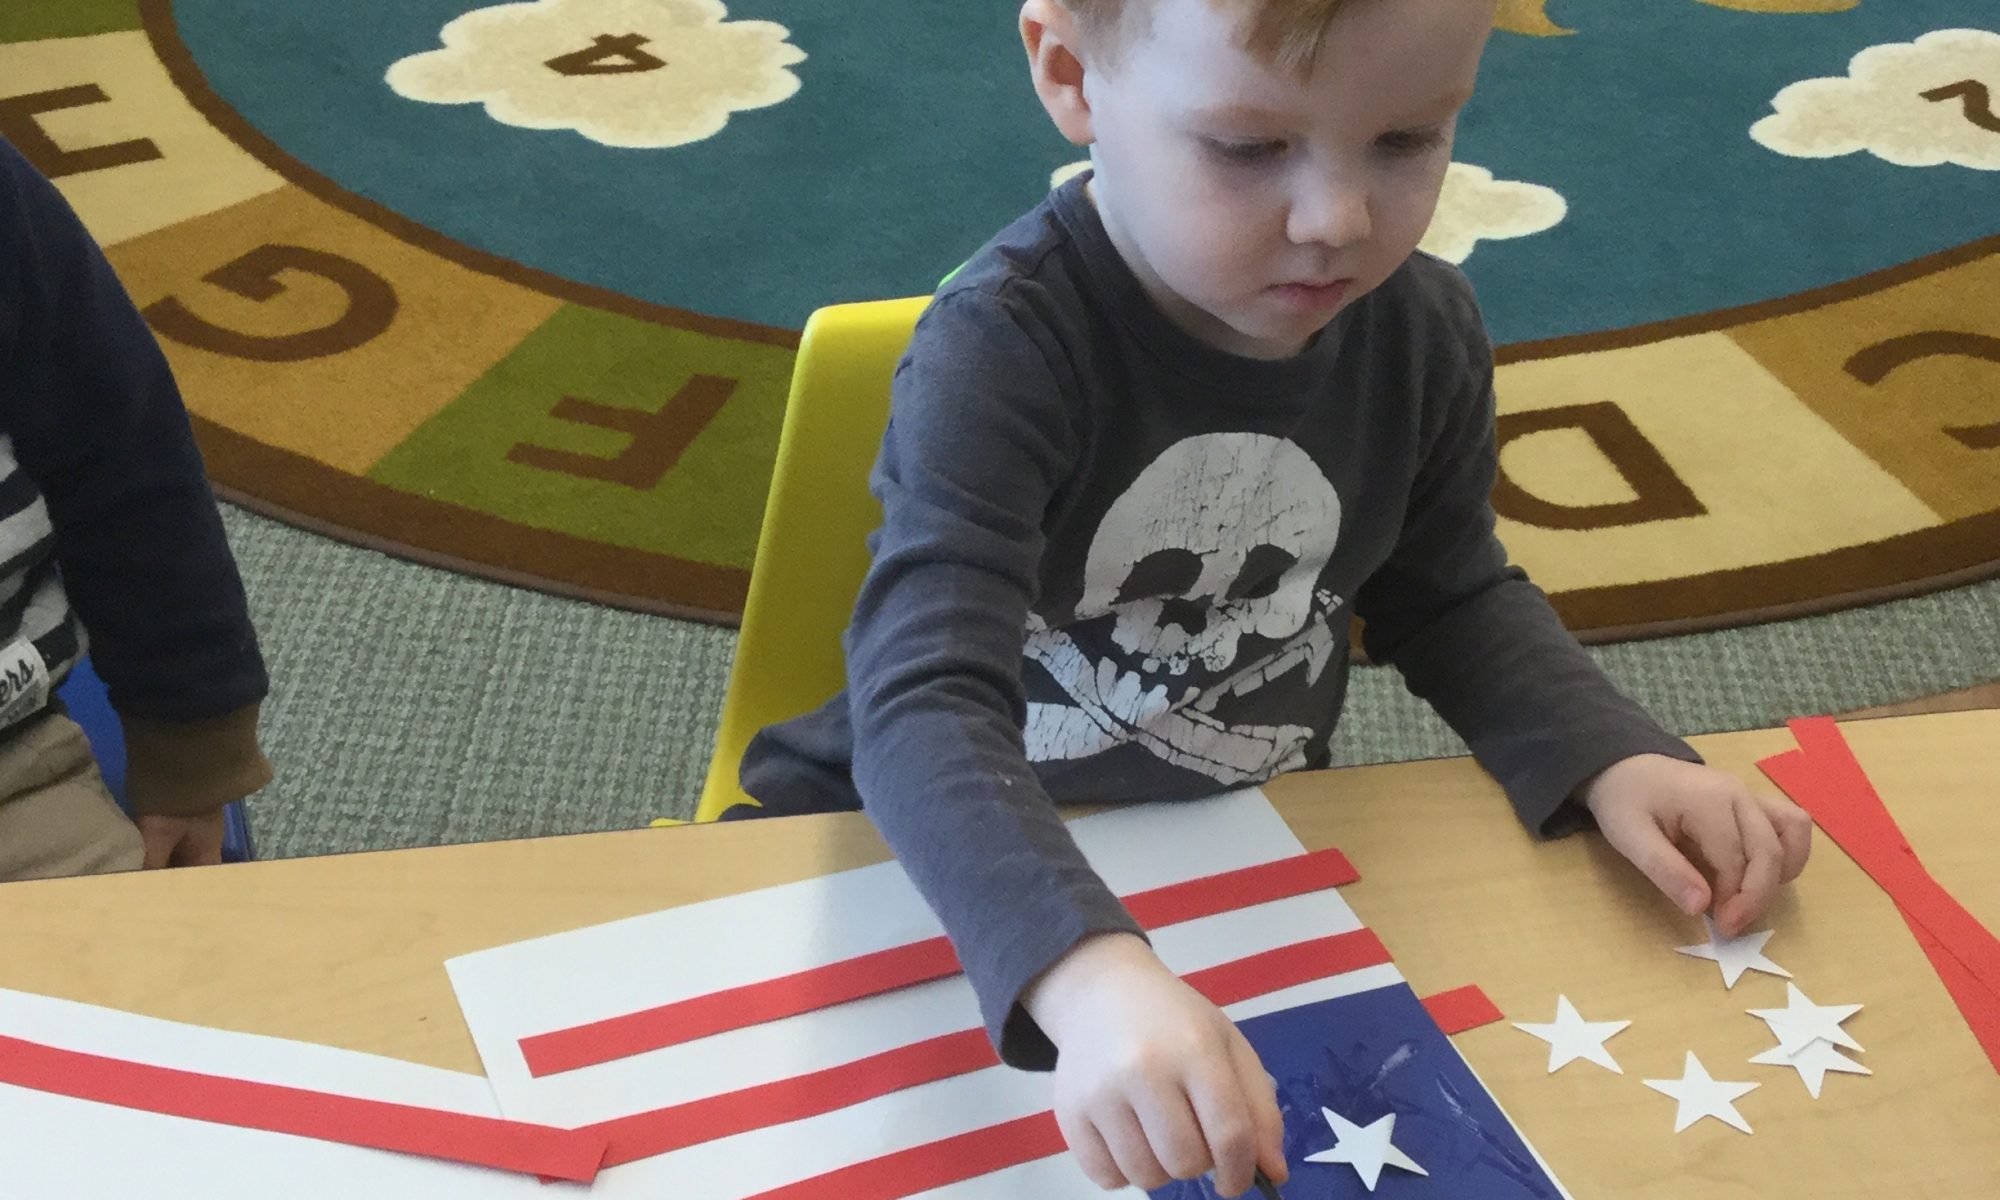
Directions: We had a discussion about the American flag being something we see in our daily experiences that has stripes! We closely observed what components make up the flag by taking our classroom flag down and noticing the stripes, both red and white, the stars, and the blue rectangle behind the stars. We discussed how the American flag stands for the United States of America and that we all live in the United States. We also discussed that we handle the flag respectfully, never letting it touch the ground!

Then we tried making our own flags! Our intent was not to create “perfect” flags, with seven red stripes and six white, but rather to be aware of the components and include them in the creation! First, we talked about the red stripes, and we glued a few on the white paper, noticing that they went across the paper, not up and down. We pointed out that when we left a little space between the red stripes, it automatically created white stripes. Next, we noticed where the blue rectangle was located on the flag, and we glued that in the upper left corner of our paper. Finally, we added the stars. At school we have access to a die-cut machine that quickly cuts out stars; however, you can also make simple stars using a white crayon and making simple asterisks to represent the stars!

Cheese Paninis

Ingredients:   
Sliced bread
Melted butter
Aluminum foil
Pastry brush
Grated cheddar cheese
Panini maker (we used a George Foreman sandwich grill)

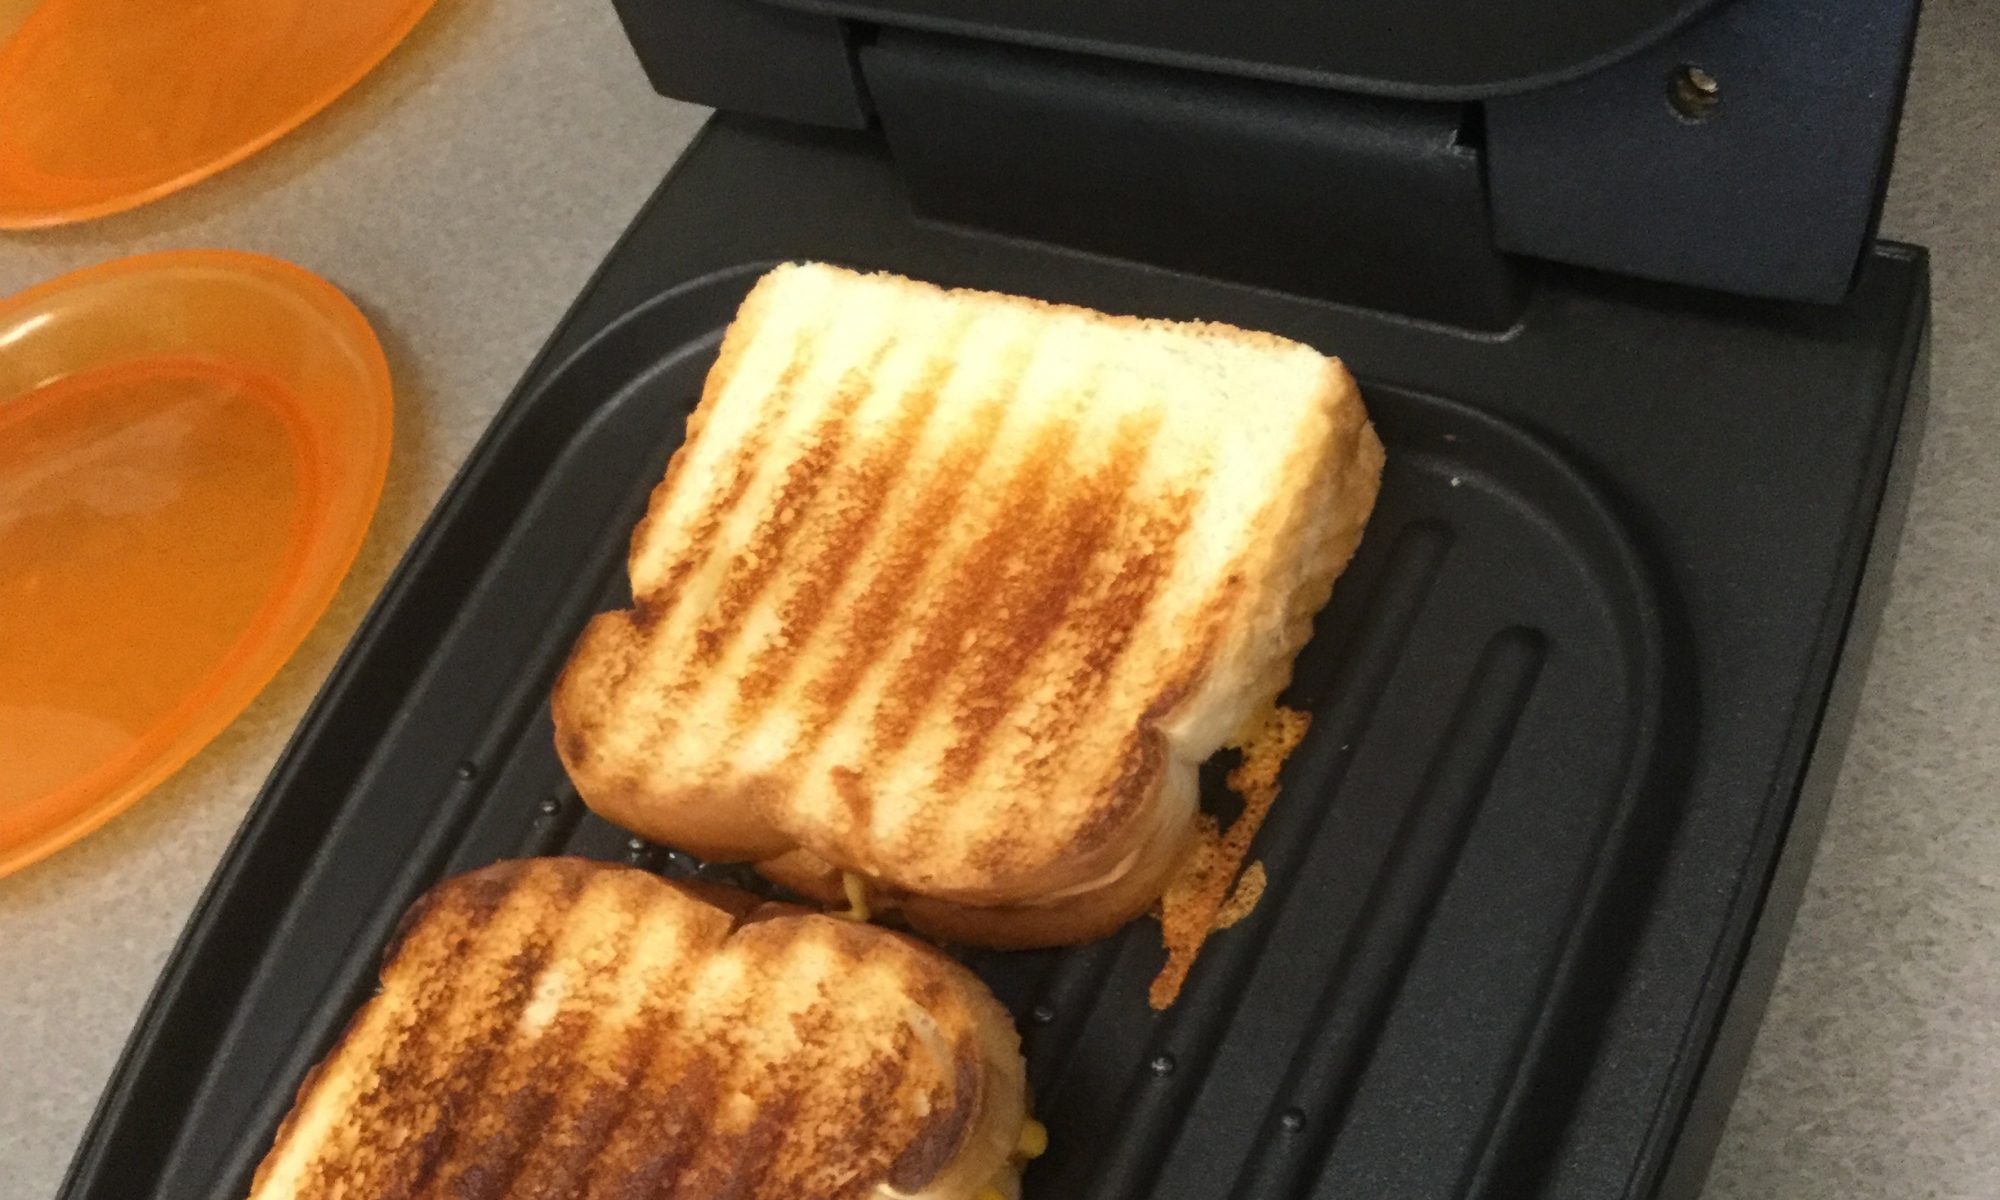
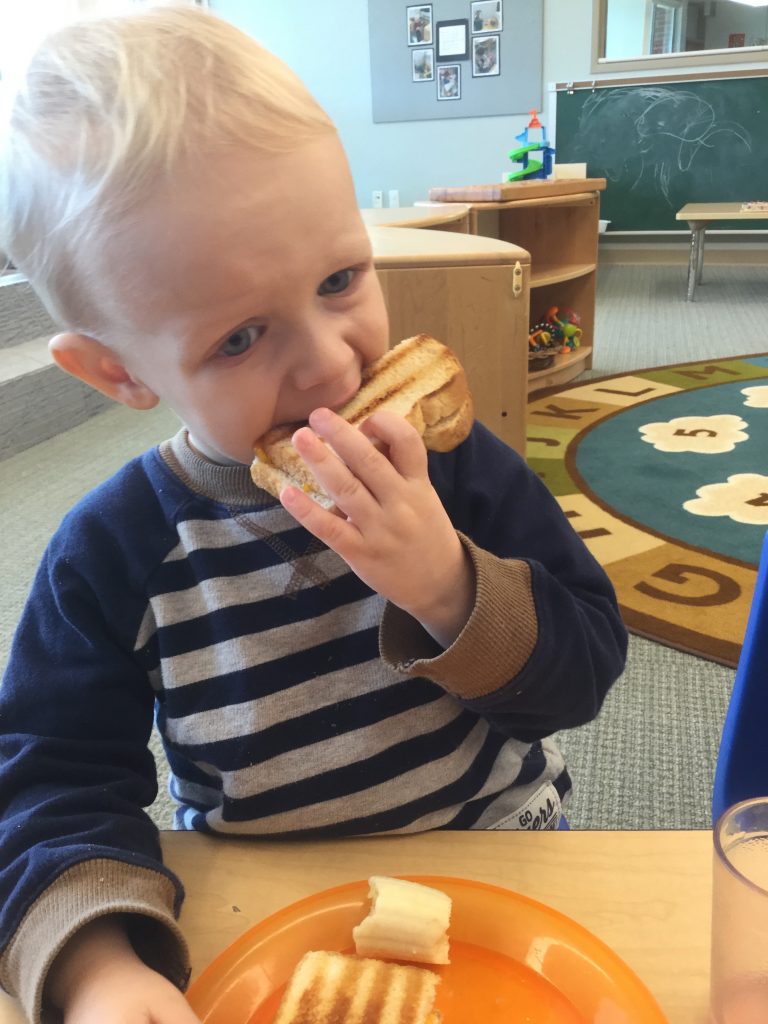
Directions: Melt a small amount of butter in the microwave, and when it cools just a bit, let your child dip the pastry brush in it and paint one side of his bread on the foil. Preheat the grill while letting your child spread the grated cheese on the unbuttered side of his bread. Help him butter a second slice of bread, and place it on top of the cheese, buttered side out. Place the sandwich in the panini maker and press it closed. In about a minute, you can remove the panini from the grill, cut it down the middle, and enjoy!

Exploring Velcro Rollers

Materials:
Velcro rollers
Small wooden beads capable of fitting through some of the rollers

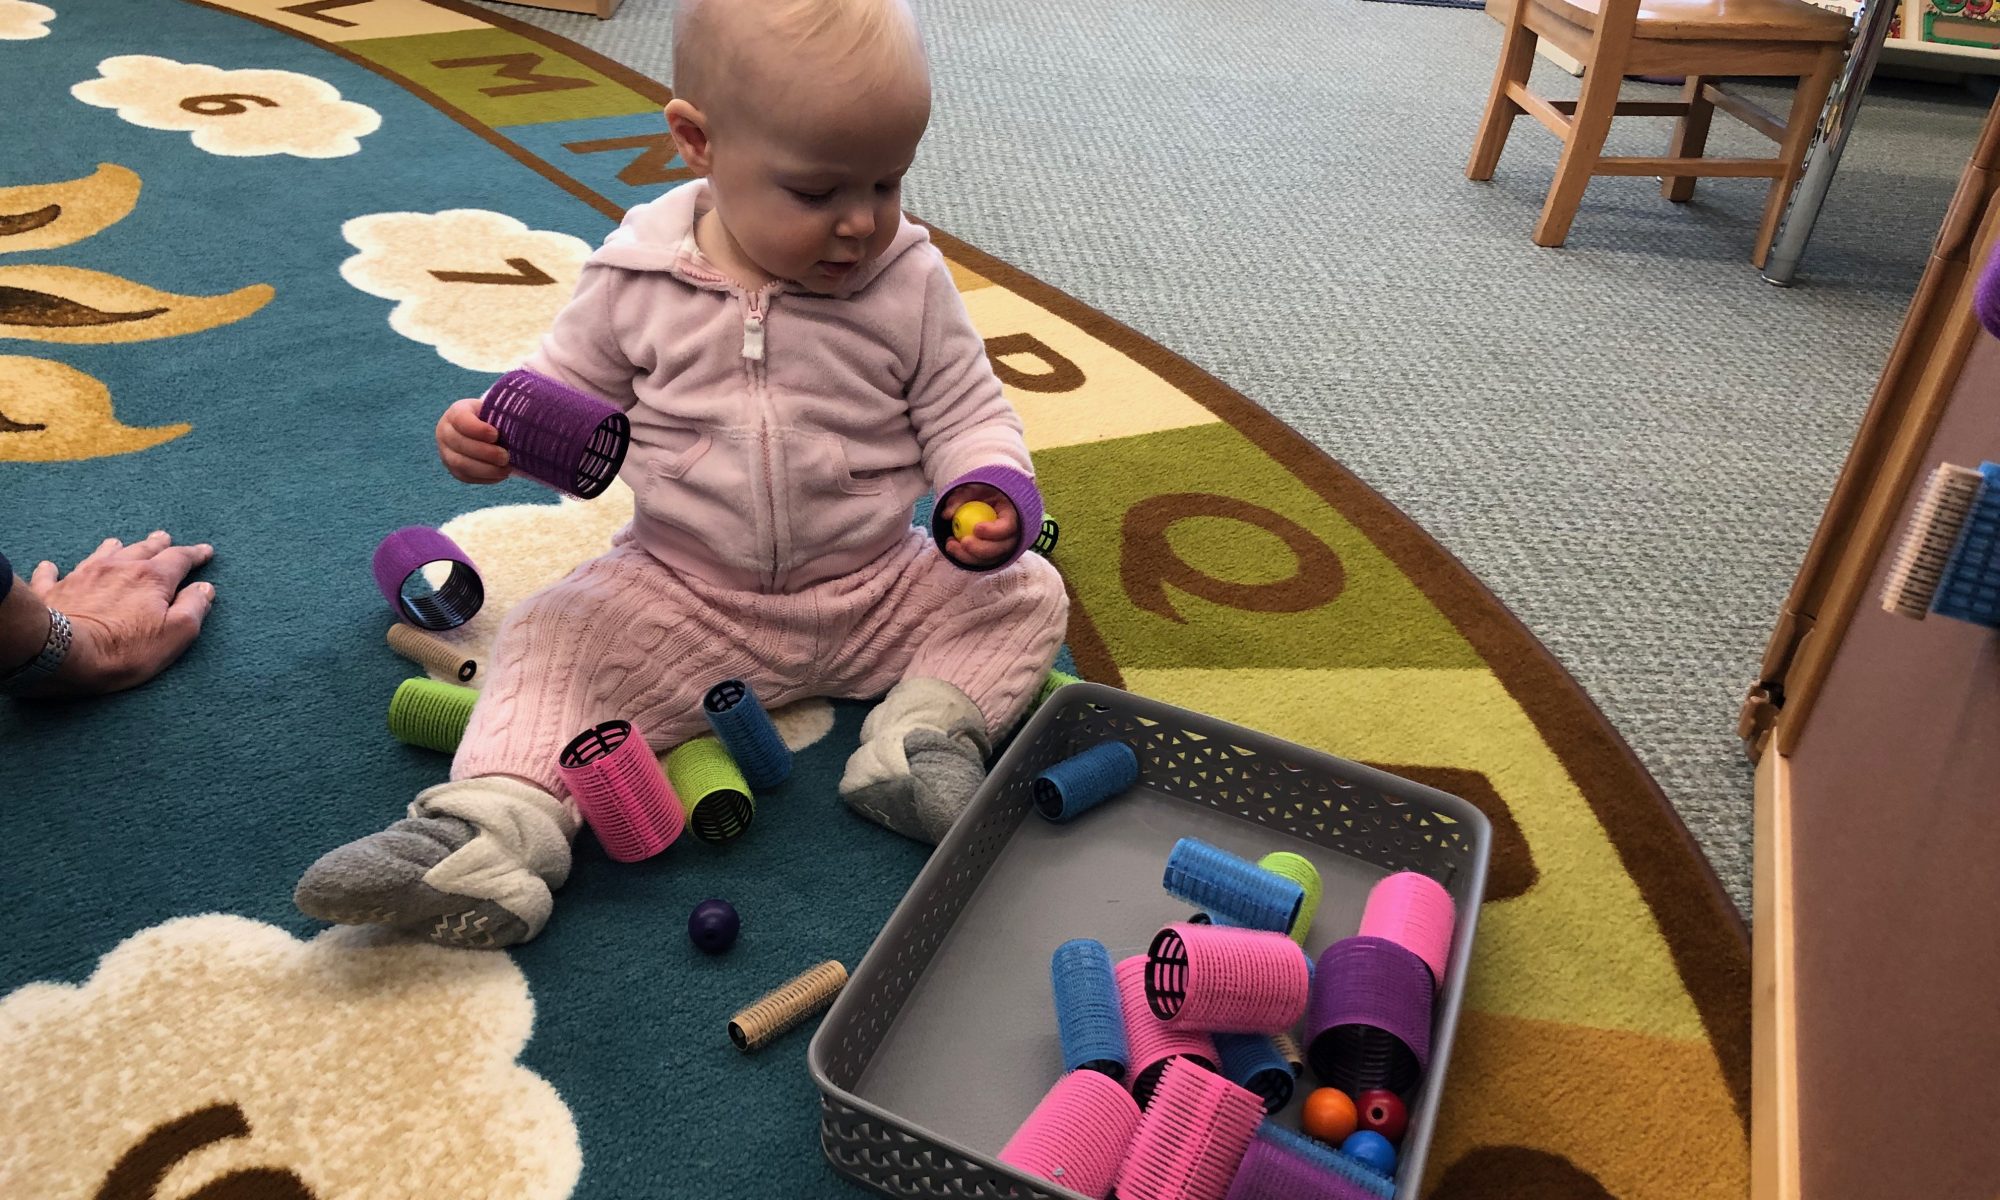
Directions: Baby C. was intrigued with the pokey cylinders as soon as I set them in front of her! I initiated play by sticking two rollers to each other and handing her another one. She touched it and then brought it to her mouth to explore it. I stuck a couple of rollers to a felt board, but Baby C. had no interest in that. I set one of the bigger rollers on end and dropped one of the wood beads into it. She leaned over to look into the roller and immediately picked it up to find the bead. I stacked a second roller on top of the first and again dropped a bead into it. Baby C. knocked over both rollers to find the bead. Then she dropped a bead into one of the larger rollers and inserted her hand into the roller to retrieve the bead, wearing the roller like a bracelet for a few moments. Then the bead went into her mouth. I promptly fished it out. Then she searched for another bead to mouth, but I held my hand out, and she gave me the bead immediately. She picked up two more beads, brought them to her mouth, and then put them in my hand willingly. 

Baby C. happened to be wearing some knit wool pants which the rollers stuck to. She busied herself pulling them off when that happened and dropped them further away from herself. Play continued several minutes until Baby C. crawled off in search of a new adventure! Who knew Velcro rollers could be such fun!

Teaching Family Values to Our Children

The highest goal of parents is to impart strong values and morals in their children. Nothing makes parents happier than to see their children demonstrate unselfishness, honesty, courage, responsibility, or wisdom. Parents have a better opportunity than anyone else to influence the values of their children. The ways to do this have been a subject of research and are a current interest of many. 

Here are some questions that can help us in our search for ways to best communicate and teach our values to our children. 

• What qualities do we value? A good place to start is to make a list of those qualities we most want to see manifested in our children’s experience and our own. In addition to the aforementioned qualities, we might want to include obedience, self-control, patience, kindness, independence, perseverance, humility, and others. Lists will vary according to what qualities we value the most.

• What quality do I want to work on this week? The best way to teach values is to exemplify them. It’s easiest to focus on them one-at-a-time for ourselves as well as in our work with our children. We can choose one quality to work on for a week or a month and write that quality on a piece of paper. Then, we need to post the quality where we will be reminded of it as we go about our day — on the mirror in the bathroom, on the refrigerator; or perhaps, if we’re on the go, in the car or in our pocket or purse. 

As an example, let’s consider the quality of “self-control”. We write “self-control” on a piece of paper or Post-it note and then we place it where it will be seen. [Throughout the article, italics will be used to help illustrate the questions using the quality of self-control.] 

• What evidence do we have of the spiritual source and presence of these qualities? Let’s think of times when we have felt the presence of the qualities we value. When have we felt impelled to be honest or generous? When have we seen our children naturally express order, affection, or the quality-of-the-week (self-control)? How does a person we admire express the quality? What can we do to live more of this quality? As we see the spiritual source of these qualities, we’ll see that they are already present, not lacking. We’ll be able to say to ourselves and our children, “You have control. You can express it.” 

• What Bible stories, verses, stories of heroes, or other narratives illustrate the qualities we value? Children love stories, and telling them stories that bring out ways to express the qualities we value is a good way to teach. Stories of our own childhood, or of other relatives’ lives, will be especially enjoyed. You can tell Bible stories to illustrate self-control. Daniel must have had self-control when he was thrown into the den of lions (Daniel, Chapter 6). Jesus exhibited control when he stooped and wrote on the ground after the Jews, hoping to entrap him, brought him a woman they had caught “doing the wrong thing” (John 8). Use words that children understand and can relate to their own experience. There’s no need to use words that introduce evil concepts they’re not yet ready to perceive. 

In addition to finding a story that illustrates the value you are teaching, you can make one up using ideas your child can relate to. As a present-day parable, it can meet your children right where their thought is. You can tell a story, or act one out with puppets, about a child who has had experiences similar to those of your child and who works them out in a positive way. For example, you could tell a story about a child who gets upset because she doesn’t want to put on a coat when instructed to do so by her mother. In the story she can regain control, put on the coat, and discover that she’s happier expressing self-control and obedience because it’s very cold outside. 

• What are some ways to extinguish opposing tendencies or beliefs? It helps for us to get rid of so-called reasons why we or our children can’t express certain desired qualities. For instance, we should rule out any thought that heredity could influence qualities that are God-given. We can also keep beliefs of personality types or expediency from being excuses for limiting virtues. In addition, we can think through how we will act when a similar situation comes up again. What can we do or say the next time we have the opportunity to assert our self-control? We can help our children prepare their thought for what they might do or say the next time they feel they are losing control

• What are some ways of practicing, or helping our children to practice, the traits we value? We can look for opportunities throughout the day to express the quality we value. We can even set the stage for such practice. For instance, if we are working with our children to express the qualities of caring, sharing, or cooperation, we can support them by inviting friends over for play dates and helping them plan how they will share their toys or snacks. 

They can also act out ways to express the quality of the week. Puppets can be used to help establish the desired virtue. After we give examples of working through situations where self-control is needed and then used, our children can act out a situation showing how they can use their self-control. A puppet can be the child losing his temper and then regaining it. The puppet can also play the part of the parent. 

If you lose your temper in a situation, it’s helpful to sit down for a moment, be quiet, and affirm to yourself that God is in control. Then you can go back and replay the scene or apologize, if needed. This is a good example that lets your children know what to do when they “lose it.” You can give them the opportunity to regain control in their room, on their bed, or sitting on a chair, and then to replay the scene. 

• Catch the quality being expressed! It is far better to catch a child expressing a desirable quality than to remind him or her that a quality is being neglected! Let’s gratefully acknowledge our own progress as we utilize the values we’re striving for. The idea is to help our children and ourselves see that we can and do have these qualities to express, and we can bring them to the fore in our experience with delightful results.
Candy-Heart Chocolate Pretzels

Ingredients:    
12 oz. bag of Hershey’s Kisses, unwrapped
Square Butter Snap Pretzels
Candy hearts (small)

Directions:  Preheat oven to 350°.  Line a cookie sheet with aluminum foil or parchment paper. Lay out the pretzel squares on your cookie sheet.  They can be laid together pretty closely. Unwrap an equal number of Hershey’s kisses and set one on each pretzel square. Put the cookie sheet in the oven for 7–9 minutes. Remove sheet from oven; then press one candy heart into the chocolate kiss on each pretzel. Let cool (at least a little bit) before serving!

Putting Hearts into the “Mailbox”

Materials:      
Foam hearts
Empty coffee can, oatmeal box, or similar container with a lid
Exacto knife or sharp scissors

Directions:     
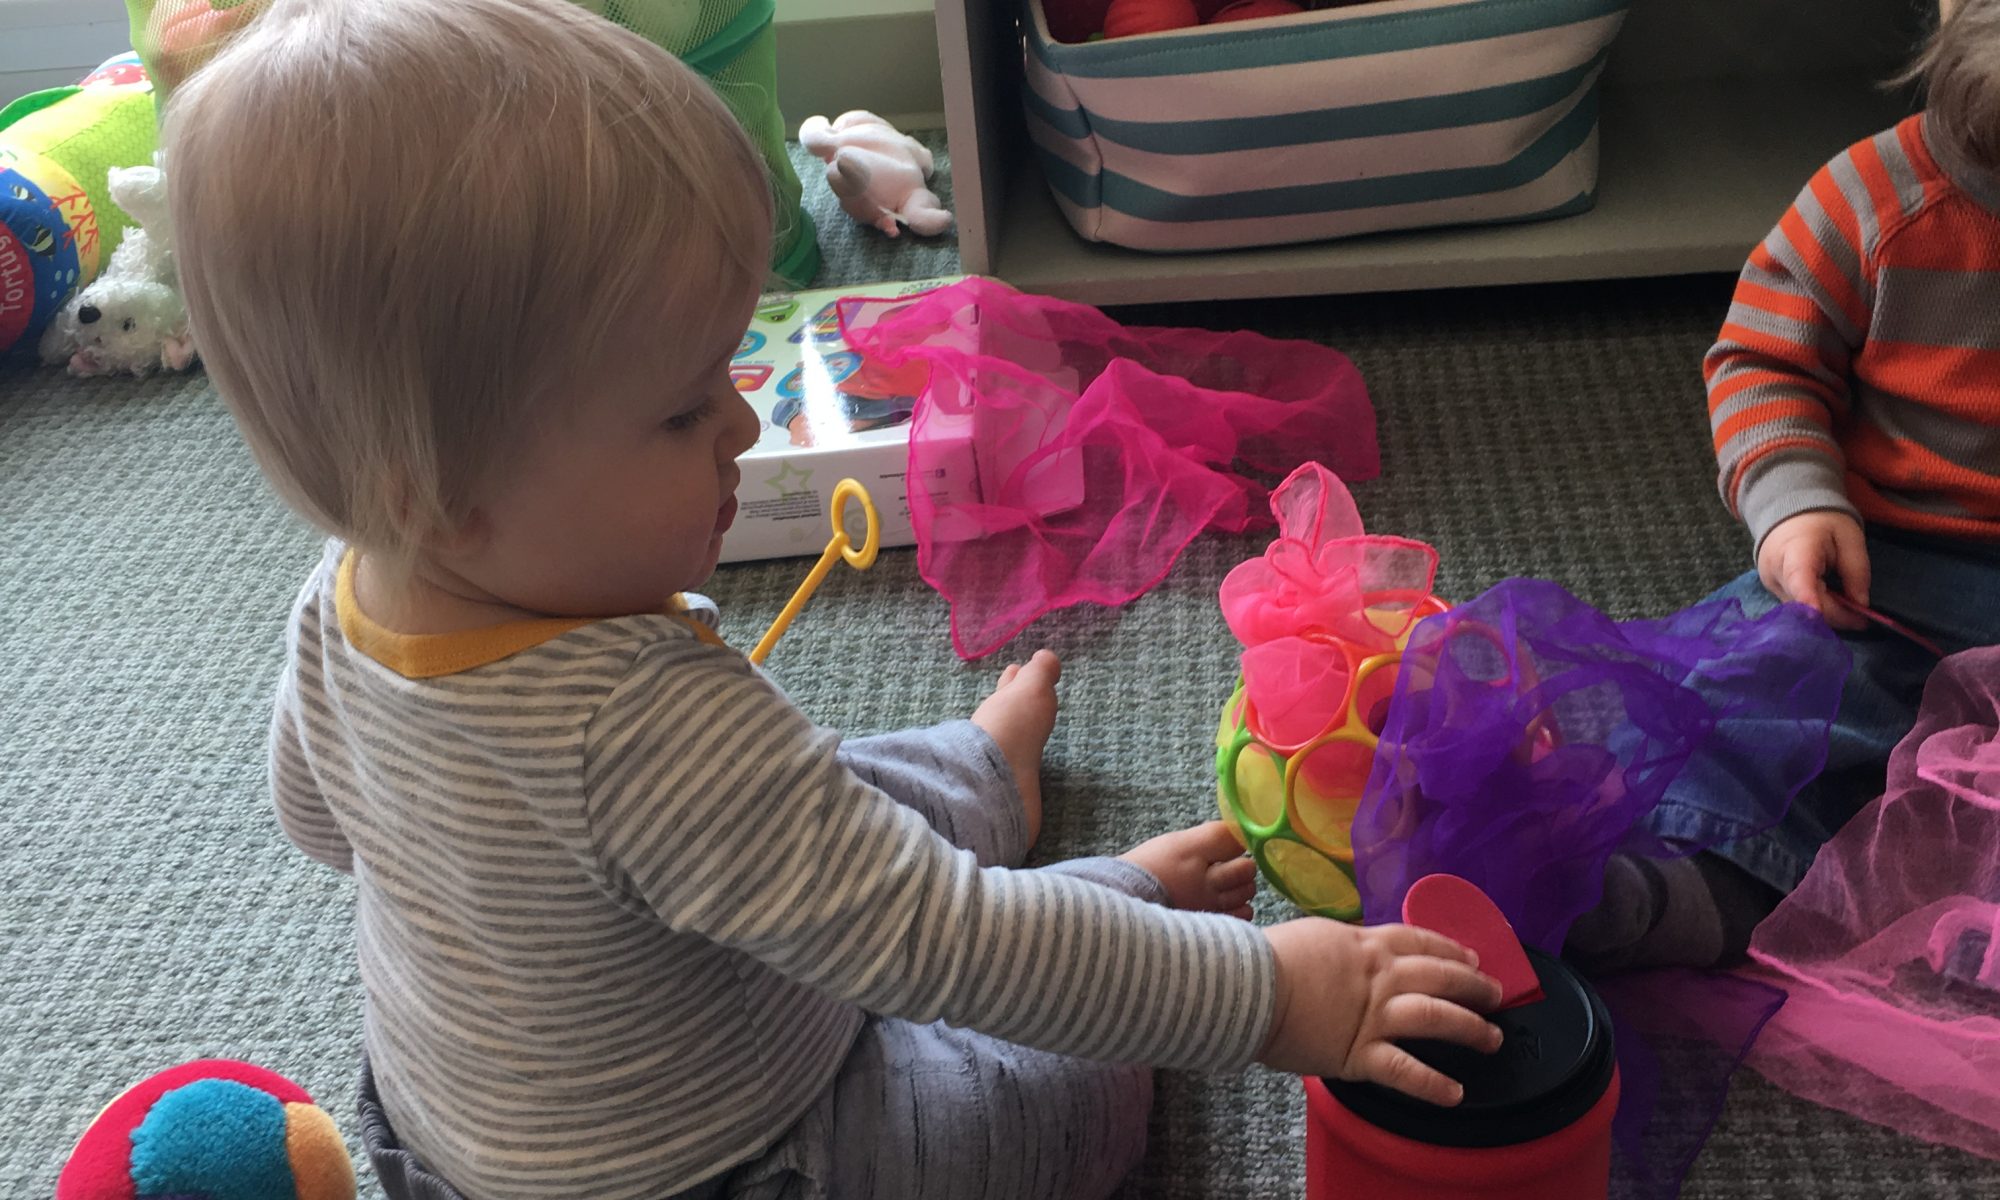
Cut a generously-sized slit in the lid of the can, big enough for the foam hearts to easily slide through. Secure the lid on the can, and give your baby a foam heart. Take one yourself, and tell him you’re going to put it in the mailbox. Show him how you can slide it through the opening. Encourage him to try it. He will probably put the heart in his mouth first, and you can show him how to slide another one in the opening. Ask him if he can put his heart in the box. It’s fine to demonstrate it again. We were successful doing this activity with a 10-month and a 12-month old. But it took them both several tries. It takes a tremendous amount of fine motor skill, eye-hand coordination, and persistence to do it at this age! Celebrate your baby when he’s successful, and encourage him if he’s having a little trouble. 

After there are a few hearts in the can, shake the can so your baby can hear the hearts inside. Open the can, and let him shake them out. Try it again if he’s willing!

Pink and Lavender Rice Play

Materials:      
A large, shallow plastic container
Enough uncooked rice to fill your tub about an inch deep
Pink and lavender scoops, cups, and bowls

Directions:     
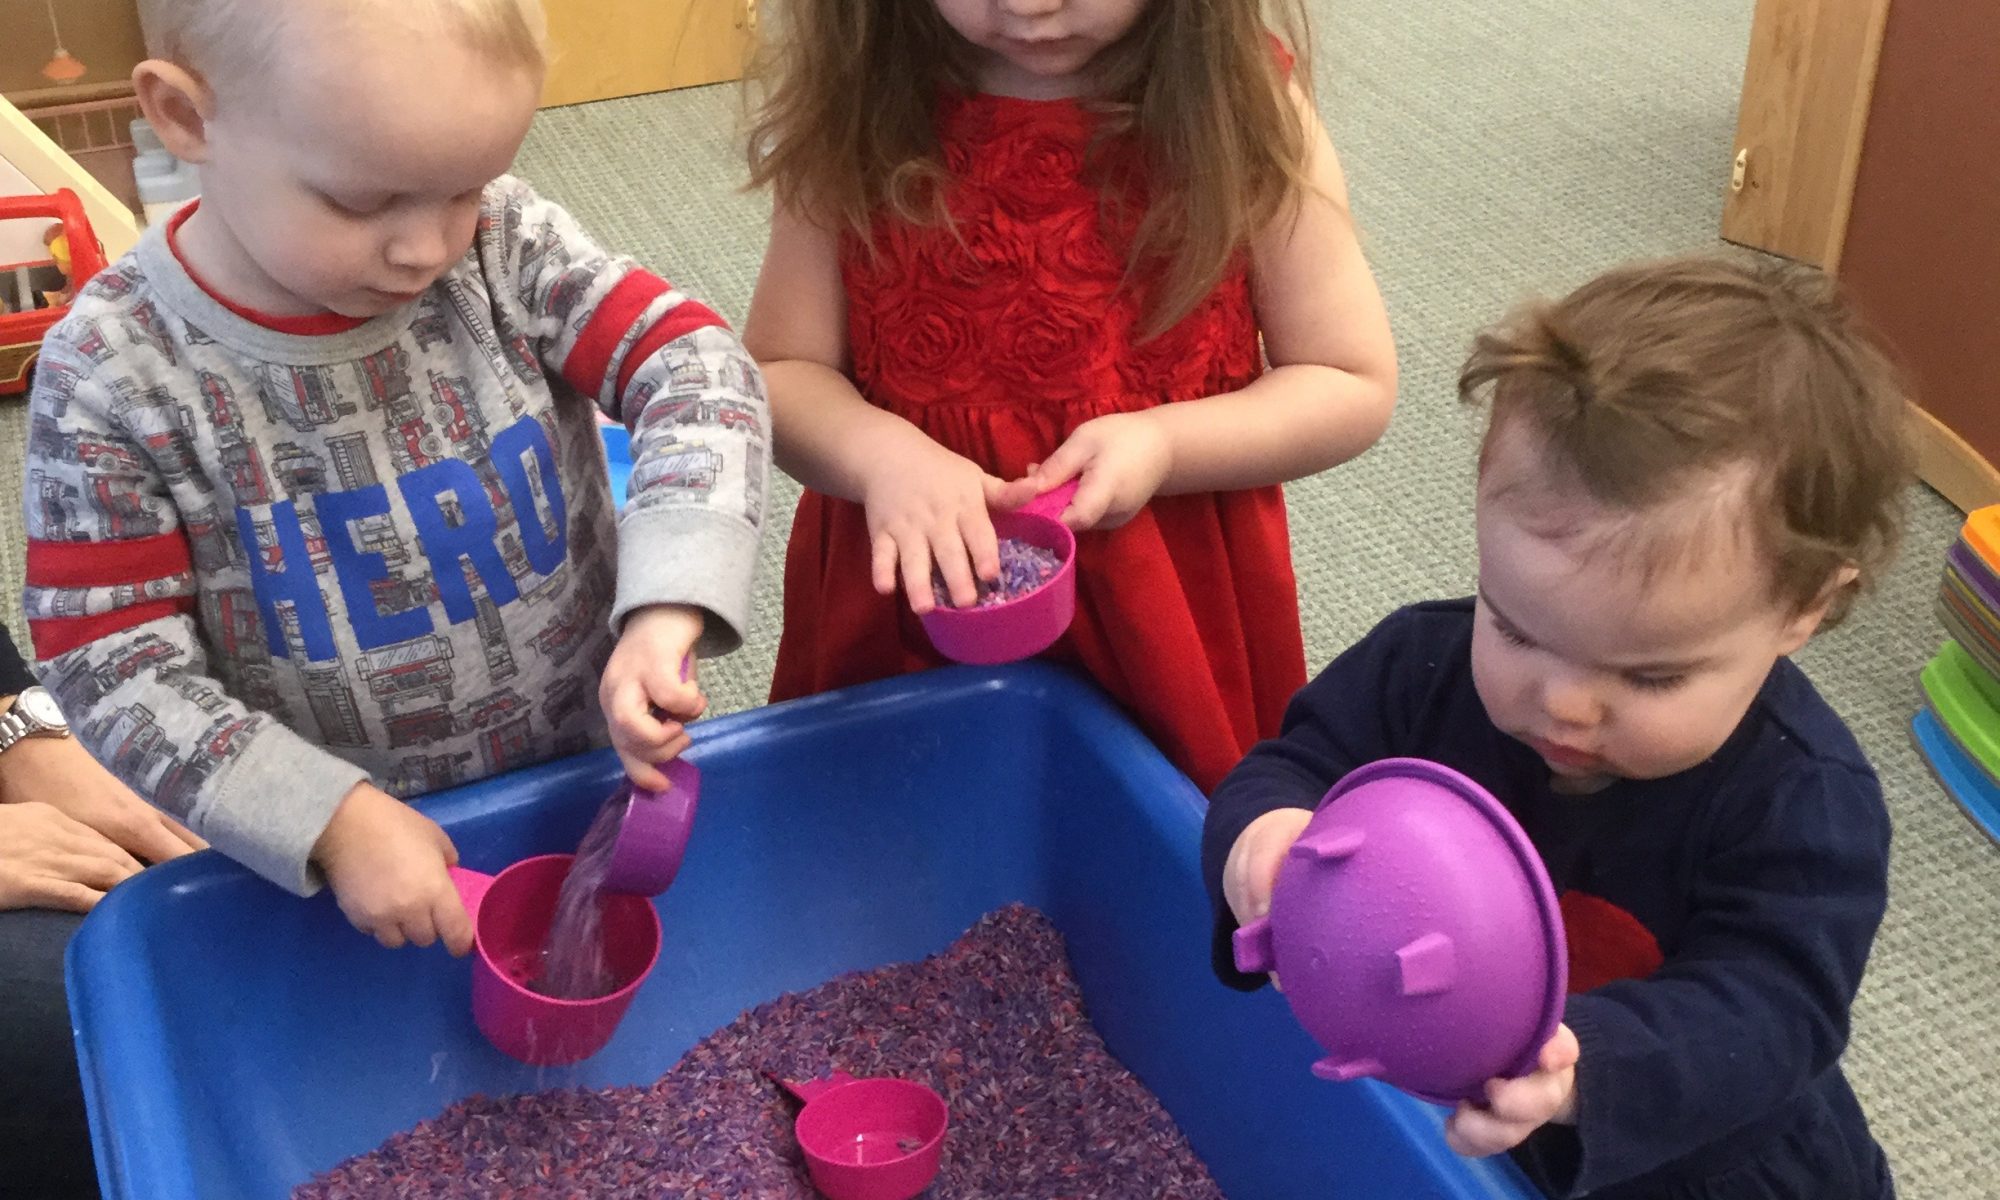
Children of all ages love to explore rice at the rice table. We like to color ours, but it’s not necessary—white rice is fun, too! (If you need directions on how to color the rice, see the blog post “Hunting for Hearts” in which I’ve explained how to do it. It’s easy!)

Rice is a wonderful sensory material. It’s relatively inexpensive,  doesn’t leave residue on children’s hands, is easy to sweep up, is soothing to run one’s fingers through, and is calming to work with. Children love to scoop it up, fill containers with it, dump it out, and do it again. They make connections with and explore concepts of weight and volume. And it can be used over and over again. Store your rice in a plastic container with a tight-fitting lid.  It will keep for years!

Hunting for Hearts

Materials:      
Colored rice
Small plastic pink hearts and red hearts from a dollar store
A sheet of paper with pink and red hearts printed all over it
Tongs (optional)

Directions:     
You can put white rice in a casserole dish or a tub. If you prefer to color it, put the white rice (about 2 cups at a time) in a Ziploc bag.  Add a few drops of food coloring and a teaspoon of white vinegar to the Ziploc before sealing it completely. Once sealed, squeeze the bag with your hands continuously until the color is evenly distributed throughout. Spread the colored rice out to dry on a piece of newspaper or wax paper. It should dry in about an hour.

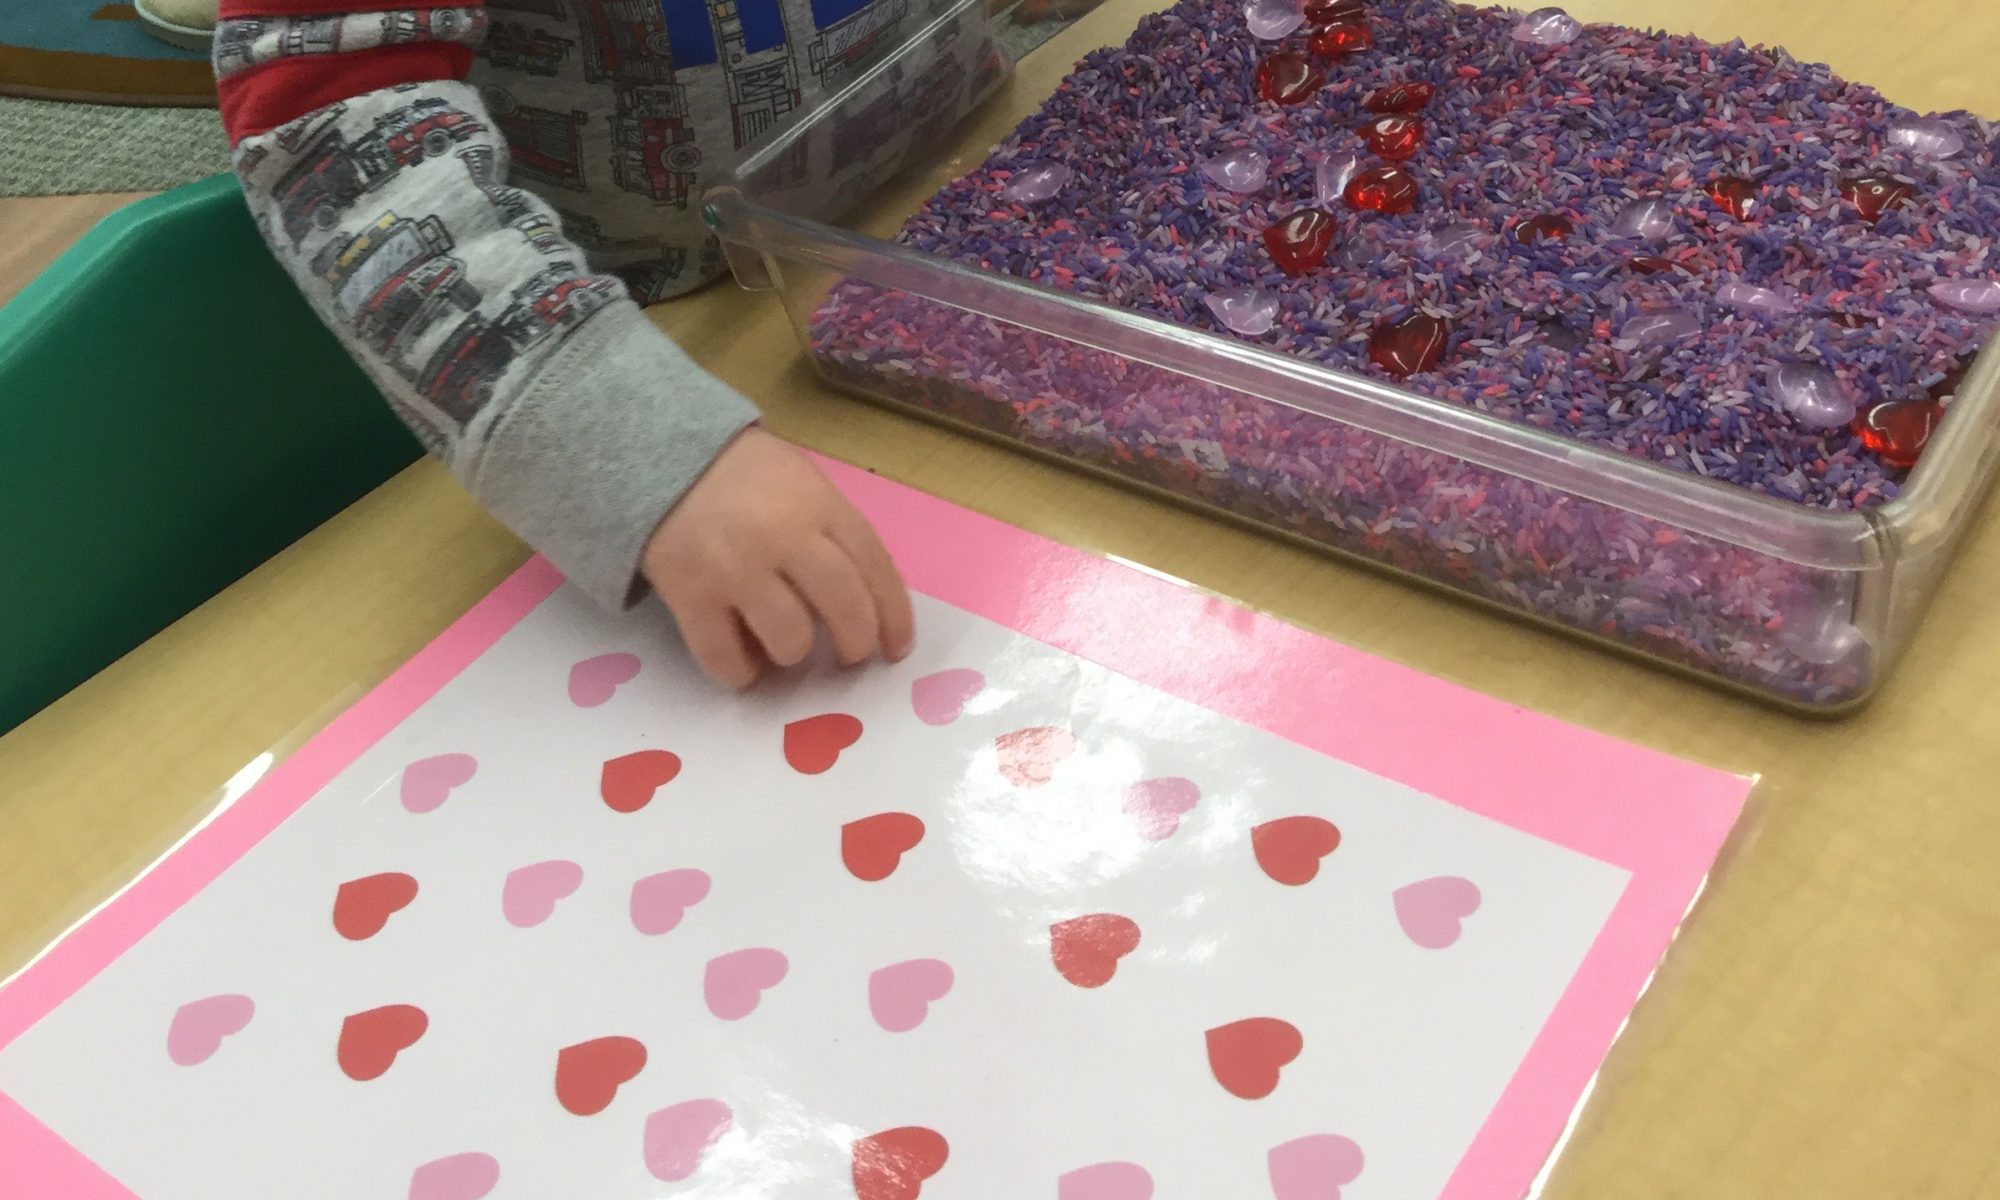
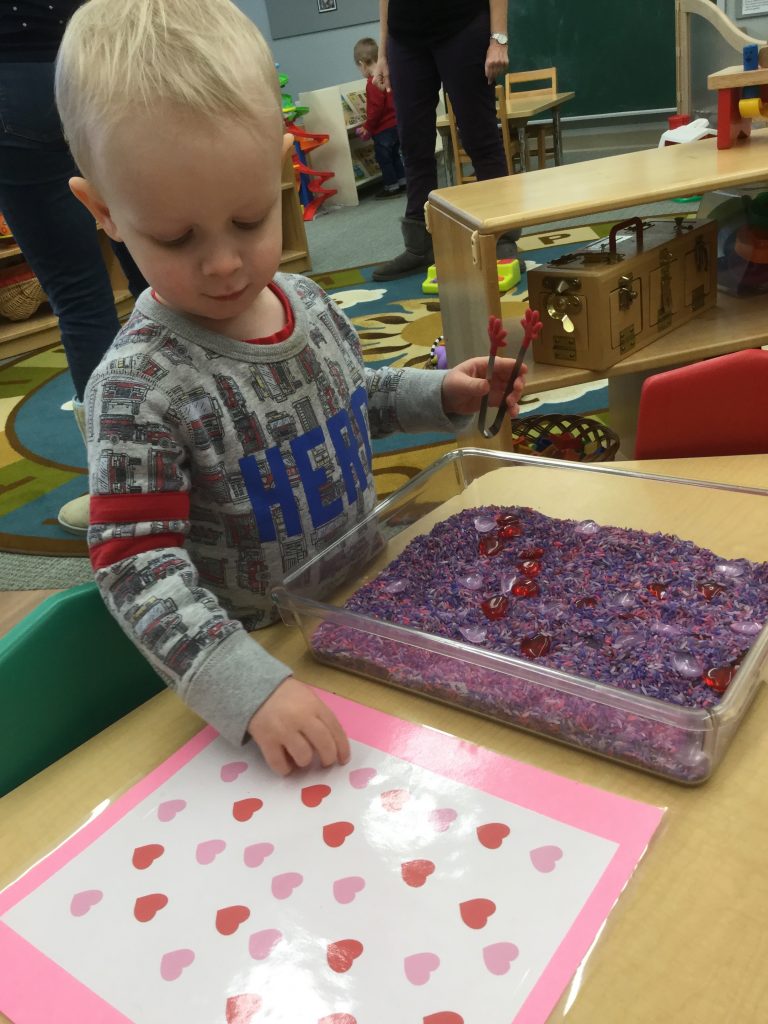
Make a heart sheet similar to the one in the picture by printing clipart hearts from your computer. It’s helpful to make the hearts on your sheet about the same size as the plastic hearts. Make half of the hearts red, the other half spink.  Once the rice is in a container, bury several red hearts and pink hearts in the rice. 

Challenge your child to use the tongs to find a heart and place it on the correct color heart on the sheet. If the tongs are too hard to use, let him place the heart using his fingers. It’s still a valuable fine-motor skill to practice the pincer grip to pick up and place the heart on the sheet. If you choose to work with your child, find a heart yourself and place it on the sheet. The more you are engaged in what your child is doing, the longer the activity will hold his interest!

Colorful Bead Sorting—Hearts

Materials:      
Multi-colored bag of pony beads    
 5 or 6 sheets of colored construction paper
3 pipe cleaners, cut in half
Scissors
Paper punch

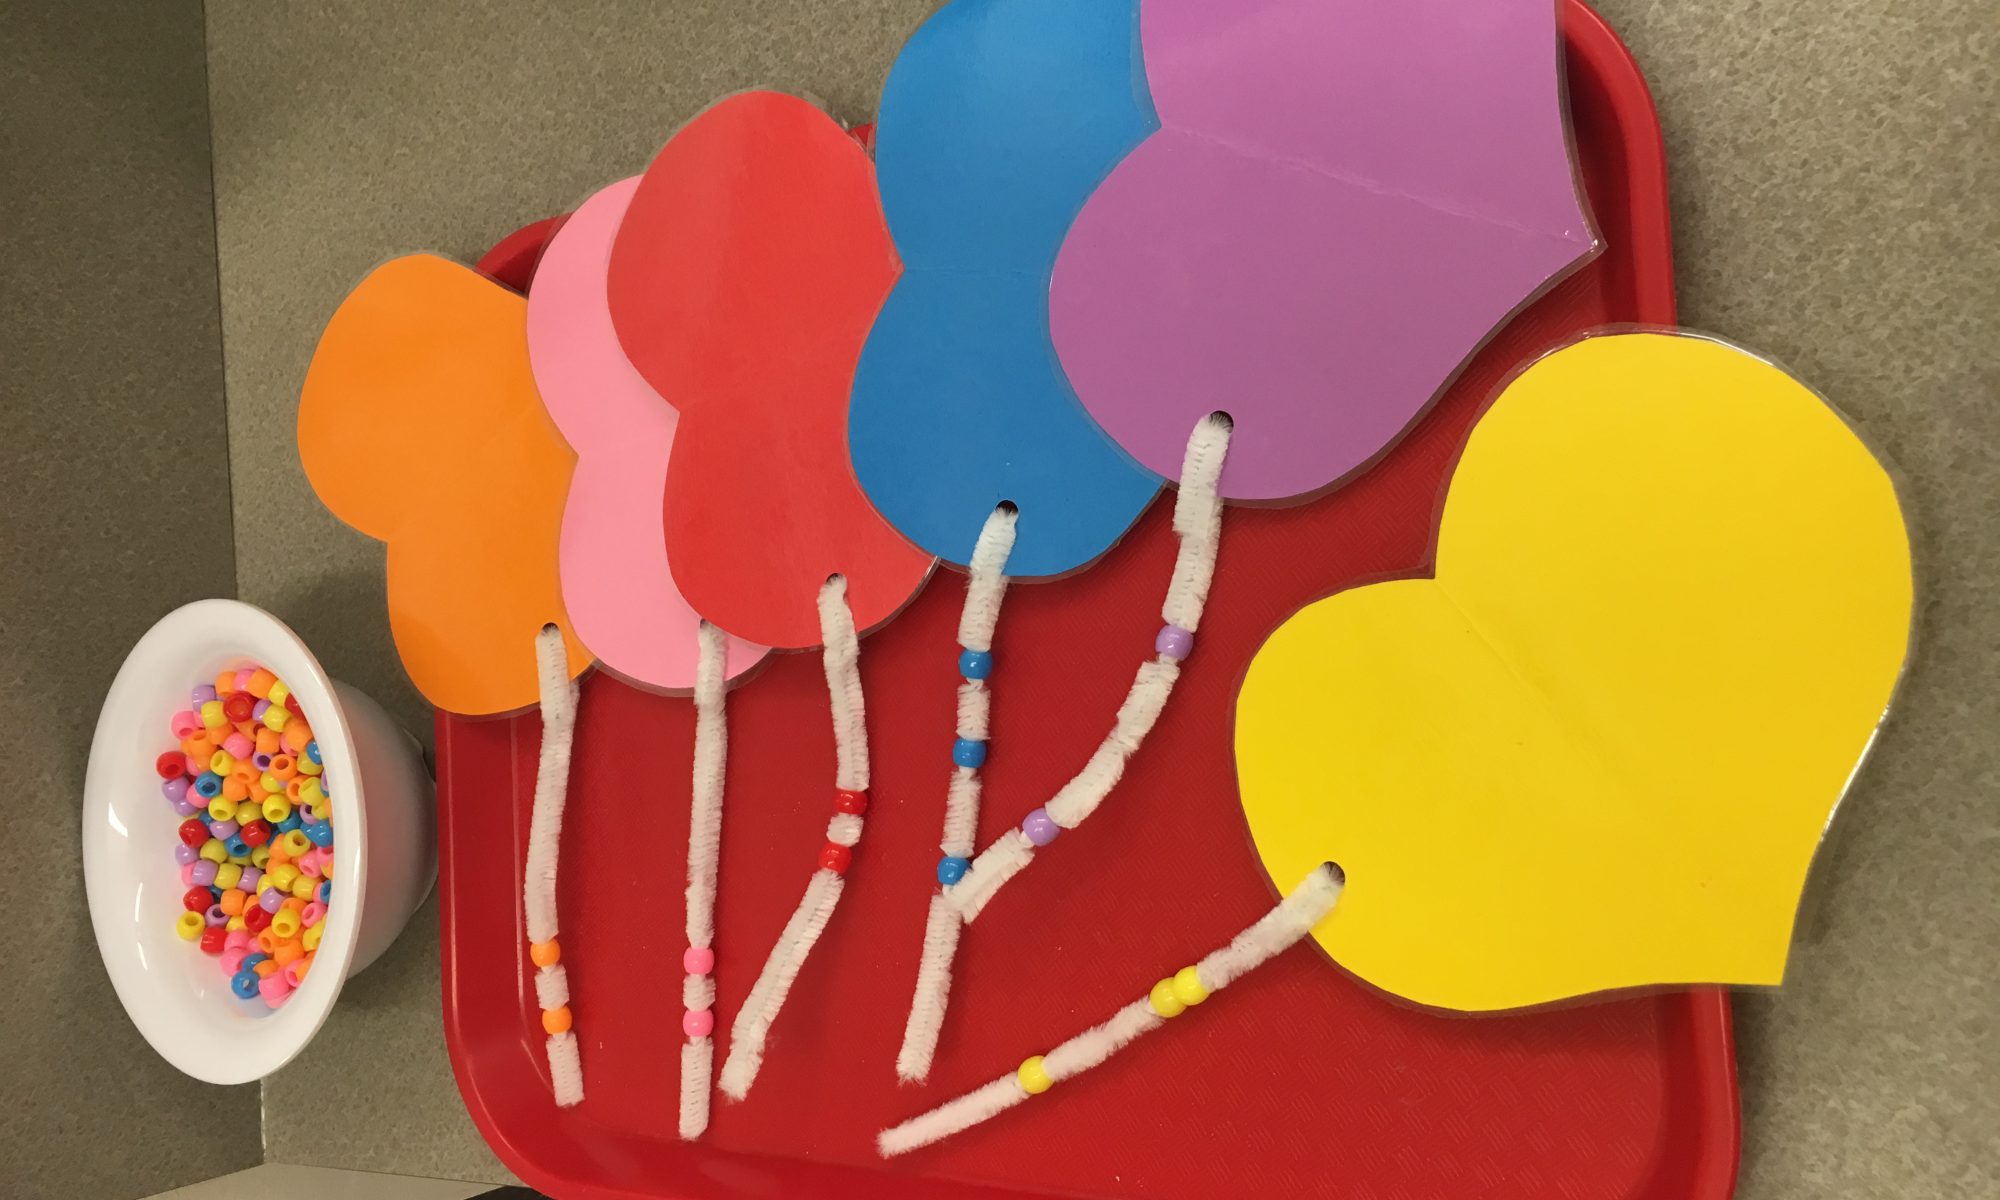
Directions:  Cut one heart from each sheet of construction paper.  Punch a hole on the edge of each one and secure a half pipe cleaner in the hole. 

Pour the pony beads into a bowl or onto a tray. For younger children, you may want to remove any colors that don’t match any of your hearts.  Encourage your child to pick a heart±a red one, for example, and only thread red pony beads on the pipe cleaner. 

If you sort along with your child, you can choose a heart, thread a bead or two on it, and ask your child if he can find another bead for you to thread on your heart. Your child will stay engaged a lot longer if you work with him. Continue the sorting until your little one loses interest. It’s perfectly fine to choose a bead first and put it on the correct heart. The concept you’re trying to teach is how we group certain items together—based on color, in this particular activity. There are many ways to sort, and as your child increases his confidence in sorting, you can branch out into sorting by other attributes!