Red, White, and Blue Flowers

Flowers

Materials 

2 small glasses or bud vases 
Water 
Red and blue food coloring 
White flowers – carnations work best 

FlowersDirections 

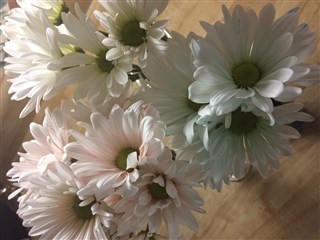
Invite your child to pour some water into the two glasses or small bud vases. Then add 8-10 drops of red food coloring to one vase and 8-10 drops of blue food coloring to the other vase. Place a flower into each glass and let them sit for a few hours or overnight. Observe. Ask your child what he sees after a few hours. The flowers will begin to change gradually into red and blue flowers. 

For added fun, cut the stem of the white carnations lengthwise, making the stem into two thin stems. Set the two glasses of colored water close together. Put half of the stem into the red water and the other half into the blue water. The carnation will look red, white, and blue after a few hours. Remove the carnation from the water mixtures. Wrap the stem back together with thread and place in clear water. Make several flowers for a beautiful red, white, and blue floral centerpiece. 

Red, White, and Blue Wreath

Wreath

Materials 

Paper plate 
White tissue paper 
Red tissue paper 
Blue tissue paper 
Glittery silver foam stars or ribbon 
Pipe cleaner 
Glue 
Stapler 
Scissors 

Directions 

Cut out the center of the paper paper plate. Discard the center. Cut colored tissue into 6”x 6” squares. Invite your child to scrunch a piece of tissue up and dip it into the glue. Press the tissue onto the paper plate. Continue doing this, alternating colors, until the plate is filled. Some “sparkle” can be created by adding glittery silver foam stick-on stars or by wrapping ribbon around the wreath. Staple a pipe cleaner to the back of the wreath for hanging purposes. 

Easy to Make Slime

Patriotic Slime

SlimeIngredients

1 – 5 ounce bottle of clear School Glue
Sta-Flo Liquid Starch
Food coloring or liquid watercolor (optional)
Glitter (optional)

Directions

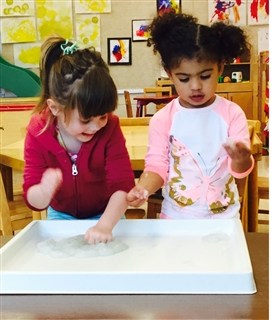
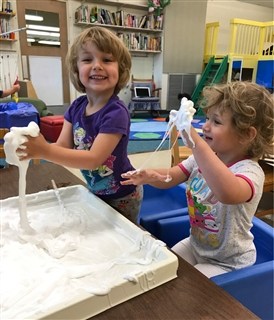
Pour glue into a bowl. To color slime, add several drops of food coloring or Slimeseveral squirts of liquid watercolor and stir well.  Add liquid starch to glue a few tablespoons at a time.  Stir thoroughly.  Continue to add liquid starch until slime no longer sticks to the sides of the container.  It should form a big clump in the center of the container.
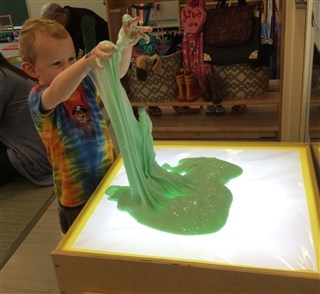
 
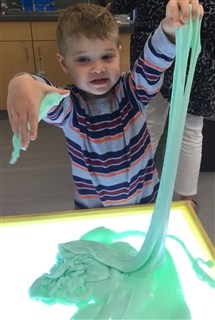
Stretch and knead the slime by hand to mix thoroughly. If the slime is still sticky, add a bit more liquid starch.  If the slime is too stringy and not sticky, add more glue.  Continue to stretch and knead until the slime becomes smooth and very stretchy.  Now it’s ready for play!
 
Store slime at room temperature in an air-tight container. Keeps for several weeks.

Variations

SlimeAdd glitter, pompoms, googly eyes, plastic spiders, foam shapes, beads, or other lightweight objects to the slime after it is made
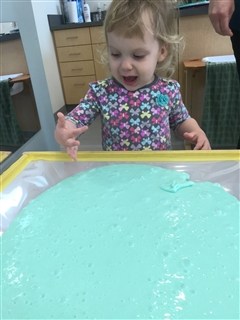
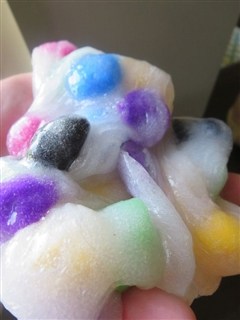
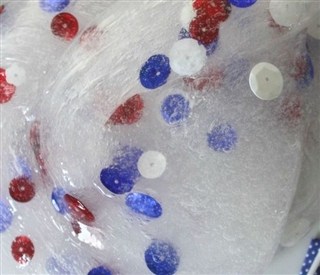
For Patriotic Slime, add red, white, and blue sequins or blue and red glitter.


SlimeSlime

Fizzing Fireworks

Fizzing Fireworks

Materials Needed

vinegar
baking soda
measuring spoon
spray bottle
water
coffee filters
contact paper
tape
food coloring

Directions

Cover a table with clear sticky contact paper (sticky side up) and then tape it down to secure it. Invite your child to stick coffee filters all over the contact paper. Fill a spray bottle 3/4 with vinegar and 1/4 water. Drop a scoop of baking soda onto the coffee filter. Place a drop of food coloring onto the baking soda as your child sprays the scoop of baking soda with the vinegar solution. Watch as the color baking soda fizzes. Allow the coffee filters to dry. Then remove them from the sticky contact paper. 

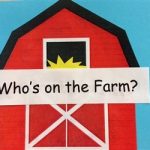
Who’s on the Farm?

Materials
Barn picture
5-6 book pages
Stapler
Scissors
Glue
Farm animal stickers

Directions
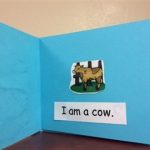
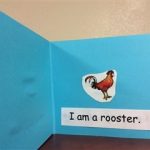
Staple several pieces of paper together.  I cut an 8.5 x 11 piece of paper into quarters. Make a cover and title for the book.  Invite your child to place one sticker of a farm animal on each page in the book.  Write a simple sentence for each page like, “I am a cow.”  Children will love the repetition and will enjoy reading their own handmade book!

Planting Lima Beans in a Zip-loc Baggie

Materials
4-5 Lima beans
Water
A plastic cup
1 paper towels
1 Ziploc bag (quart size)
Spray water bottle
Dirt

Directions
Place enough water in a plastic cup to cover the lima beans. Let the beans soak overnight. The next day, remove the beans from the water. Invite your child to fold a paper towel so it fits inside the plastic bag. Dampen the towel with water.  Place the paper towel in the bag, then add the seeds.  Seal the bag, and put it in a sunny spot where your child can observe the changes. 

Over the next few days, watch the seeds sprout! The seeds will begin to grow roots. When the roots become about an inch and half long, transfer seeds to a clear plastic cup.
Allow your child to fill the cup with soil, then use his finger to make holes in the soil, close to the edge of the cup. Place the beans, root side down, along the side of the cup, then cover with extra soil. Continue to water the plants so the soil is damp, but not soaked.
 
After a few days, the seeds in the soil will break through the soil and develop leaves. At this point, the small bean plant can be transfered to an outside garden if you want to grow actual lima beans, or you can watch them continue to grow indoors!
 
Lesson Extension
Read the book, One Bean by Anne Rockwell and Megan Halsey. This book was written with the youngest learners in mind.

Farm Animal Matching Game

Materials
Various farm animals from playsets
Cardstock
Printer

Directions
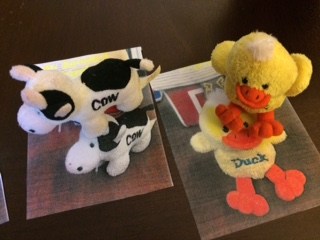
Take a picture of each animal one might find on a farm.  Print colored pictures of the animals onto cardstock.  Lay the various pictures out onto the workspace.  Invite your child to find the matching farm animal and place it on top of the picture. Count the number of animals.

Extensions
For preschoolers, label each picture with the name of the animal.  Focus on the beginning letter for each animal.  Ask, “Which animal begins with the letter ‘C'”

For Kindergarteners, place word cards only out for your child to read and then find the animal that matches the word card.

Have fun!

Farm Animal Paper Bag Puppets

Materials
Brown paper lunch bags
Templates of various farm animals (search Google Images)
Glue
Paints
Scissors
Cotton Balls (sheep)

Directions
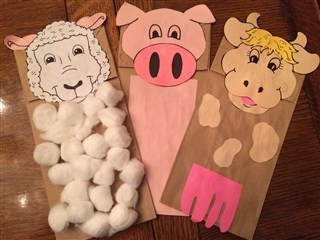
Print puppet templates of several different farm animals. Cut them out.  Invite your child to decorate the brown paper bag (i.e. glue cotton balls on for the sheep’s wool, paint the bag pink for a pig, color spots for a cow).  Help your child glue on the cut out animal faces.  Once the puppets have dried, engage in some storytelling with the puppets, sing “Old MacDonald had a Farm”.

Big Red Barn – Story Stretchers

Materials
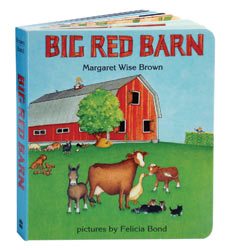
Book:  Big Red Barn by Margaret Wise Brown
Small plastic farm animals and/or pictures of animals that live on the farm
Container of shredded yellow paper

Literacy Activites

Picture Walk:  “Walk” through the book, page by page, and identify as many animals as possible.  Ask, “What does a pig say?”, “What does a horse say?”, etc.  Once you have taken a picture walk, if your child is interested, read the story aloud.  For toddlers, you may want to read the book another day.  They may want to spend some time playing with the plastic farm animals.

Read Aloud:  Find a cozy spot to read the story with your child. Take time to examine each picture and encourage your child to say and point to the animals and make the animal sounds as you read the story together. You may also want to ask him to share what else he sees in the picture.  Invite your child to find the matching plastic animal or picture of the animal.  At the end of the story ask content questions such as,
1. “How many horses were in the story?”
2. “How many eggs did the hen lay?”
3. “Which animal squealed?”
4. “Where were the children?”

Math Activities
Make a tally mark for every animal that is introduced in the story.  At the end of the story, count the talliies and remind your child that each tally represented an animal on the farm. Ask, “How many animals live on the farm?”

Sort the animals using various criteria (i.e. animals that have wings, animals with four legs; big and little, those that sleep during the day verses animals that sleep at night)

Science
introduce names of adult animals, male and female, and baby animals (sow, piglet, mare, foul, cow, calf, hen, rooster, chicks).  Look for pictures of adult and baby animals. Invite your child to match the baby with his parent.

Visit a farm
After reading the book, visit a local farm or petting zoo.  See a cow being milked, feed the baby goats, look for eggs in a hen house, watch the pigs roll in the mud.

Sensory
Shred yellow paper and place the shredded paper in a plastic tub.  HIde the farm animals in the tub and invite your toddler to find all the animals.  Name and count the animals.