Connect the Polka Dots

Materials:      
Large piece of white paper
Sticky dots from the Dollar Store
Markers or crayons

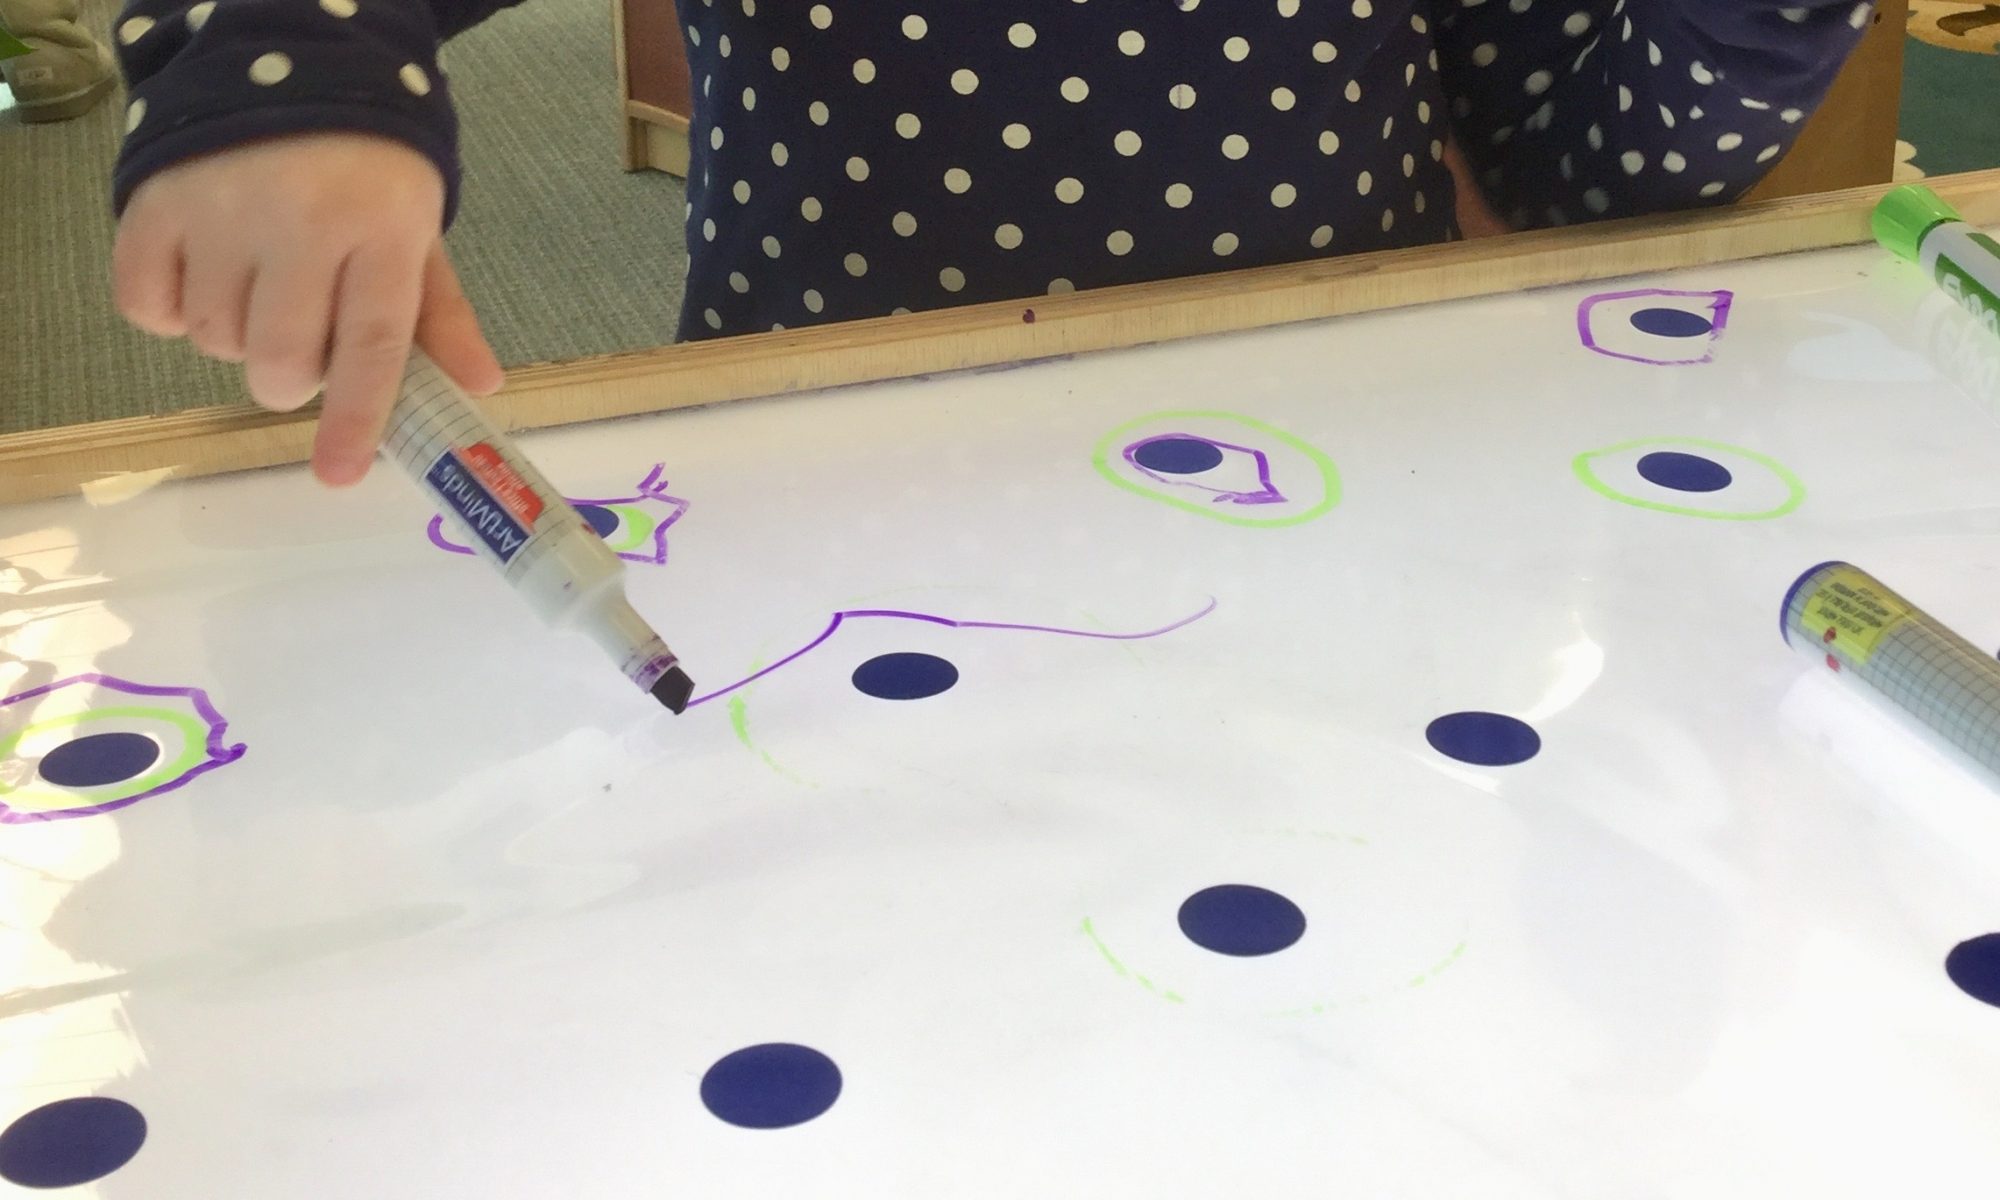
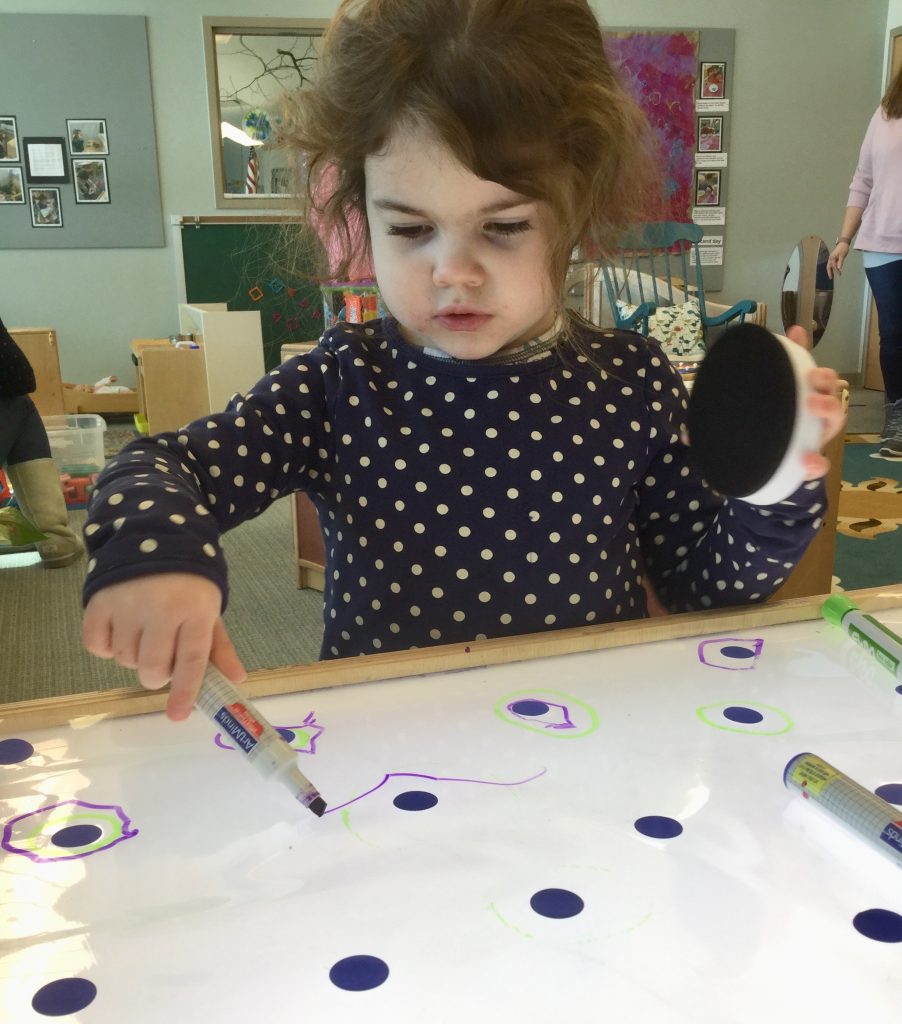
Directions:  Stick the dots all over the paper in a random fashion. You can use multicolored dot stickers if that’s what you have. Give your child a marker or crayon and encourage him to make marks on the paper. We tried drawing circles around the dots, drawing dots right on the stickers, and eventually drawing lines from one dot to another. This is a great activity for refining your child’s eye-hand coordination, which is the processing of visual cues to direct the movement of the hands. This is an important part of the learning process and comes into play as your child is tracking print across the page, grabbing something, or even catching a ball!

Fruity Stars and Stripes

Ingredients:   
Graham crackers
Whipped cream cheese
Red fruit roll-ups or fruit rolls
Fresh blueberries

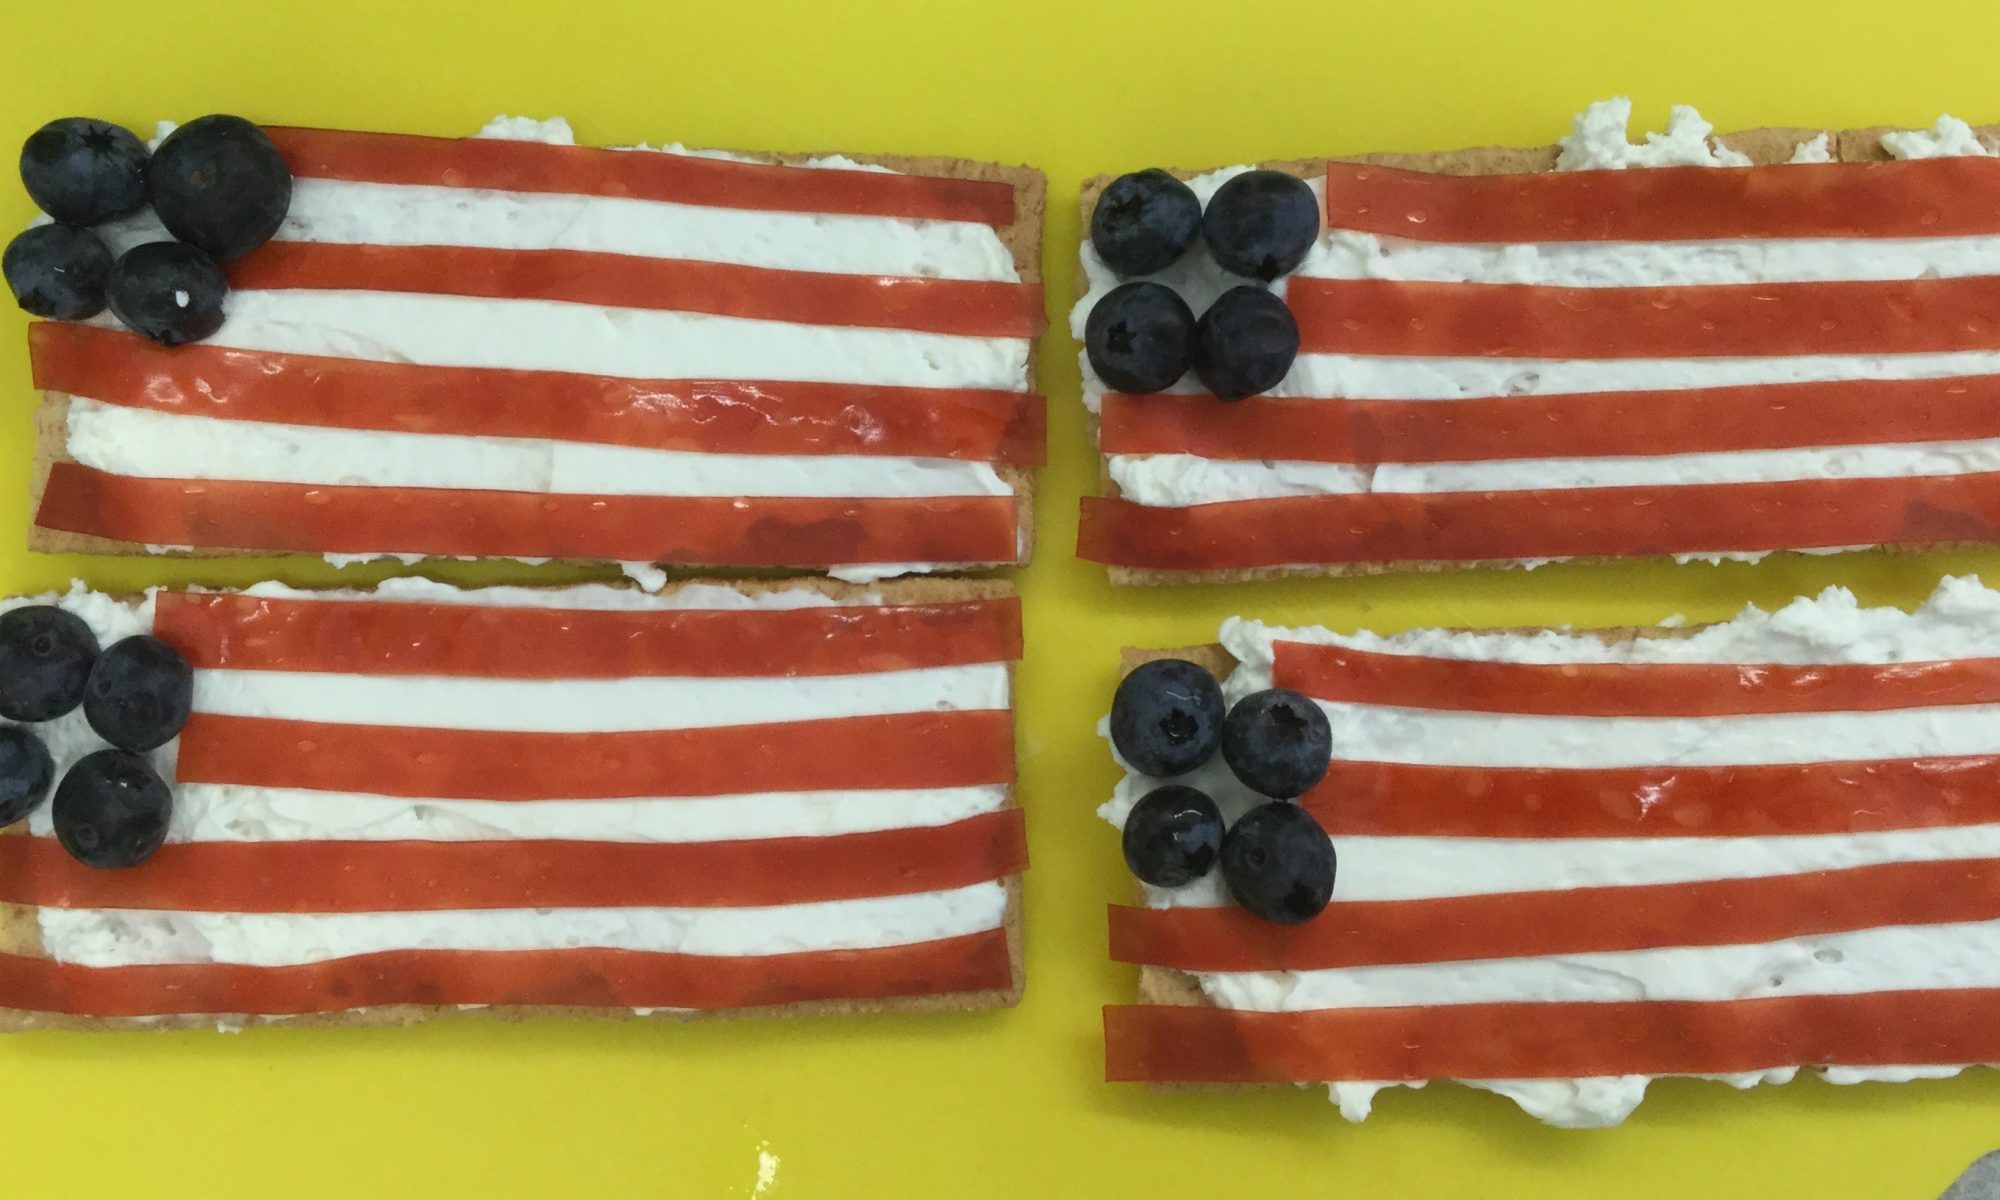
Directions: Spread the whipped cream cheese on the graham crackers. Unroll a roll-up, keeping it attached to the paper. Cut the roll-up into pieces as long as the graham crackers (about 5”); then cut the five-inch piece in thirds lengthwise. Add four blueberries to the upper left corner where the stars would be on the flag. You may want to snip off a little of the top two roll-ups so the blueberries adhere to the cream cheese a little better. Enjoy!

Striped Snakes

Materials:      
Old, dry dish sponge
12” x 18” construction paper
Black marker
Two googly eyes
Glue dots, Elmer’s glue, or double-sided tape
Small puddle of tempera paint in a Styrofoam meat tray
Scissors

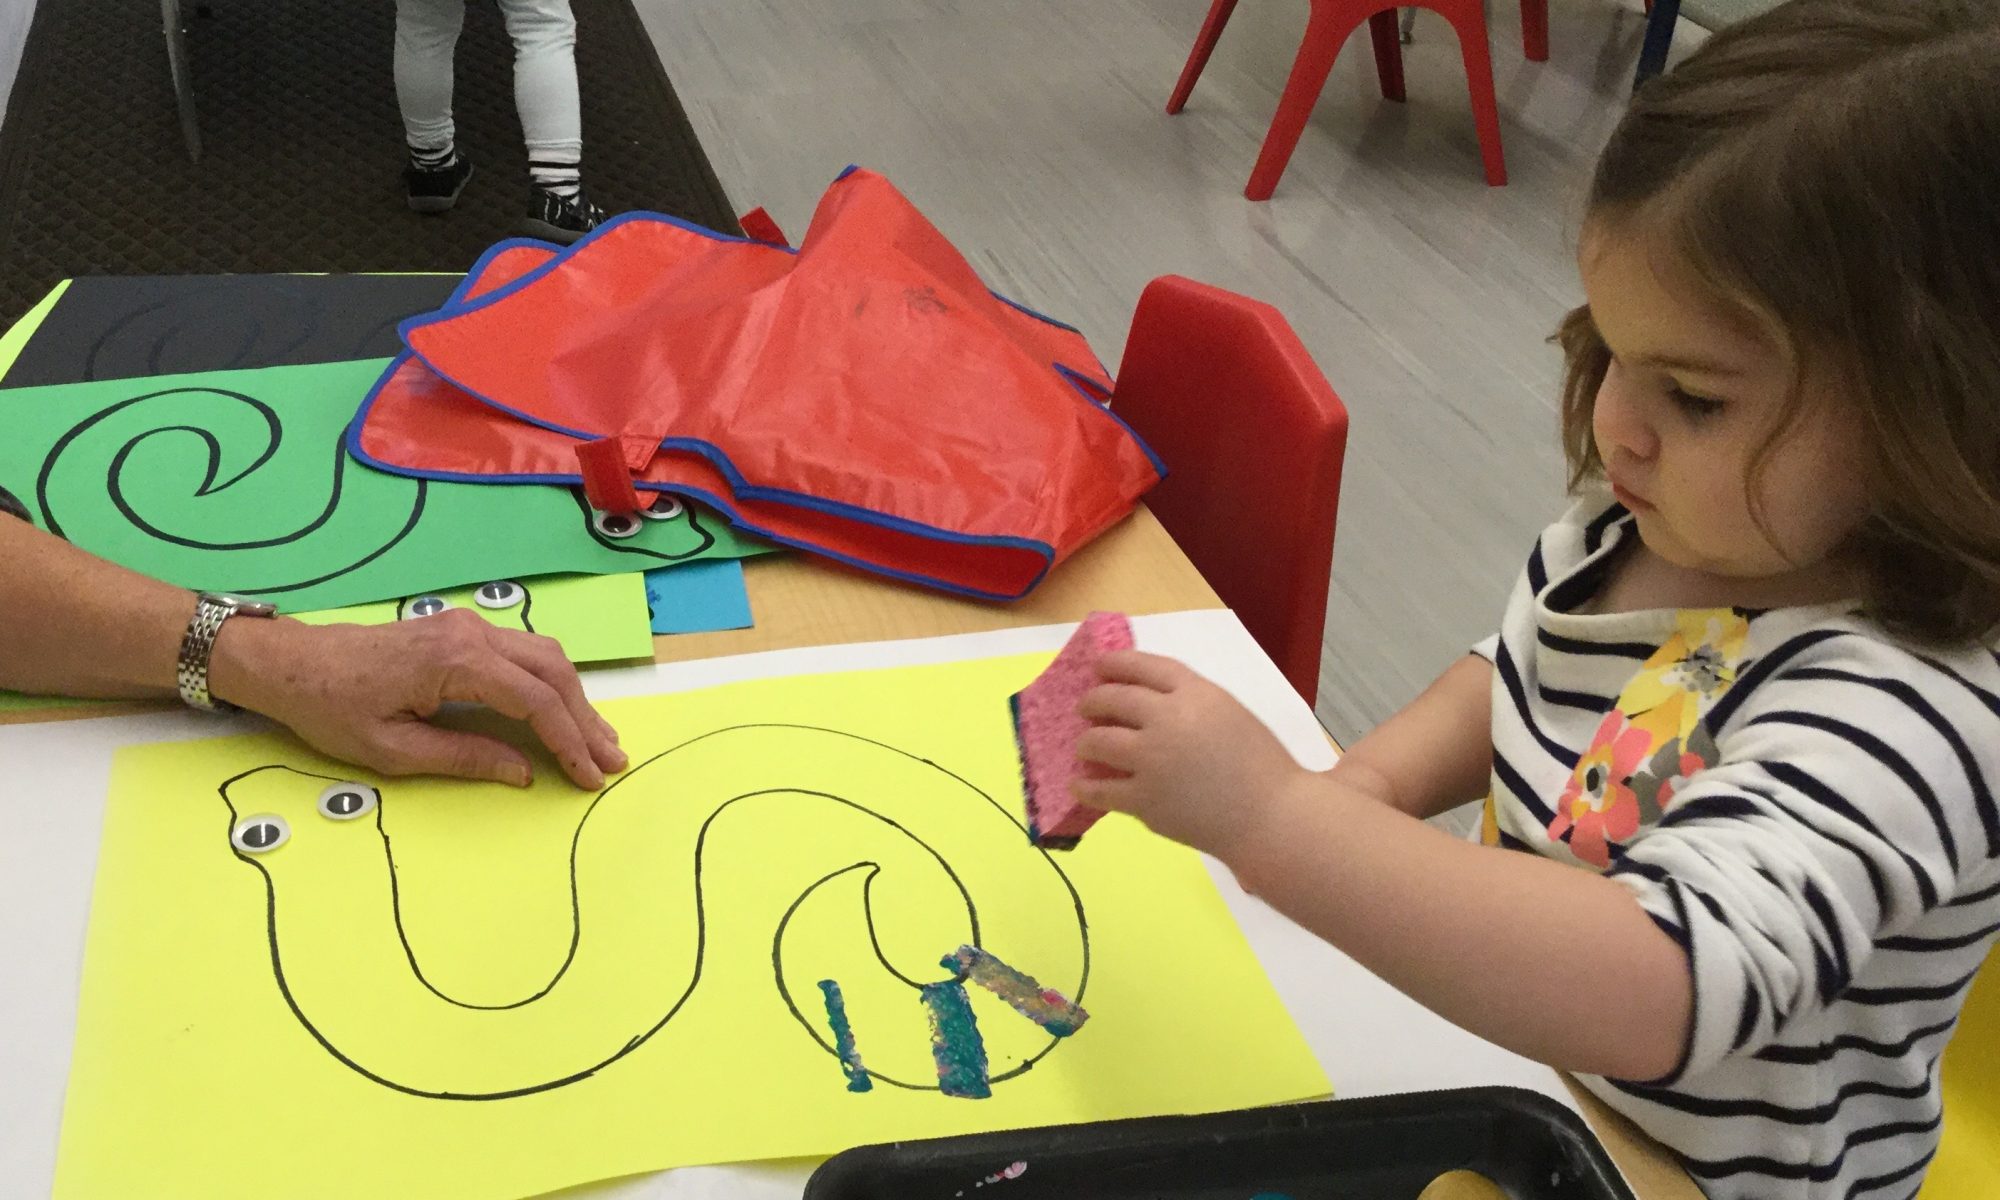
Directions: Using the black marker, draw a simple snake shape on the construction paper. Dip the edge of the dry sponge into the paint, hand it to your child, and encourage her to print stripes all along the snake’s body, end to end. Help her to print her stripes across the body, widthwise. Let the painting dry. Use two glue dots to stick the googly eyes to the snake. Finally, cut out the snake. Maybe an older child would like to help with the cutting!

Ribbon Play

Materials:      
Light table or mirror
Variety of ribbons
Masking tape
Scissors
Floral stones (optional)

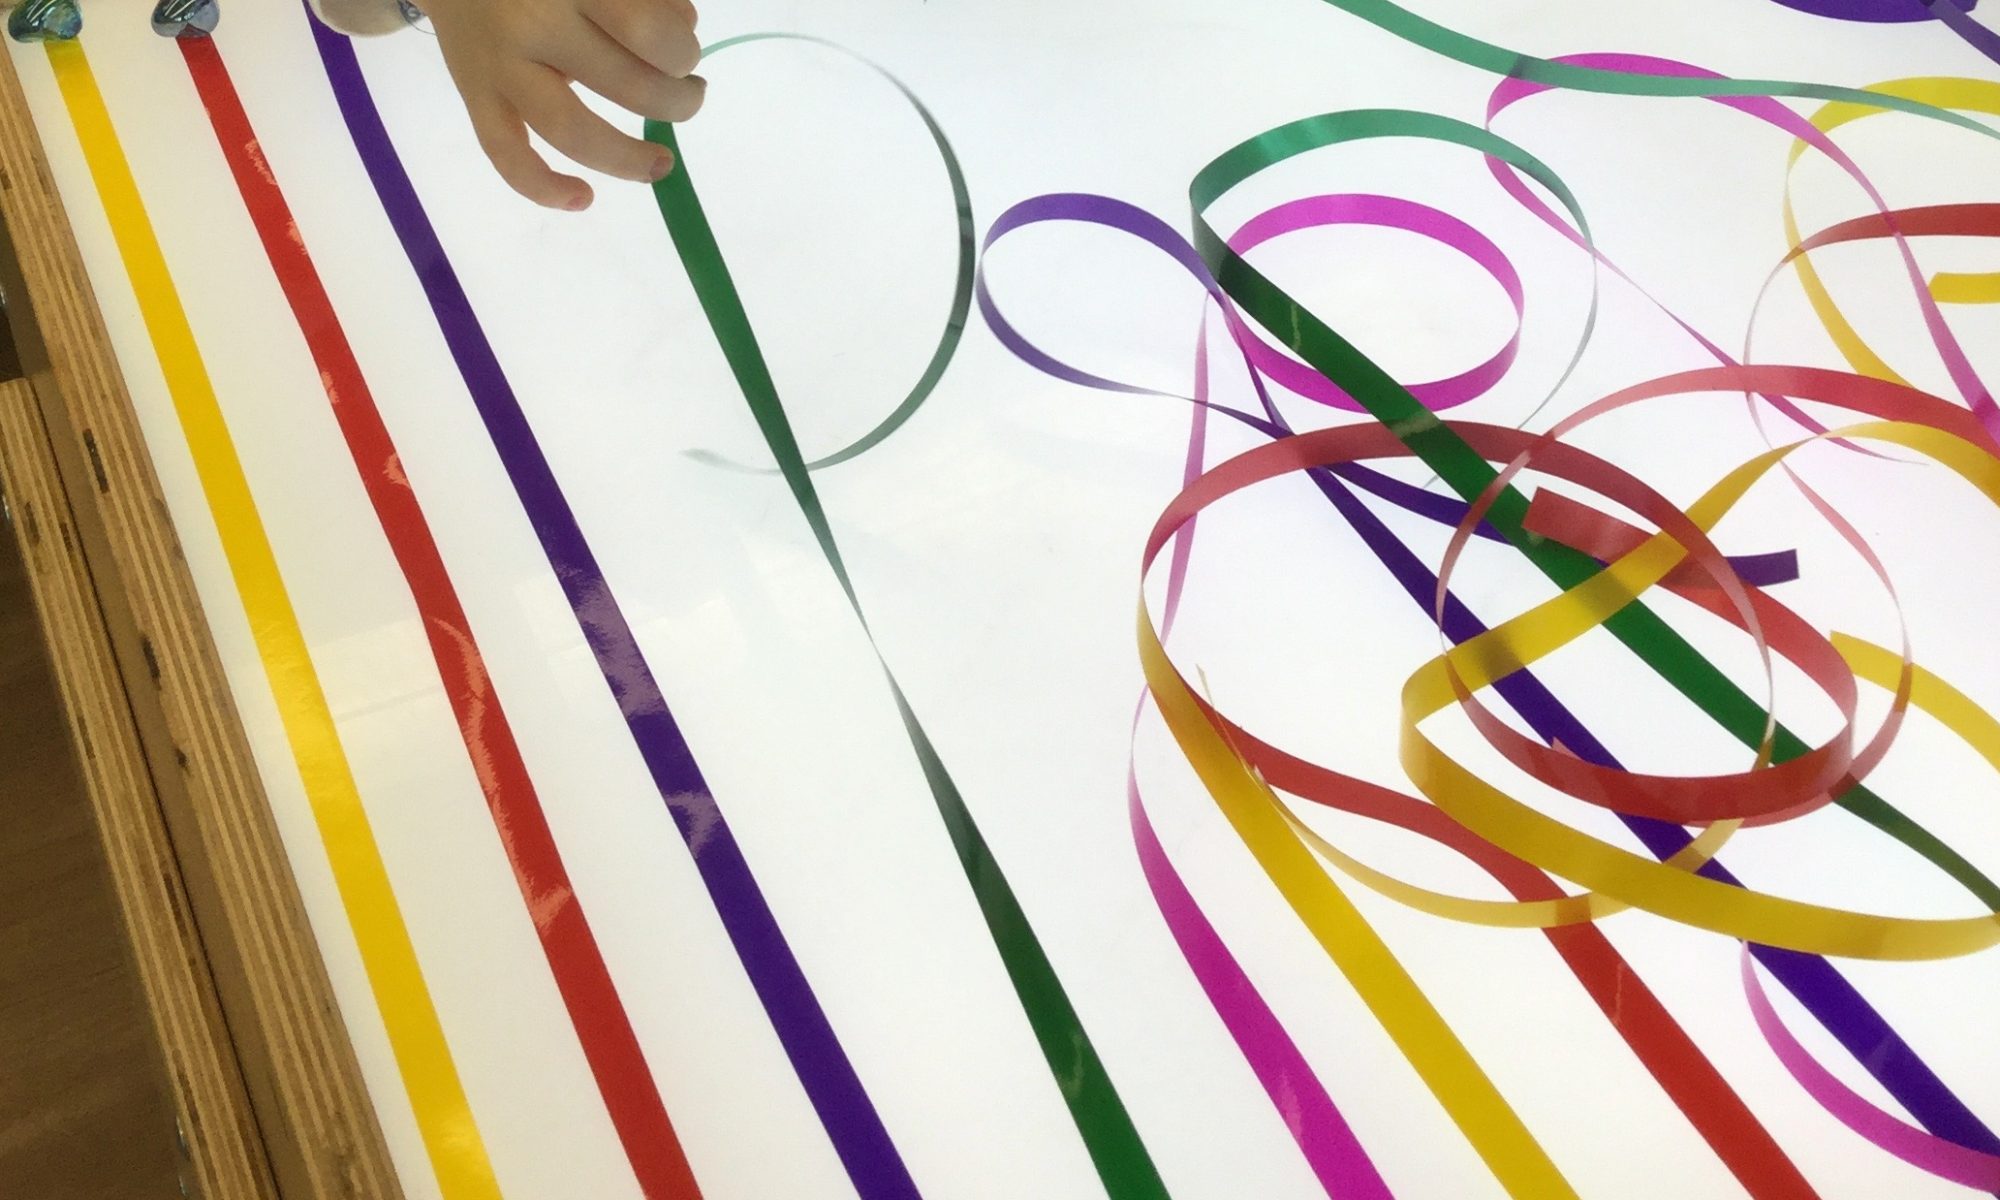
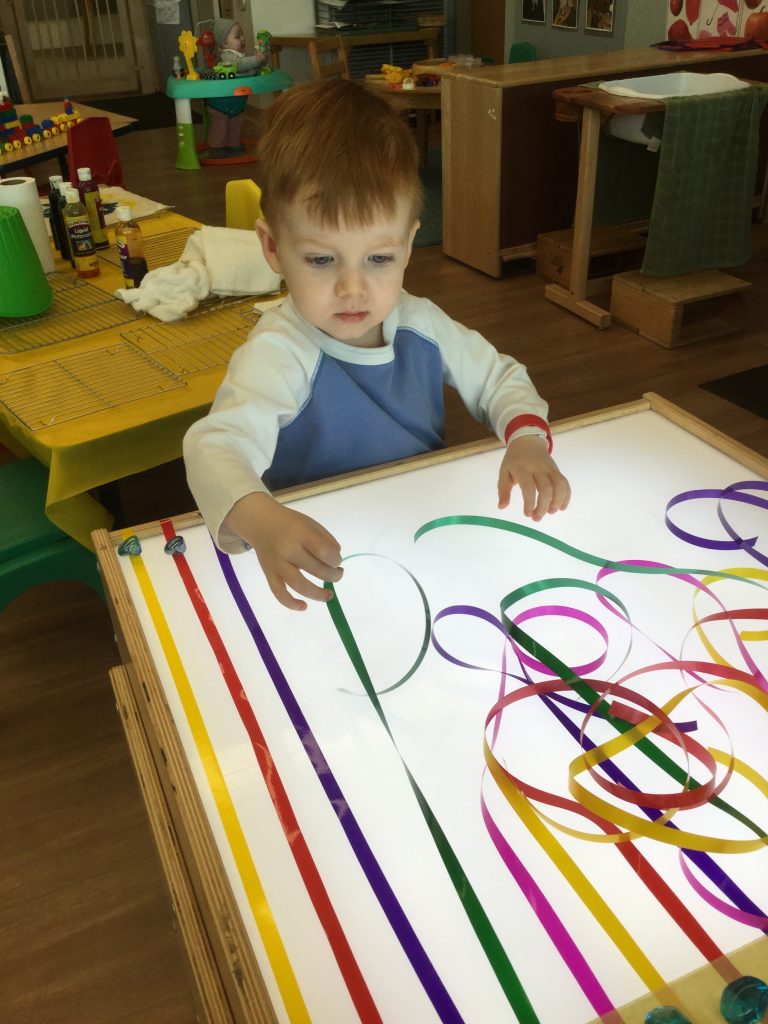
Directions: Lay a piece of masking tape at the top of the surface you’re going to use, be it a light table, mirror, or even a table or countertop. Gather your ribbons, and cut them so they’re all the same length. A variety pack of curling ribbon would work very well. Tape each ribbon to the masking tape, leaving a small stripe of space between each ribbon. You can glue another strip of masking tape across the top of the ribbons for extra strength if you wish. Invite your child to explore the ribbons. Show her how you can pull the ribbon taut and secure it with either floral stones or tape to hold it in place. Pull the next ribbon taut, and secure it as well. Now you’ve created stripes! Let her continue to create stripes or just explore the ribbons themselves

Paint Roller Derby

Materials:      
Large (two-gallon) Ziploc bag
Large sheet of white paper
Small paint rollers
Ruler
Marker
Baby oil
Food color
Water
Floral stones (two colors if you have them)
Tape

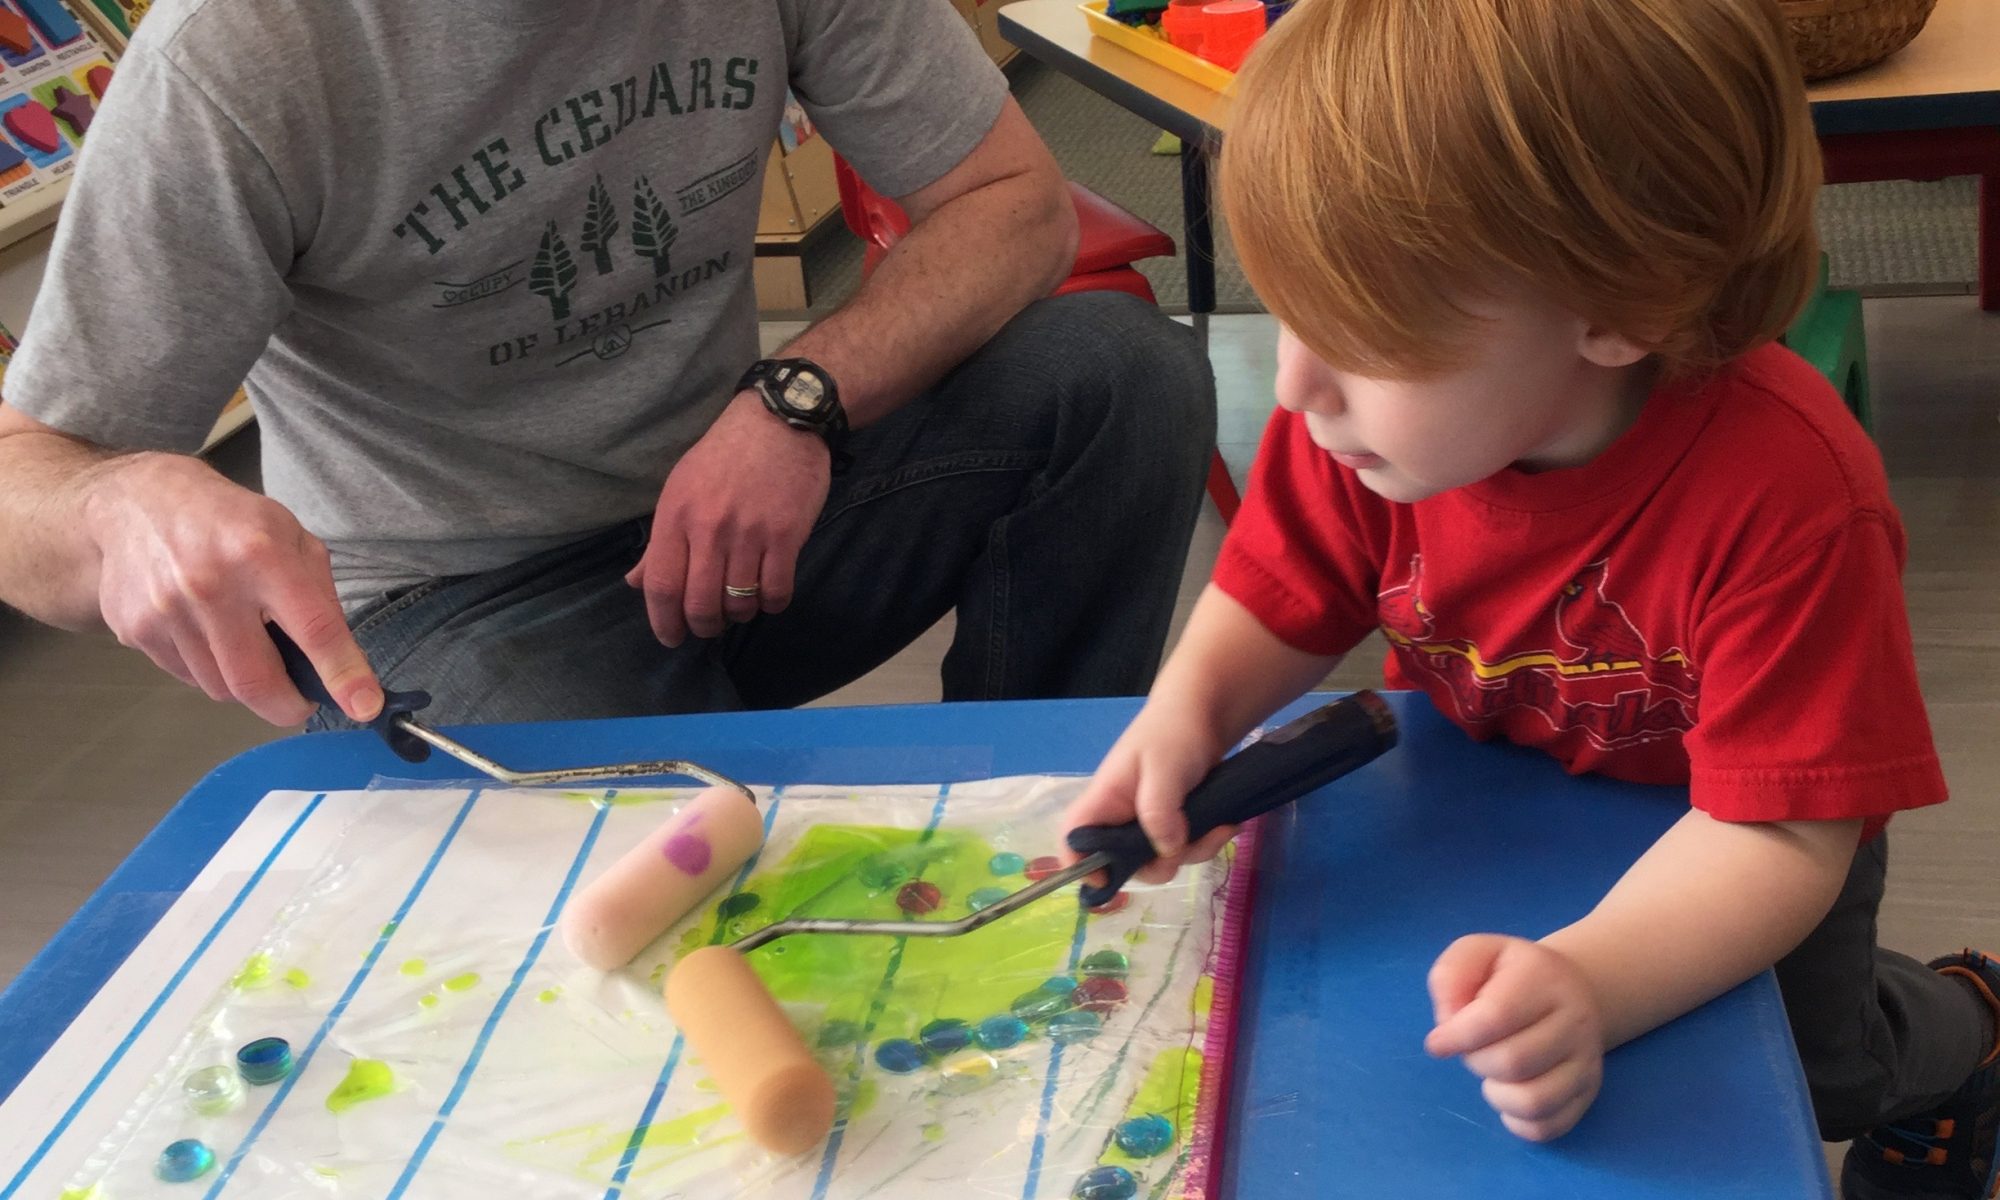
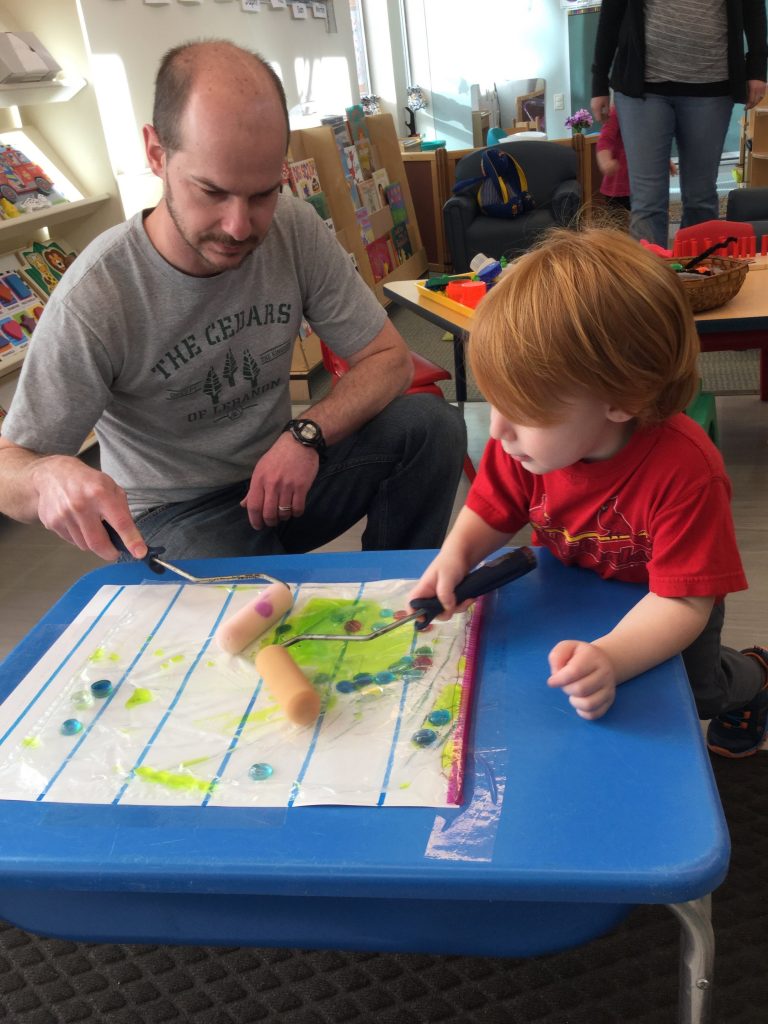
Directions: Using the ruler and marker, draw straight lines across the paper about two inches apart. Tape the paper to a table. Mix a little food color into about a cup of water. Pour it into the Ziploc bag. Add some baby oil to the mix, roughly half a cup. Vegetable oil works, too. Add the floral stones. Get as much air out of the bag as possible and then seal the bag. It’s a good idea to tape over the seal so the bag doesn’t accidentally open! Tape the bag directly on top of the paper with the lines. Then you’re ready to explore with the paint rollers. Your child may or may not notice that the oil and water don’t mix, so some of the liquid is colored, while some is not. It’s fine to use fingers to push the floral stones across the lines, but I like to provide the small paint rollers. The paint rollers are something the child can manipulate by himself, and they add an exciting dimension to the activity. Also, the rollers are soft, so the bag tends to last longer without punctures! Challenge your child to try to move all the stones to one end or the other, or to a certain line. Younger children will enjoy just exploring with the rollers. If you use two colors, you can try making a game of it by choosing one color of stones and just moving those. It’s harder than it looks!

Milk Jug Drop and Dump

Materials:      
Gallon milk jug
X-Acto knife
Basket of items to drop into the jug

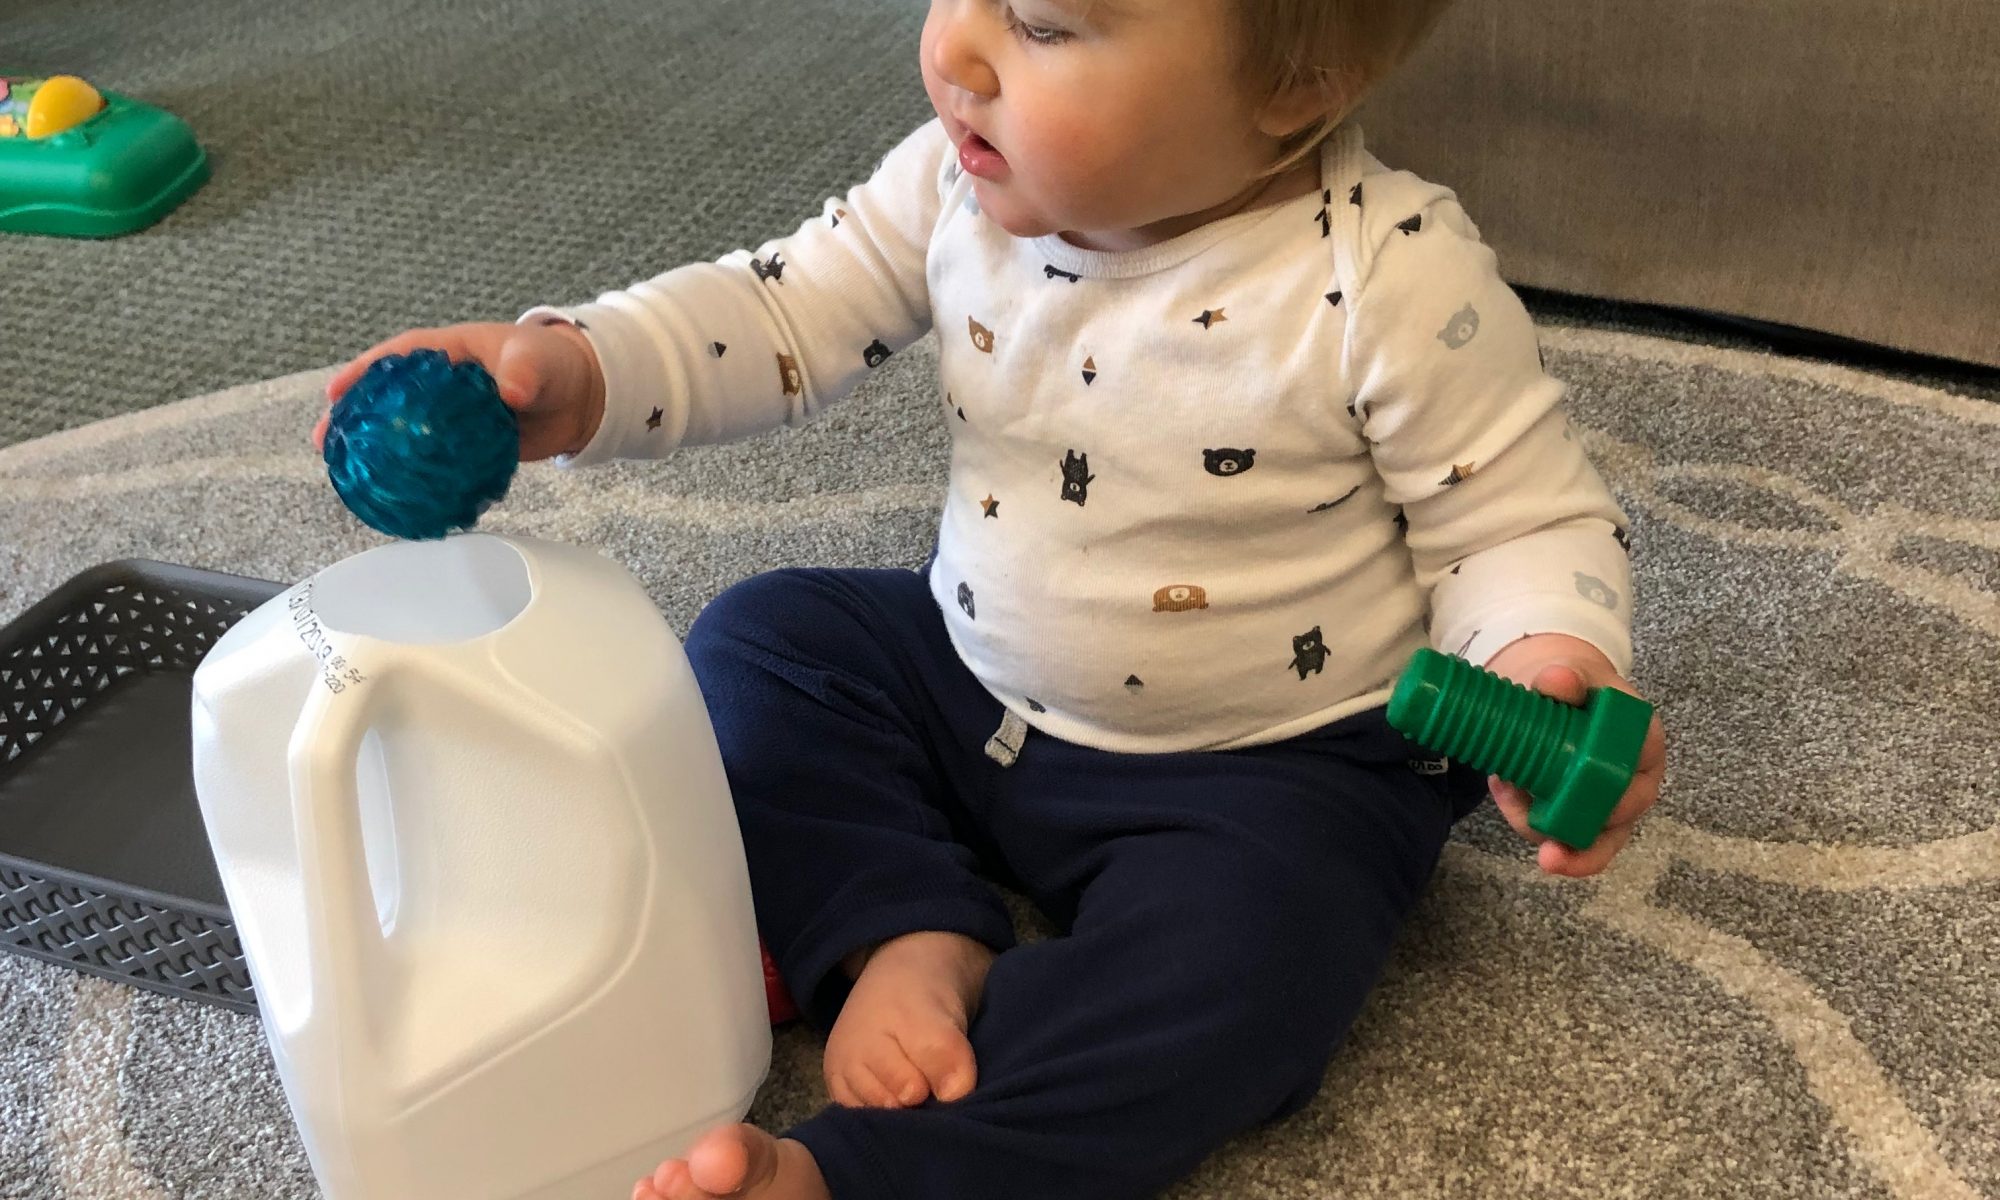
Directions: Thoroughly wash and rinse a gallon milk jug. Using the X-Acto knife, cut off the mouth of the jug, leaving the handle intact but making the opening big enough for your items and your child’s hand to fit through. Take one of the items and drop it through the opening. Ask, “Where did it go?” Let your little one take an item from the basket to drop through the opening. From here, the play will take on a life of its own. When Baby T. took an item, he invariably brought the item to his mouth before dropping it in the jug. One of the items, a textured blue ball that lit up whenever it hit the ground seemed to be a favorite. Baby T. would mouth the ball and then drop it into the jug, but not always successfully. When the ball missed the hole, Baby T. would crawl off after it and hold it for a while before dropping it in. When he dropped something into the jug, he would lean forward, looking in the hole for the toy. Sometimes he would reach in and pull something out, not necessarily what he just dropped in. Baby T. continued dropping in and retrieving items from the jug for 20–30 minutes before finally moving on to something else!

Find the Pairs

Materials:      
Large piece of paper to serve as a work mat
Two different colors of 12” x 18” construction paper
Scissors

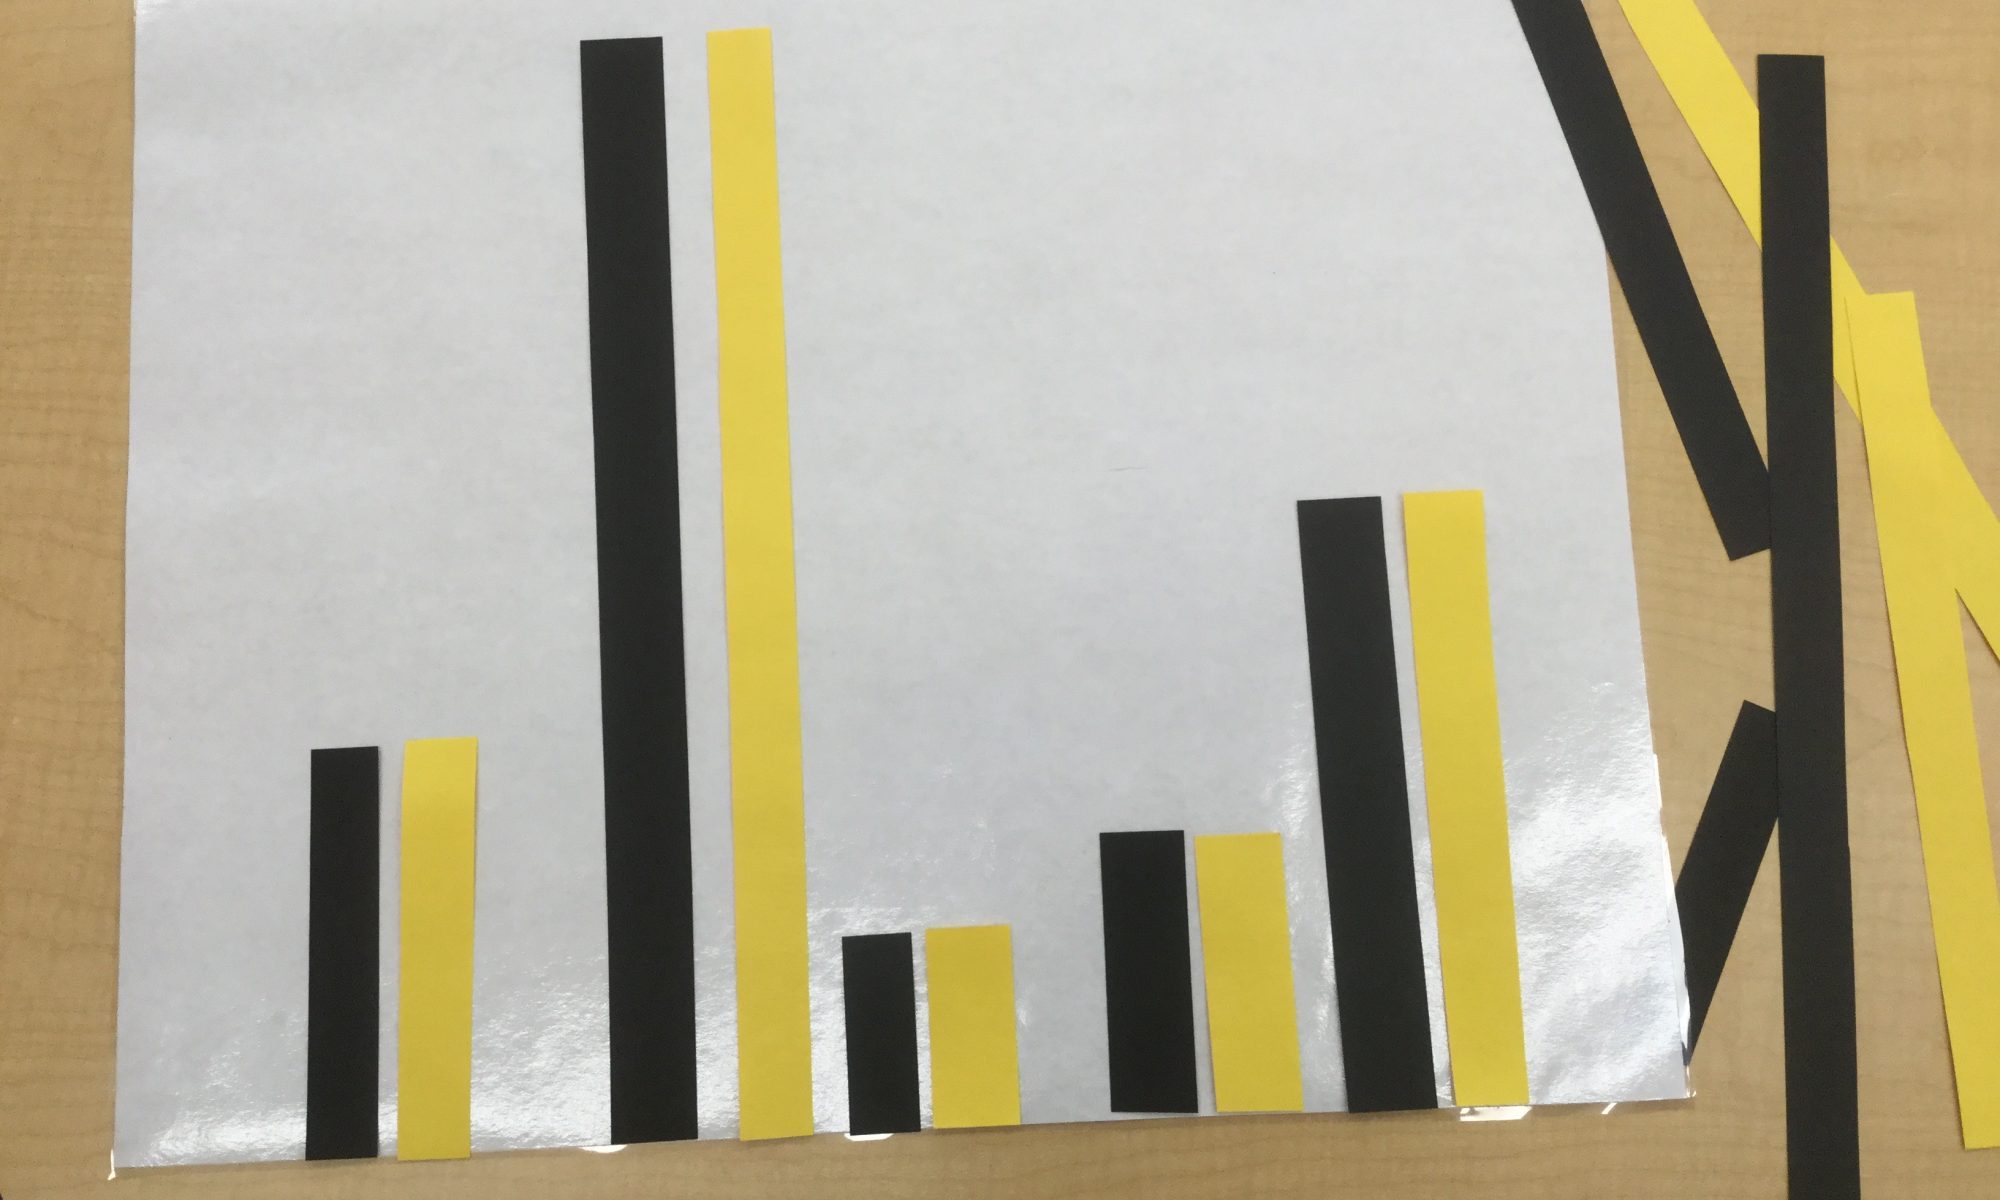
Directions:  Make sure the “work mat” has a straight edge on the bottom. Use scissors or a paper cutter to cut the construction paper into 1” strips. It’s helpful to cut the two sheets of construction paper together so the strips are the same length and width. Once the strips are cut, take two different color strips (for example, 1 black and 1 yellow), lay them on top of each other and cut through both strips, making them identical lengths. Make several more pairs the same way, varying the lengths. If you plan to do this activity with really young children, make the lengths of the strips distinctive. Young children won’t be able to discern slight differences in lengths.

To get started, lay the strip pairs alongside the work mat. Encourage your child to choose a black strip and line it up with the bottom edge of the work mat. Ask your child to find a yellow strip that’s the same size as the black one. Encourage him to lay the second strip along the edge of the mat right next to the first one so he can easily compare the two. There’s  a lot of mathematical language you can bring into this activity—terms like, “size,” “length,” “width,” “equal,” “short-shorter-shortest,” “long-longer-longest.” You get the idea!

Once your child has matched the pairs, they may be ordered from shortest pair to longest pair. This might be an activity extension for another day, but if your child is excited about it, press on!       
Washi Tape Stripe Art

Materials:      
Roll of washi tape
Canvas painting frame or board
5 or 6 compatible colors of acrylic paint
Paintbrush for each paint color
2 strips of poster board

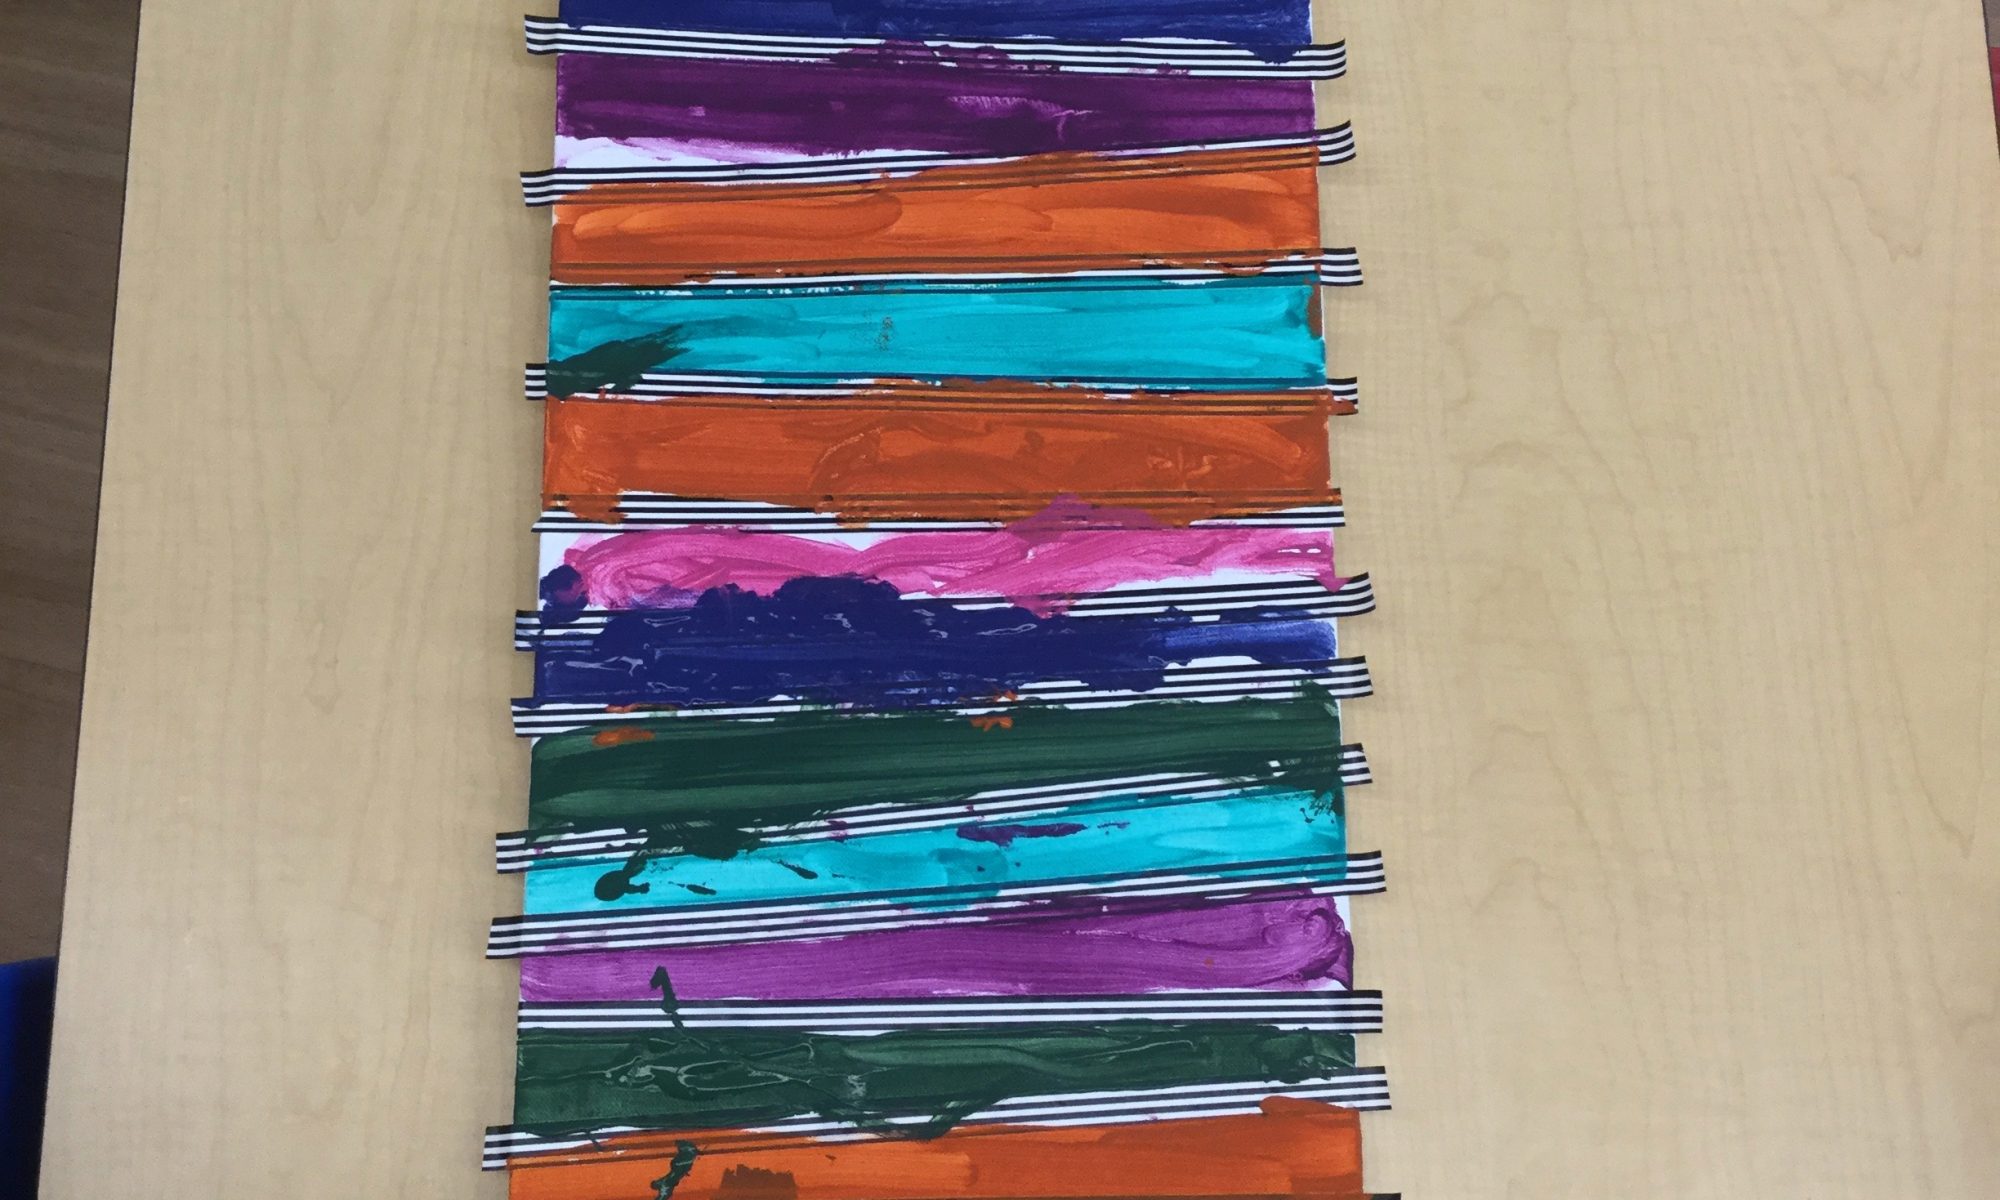
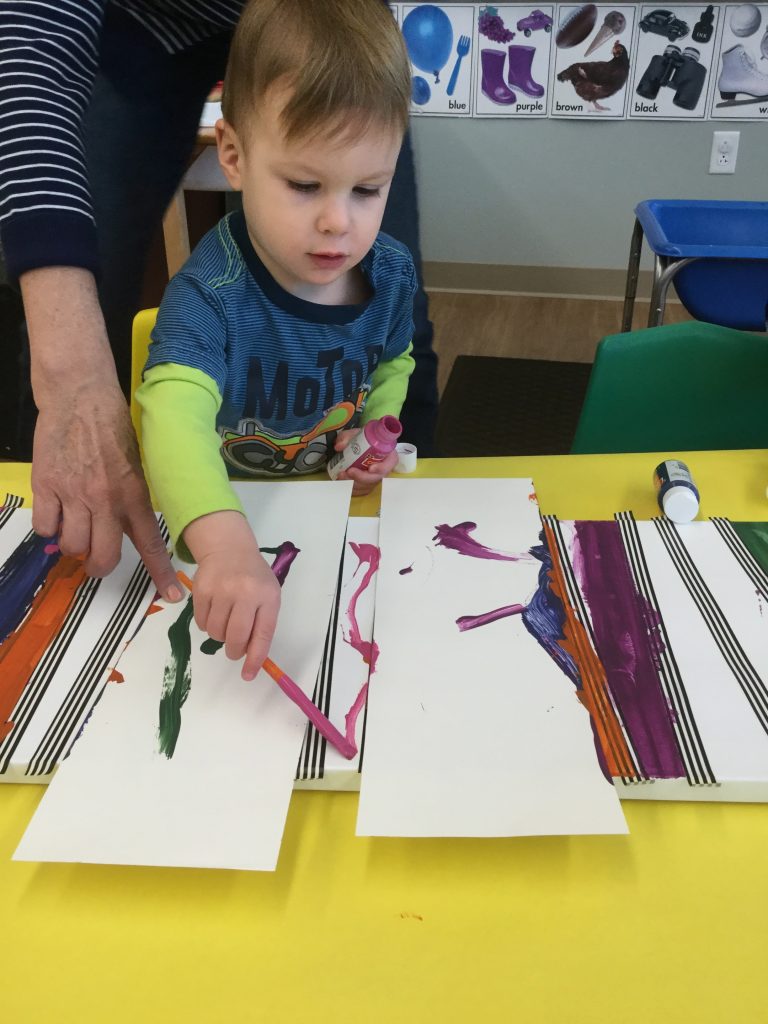
Directions: Tape off the canvas in a stripe pattern using the washi tape.  I like washi tape because it’s flexible, comes in a variety of designs and widths, and doesn’t leave a sticky residue behind. 

Choose your paint colors, and invite your child to choose one color to paint the first stripe. We found it helpful to let the child choose which stripe to paint and lay the poster board strips alongside the tape as a paint guide.  That seemed to keep the occasional errant brush strokes to a minimum! Once he finishes the first stripe, let him paint another if he’d like. You can choose another color and move your paint guides to another stripe, or not use the paint guides at all. Some of the older children didn’t like the paint guides, so they painted without them. It’s the process, not the product, so if the painter strays outside the tape lines, that’s perfectly fine, and I think it  actually enhances the product!

This project actually took a couple of days to complete. Children painted one stripe the first day and came back to it the next. When all the stripes have been completed, make sure the paint has thoroughly dried before pulling off the tape (a fun thing for your child to do) revealing a unique work of art!

Stripes on the Light Table

Materials:      
Painter’s tape
Small items to line up between the stripes (bottle caps, floral stones, corks, paper clips, cut straws, buttons, etc.)
A light table, although any flat surface will do!

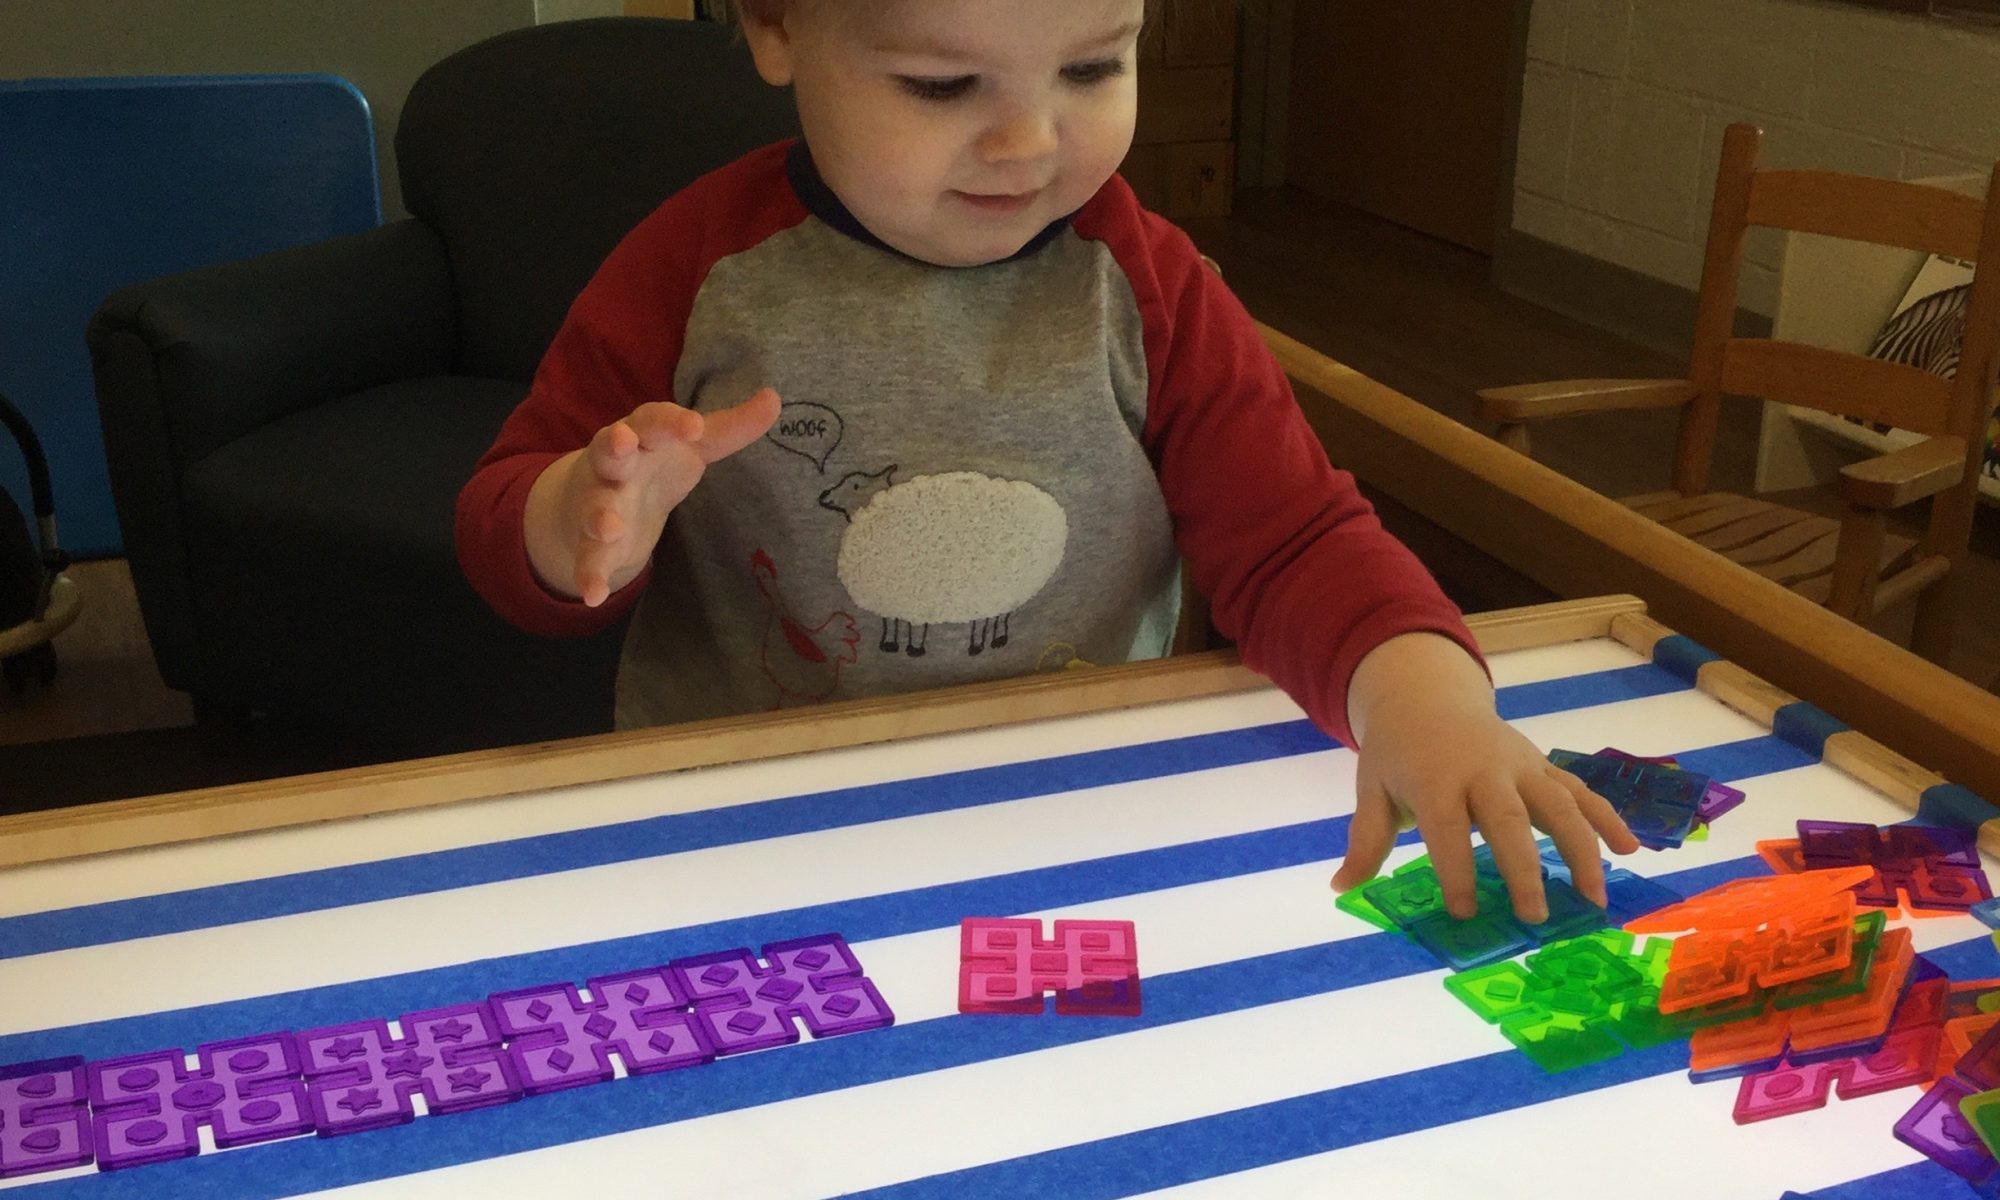
Directions: Lay down stripes of painter’s tape on your surface. Invite your child to construct stripes in between the tape stripes with the material you’ve selected. Younger children may choose to build right on top of the painter’s tape, which is fine. They’re practicing the pincer grip as they pick up the material and eye-hand coordination as they place it on or within the stripe!