Materials
3 Small clear cups or bowls
Eye dropper or pipette
Baking Soda
Vinegar
Yellow Food Coloring
Spoon
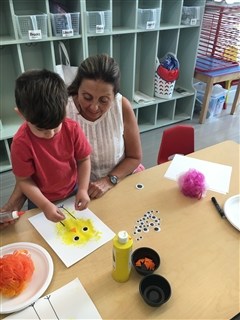
Directions
Fill a small cup or bowl with baking soda. In another cup or bowl, pour about 1/4 cup vinegar. Add several drops of yellow food coloring to the vinegar. Set out a spoon, pipette, and another empty cup or bowl and invitie your child to experiment placing a spoonful of baking soda into the empty bowl and adding a few drops of the colored vinegar by using a pipette. Observe what happens.
Lesson Extensions
Provide three clear bowls for colored baking soda (yellow, blue, red) To color the baking soda, add a few drops of food coloring and mix. Provide 3 more clear bowls or cups with colored vinegar (yellow, blue, red). Using an egg carton, place a spoonful of one color of baking soda into an empty egg section. Using a pipette, place a drop of a different color vinegar mixture on top of the baking soda. What new color did you make?


 White construction paper
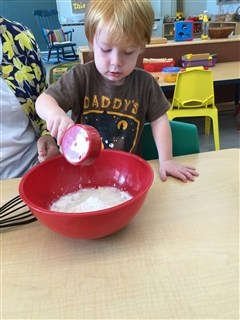


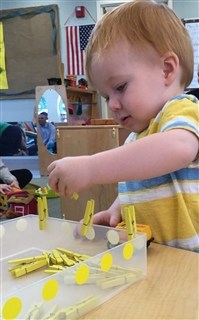
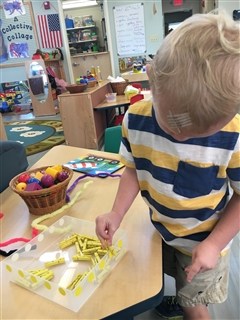 Place mini clothes pins in a basket or plastic cup. Invite your child to pinch the clothes pins and fasten them onto the edge of the basket or cup.