Birdseed Ornaments

Materials
4 cups birdseed
3/4 cup flour
1/2 cup water
1 envelope Knox Unflavored Gelatin
3 Tablespoons Light Corn Syrup
1 Pound Lard
Cookie cutters
Cookie sheet
Parchment paper
Cooking spray
2 Straws cut into thirds
Yarn or twine

Directions
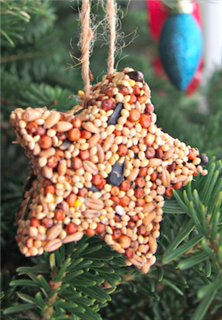
Mix flour, water, light corn syrup, and unflavored gelatin to form a paste.  Slowly stir in birdseed, making sure it is all coated. Melt lard and add to mixture. Place cookie cutters on cookie sheet covered with parchment paper. Coat the insides of the cookie cutters with cooking spray. Invite your child to spoon birdseed mixture into the cookie cutters and press down with the spoon.  Poke a hole in each one using a straw, making sure the straw goes all the way through the birdseed mixture. Allow ornaments to dry for 3-4 hours.  Remove the ornaments from the cookie cutters and place in freezer overnight. Thread a piece of yarn or twine through the hole, tie, and hang ornament from a tree branch. Using a pair of binoculars, observe the various birds that come and enjoy the special treat.

Matching Pastels – A File Folder Game

Materials
File folder 
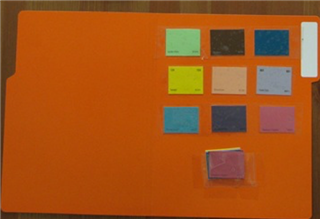
Paint chips in pastel colors (two of each color; cardstock works too) 
Packing tape 
Scissors

Directions
1. Trim paint chips. 
2. Attach one set to file folder using packing tape. 
3. Use second set to match. 
4. Make a pocket for the second set out of packing tape (fold one piece in half for the pocket and use three more pieces to attach to the folder). 
5. Invite your child to play. 

Children enjoy this simple game, which helps them develop color awareness. Color matching also reinforces one to one correspondence, which will help them with math as they grow older.

Pastel Mural Painting

Materials
Long white paper (group painting) or large easel paper for one artist to paint
Tempera paint in various colors (including white paint)
Small sponges or sponge brushes

Directions
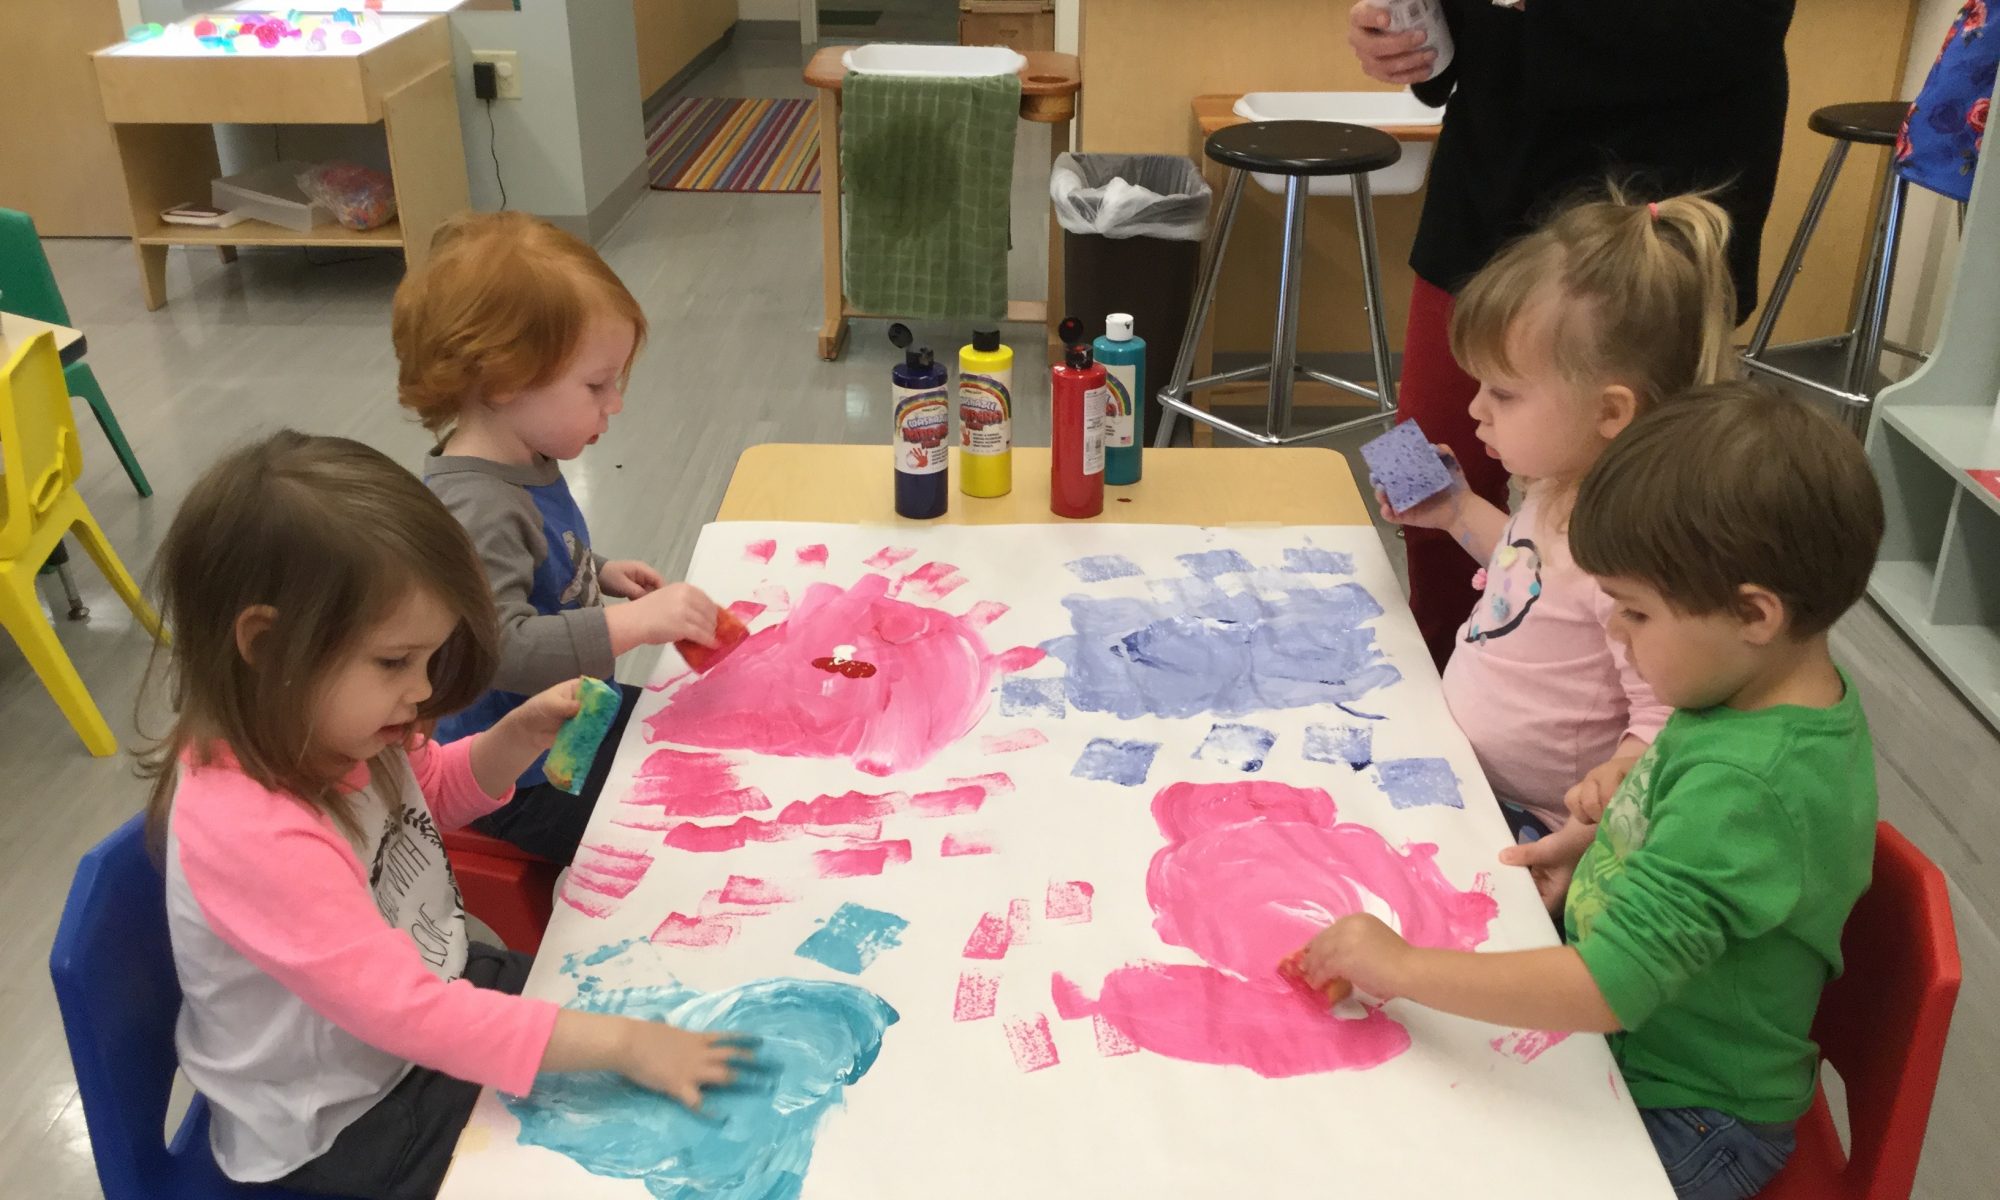
Pour a small amount of the various colors of paint onto the paper.  Add about the same amount of white tempera to the paints. Using a small sponge or sponge paint brush, invite your child to mix the white paint into the color paint and observe what happens. The paints are now pastels! Allow paint to dry and display.

Pink Puffy Slime

pink puffy slime

Ingredients

1 cup white Elmer’s School Glue
1/2 can shaving cream (non-sensitive skin type works best)
Saline solution (contact lens solution)
Food coloring (optional)
Mixing bowl
Rubber spatula

Directions

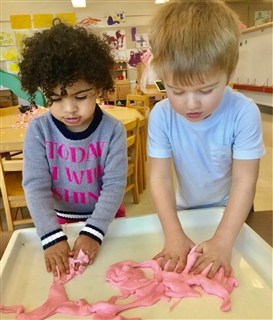
Pour 1 cup of Elmer’s School Glue into a mixing bowl.  Add a 3–4 drops of food coloring and stir into glue.  Stir in 1/2 can of shaving cream. Add about 6 tablespoons of contact lens saline solution and stir again. The solution will start to “gel” together and will become very sticky. Add more saline solution 1–2 tablespoons at a time. Continue to mix well. Once it forms a ball, you can begin to manipulate it with your hands. Continue adding saline solution and manipulating with hands until you can play with it without it sticking to your fingers. While playing with it, if it becomes sticky, you can add a little more saline solution.

Store in airtight container for up to four weeks. Add a little saline solution before taking it out of the container each time before playing with it.

This has great texture and you can even use metal cookie cutters with it.  Have fun!

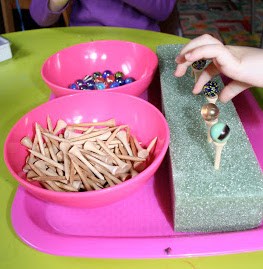
Balancing Jelly Beans on Golf Tees

Excellent practice in fine motor control and one to one correspondence

Materials
Golf tees in a small bowl
Jellybeans in a small bowl
Piece of styrofoam

Directions
Invite your child to poke golf tees into the styrofoam and then carefully place one jellybean on the top of each golf tee. Count the golf tees and the jellybeans.

Lesson Extension for Preschoolers: 
Sort the jellybeans by colors
Make patterns using the jellybeans
Practice addition and subtraction (3 red and 2 blue make 5 jellybeans)

This activity provides excellent fine motor practice and one to one correspondence practice, placing one jellybean on one golf tee.

Variation: Use marbles instead of jellybeans

Games and Activities for Babies (6-12 months)

Your baby is growing so fast during the first year and by the second half of the year, your baby is interested in exploring the world around him. Soon your baby will be crawling, cruising, or walking and interested in investigating what he can see.

Here are some activities to try with your baby:

  1. PEEKABOO

Materials needed: Small toys or books, blanket

What to do: Place a toy or book under a blanket, leaving part of the object showing. Then ask your baby, “Where is it?” and encourage him to look for it.

Variations: After your baby has mastered finding a partly hidden object, move on to hiding it completely under the blanket.

Skills learned: Fine motor skill development, object permanence

  1. STACKING

Materials needed: Plastic measuring cups or small cardboard boxes

What to do: Take turns stacking the cups or boxes and knocking them down.

Skills learned: Understanding cause and effect, fine motor skills

  1. PUZZLES

Materials needed: Wooden puzzles

What to do: Around 12 months of age, your baby will be ready for large wooden puzzles. Choose puzzles that have colorful shapes or simple pictures and knobs for grasping. Demonstrate how puzzles work and offer lots of praise when your child is successful. Puzzles take lots of patience and persistence, but are such a good activity!

Skills learned: Problem solving, fine motor skills, visual skills

  1. READING

Materials needed: Board or cloth picture books

What to do: Regularly read books to your baby, pointing to the pictures as you read and engaging her by changing your voice for different characters. Invite your little one to participate by touch the pictures, lifting the flaps, and turning the pages.

Skills learned: Language development, listening skills

  1. CLAP WITH ME

What to do: Around 6 to 8 months of age, your child will learn to clap. Enjoy clapping this rhyme with your child:

Clap, clap, one, two, three

Clap, clap, clap with me.

Clap, clap, four and five.

Clap, clap, bees in hive.

Clap, clap, six, seven, eight.

Clap, clap, you are great.

Clap, clap, nine and ten.

Clap, clap, begin again.

Skills learned: Imitation, rhyming

  1. RHYME TIME

What to do: Sing songs with real or made-up words that rhyme, like “thump, thump, thump, bump, bump, bump, jump, jump, jump.” Singing songs and repeating rhymes help your baby’s language development.

Skills learned: Develops auditory discrimination

  1. SHAKE THE BOTTLE

Materials needed: Empty 16-ounce bottle, colored rice or pasta

What to do: Fill the bottle with the rice or pasta, and glue the top back on so your baby can safely watch and hear what happens as he shakes, rattles, and rolls the container. Babies this age are also learning about cause and effect, which is an exciting new skill.

Skills learned: Fine motor skills, auditory discrimination, cause and effect

  1. DISAPPEARING CHEERIO

Materials needed: Cheerios, opaque plastic cups

What to do: Create your own version of the old-fashioned shell game by hiding a Cheerio under a cup and seeing if your baby can find it. This simple activity reinforces object permanence, a major concept.

Variations: Using two different-colored cups, put the Cheerio under one cup and move it around to see if your baby can remember which one was the hiding place. After your baby has found the Cheerio under the first cup, show him you are now putting it under the second cup and see if he remembers that the Cheerio has moved.

Skills learned: Attention skills, memory development, object permanence

  1. LIGHT SHOW

Materials needed: Colored plastic containers, mini flashlights

What to do: Turn on some mini flashlights, and drop them into empty water bottles, Tupperware, or any colored, lidded containers. Place your baby in tummy time in a dark room and let him explore the colorful lighted containers on the floor in front of him. Closely supervise as your little one grasps and turns, bangs and rolls the containers.

Variations: Take a flashlight out of a container, place your baby on her back and simply move the light slowly on a dark wall. Pause on objects and talk to or with your child about what she’s seeing.

Skills learned: Visual sensory stimulation, eye movement skills, sustained attention, socialization, bonding, body movement

  1. BAGGY FINGERPAINTING

Materials needed: Washable finger paint, a gallon-size zippered freezer bag, tape

What to do: Squeeze a couple of dark colors of washable finger paint into a zippered baggy and seal tightly. Add duct tape for extra security. Spread the paint around to coat the inside of the bag, then place it on the floor in front of your baby during tummy time. Show him how to make marks on the outside of the bag with his hand or finger.

Variations: Try this activity in a high chair when your child is able to sit independently.

Skills learned: Sensory development, fine motor skills, understanding cause and effect, early writing skills

  1. CONTAINER PLAY

Materials needed: Small toys, container

What to do: Place a few toys in a container with an opening a bit bigger than balls or pegs, plastic links, or other smaller items. Hand the container to your baby, who will probably turn it over and over, causing some toys to tumble out. Eventually, your baby will realize that something is rattling around inside and that toys seem to be falling out of it, so she will start shaking, banging, and reaching inside the container. Reload the container periodically until your child figures out how to do it on her own.

Variations: Once she’s gotten good at putting items in the container, you can extend the activity by choosing a narrow-mouthed container and longer toys, like rectangular blocks, pegs, and plastic spoons. Your baby will learn through trial and error that she has to turn the objects to fit them into containers.

Skills learned: Object manipulation and orientation skills


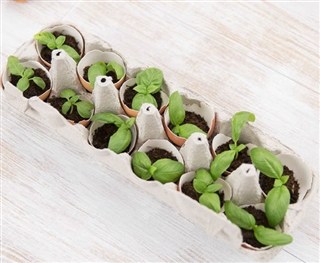
Planting an Egg Shell Garden

Materials:
Egg shell halves
Egg carton
Potting soil
Seeds of choice
Spray water bottle

Directions
Place egg shell halves in egg carton. Invite your child to spoon potting soil into each egg shell. Have you child poke his finger into the dirt and drop a few seeds into the hole. Gently cover with dirt and spray with water. Place the egg carton in a windowsill and observe daily. Count the number of days until you see the seeds sprout. Eggs shells can be transplanted into the ground or a bigger pot once the seedlings are growing strong.

From the Vault: Sibling Friendship

by Mildred Cawlfield

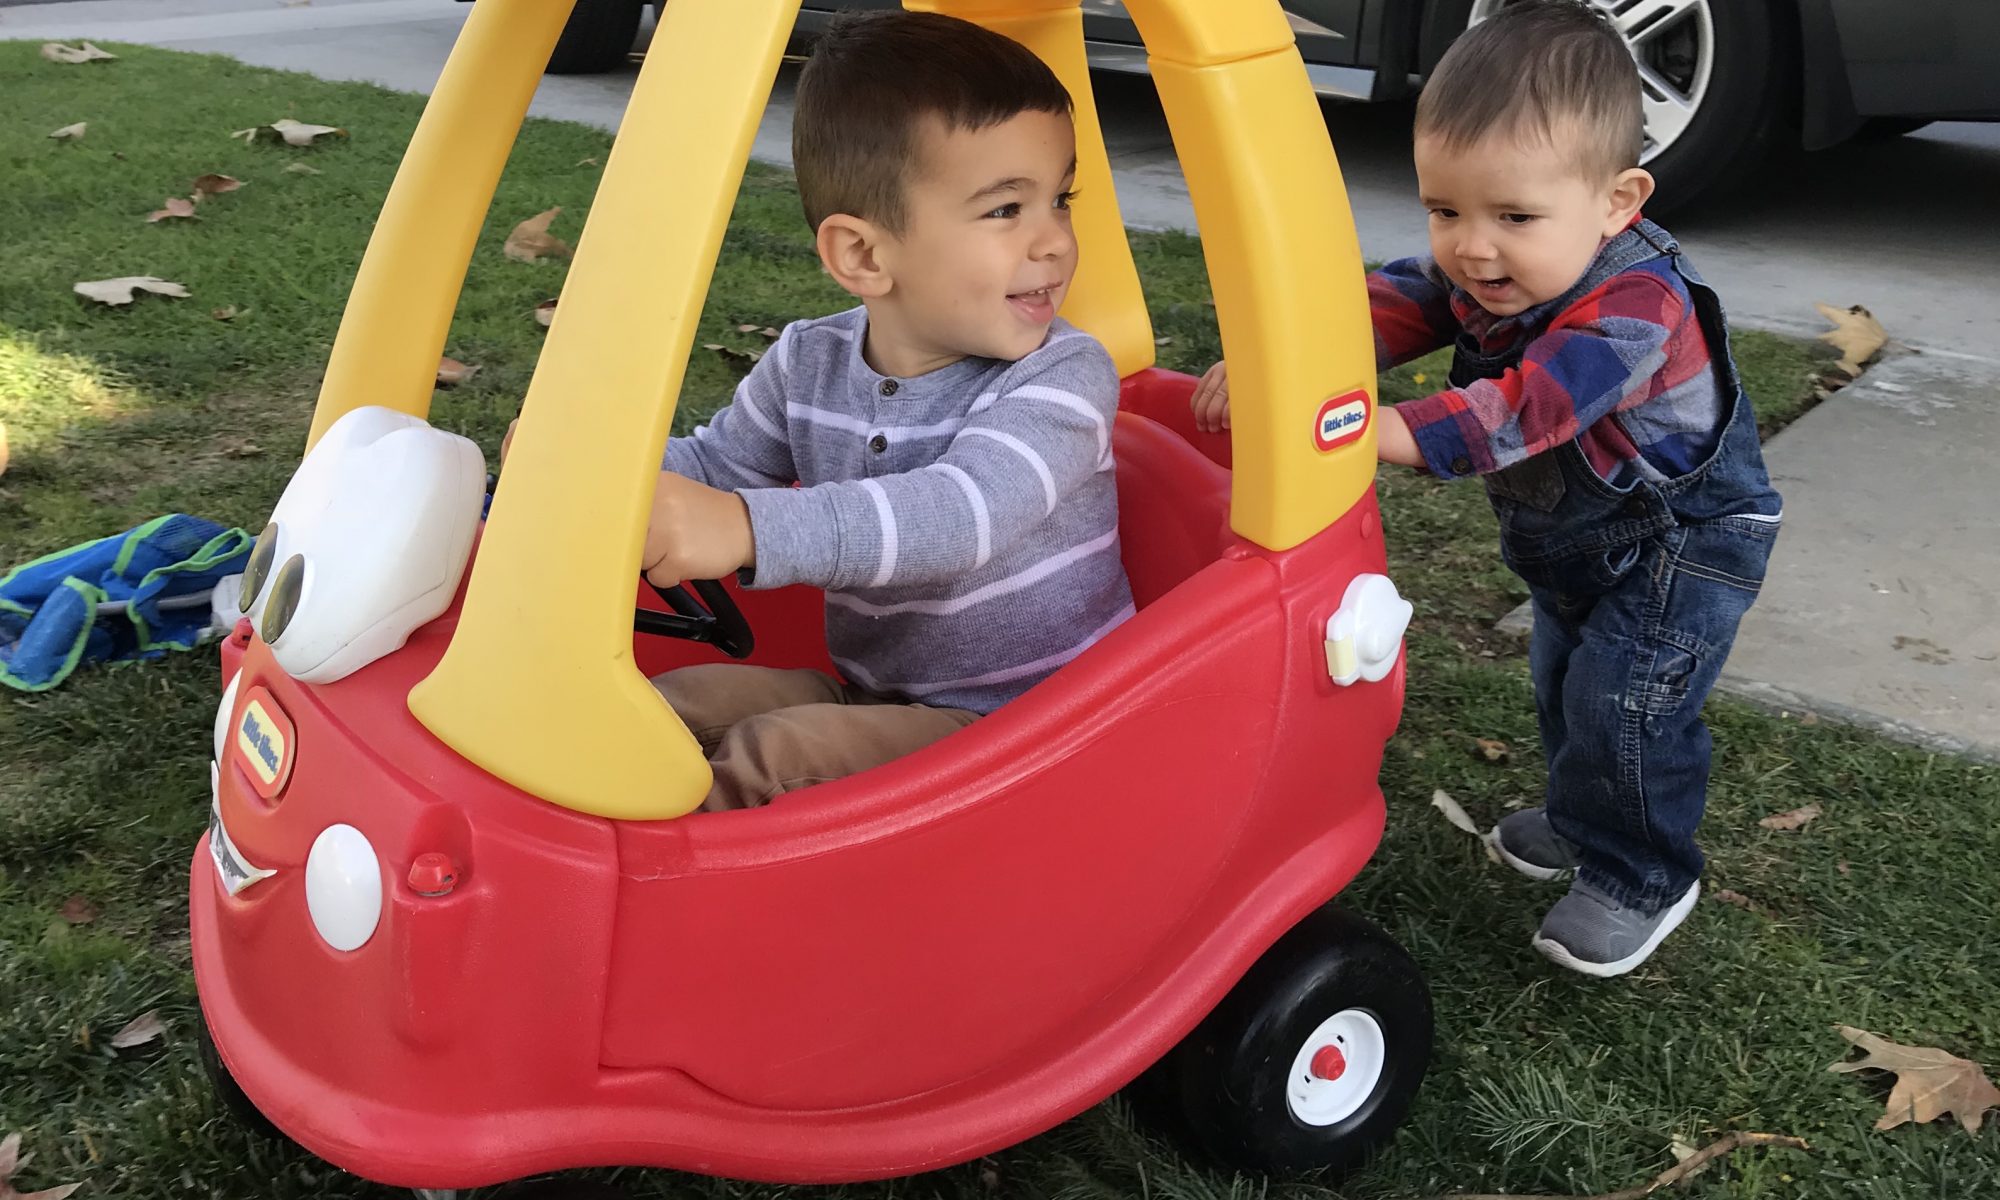
As the Acorn two-year-olds were departing after a morning school experience, some carried remaining treats of fruit pieces in cups. Eric leaned over and peered into his twin brother’s cup.

“All gone,” said Tom, holding his cup up for his brother to see.

Spontaneously Eric reached into his own cup, took out some pieces, and put them into his brother’s. Both grinned as they walked out munching their treats. This natural brotherly affection can be the norm when we reject the belief that siblings must be rivals. Despite that widely accepted, self-fulfilling belief, brothers and sisters can be the best of friends.

Before the birth of our second child, I had been convinced of the inevitability of sibling jealousy, so I expected it and prepared for it. After the younger son came, I at first consciously withheld affection from him in the presence of the older son because of this expectation. And, of course, I saw the jealousy I was looking for.

Fortunately, since love, peace, and harmony were valued in our home, the sense of rivalry was overcome and the boys became close friends.

Several years later, with two more children, we had an opportunity to replay the opening scenes of the sibling drama. This time I saw that the affection I expressed for the little one in the presence of the older child became a model for him. Obviously, the baby was a new family member to be cherished and our older child fulfilled our expectations as a loving brother.

Adjusting to a new family member is a learning experience for an older child, as well as for the parents. You can prepare the older child by talking about friends of his who have a baby brother or sister, and tell him, “Now it’s time for us to have a larger family.” You can help the child see that it will be a promotion, to be a big brother or sister – one which will include some special privileges, too, like being able to help push the stroller or stay up an extra half-hour.

If there is too much talk about the baby months before its appearance, however, the wait can seem interminable to a two or three-year old, so save most of it for the month or two before baby’s arrival.

Make any changes, such as moving the older child to a big bed, well in advance of the birth. Explain (in this case) that he is now big enough for a big bed, rather than that the crib is needed for the baby.

After the baby comes, show the older child pictures of himself as a baby. Tell him how he used to wear diapers but now he can use the toilet and gets to wear big-boy pants. Tell him that he couldn’t talk to you then and tell you what he wanted, as he can now, and that he just cried when he needed something – that when he was a baby he had to stay wherever you put him, so you tried to find happy places for him to be, but now he can walk and run wherever he wants to go. Let him know that you took care of him just as you now care for the baby and that the baby will grow like he is and will later be able to play with him.

Be sure to point out that baby’s admiration for his big brother or sister when the infant is watching. For instance, “See her watch you. She thinks it’s great the way you can run and walk and eat all by yourself.”

An older child has an opportunity to learn selflessness and patience while he waits for baby’s needs to be met. He also should know that the baby himself will learn patience. At a time when nothing more needs to be done for the baby, you can say, so that big brother can hear, “Baby, you’ll have to be patient now. Johnny needs me.”

Your older child can learn to be gentle with the baby. Talk to him about using his gentle hands; tell him that he is strong and mustn’t use all his strength when he hugs baby, just as Daddy doesn’t use all of his strength when he hugs. Gentleness is holding strength in reserve.

When children are close in age, it’s best not to establish ownership of all toys or to try to have two of everything. Each child may have a few very special things of his own, like a favorite stuffed toy or something for which he has a unique interest or attachment. These should be put in a certain place out of the way.

An older child may want to work, at times, at a table out of reach of a younger one, or may want to have a gate across his door while he builds with blocks and construction toys. Toys inappropriate for a younger one, such as crayons, paints, or those with small pieces, should be kept out of his reach and played with during his nap time or in a closed-off area.

Most toys should be jointly owned and used on a first-come/first-play basis. This eliminates much needless ownership hassle. If a child is playing with a toy and the other wants it, the latecomer can learn to say, “May I play with it when you’re through, please?” Then he can play with something else while he awaits his turn. If these policies are established early, the children will learn to co-operate in the same way with other playmates.

When there are disputes, it’s best for parents not to take on the role of judge and assess blame, though they can make it clear that the problem must be solved in a peaceful way. “We use words, not fists,” is one good rule. The children themselves can be made to sit and talk over their problem until they come up with a solution. At first you may need to help by asking each one to tell the other how he feels or by trying yourselves to verbalize their feelings for the children.

For instance: “Heather feels that you don’t love her when you push her, so she cries” or, “Tony didn’t understand that you were playing with that truck, and had just parked it while you were looking for a man to put in it.” This kind of help not only shifts the responsibility for solving social problems to the children but gives them the means for finding solutions. If one child is clearly the aggressor, however, the parent might have him sit by himself for a few minutes to think about how he can use his loving hands or feet.

I recently asked a mother of four children close in age what ideas had been most useful to her in encouraging sibling friendship. She said that it’s helpful for the children to work together toward a common goal, so she looks for goals such as cleaning up for outside time, planning a party, or deciding what to have for dinner. Each child takes a part in accomplishing the main goal and appreciates the contributions of the others.

When the children have a spat, this mother has them sit and talk it over until they can come to her with their solution. She has found that ridicule and rivalry can be eliminated – when a child is feeling fear or inadequacy – by encouraging another to help him. For instance, one of her younger children was afraid of the dark and an older one, who had overcome that fear, was asked to talk to her and help her. This family has discovered that one never wants to put down a friend he’s helping.

Children don’t really want to feel equal to each other in every way. But they do – each one – want to feel special and appreciated. As parents, you can do much, both to help your children appreciate each other’s uniqueness, and to set the stage for harmony. On top of everything else, working toward the goal of peace at home is bound to add needed peace to the world scene.

*names have been changed

Fringing Paper Feather Shapes

Materials
Construction paper cut into large feather shapes
Scissors

Directions
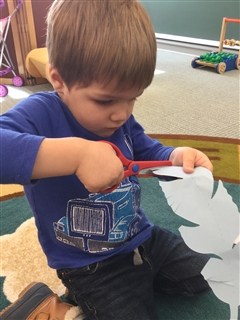
Cut out several construction paper feather shapes for your toddler.  Provide your child with a pair of  child-size scissors.  (Fiskars make a good pair of scissors; the Dollar Tree has scissors that work sufficiently)  Invite your child to snip around the edges of the feather.

This activity provides excellent fine motor practice and requires focus and concentration

Preschool age children: 
Provide feather shapes on card stock. Invite your child to trace around the feather shape, then cut out  and fringe the feather.

Bird Sensory Tub

Materials
Birdseed
Small clay pot and clay saucer (birdbath)
Small decorative birds
Large decorative birds
Wooden robin eggs (you can paint them various colors – purple, green, blue, white with specks)
Small bird eggs
Small bird nest
Bird and birdhouse buttons 
Berries (cut off floral stems)
Small piece of blue felt
Branch from the yard (stick it in some play-doh to help it stand it up)

Directions
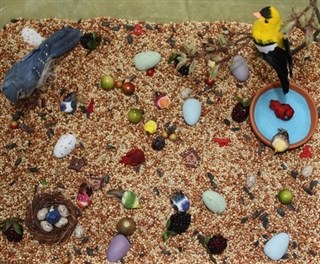
Remove the wires from all of the small birds.  Larger birds can hang on the tree branch. Hot glue the bottom of the saucer to the bottom of the pot. The pot is the base for the bird bath. Glue blue felt inside the saucer for water. Pour birdseed into a large plastic container. Add all the materials. Encourage your child to:

  • Dig for berries and feed the birds
  • Hide eggs and search for them
  • Match the birds and eggs by color
  • Count the birds
  • Count the eggs
  • Make up fun stories about birds. 

Encourage your child to use her imagination!