“Say you’re sorry,” Cara’s mom was repeating. “You have to sit here until you can say you’re sorry.” Cara was determined to out-wait her mom, and her mom, who knew the importance of following through to teach obedience, was beginning to wish she hadn’t made the demand. She had just put herself in a no-win situation. Finally, the mom said, putting her arm around Cara, “Come with me, and I’ll apologize for you, because I think that will make your friend feel better.”
There are many times in parenting when we are anxious to have our child do the right thing, but inadvertently find ourselves caught in a power struggle. It’s important for the parent to exercise authority and expect obedience, but power struggles teach resistance to the very practice we’re trying to encourage.
There are certain areas in which the child can always have the last word and it’s fruitless to lock horns in these areas. A parent can’t force a child to go to sleep, to eat, to use the toilet, or to say what he doesn’t want to say. That’s why these are key areas for discipline problem-solving.
Have you ever found yourself making any of these practically unenforceable statements? “You can’t leave the table until you take that bite.” “If you don’t take a nap, we’ll have to call off your party tonight.” “Keep your pants clean or else…” “Say please, or he won’t give it to you.”
Let’s look at some alternatives. The key is to see what the real learning goal is. Is it not to have the child want to do what is right, rather than just to perform or obey? Generally, the more force or human will that is used, the more resistance may appear. It’s helpful to see that we’re not mediating one human will against another, but both seeking the divine will to obey.
Often prayer is the very best answer. This is particularly true in the case of power struggles. Here is an example:
A mother reported that her child, nearing three, was potty trained but continued to squat in the corner to do his movements in his pants or a diaper. She had done everything she could think of to do – offer rewards, make him help clean up the mess, talk to him about the need to be grown up. She wondered if it would help to withhold desired activities that his siblings did, because he was not showing that he was big enough.
The question was explored, “What does he need to learn?” It came out that perhaps this was a power struggle he felt he needed to win. If that was the case would withholding activities intensify or reduce the power struggle? The mother decided to eliminate the struggle and not scold him when he dirtied his pants. He could wear diapers if he wanted. She told him that when he felt bigger and was ready, he would use the potty. And she prayed to see that he was under God’s control, not governed by human will.
One night shortly after, he was ill; and as he was nearing his third birthday, it came to her to pray to see his spiritual, immortal nature. She prayed until she felt a sense of peace about his God-given perfection. The next morning, he was completely well, and he came to her and said, “Potty, mommy.”
“Where?” she asked, looking around. He took her to the toilet and proudly showed her where he had done his movement.
If the issue is not a power struggle, other approaches may be appropriate. One possibility is a temporary reward plan that helps your child get over the hump to see that using the potty can be a better way. The action will vary according to what the child needs to learn.
What are some ways of helping a child want to use gracious words? Of course the most important way is to be an example when talking to the child and to others in his presence. Then let him know how you and others appreciate gracious words. And, when you talk to your child, be sure to bend down to his level and talk eye-to-eye.
• “Did you see Sara smile when you said, “thank you”? (or when I said ‘thank you’)? That’s a gracious thing to say.”
• “I like it when you say ‘please.’ I feel like helping you right away.”
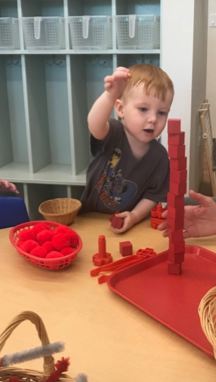
• With an arm around both children, “Justin’s crying because you pushed him. What can we do to make him feel better?” You may need to suggest a gentle hug or say, “There are some words that will help. ‘Justin, we’re sorry Cara pushed you. I don’t think she wanted to hurt you. I know she’ll try to use her gentle hands after this.’”
Power struggles can be prevented if you remember clearly the goal. Here are some probable goals in key areas:
- In eating, the goal is not to get the food down the child, but to help the child be receptive to trying new foods. The goal is not to get the child to be a plate-cleaner, but for him to learn to judge how much he should eat to satisfy hunger.
- In sleeping, the goal is to help the child form habits of regularity and to feel peaceful about his sleep experience. A parent can tell the child he doesn’t need to go to sleep, but when it’s bedtime, he must stay in bed.
- In toilet training, the goal is to help the child feel pleased about his maturity in his ability to use the toilet – first at our suggestion at appropriate times, then also when he feels the need.
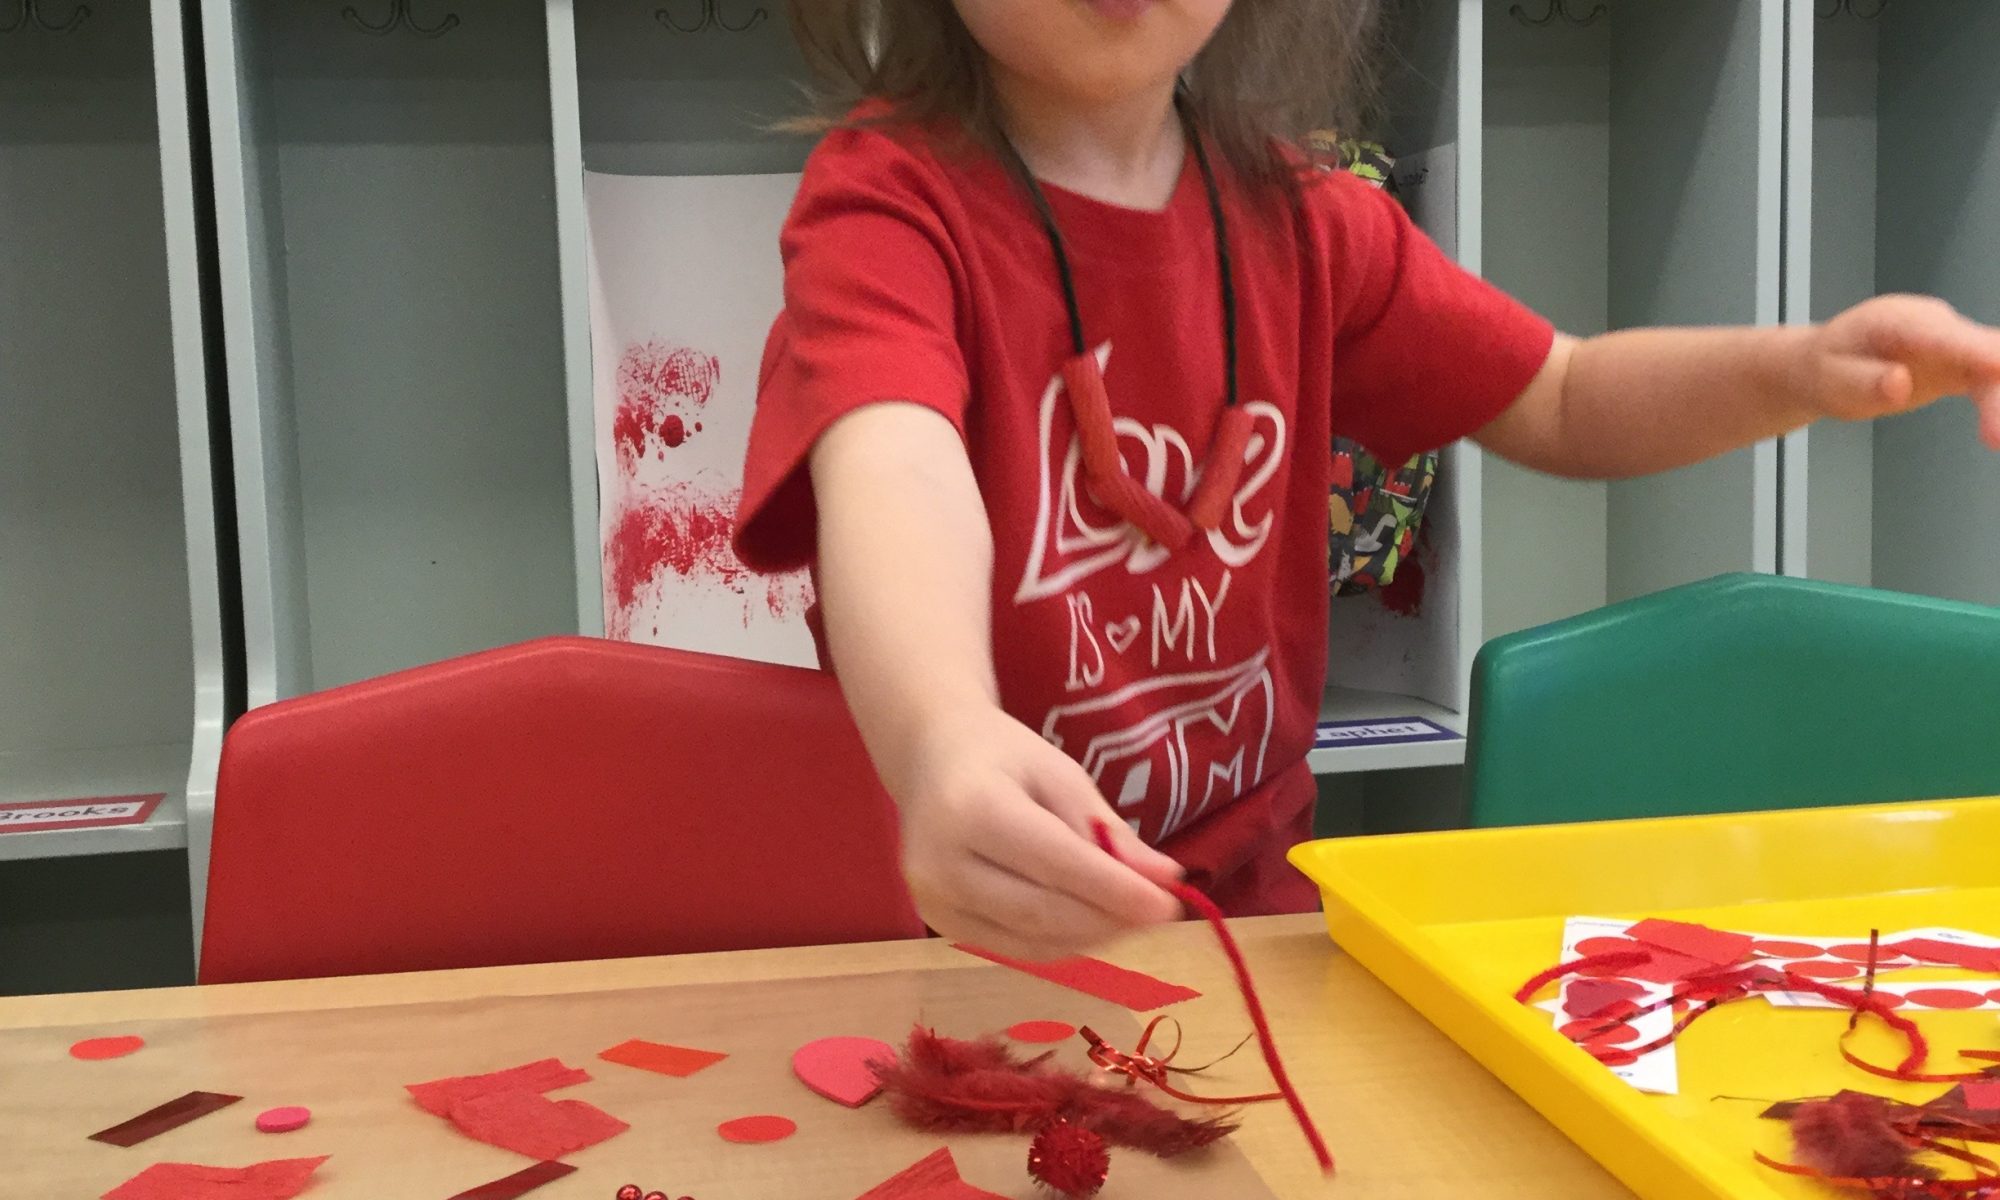
- In speaking (apologizing), the goal is for the child to learn and want to use gracious words that will make others feel happy and comfortable.
Power struggles will diminish when we see that the object of discipline is to teach the child, not punish him. Punishment flaunts the parents’ power over the child, whereas natural and logical consequences help the child feel responsible for his actions. The way a request is stated can make the difference. This is an example of punishment: “I can’t stand that noise! Go to your room!” This is a logical consequence: “We need to have it quiet here. You may be quiet and stay here or go to your room to make noise. Which do you choose?” The parent will need to follow through in either case and take the child to his room if he continues to make noise, but in the latter case the child would be told, “I see you’re choosing to make noise in your room. We love to have you with us. You may come back when you’re ready to be quiet.” With punishment, the child feels you are against him; with logical consequences, the child feels that you are on his side against the wrong-doing.
A better start to the preceding scenario might have been to say in the beginning in a very soft voice, “We’re having an important conversation here. I know you’ll play quietly with these toys.” Then give him positive attention from time to time appreciating his ability to play quietly. Stating the expectations and then encouraging cooperation, generally prevents the need for consequences.
If we fly off the handle and say or do something we wish we hadn’t (and we do from time to time), we can still teach the child by modeling humility and apologizing. We won’t back down on enforcing appropriate limits, but we can help the child learn how to make amends, restate calmly the expectation, and end with a hug.
If used too frequently and arbitrarily, rewards can emphasize an adult’s power. Likewise, encouragement rather than praise empowers the child. For instance, “I like the way you are doing that” (praise) is better than the global, “Good boy!” or “Good girl!” but if overused, may imply to the child that he is behaving just to please us. “You really managed that well!” or “You worked hard to finish that puzzle!” gives encouragement without strings attached.
Manipulation on the part of either the parent or the child is exercising power, and a power struggle may ensue. The adult must exercise authority, but the power should come from principle rather than will. The child can understand if the parent wants to do what is “right,” and children take comfort from the consistent enforcement of fair rules.
The statement to a child, “I love you, so I want to help you do what’s right,” helps him to understand our role as parent. Power struggles are avoided as we eliminate anger by seeing our need to teach, to love, and to hold the child firmly to right actions.