Cookie-Cutter Art

Materials:      
Star-shaped cookie cutters of various sizes
Styrofoam meat tray
Red, white, and blue tempera paint
White construction paper

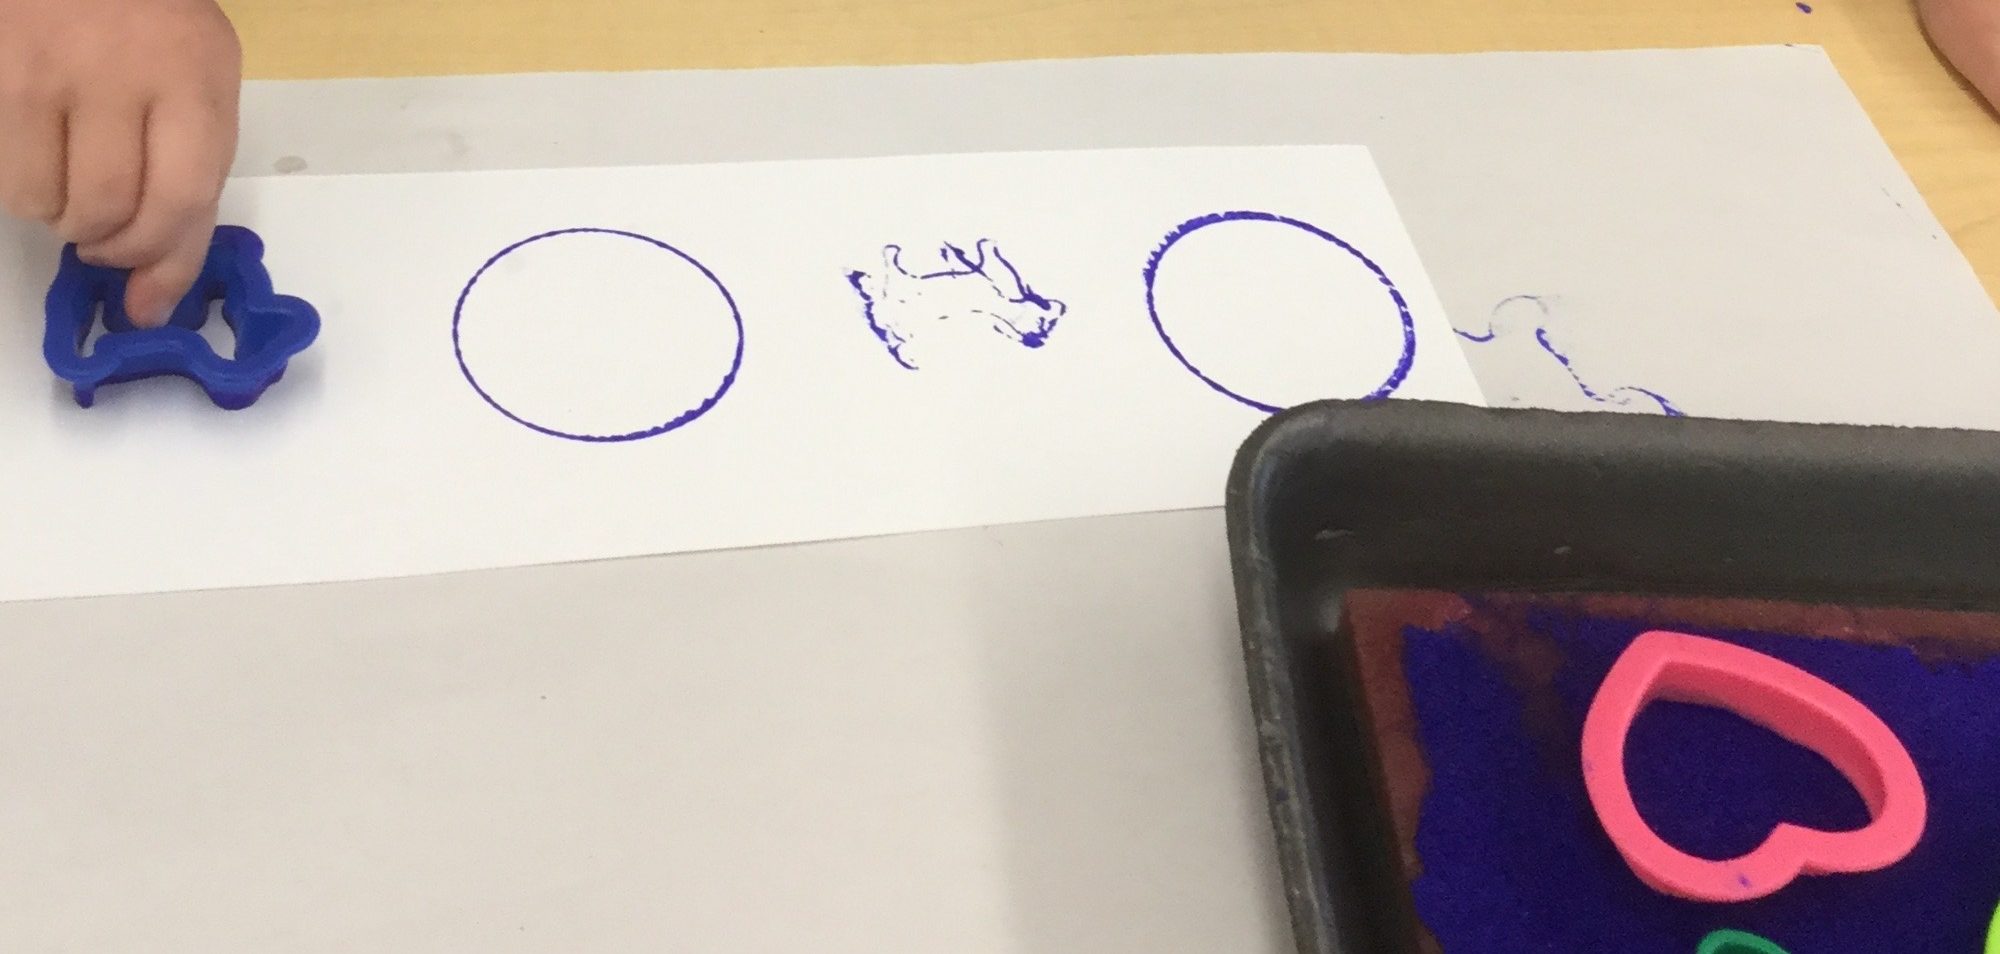
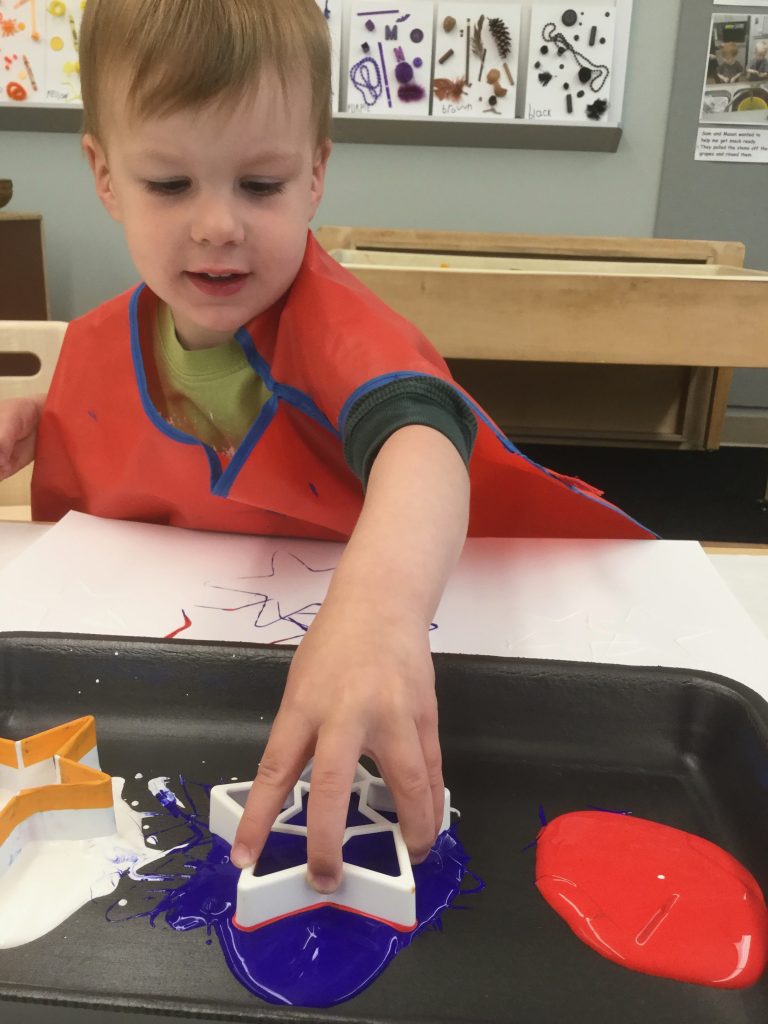
Directions: Pour a small amount of each paint color into the meat tray. Tape the construction paper to the table, and set the cookie cutters out for your child to choose from. Choose a cutter yourself and demonstrate how to dip it into the paint, holding the sides so that fingers don’t touch the paint. Make a print and pick up the cutter. Dip it again and make another print. It’s okay if the paint colors start to blend—the effect of the blended colors is quite pleasing. Let your child try it. Often young children will try to rub the cookie cutter all over the paper, rather than make a print and lift it up to make another print. That’s fine, as children need a chance to explore the process and the materials so they can develop their own creative style. Art is always about the process, not the product!

Principle-Based Discipline

Adapted from Millie Cawlfield’s article “Balanced Discipline”  

Children are the “hope or our race.” (Mary Baker Eddy, Pulpit and Press, p. 9) No gift we give them is more important than good discipline. To discipline, in its truest sense, means to teach. If our work with our children results in our child’s wanting and loving to do what is right, we are truly disciplining.

Mary Kimball Morgan states in her article “Foundational Trusts,” “In childhood, it is very essential that right habits of thought become established—honesty, truthfulness, unselfishness, industry, thoroughness, perseverance, loving-kindness, and all noble qualities which make for Christian character…. Helping our children to love and express all that is pure and good requires us to keep very close to them and to seek divine wisdom constantly in our association with them.” Good discipline teaches right concepts and helps develop self-confidence and dominion over erroneous temptations. 
 
Discipline should be a balance of principle and love. We love and understand our child so that he is free to be creative and gain confidence in the value of his own ideas and thoughts, but we also teach him obedience, self-discipline, and unselfed love. This discipline is neither authoritarian nor overly permissive. It takes thought and practice to establish this balanced sense of discipline, and we often tend to swing back and forth. But the closer we get to this goal, the more harmonious the results will be.
 
Here are some ideas to consider when disciplining:
  • Get down on your child’s level to talk eye-to-eye.
  • When making demands or setting limits:
  1. Ask yourself, “Are these right demands based on Principle, not human will? Are they right for my child’s present stage of development?”
  2. Be consistent in the demands made on the child.
  3. Give directions clearly and simply.
  4. Don’t ask the child a question when no choice is intended. Rather, use a positive tone in your voice:  “It’s time to go now,” not “Are you ready to go?”
  5. Provide genuine opportunities for the child to make choices. Abide by his decisions.
  6. State directions in the positive. “Our feet walk in the house,” rather than “Don’t run in the house!”
  7. Impersonalize the directions—take “you” out of them. “It’s time to go to bed,” rather than “You must go to bed now.”
  • Make good appealing:
  1. Be courteous when making a request of a child as you would be with a friend. Mrs. Morgan states, “Too often one thinks a child needs no special consideration or courtesy shown him…. A genuine courtesy toward children is true discipline and eliminates much of the punishment which is sometimes called discipline” (Education at The Principia, p. 50).
  2. Lay clothes out in a line for the child to put on. Then say, “Here is a bell. I’m putting it on the dresser, and when I hear it rung, I’ll know you’re all dressed.”
  3. Be willing to give the child help with jobs that seem overwhelming to him. The objective is to make the child love order, not force compliance.
  • Redirect wrong actions.
  • Follow through and make sure your child complies. Don’t nurture self-will by giving in when confronted with crying or tantrums.
  • To prevent problems, look for causes of misbehavior:
  1. Ask yourself: “Should I make changes in his environment? Put an irresistible ‘no no’ out of reach? Install a gate? Close a bedroom door?”
  2. Plan ahead: Bring interesting toys on a long trip or to a friend’s house or restaurant.
  3. Don’t make unnecessary demands at “touchy” times in your child’s day (when he’s tired or right before dinner).
  • Give your child a good concept of himself by holding a true concept of him in your thought. Expect good.

Stamping a Pattern

Materials:      
Styrofoam meat tray
An old sponge
Blue tempera paint
A few cookie cutters
A narrow strip of construction paper

Directions:  Dampen the sponge, and place it on the Styrofoam tray. Pour some paint on the sponge and spread it all over the sponge. (We used an expired gift card to spread the paint around—works great!) Ask your child to choose two of the cookie cutters.  Dip the first one into the paint-saturated sponge. Let your child know that he’s going to make the first print on the left side of the paper strip. After he makes a print, invite him to dip the second cookie cutter in the paint and make a print next to the first shape. You can tell him he’s created a sequence of two shapes. Repeat the process, stamping with one shape and then the other all the way to the end of the strip of paper.

I limit the pattern to just one color, as we’re focusing on making a pattern, not on color. When he’s a confident pattern-maker, you can certainly introduce a two-color pattern!

Revealing the Secret Pattern

Materials:      
Strip of white paper, approx. 6” x 18”
White crayon
Water color paint set with a paintbrush
Water in a cup
Tape

Directions:  This is an activity that will require mom or dad to do part and your little one to do part. First, tape the paper to your work surface. Next, mom or dad  should draw a simple pattern on the paper with the white crayon. For example, a circle, a triangle, a circle, a triangle, etc. Press firmly with the crayon when you’re making the pattern. (If you don’t have a white crayon, you can use the end of a small candle, e.g., a birthday candle).

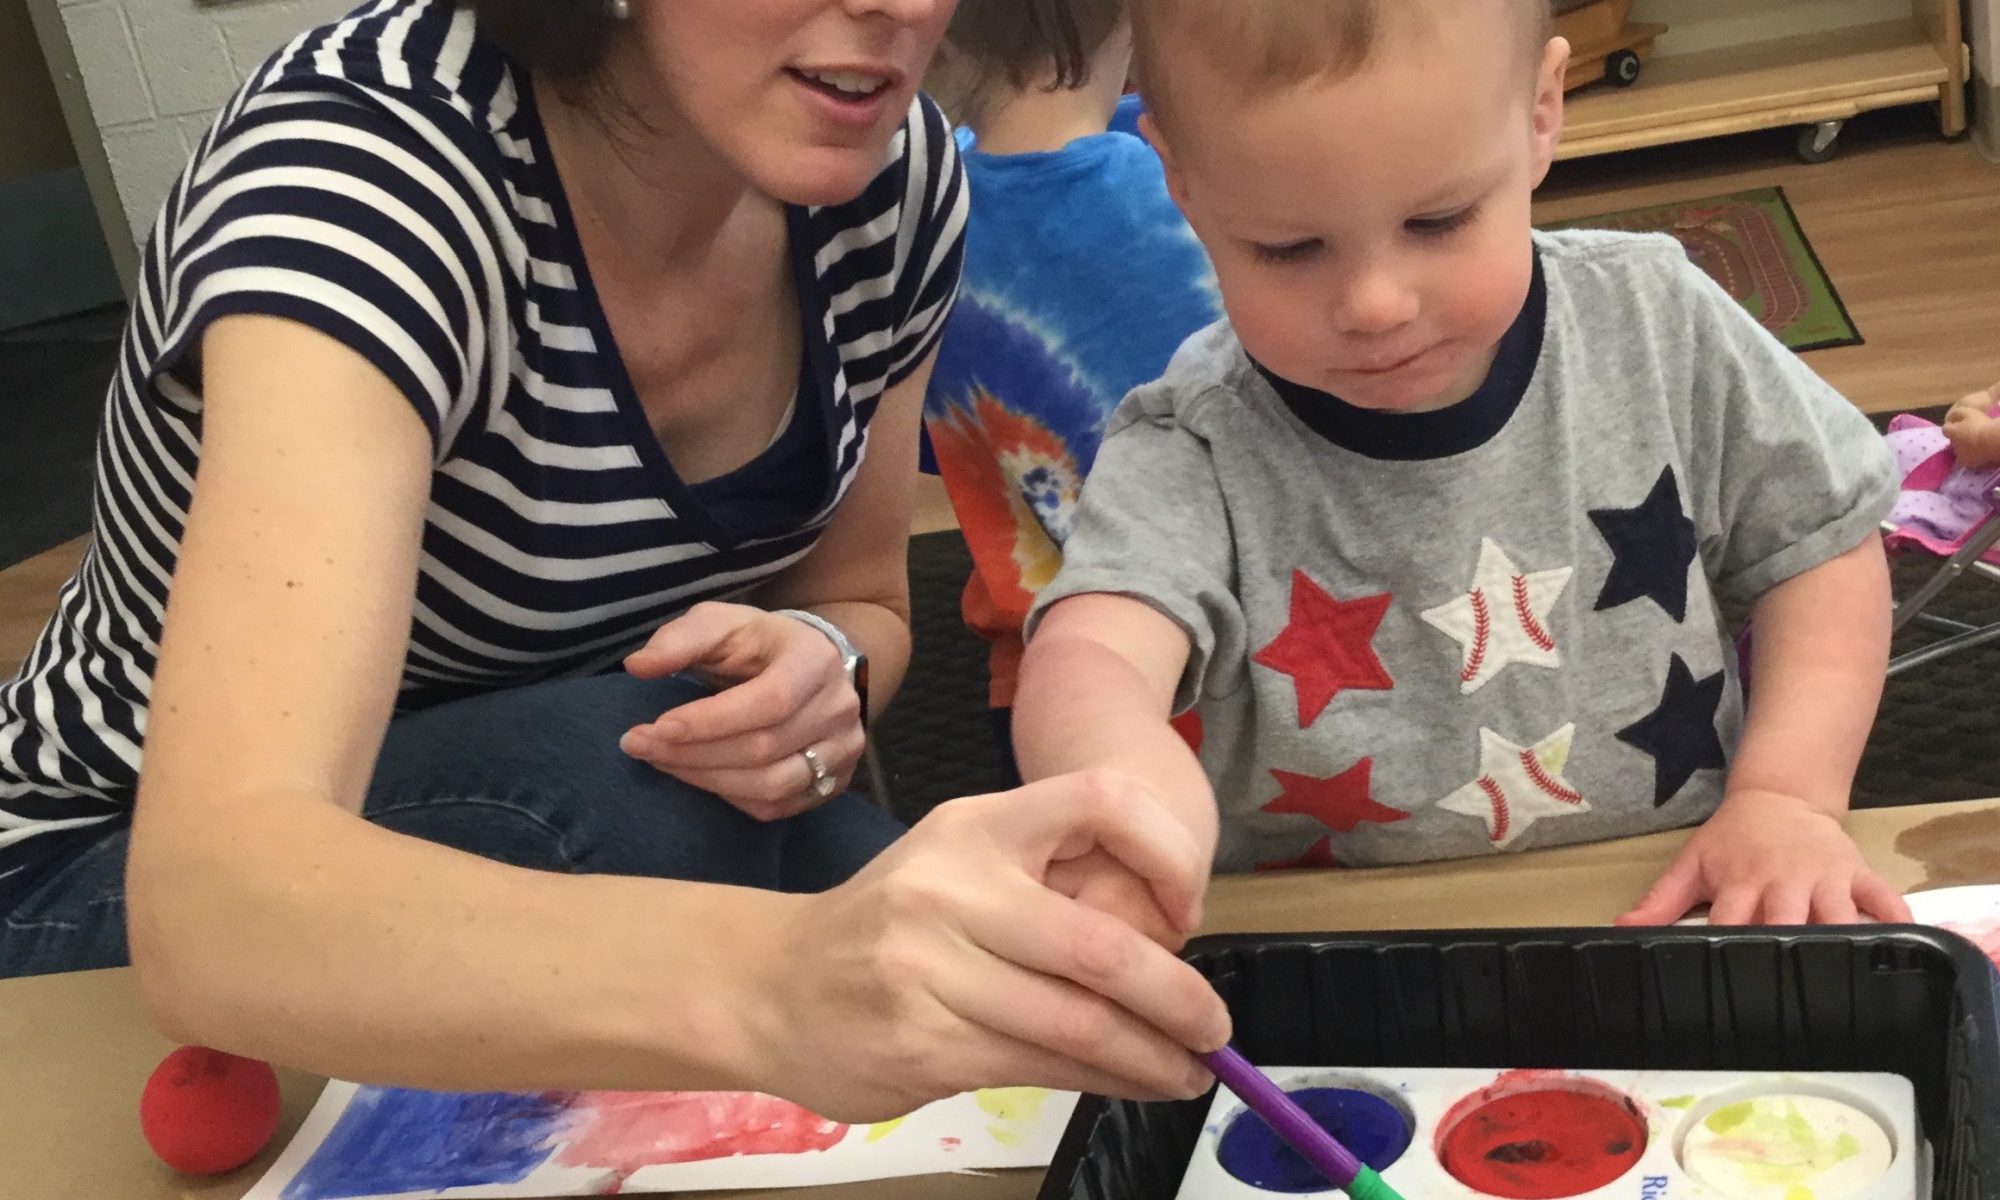
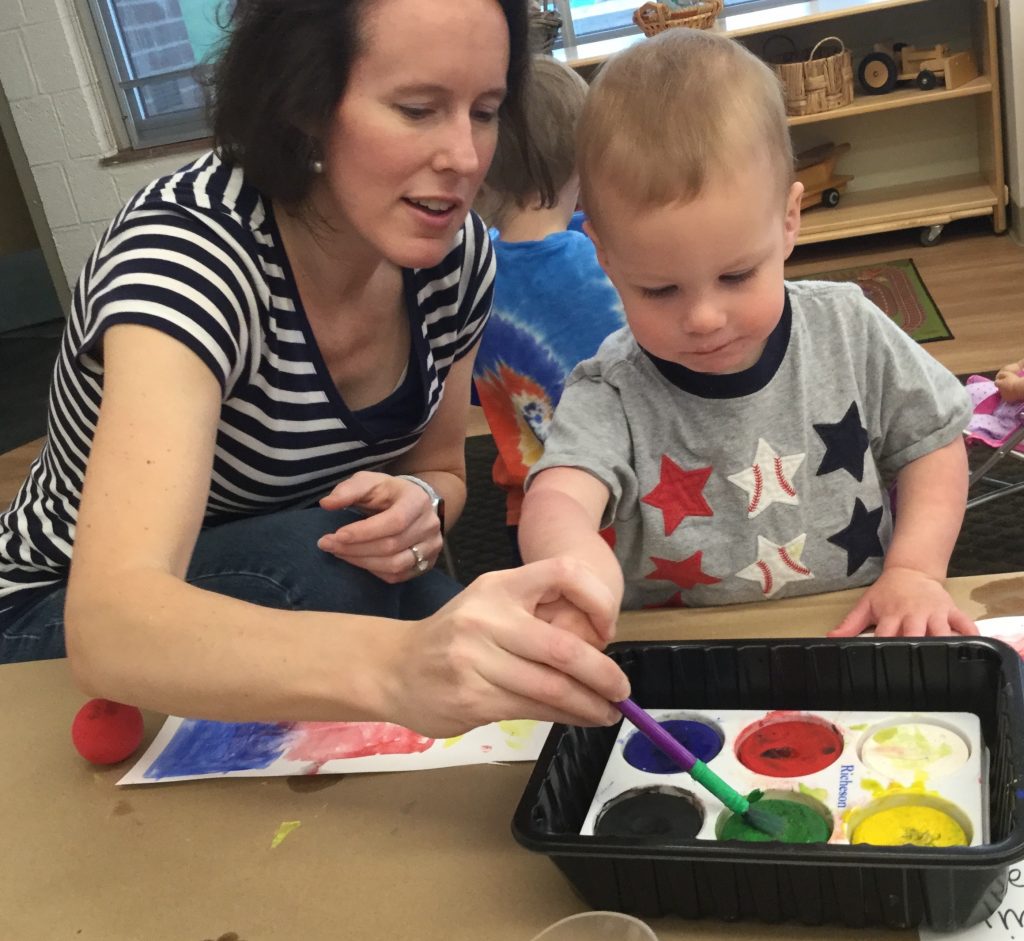
Put a little water in the cup and demonstrate to your child how to dip the brush in the cup of water and then in the water color paint cake. Once he’s made a little liquid watercolor, let him paint all over the paper. The color will cover the paper except where the crayon marks were made! (And if you don’t have a paint set handy, just mix a little food coloring into the water.)

Hunting for Worms

Materials:      
Pipe cleaners
Bowl
Lint roller

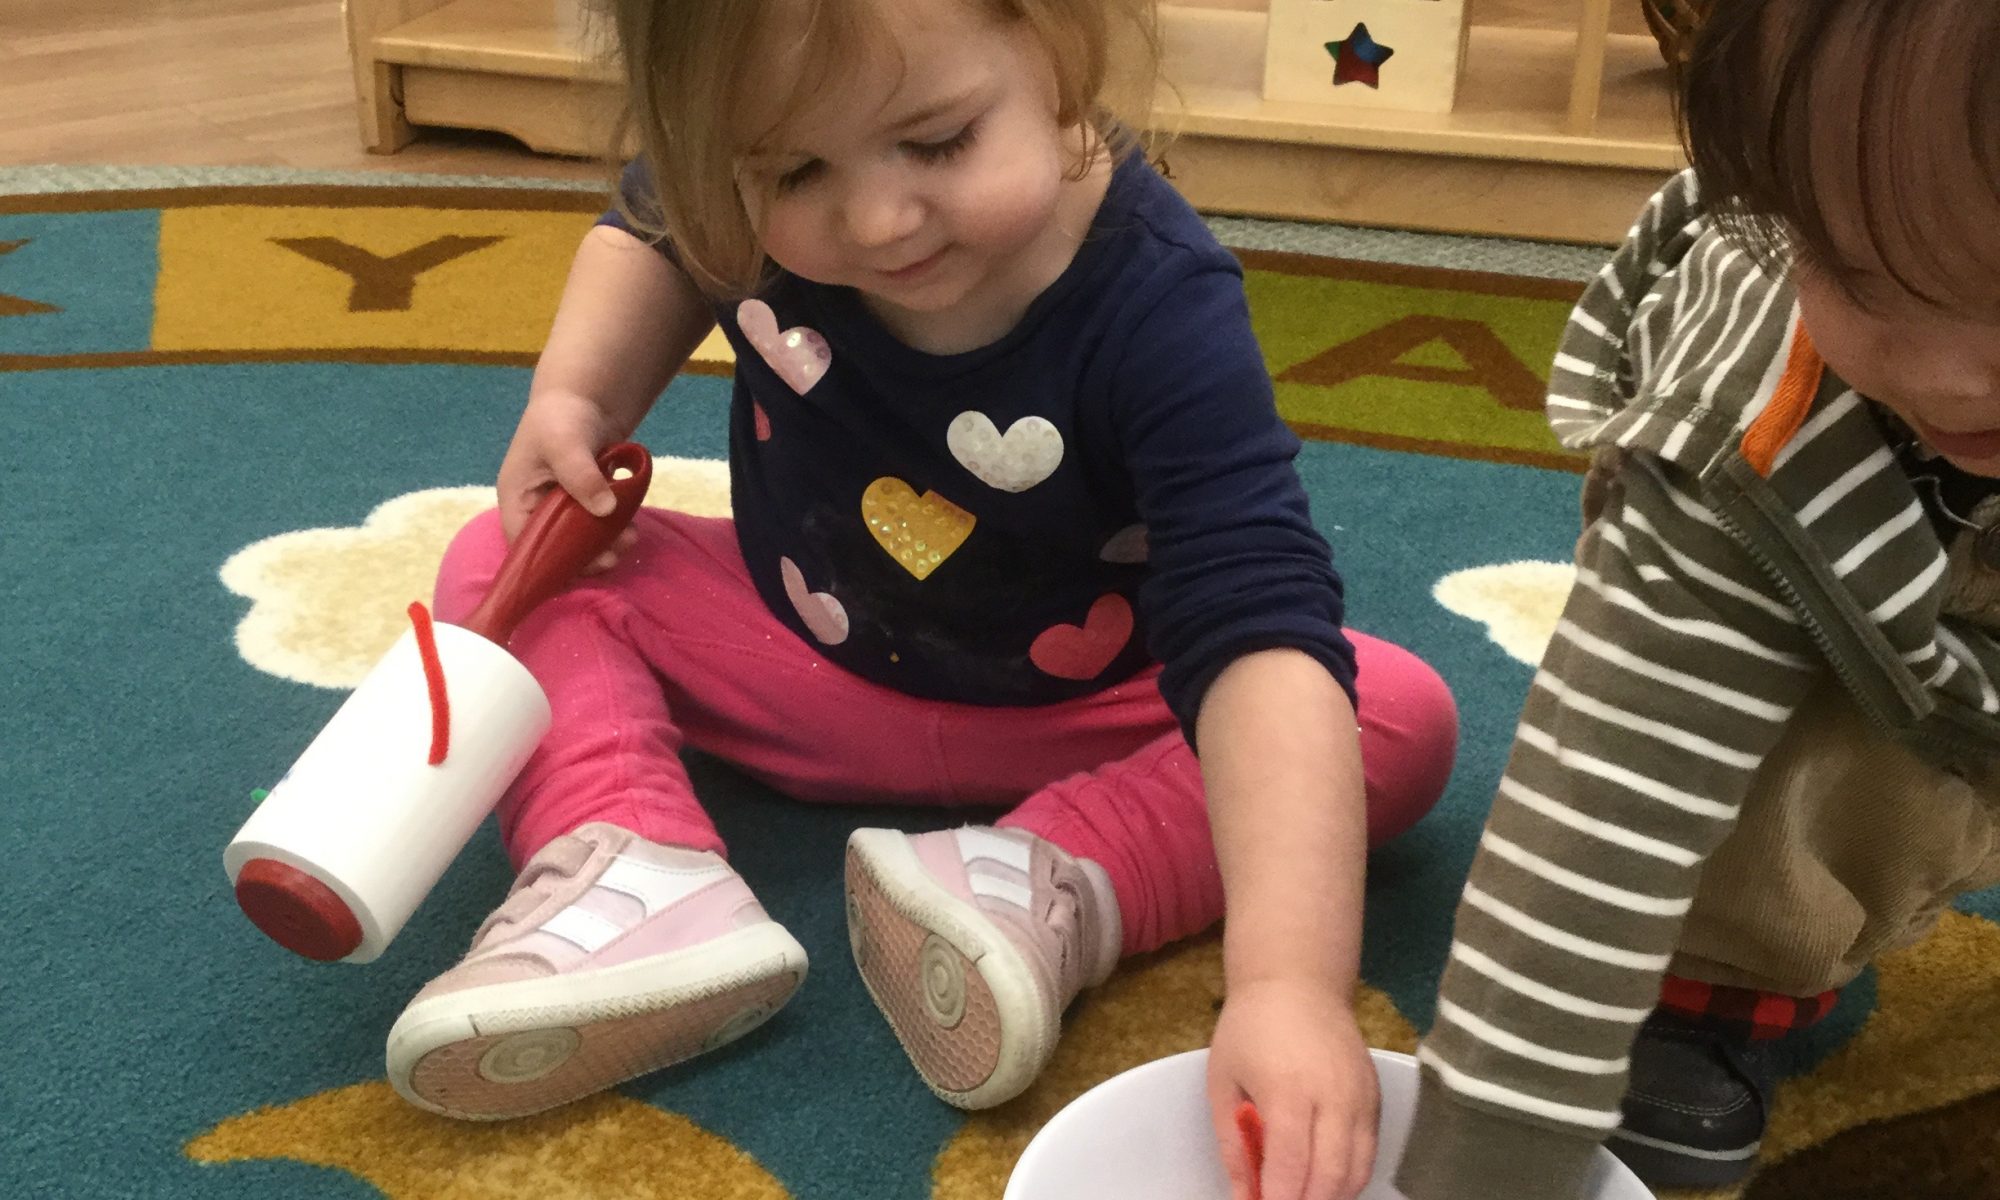
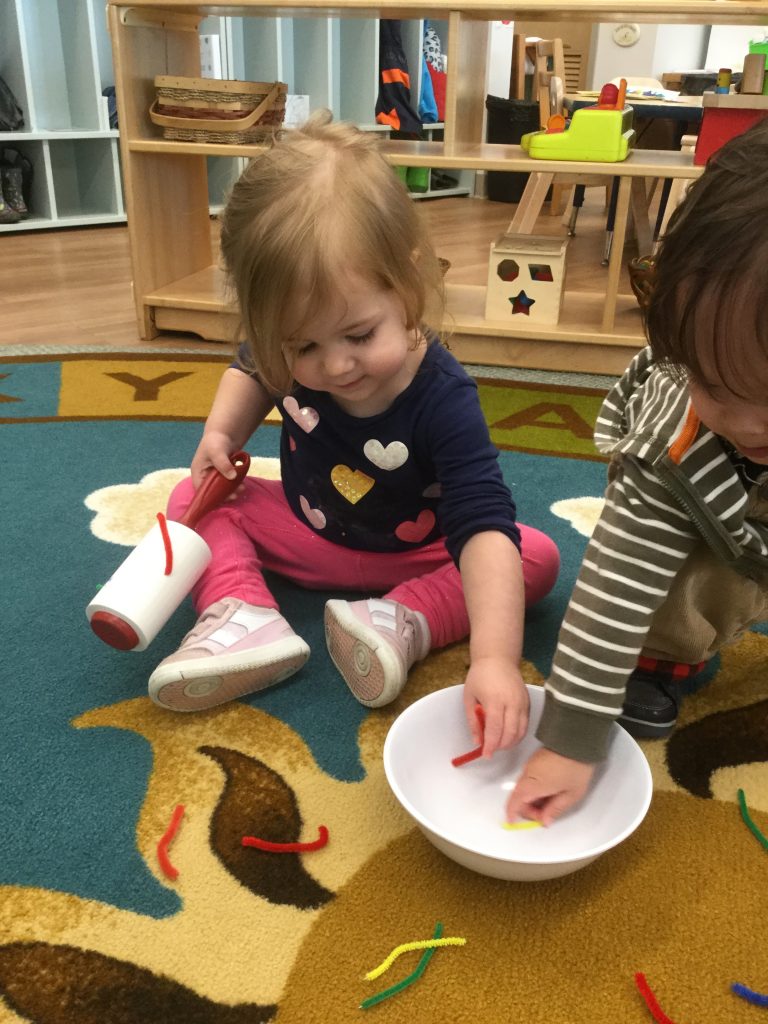
Directions:  Use scissors to cut the pipe cleaners into three-inch segments. Bend them slightly so they look more like worms. Scatter the worms on the carpet and show your child how to pick one up with the lint roller. Using your fingers, peel it off the roller and put it in the bowl. Invite your child to hunt for a worm, picking it up with the lint roller and placing it in the bowl with her fingers. The Acorn kids had a great time hunting for worms, dumping the bowl, and hunting for more!

(We used pipe cleaners, but you could also use pieces of yarn for the worms.  And if you don’t have a lint roller, you can use a child-safe magnet to pick up the pipe cleaner worms.)

Construction Site in the Sand Table

Materials:      
Large, shallow tub
Sand
Fist-sized rocks
Mini trucks
Blocks
A scoop/shovel or two

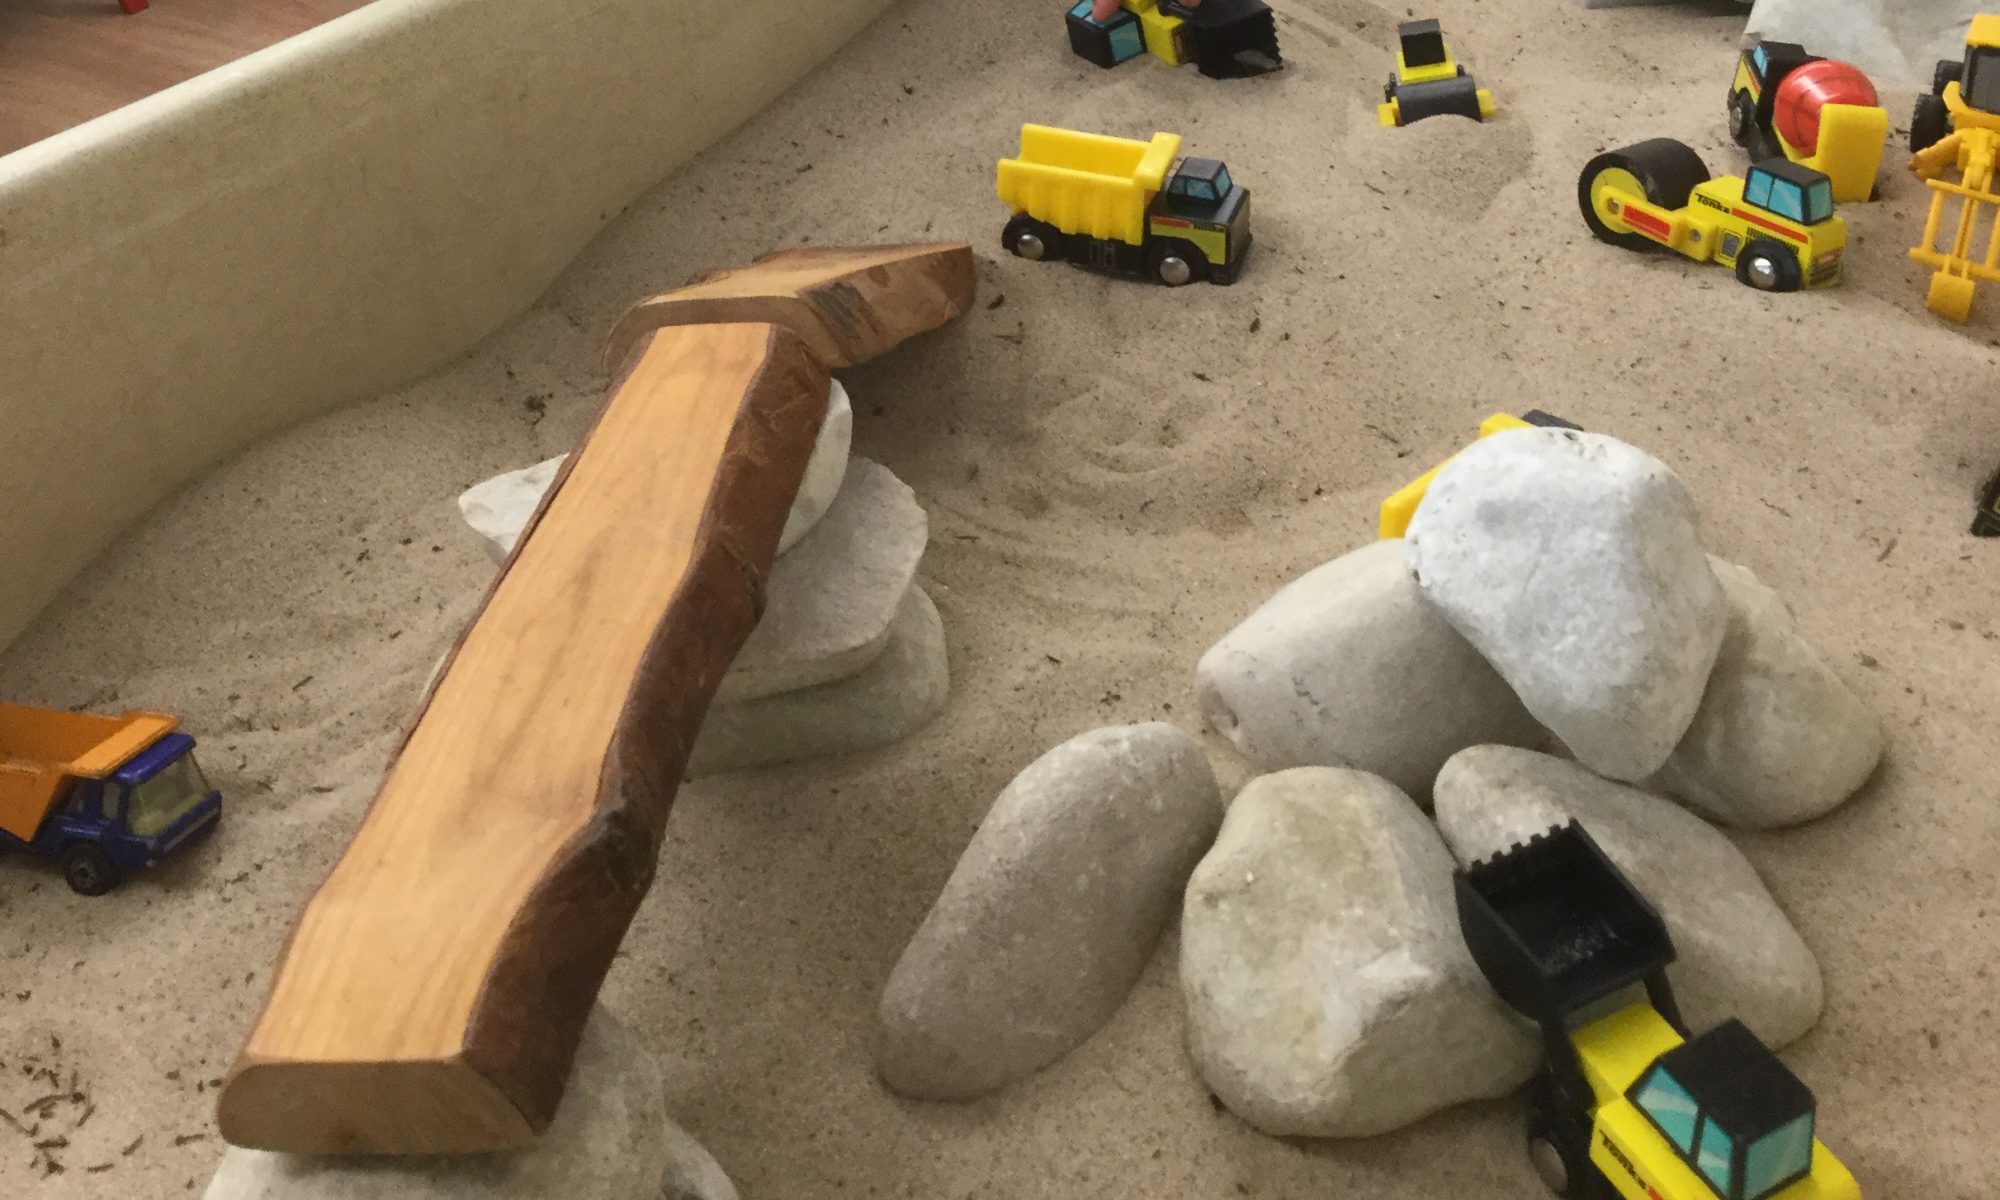
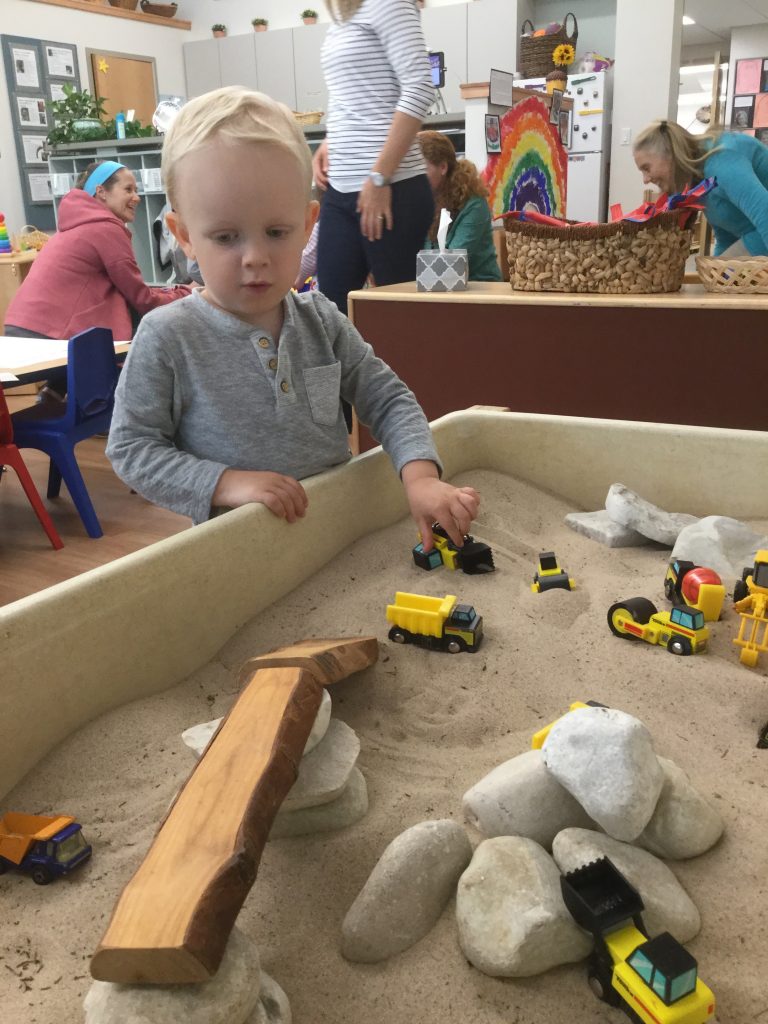
Directions:  Opportunities for sand play fascinate and engage young children. Sand lends itself to filling, dumping, molding into shapes (with a little water), measuring, and scooping. We’ve had a generous amount of rain in St. Louis lately, so our outside sandbox has been pretty saturated, which inspired us to bring some of our outside sand exploration inside. We downsized our construction vehicles, added a few “boulders,” a couple of small tree cookies, and let the play begin. It didn’t take long for a bridge to be created, as well as a ramp to get to the bridge. Roads were built for the trucks, and some of the trucks even traversed over a pile of boulders! The dump trucks were filled with sand, which was then transported across the sand table. BIG truck sounds were heard! And this activity was as popular with the girls as it was with the boys.

We keep a child-size dustpan and brush nearby for easy cleanup

Building Pattern Sequences

Materials:      
Unifix cubes in two colors (any connectible blocks will do)

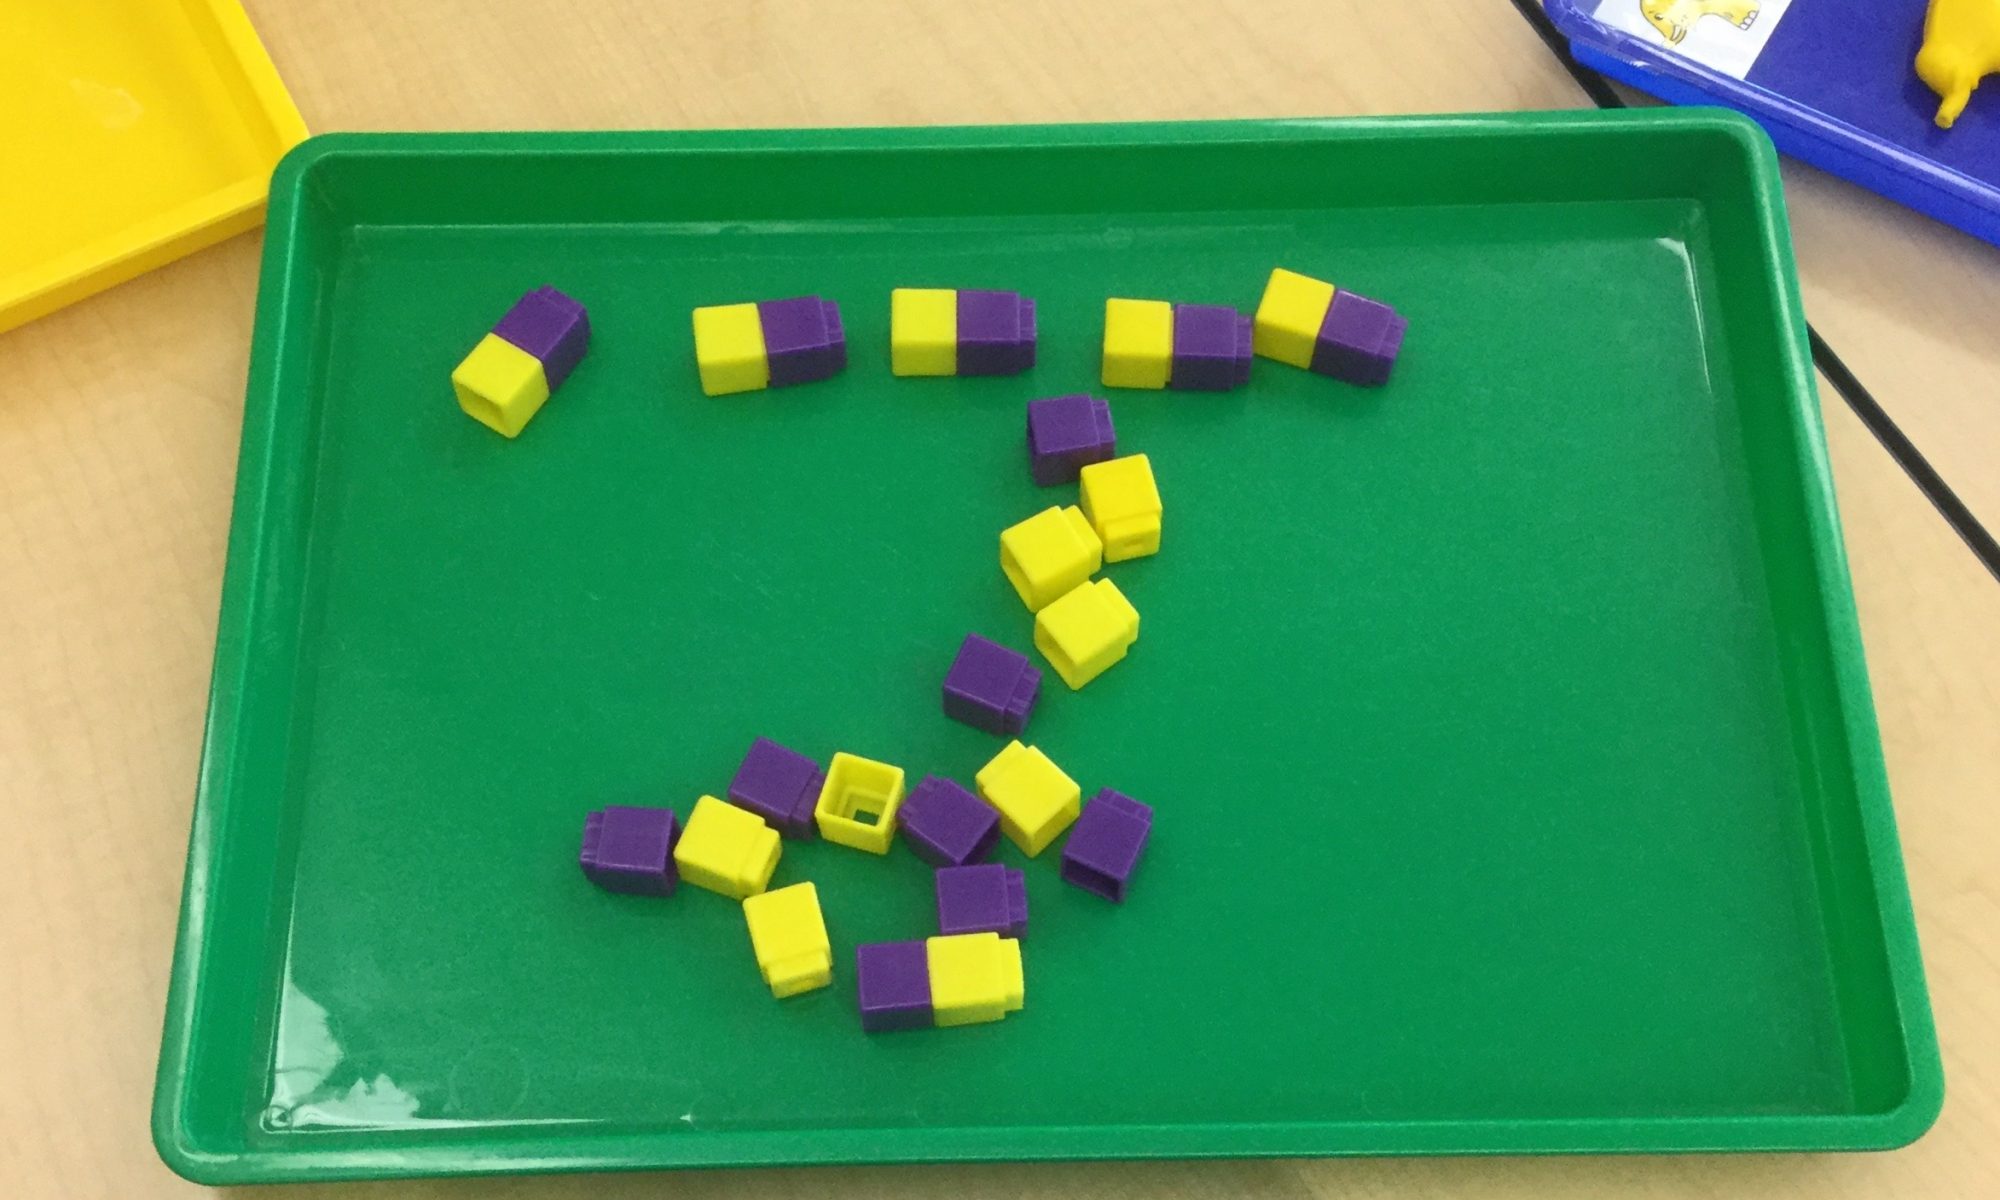
Directions:  A pattern repeats itself over and over again. In order to demonstrate this, I gave the children two different colored cubes and asked them to stick them together. I told them they’d just created something called a sequence. When they’d finished, we laid each sequence side by side in an upright position. We checked them to see if they were all the same. We had to change two of the sequences because we wanted each sequence to have a blue cube on top and a yellow one on the bottom. When the children agreed that all the sequences were the same, we connected them together in a long “train.” We had just created a pattern, which is a sequence that repeats itself!

There are so many fun ways to explore the concept of patterns. Cutting two straws of different colors into pieces and threading them on a shoelace is one way.  Or using two different colors of inch cubes or blocks and laying them end to end creates a pattern. Keep it simple with young children.  Make sure they are very familiar with AB patterns before you move on to more sophisticated ones.

A-B Pattern Snack

Ingredients:   
A banana
Oreo Minis

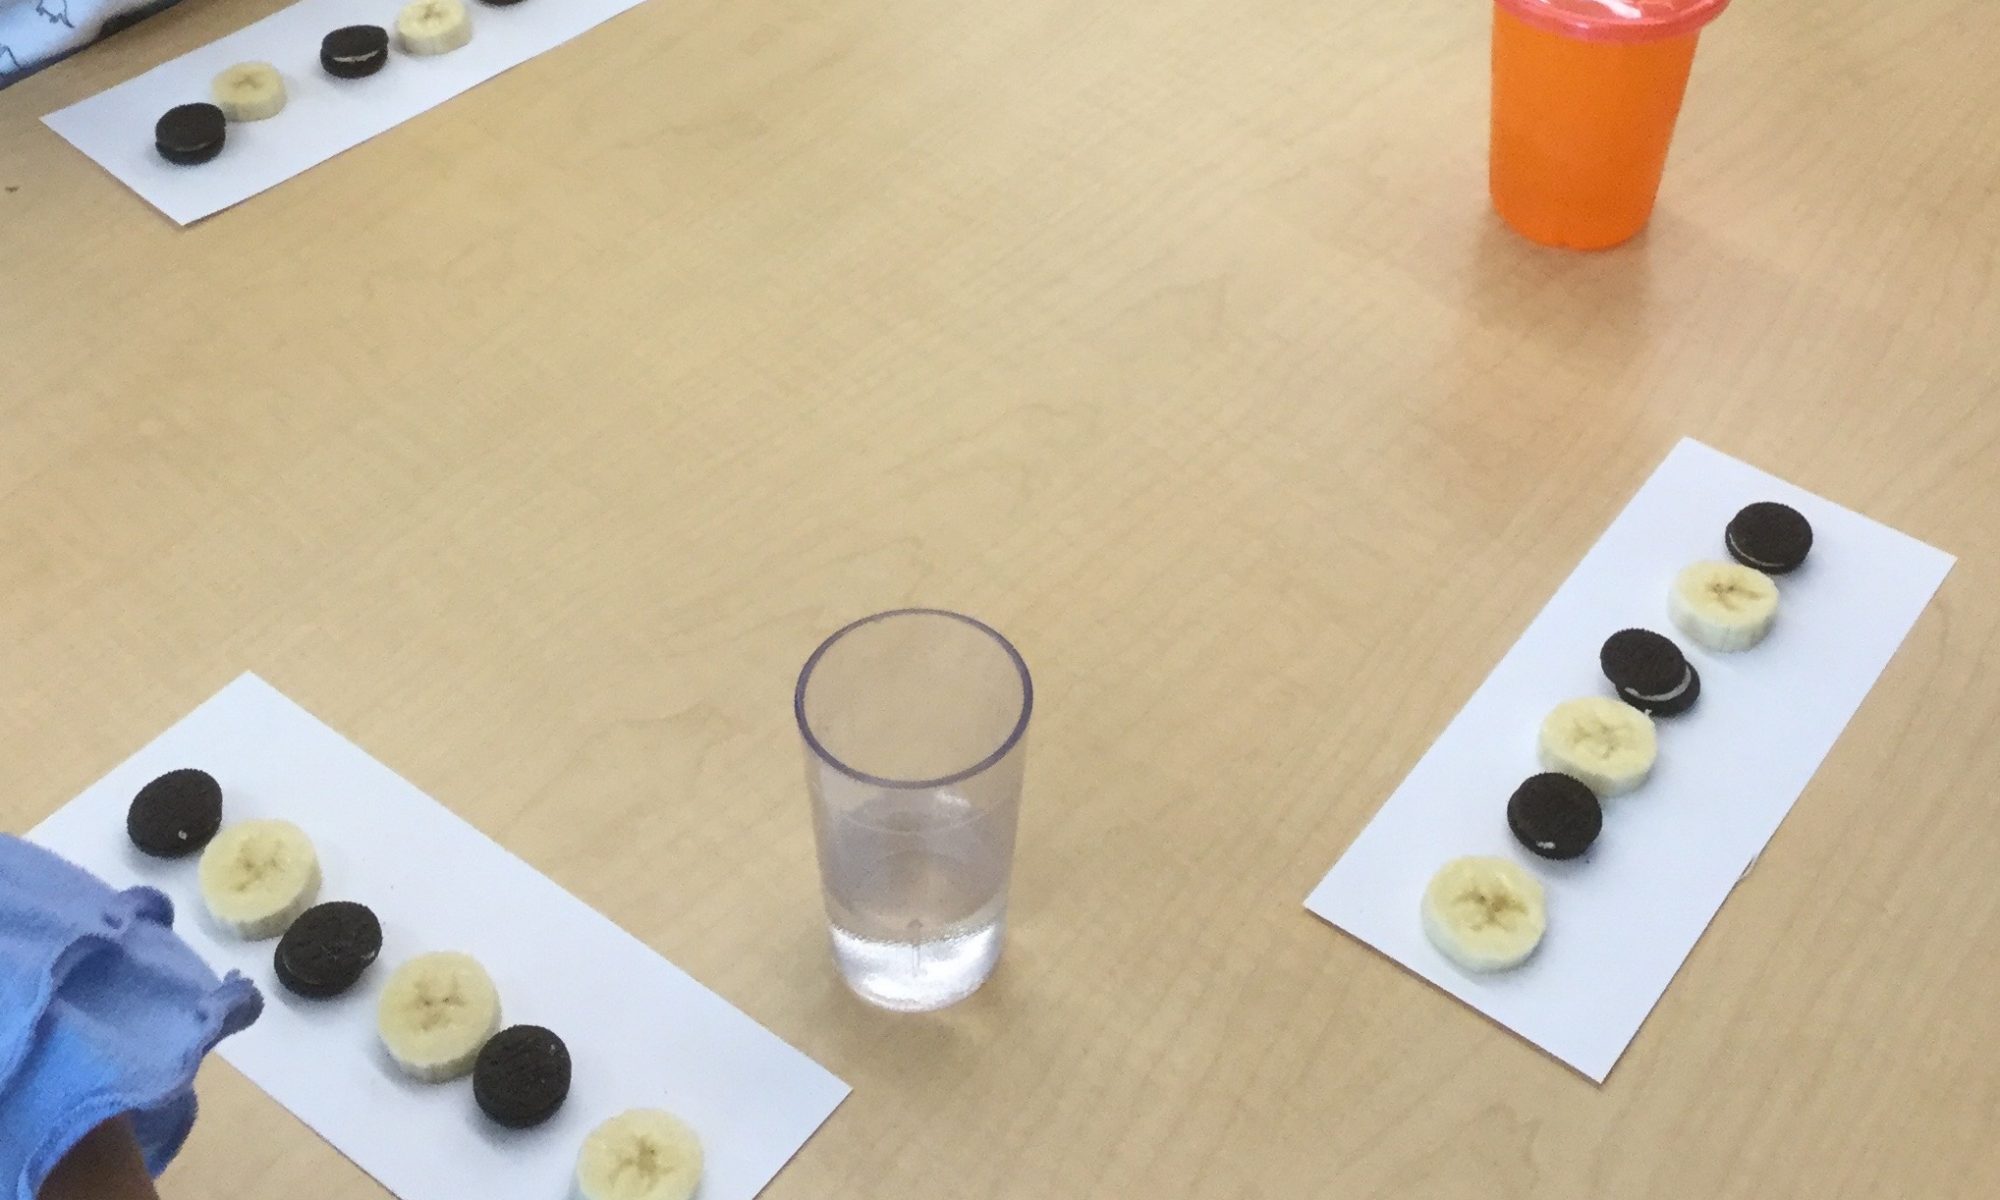
Directions:  A simple way to reinforce the concept of patterning is to create a pattern you can eat! This easy snack does just that.

Cut the banana into slices. Put a banana slice on the plate. Next to it, place an Oreo Mini cookie. Then put down another banana slice followed by another Oreo Mini.  Repeat the pattern a few more times. We served this snack on a long, narrow strip of construction paper so we could repeat the sequence multiple times! Ask your child what comes next in the pattern. Can he extend the pattern on his own?

Teaching Social Skills

Written by Mildred Cawlfield, Winter 1977

Sally spontaneously shares her candy with Jill. Jeff runs over to help little Billy, who just fell of his tricycle. Keith and Kevin work out their disagreement with words instead of fists. This is the harmony between children we’re working for, and there are many things we, as parents, can do to promote it. 

Sandy, our toddler, sees another child playing with a toy. The toy takes on new life. Barely conscious of the other child, Sandy walks toward the toy and grabs it. What does she need to learn? That people are not toys; they have feelings, and she can affect those feelings. But if we, the adults, grab the toy from her in turn, with a spank and reprimand, to return it to Joey, Sandy—despite our disapproval—is learning that grabbing and hitting are effective methods. We really do teach more by our actions than by our words. 

Suppose we say, “Joey feels sad when you take his toy away. Let’s give it back, and he’ll feel happy again.” As we say it, we hold our toddler’s hands and help her return the toy. We can say then, “Oh, see how much better he feels!” Then to Joey, “Sandy would like a turn with the toy when you’re through. May she please play with it when you’re finished?” Next, take Sandy away from the scene and help her find a good alternative toy to play with—perhaps even play with her for a moment. When Joey loses interest in the coveted toy, he can be helped to share it. “It looks like you’re ready to play with something else now, Joey. How happy Sandy will be when you share this toy with her!” 

Describing feelings helps a child become aware of them, and this kind of intervention teaches empathy, a necessary ingredient to the expression of love. 

Studies show that there is a correlation between harsh physical punishment and aggressive behavior in children. Also, it has been found that ignoring aggression that takes place in an adult’s presence perpetuates it, because the child feels that the aggression is being condoned. So it’s important to take consistent, appropriate action. This does take our time, and it may seem easier to let the children fight it out. But what rewards there are for spending the time now to teach these needed skills! We not only gain a more harmonious home but build skills desperately needed in the world. 

A good rule for children—like Sandy and Joey—to learn is that we shouldn’t take anything from another person by force, no matter how much we want it. We can ask if we may please have a turn with it when they’re finished. Then children can learn that it helps to get busy with something else, because standing around eagerly awaiting something seems to cause the possessor to maintain his interest in it. 

We don’t teach sharing by making a child give something he is working with to another. We’re merely fostering possessiveness and resentment. If an adult is reading a magazine and is in the middle of an interesting article, we wouldn’t expect him to give it up immediately just because someone comes along and says he wants it. Yet we sometimes make that kind of demand on a child. Sharing comes from the desire to give. It is the feeling we want to foster, not just the act. 

Food is a good thing to use for practice sharing. A child enjoys the obvious pleasure he gives others by passing out cookies or candy, and we can point out, “It makes your friends happy when you share with them.” 

Taking turns is another social skill children must learn. We can take turns speaking at the dinner table, and children can take turns being pushed in a swing or riding a wheel toy. Turns can be measured by counting. We can show what fun it is to take turns and should bill it as a positive, rather than a negative, experience. 

When children disagree, they need to learn to settle their differences verbally rather than physically. “Use words, not fists. Talk it over,” we can say. Sometimes it helps to verbalize a child’s feelings and thoughts, such as “Tommy thought it was fun dancing in a circle with you, but when you went too fast, it frightened him,” or “Johnny would like to have a turn being the daddy instead of always the child.” 

If one child continues to act aggressively toward another child and doesn’t respond to another’s viewpoint, he needs to learn that Principle operates to protect. We need to firmly, though lovingly, take him from the scene to sit on a chair until he can use his good thinking. We can tell him that thinking governs actions, and when he uses good thoughts, he’ll have good action. We can also tell him that we can’t let him hurt another, just as we wouldn’t let anyone hurt him. 

It helps children relate to others when we point out how we and others are similar to them. “Jody likes dolls just as you do.” Or “That loud thunder startled me, too. Aren’t we glad God is here taking care of us?” This type of relating helps children understand the concept that we are all God’s children and forms the basis for practicing the greatest social rule of all, the Golden Rule.
Teddy Bear Count and Graph

Materials:      
Simple, computer-generated bar graph
Colorful teddy bear counters (or an alternative)
Circular, colored labels that match the colors of the teddy bears

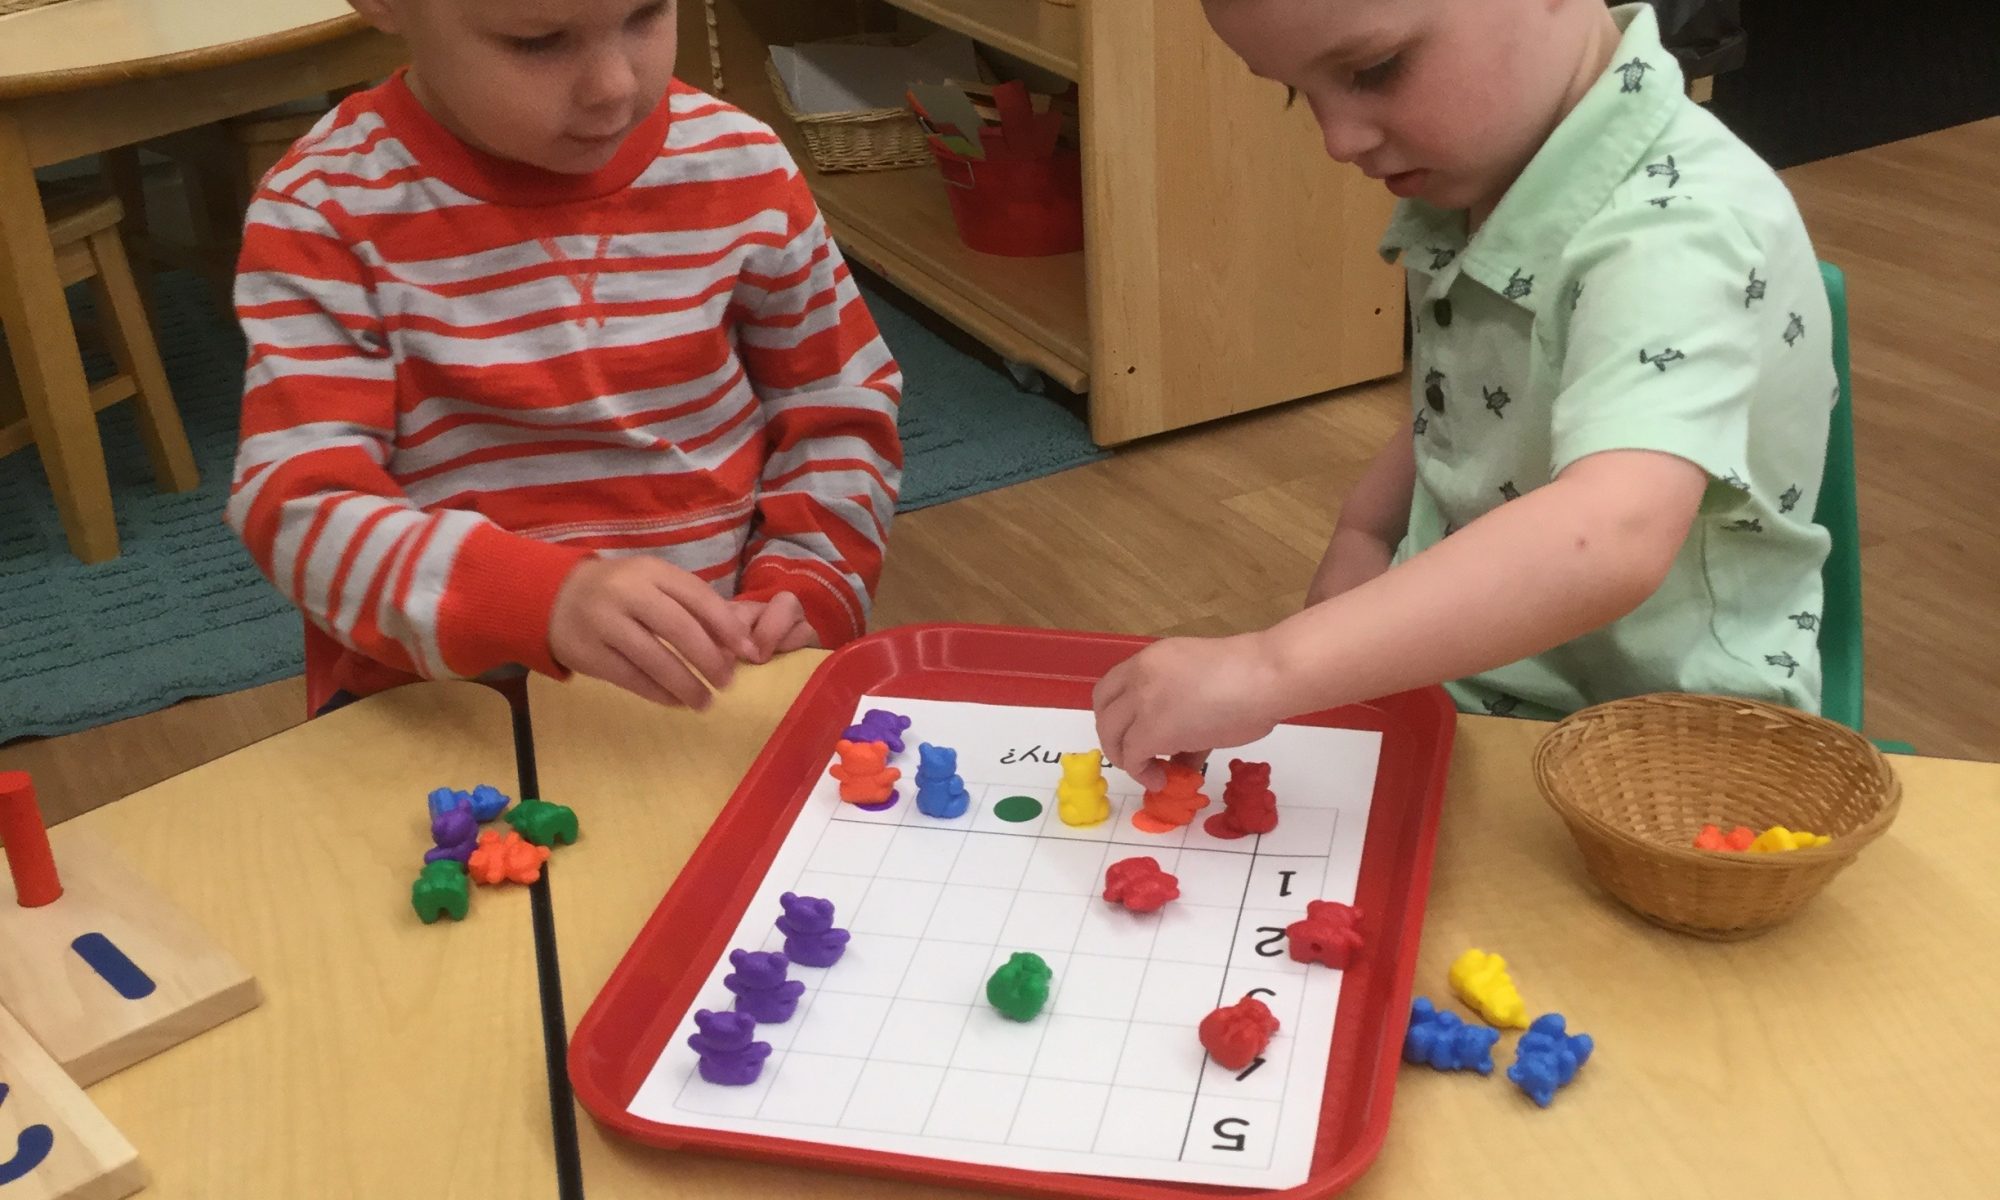
Directions: Create a simple bar graph with six squares up and six squares across. Stick five colored labels across the bottom. (The square in the lower left side of your paper stays empty.) Write in the numbers 1–5 up the left side of the graph.

The teddy bears we used came in five colors, but in lieu of teddy bears you could use colored buttons, paper clips, pompoms, etc., as long as the colors match the labels. Set out varying amounts (up to five) of your counters. Pick a teddy bear or button or whatever you’re using, and show your child how to look for the matching label along the bottom. Place the button in the first space above the colored label. Let your child place the other items in the correct squares. Make sure you don’t have more than five of any counters.

When finished, take the time to count the items in each color. Show your child the number  that correlates along the side. Ask your child to show you that many fingers. Young children love lining up all the items and will probably enjoy doing this activity again and again!