Balloon Painting

Materials     
2 – 3 barely inflated balloons, knotted
2 – 3 small bowls for the paint
Construction paper
Tape

Directions       
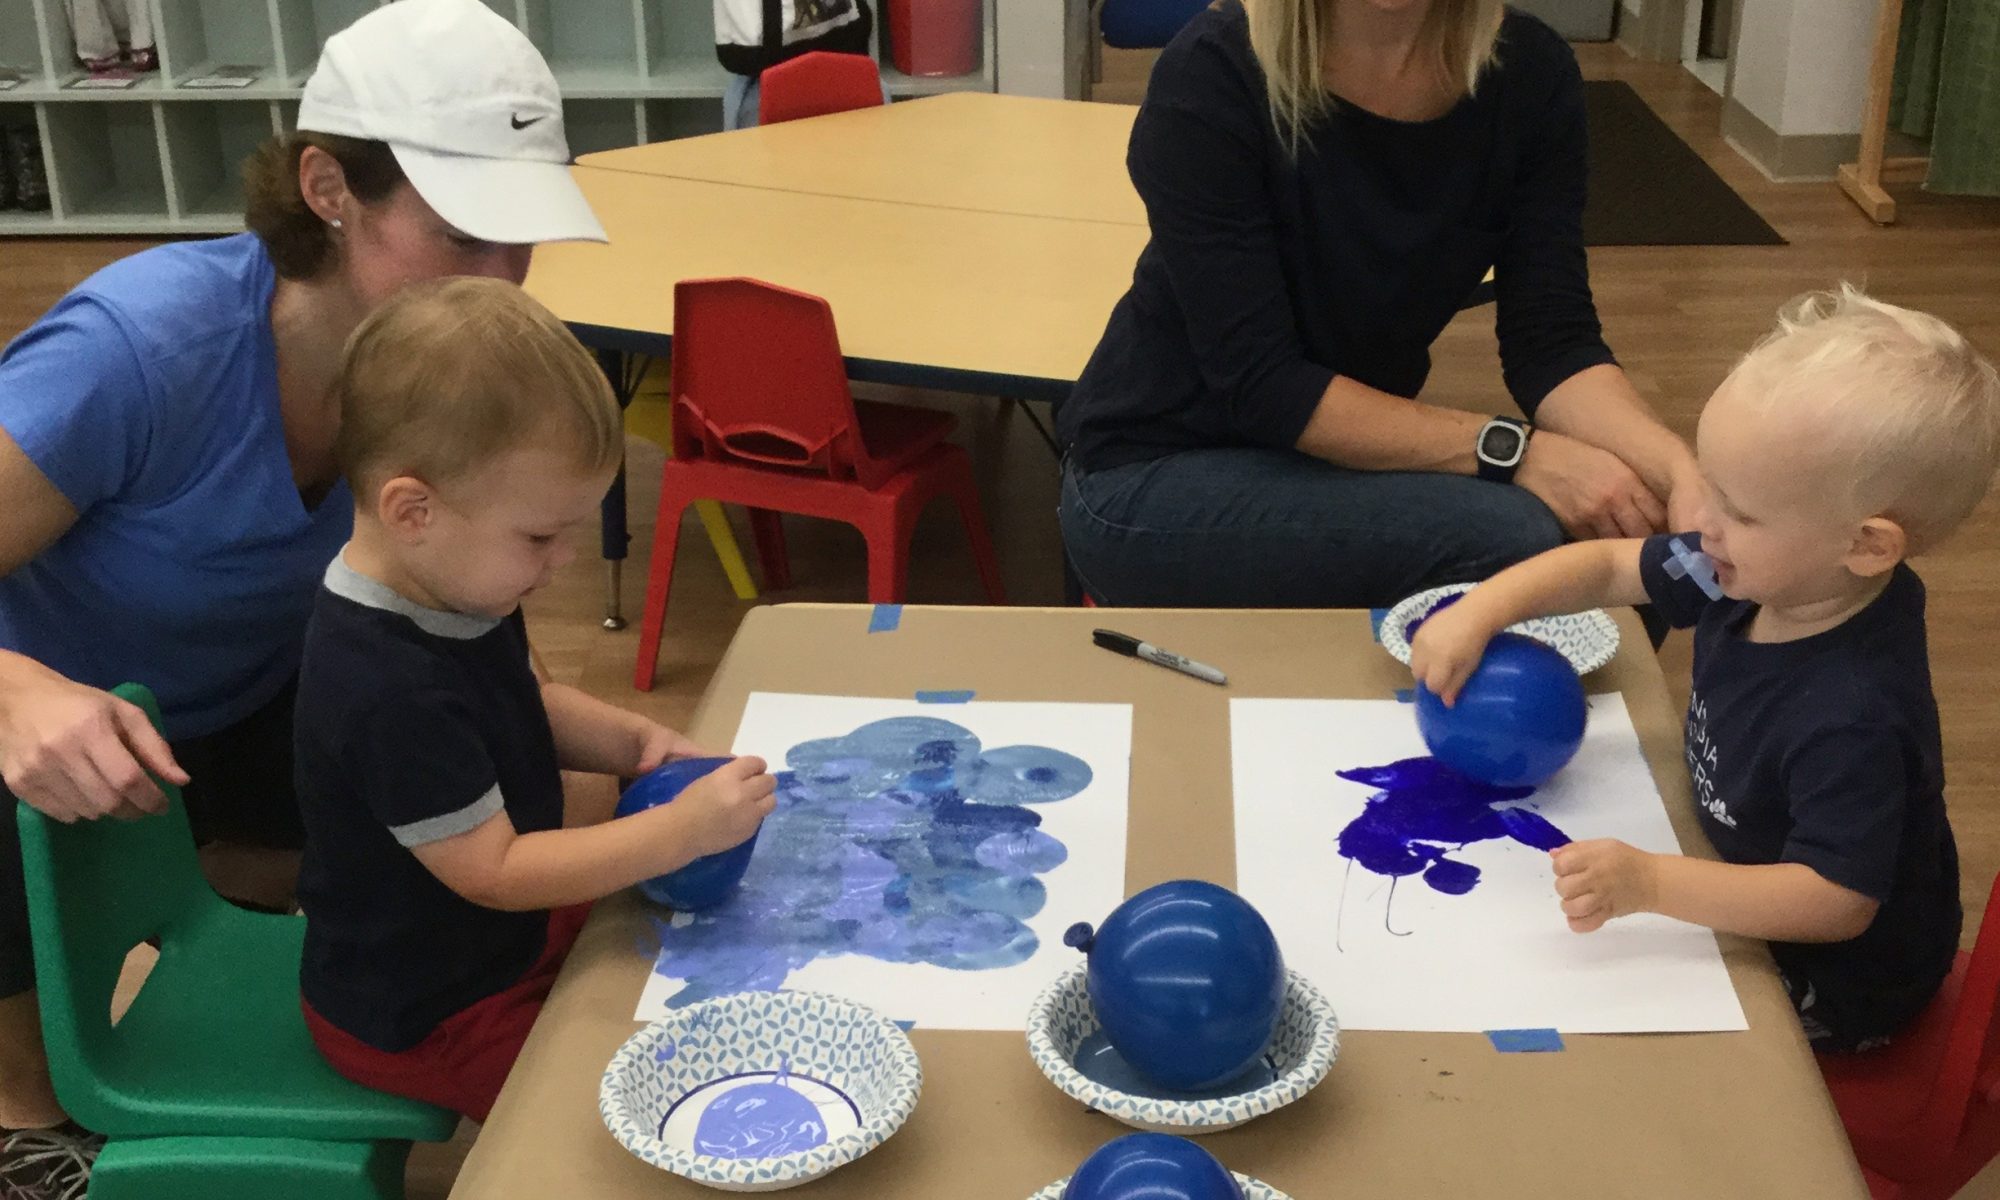
Balloon painting is great fun, but needs to be closely supervised! J  Tape a piece of construction paper to the table.  Pour a small amount of paint into the bowls.  Your balloons should be inflated with 1 or 2 breaths of air and be tied in a knot.  If the balloon is too inflated, it’s hard for a little child to hold!  Dip the balloon into one of the bowls of paint.  Demonstrate how to bounce the balloon all over the paper.  Saying “boun-cy, boun-cy, boun-cy” as you do it, encourages your child to bounce the balloon, rather than smear it on the paper. (And it’s fun to say!)  Try it with several colors, or shades of color.  The results are always unique!

Apple Printing

Materials     
1 or 2 apples
Knife for cutting apples
Tray for paint
Construction paper
Tape

Directions       
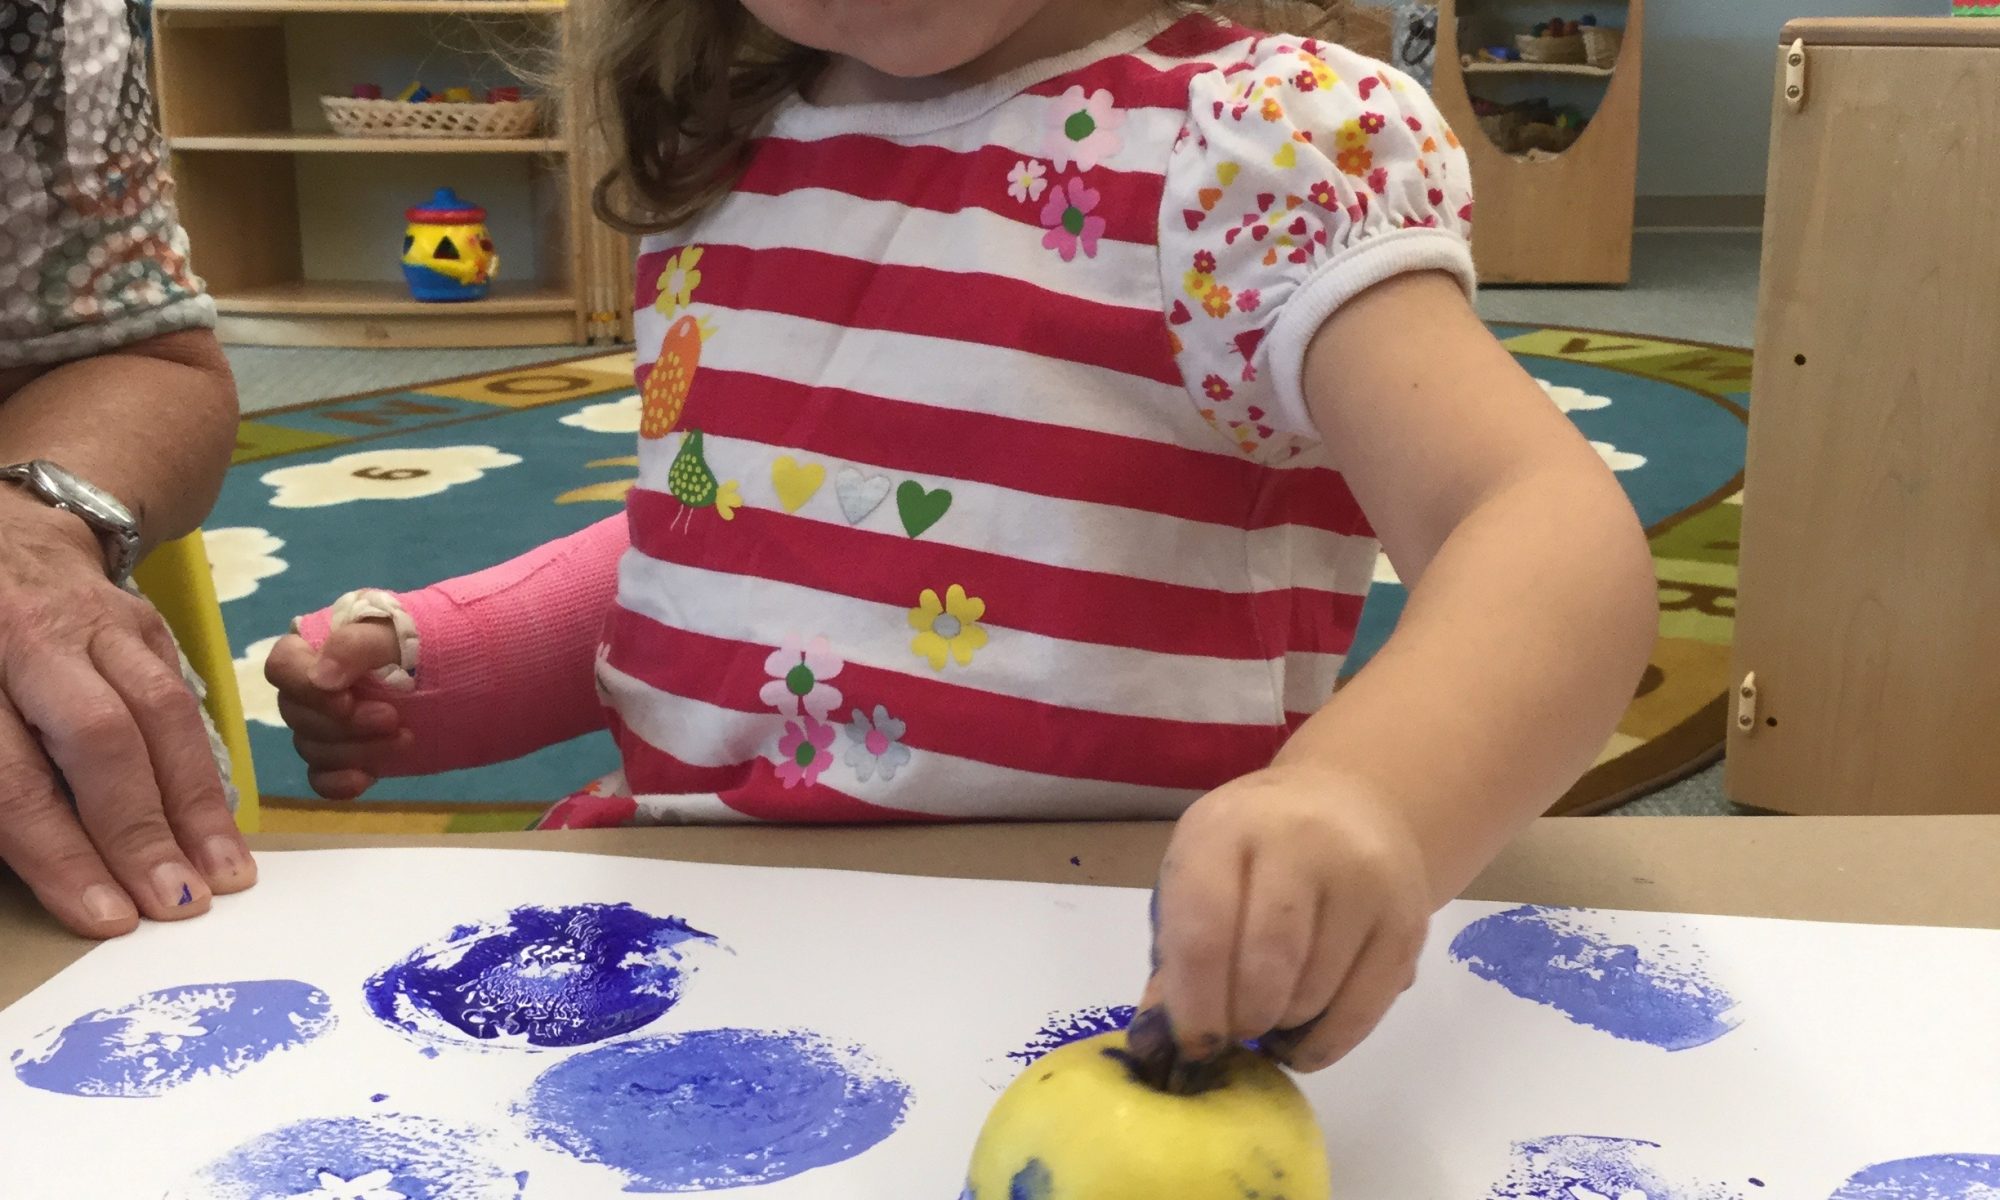
Cut your apples in half, cross-wise, revealing the “star” that is formed when you cut through the seed casings.  We found that Golden Delicious apples worked best, but any apple will do.  Pour a small puddle of paint in a styrofoam meat tray or paper plate.  We used blue and mixed a little blue into white paint to get a lighter shade of blue.  If you choose to use 2 shades of paint, they can both go into the same tray. 

We used the top half of the apple to make prints, primarily because the stem made it easier to hold on to!  If you prefer, stick a fork into the apple half and hold on to the fork for easier handling.  Use the tape to secure your paper to the table.  Make sure the apple half is completely covered with the paint.  We used an extra sheet of paper to “blot” the first print; then made subsequent prints on another paper. 

Encourage your child to make prints all over the paper, re-dipping the apple in paint as necessary.   This is also fun to do with citrus fruits, but it’s helpful to cut the citrus fruit in half and let it drain on a paper towel for a couple of hours before using it to print with!

Nurturing Creativity

Young children love to learn, and their curiosity is intense. Creativity opens thought to numerous possibilities for children and their thought expands when they are given opportunities to explore, think, imagine, and problem solve. Today, the concern is that we are teaching our children to be un-creative. 

As Christian Scientists, we know that creativity is a spiritual quality, a tangible asset that is given to us by God. Each one of us as a child of God reflects His creativity. “I am God’s child. I am capable because this is how God made me. I do not lack ideas. I am filled with His inspiration, and I can express this in creative ways. Whatever is possible to God, is possible for me to accomplish with His help.” (Author unknown) All God’s children are constantly supplied with original, productive ideas and the competence to carry them out. God has endowed us with His intelligence. It needs only to be put into practice. 

So, how can we help our children practice creativity? Foster process-focused art. Set up a maker space that allows your child to explore, get messy, and play without undue restraints. Clear the clutter – both mentally and physically, and invite your child to get involved in organizing and defining the space. Provide everyday materials such as markers, tape, crayons, scissors, and glue in an easy-to-access spot, like a low shelf or cabinet. Save recycled materials for your child to use. Include watercolor paints, finger paints, and offer brushes and interesting painting tools such as toothbrushes, potato mashers, feathers, and natural materials. Have lots of blank paper available. Make homemade playdough and cloud dough. Resist the temptation to make a model for your child. Adapt to your child’s ideas rather than trying to structure his ideas to fit your ideas. 

Open-ended materials, such as blocks, construction toys, cardboard boxes and scarves give children opportunities to be creative. Materials such as these can be transformed. When left alone, these materials do nothing in particular but they come to life in the hands of children as they are required to use their imagination. A block that is shaped and painted like a tree is more likely to be played with as a tree. However, a simple wooden block can be transformed into a multitude of things. While there can be value in having the tree-shaped block, open-ended materials enhance the play experience as they require children to bring themselves into the play experience in a deeper way. 

Creativity is a great asset in problem solving. Parents and teachers can help children by giving them time and support to solve their own problems rather than quickly providing solutions. A child can be encouraged in ways such as this: “I see you’re looking for your teddy bear. Where do you remember playing with it last? Yes, looking in your bed is a good place to check.” “It looks like you and your brother both want the same toy. How can we solve this problem?” (You may need to put the toy up during the conversation.) It may be helpful to offer some ideas. “We could set the timer and you can take turns, or one of you can find another toy, or maybe you can think of way to play with the toy together. What solution can you both agree upon?” As problem solving skills develop, children will be better able to resolve social conflicts, work through touch math problems, manage their own life with less adult intervention, and become more confident. 

One of the most important types of creative activity for young children is creative play. Creative play is expressed when children use familiar materials in a new or unusual way, and when children engage in role-playing and imaginative play. Nothing reinforces the creative spirit and nourishes a child’s soul more than providing large chunks of time to engage in spontaneous, self-directed play throughout the day. Play enhances social development, and dramatic play helps children experiment with and understand social roles. Through dramatic play, children learn to take each other’s needs into account, and appreciate different values and perspectives. Play helps develop each child’s unique perspective and individual style of creative expressions. 

Environments where children are supported in their eagerness to explore relationships and materials without fear or disapproval, where parents and teachers are prepared to unearth resources to satisfy children’s creative thirst to learn, are environments where creativity will blossom and grow. 

Spray-Bottle Painting

Materials     
Large sheet of white paper
1 spray bottle for each color you’d like to use
Liquid watercolors for each spray bottle
Packing tape
White crayon

Directions       
We laid out the sheet of paper on a table first, and used the white crayon to draw lines, circles, and squiggles. Press down hard with the crayon!  We talked about making “invisible” drawings, meaning that the crayon markings were very hard to see! When finished, hang the paper up, preferably outside, using the packing tape. 

Pour some liquid watercolor into a spray bottle. A little liquid watercolor goes a long way, so fill the spray bottle with about a tablespoon of color, and add a little water. Put a second color in another spray bottle with a little water. (We used blue and turquoise.) Demonstrate how to squeeze the trigger on the squirt bottle, and let your toddler try it. Be sure the squirt nozzle is directed towards the paper!

As your child squirts the paper, the crayon lines should resist the watercolor, and the squiggles will appear, as if by magic! When finished, leave the paper hanging until dry. Clean up watercolor splatter with a hose!

Paper Punching

Materials     
Strips of construction paper
Easy-to-squeeze paper punch (under $2 at Walmart)

Directions       
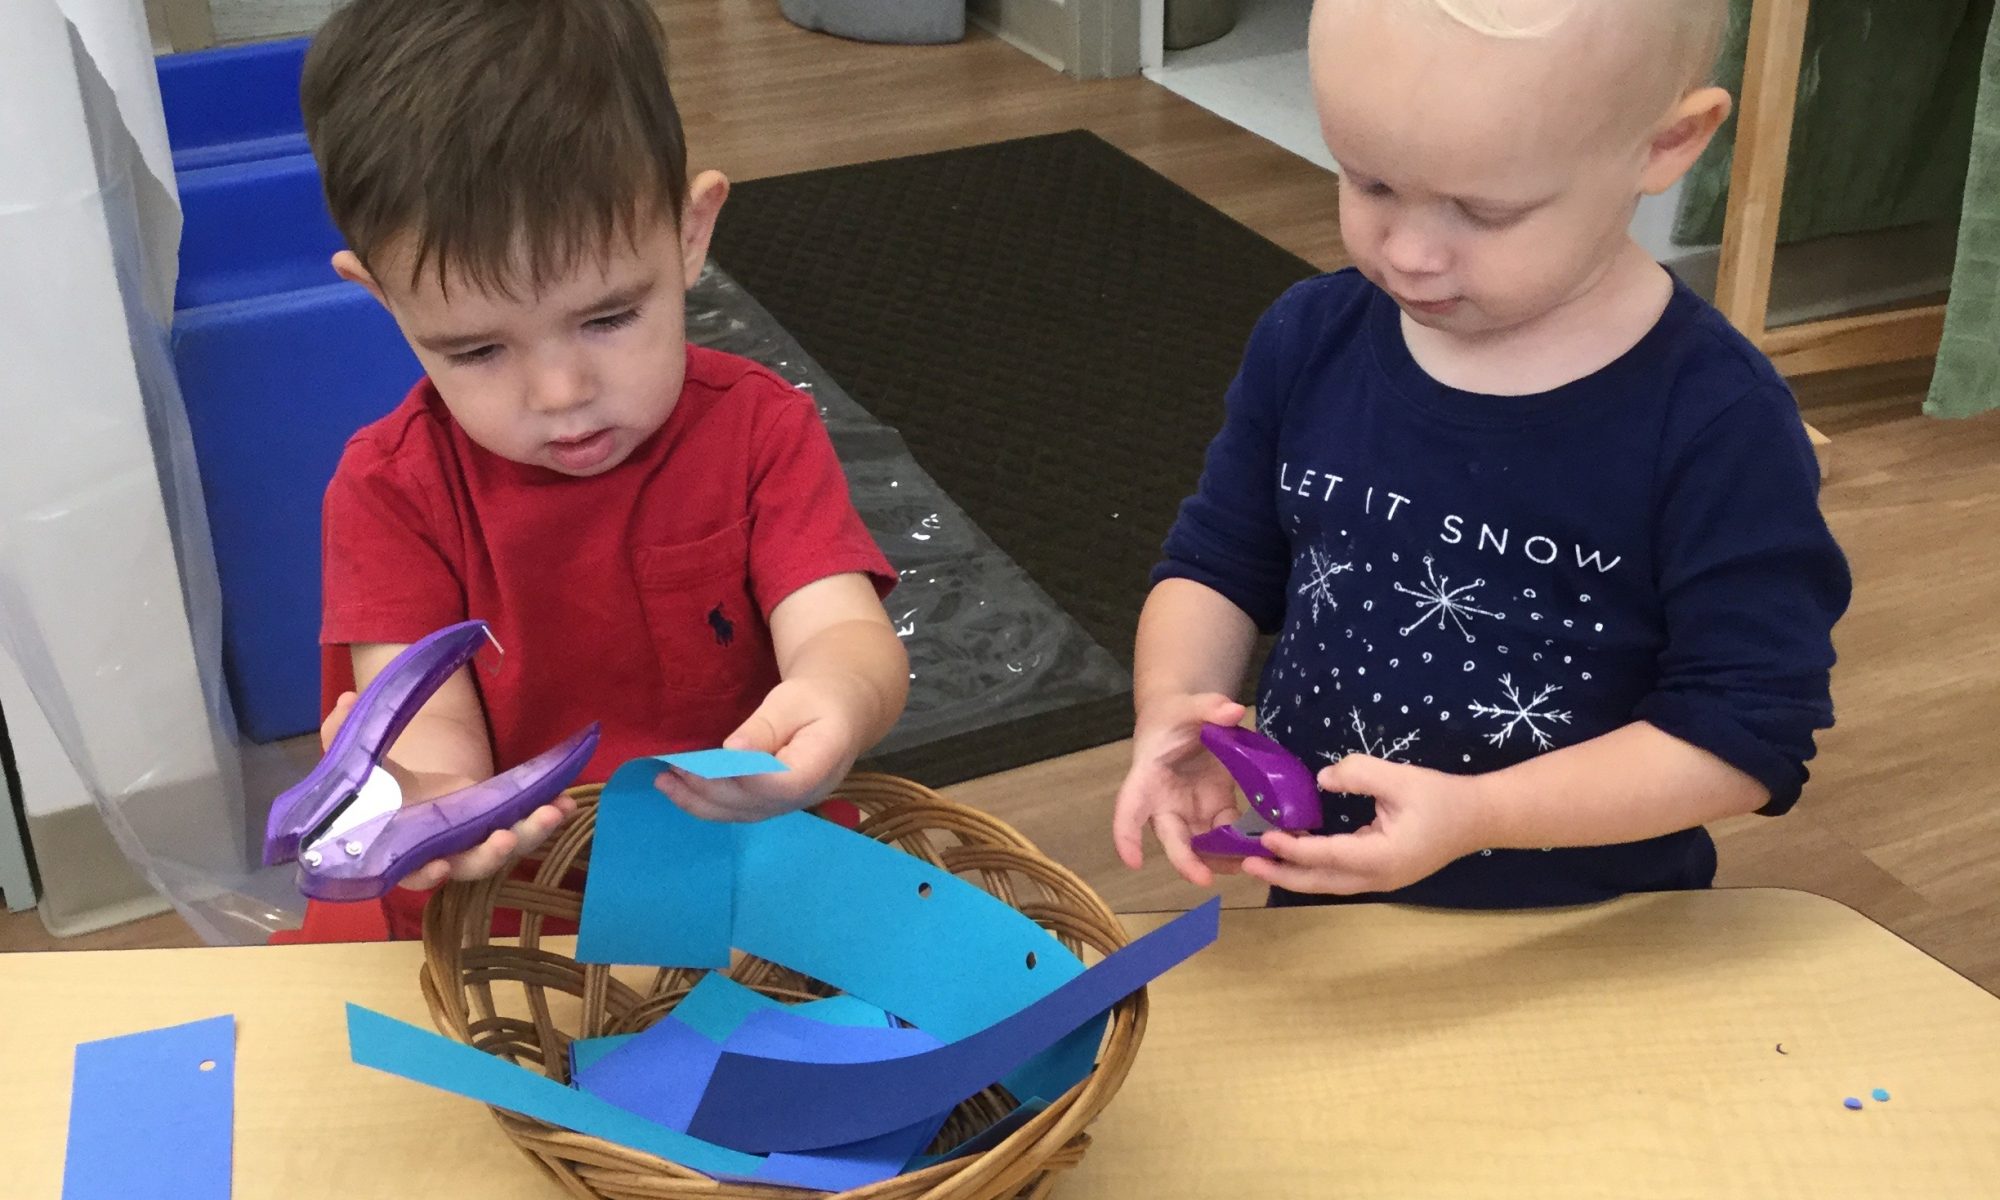
Cut a few strips of paper into various lengths. Demonstrate how to insert the paper into the punch and squeeze it a few times, revealing the holes you made. Your toddler will want to try it, and may need help holding the paper and squeezing the punch at the same time.  (Walmart also sells a small punch that can sit on a flat surface and can be pushed down with two fingers.)

This is a wonderful activity to help strengthen the small muscles in the hands that are vital for writing, buttoning, fastening, and zipping later on. Once your toddler gets the idea, he’ll be making hole-punched paper strips for everyone in the family! 

Letter Matching

Materials       
Small cookie sheet or pizza pan
Magnetic letters
A large sheet of construction paper
Felt-tip marker

Directions
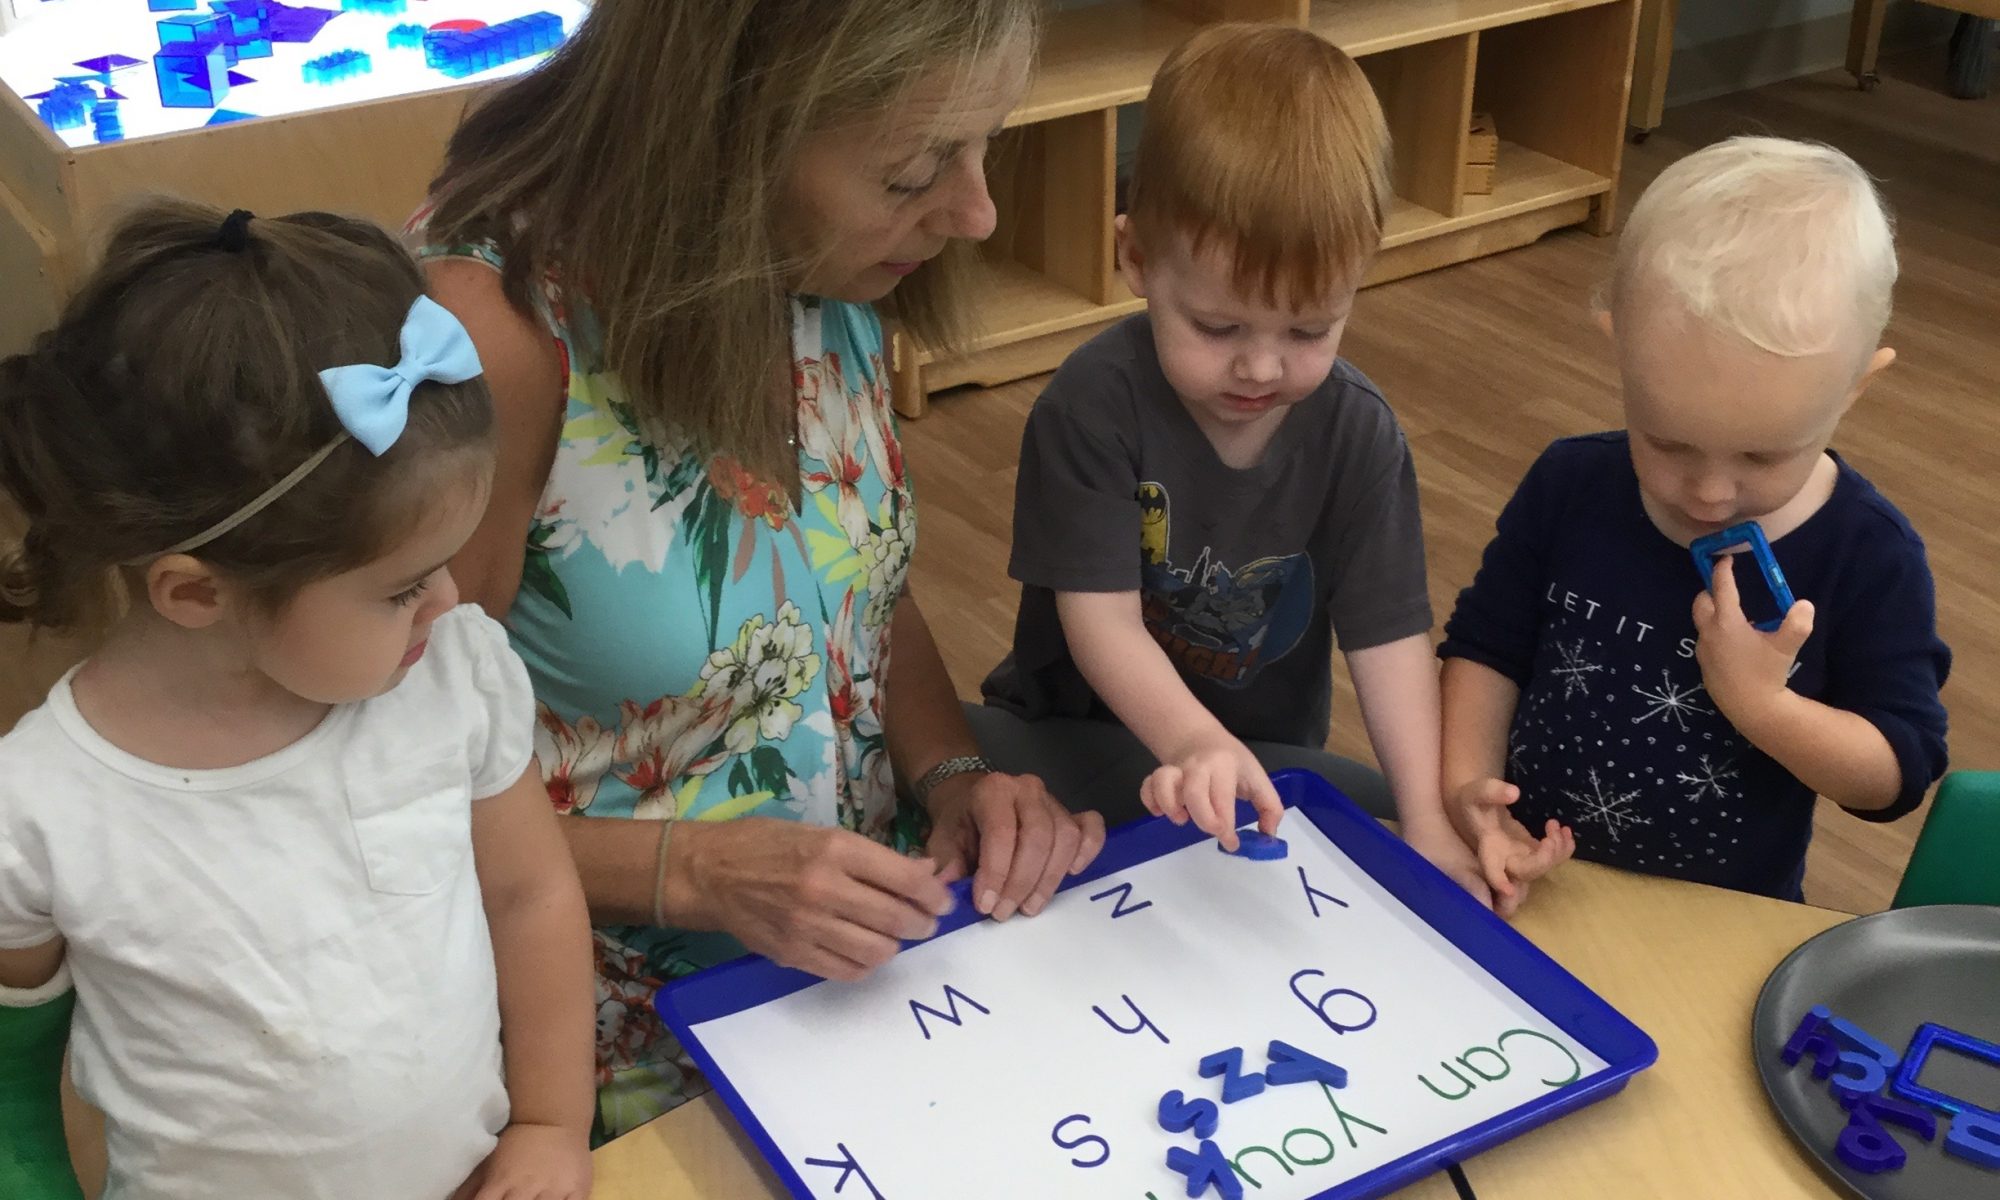
Assemble a dozen or so magnetic letters (more for older children) and stick them to the cookie sheet.  Use the felt-tip marker to make several, but not all of the letters on the cookie sheet. Try to make your letters resemble their magnetic letter counterpart as closely as possible!  Invite your toddler to look at a letter you point out on the sheet. Describe the letter to your child—”It looks like a circle with a monkey tail on the side.” Let your child look at the letters on the cookie sheet, picking up the matching letter and laying it on top of the letter on the paper. Your child does not have to know the letters of the alphabet to do this activity. This is purely a matching game. But it’s also a good introduction to beginning letter recognition!

Exploring Blue Floral Stones in Sand

Materials       
A large, shallow plastic tub or sand table
Play sand—the finer, the better
Floral stones or beach glass (available at Hobby Lobby)
Craft sticks

Directions     
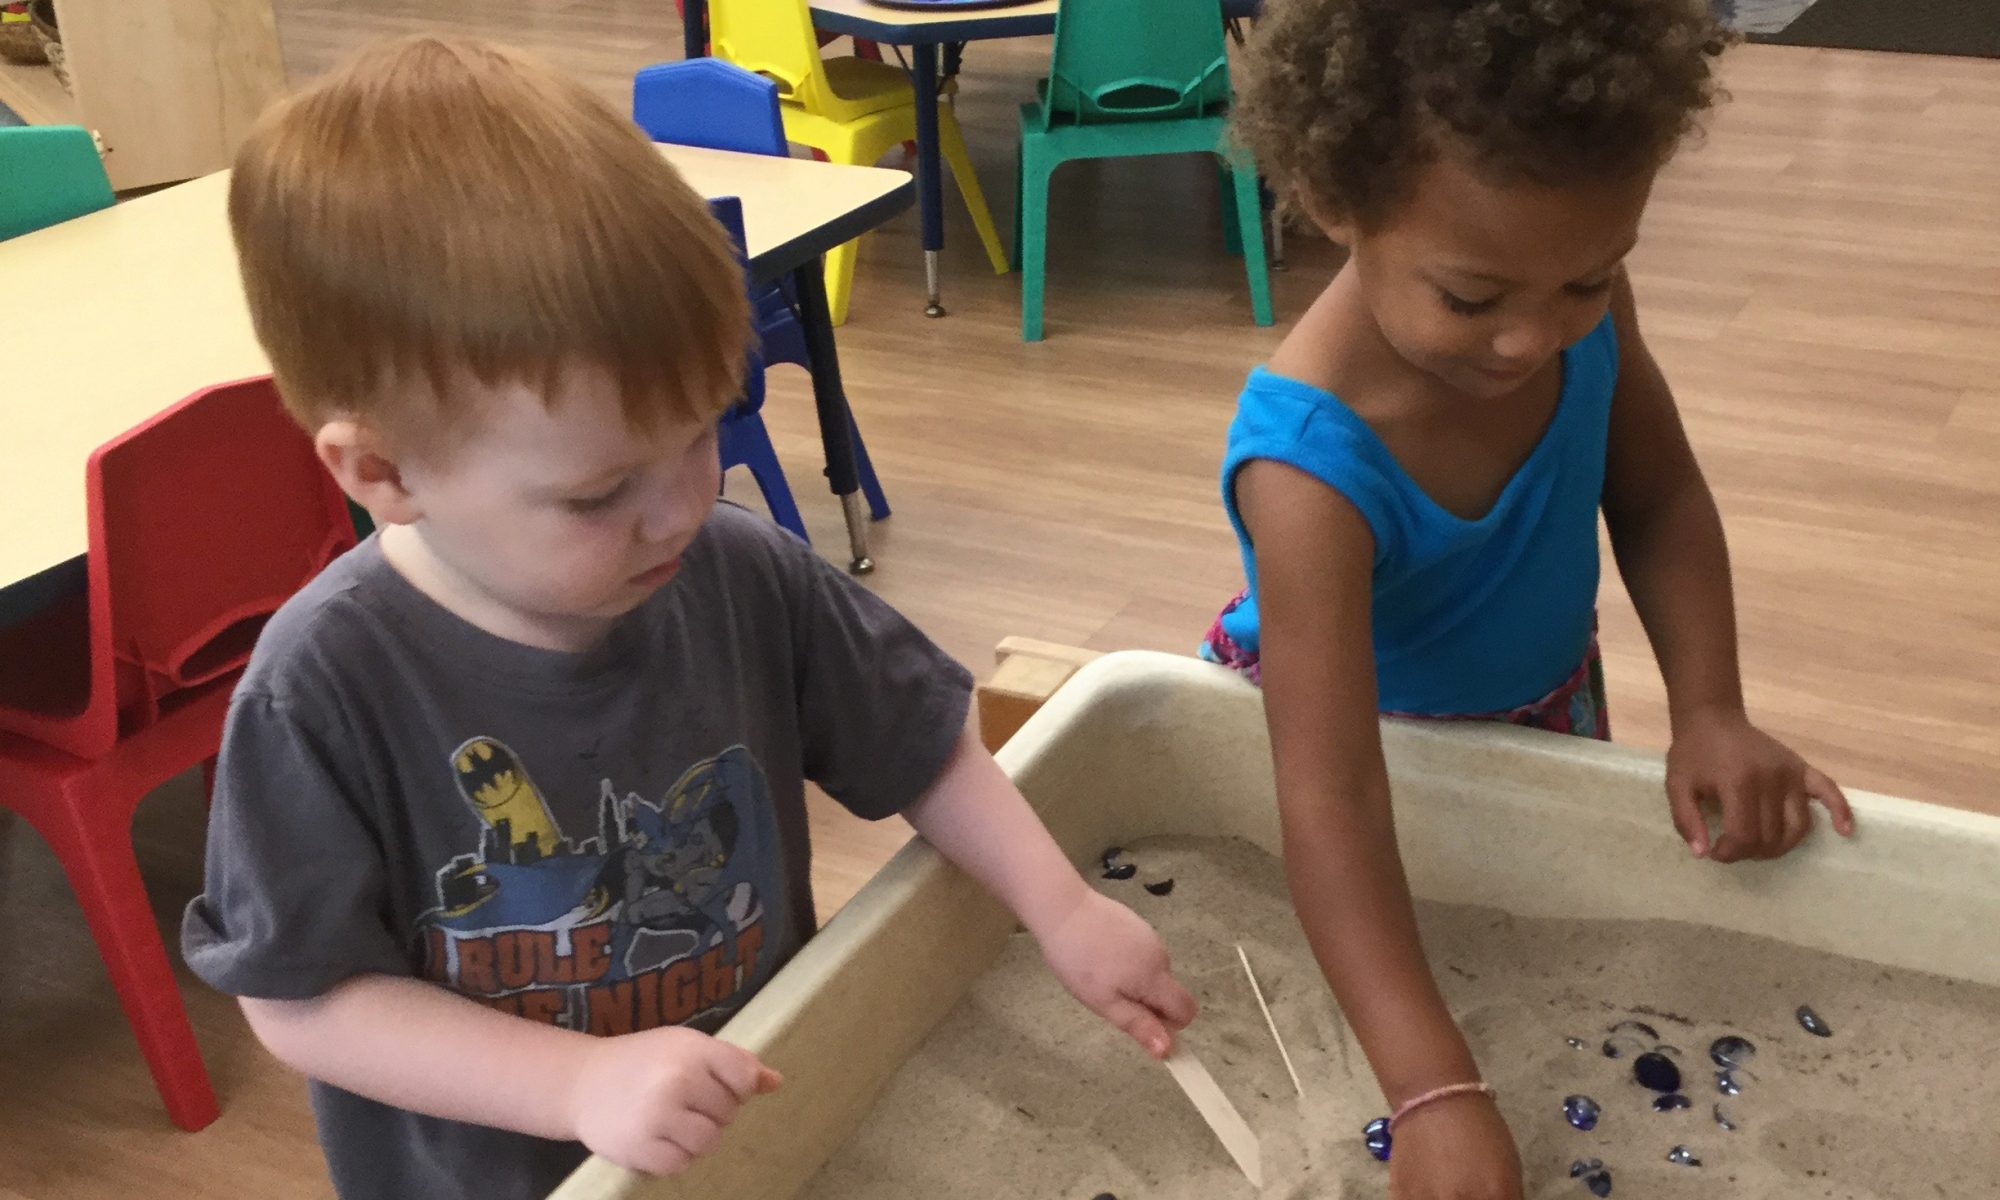
The feeling children get when digging, filling, and dumping containers of sand is both satisfying and relaxing at the same time. They can be engaged in sand play for hours at the beach. The sand table in our classroom, filled with beach sand, holds the children’s interest almost as long.  They enjoy running their fingers through the sand, burying their hands in it, sifting it, filling containers with it, dumping containers of it, and mixing water into it. 

Recently, we took all the tools and containers out of our sand table, replaced them with blue floral stones and craft sticks, and watched to see what happened.  At first, the children started retrieving all the blue stones and put them into piles.  We challenged them to do something with the craft sticks.  They “drew” with them in the sand. Then, one child started using his stick as a scraper, smoothing sand throughout the sand table. One of the girls started laying her sticks on the sand and placed a few stones on top. This led others to start making “roads” with their sticks, with more stones on top. This morphed into burying stones in the sand and using the craft sticks as diggers to find the stones. It was very interesting to observe what the children would do without pails and shovels as they’re accustomed to.  

Blueberry-Banana Smoothie

Ingredients   
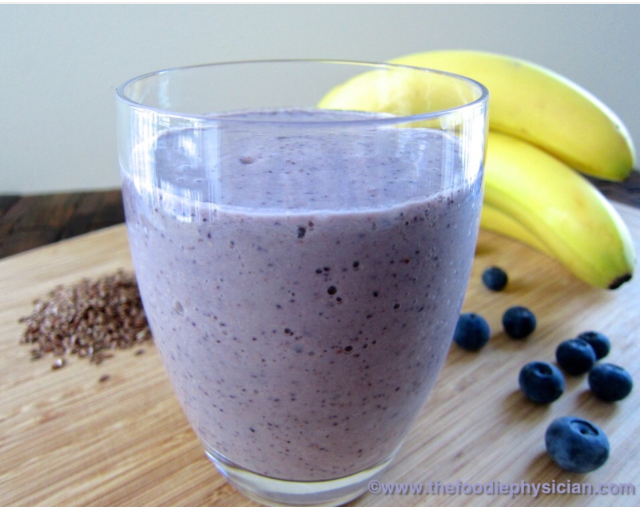
1 frozen banana
1 cup frozen blueberries
1 ½ cup milk of choice
1 Tablespoon almond butter
2 Tablespoons ground flaxseed (optional)

Blender

Directions       
Place all ingredients in a blender and blend until smooth.

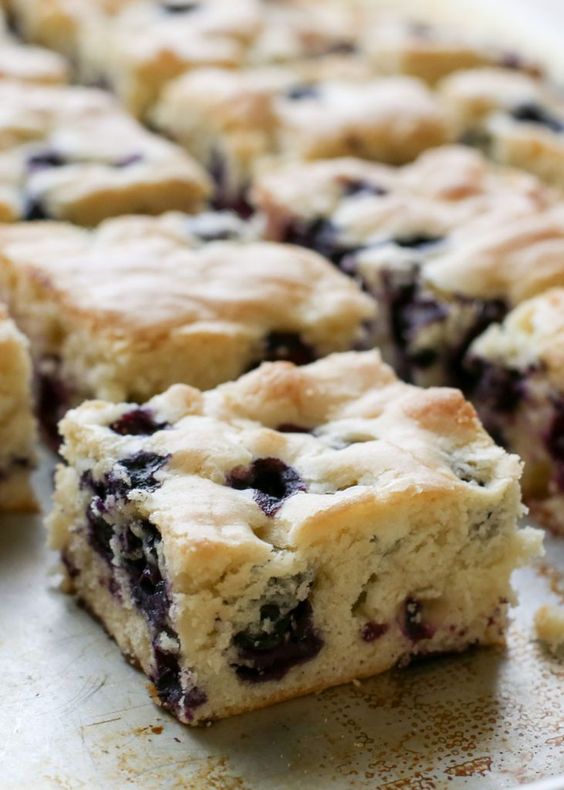
Blueberry Snack Cake

Ingredients   
3 eggs
1 ¾ cup sugar
¾ cup butter, softened
1 tsp. vanilla
2 cups flour
12 oz. fresh blueberries (about 2 cups)

Preheat oven to 350°. With a mixer, beat the eggs and sugar about 5–7 minutes, until slightly thickened. The mixture should almost double in size.  The eggs work as a leavening agent, so it’s important to beat them long enough. The mixture should form a ribbon when you lift the beaters out of the bowl. Add the butter and vanilla, and mix for 2 minutes more. Stir in the flour until just combined.  Add the blueberries and mix by hand so they are distributed evenly throughout the batter..

Spread batter in a buttered 9 x 13 pan. Bake for 40–50 minutes until very lightly browned and a toothpick inserted near the center comes out clean. Let cool completely before cutting into small squares. 

Baby Treasure Basket

Materials      
A sturdy basket
Natural and man-made items that can be safely explored by baby

Instructions   
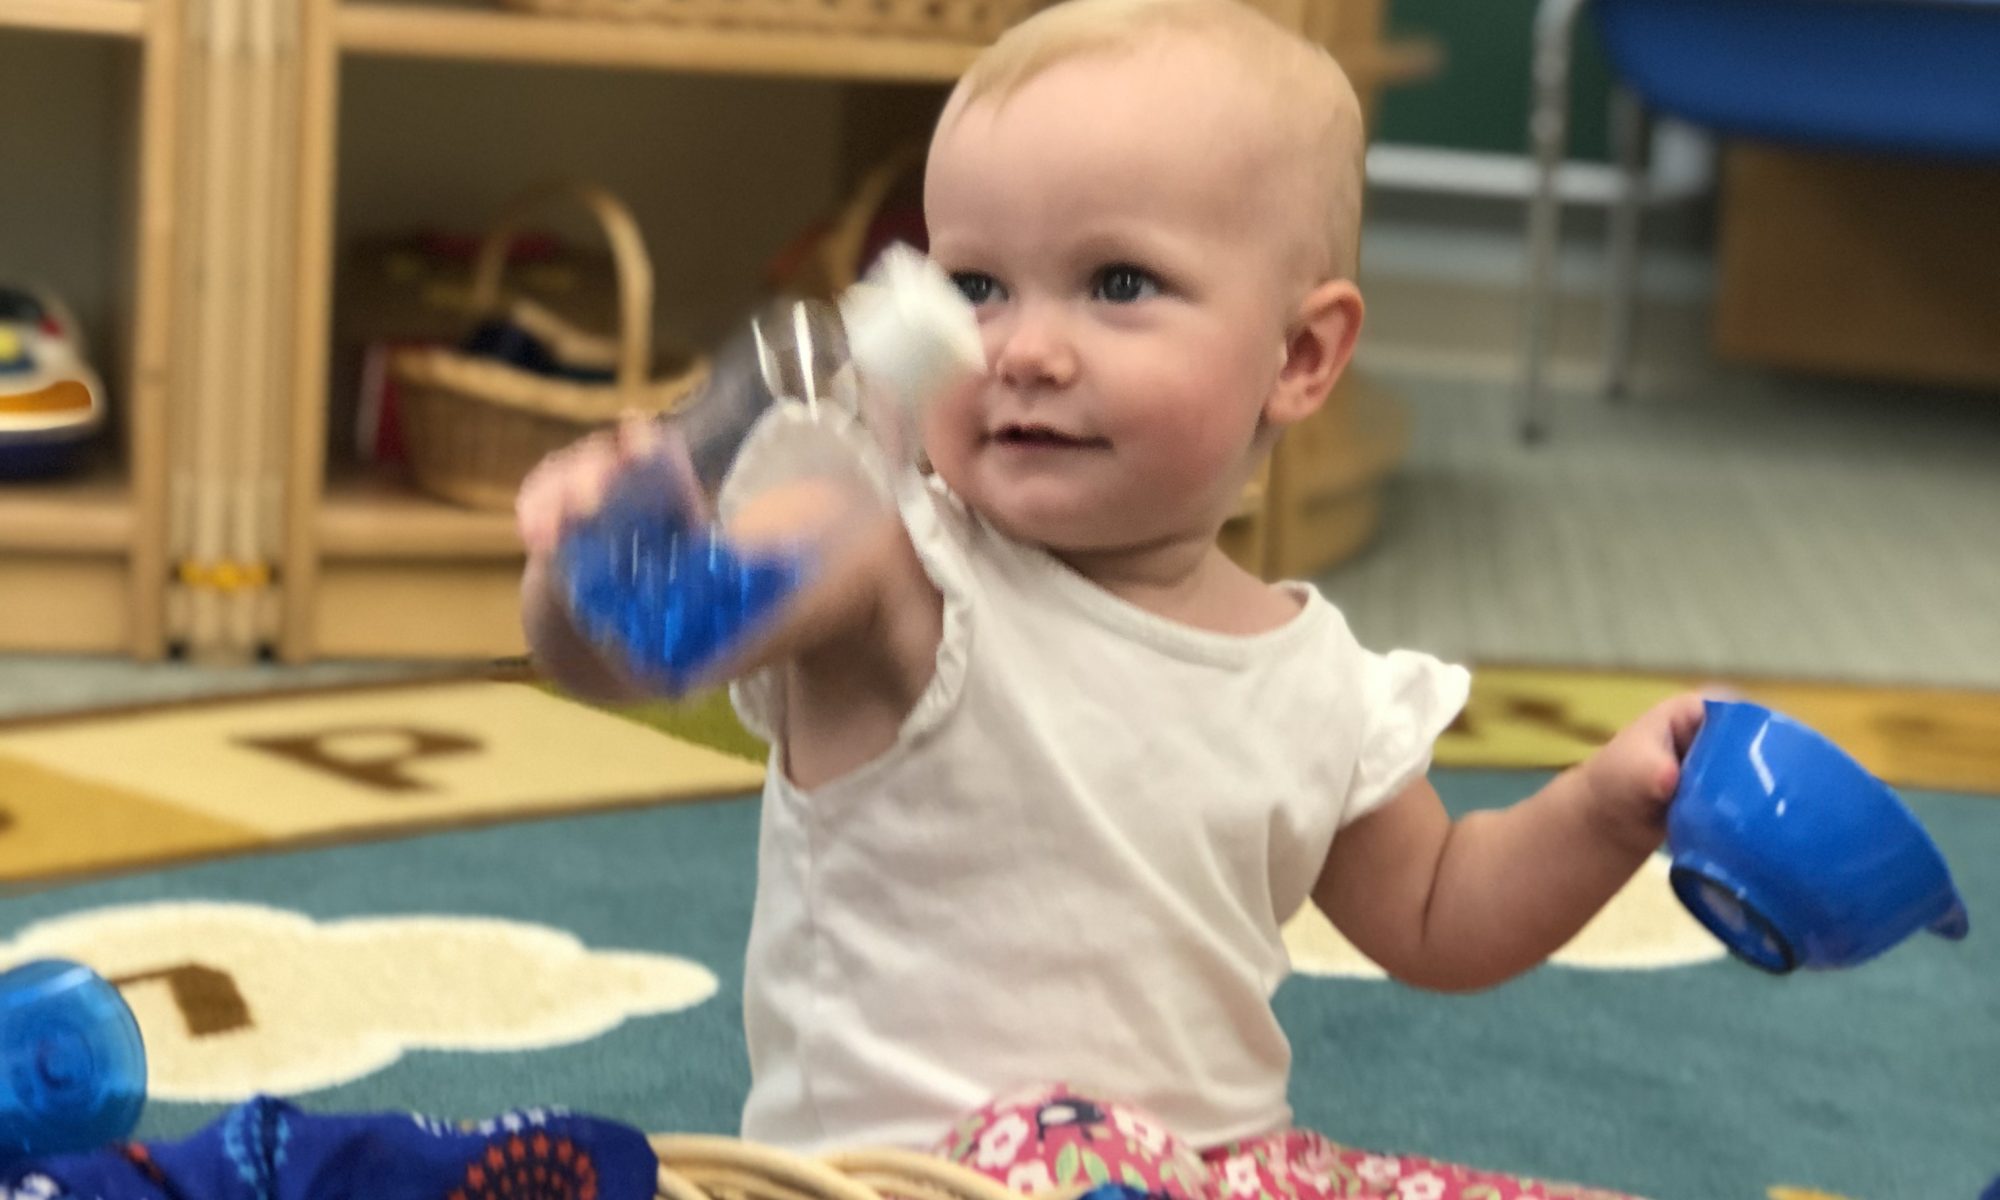
I like to collect items for the treasure basket that relate to a theme.  For simplicity of purpose, I have chosen items that are blue. Your items will be explored sensorily by your baby, which means they will be shaken, tapped, dropped, mouthed, etc., so when you’re choosing items, make sure they can withstand the abuse! When you set the treasure basket in front of your child, sit with him and observe. You don’t need to talk him through the exploration.  When he’s done with the treasures, put the basket away for another time.  When you get it out again, switch out a few things or add some things to keep it interesting.  It’s not unusual for your baby to look through the basket in search of something they liked and remember from the last time!