Learning about Opposites

Materials: A book or two about opposites for preschoolers (I’ve listed a few in the favorite books section)

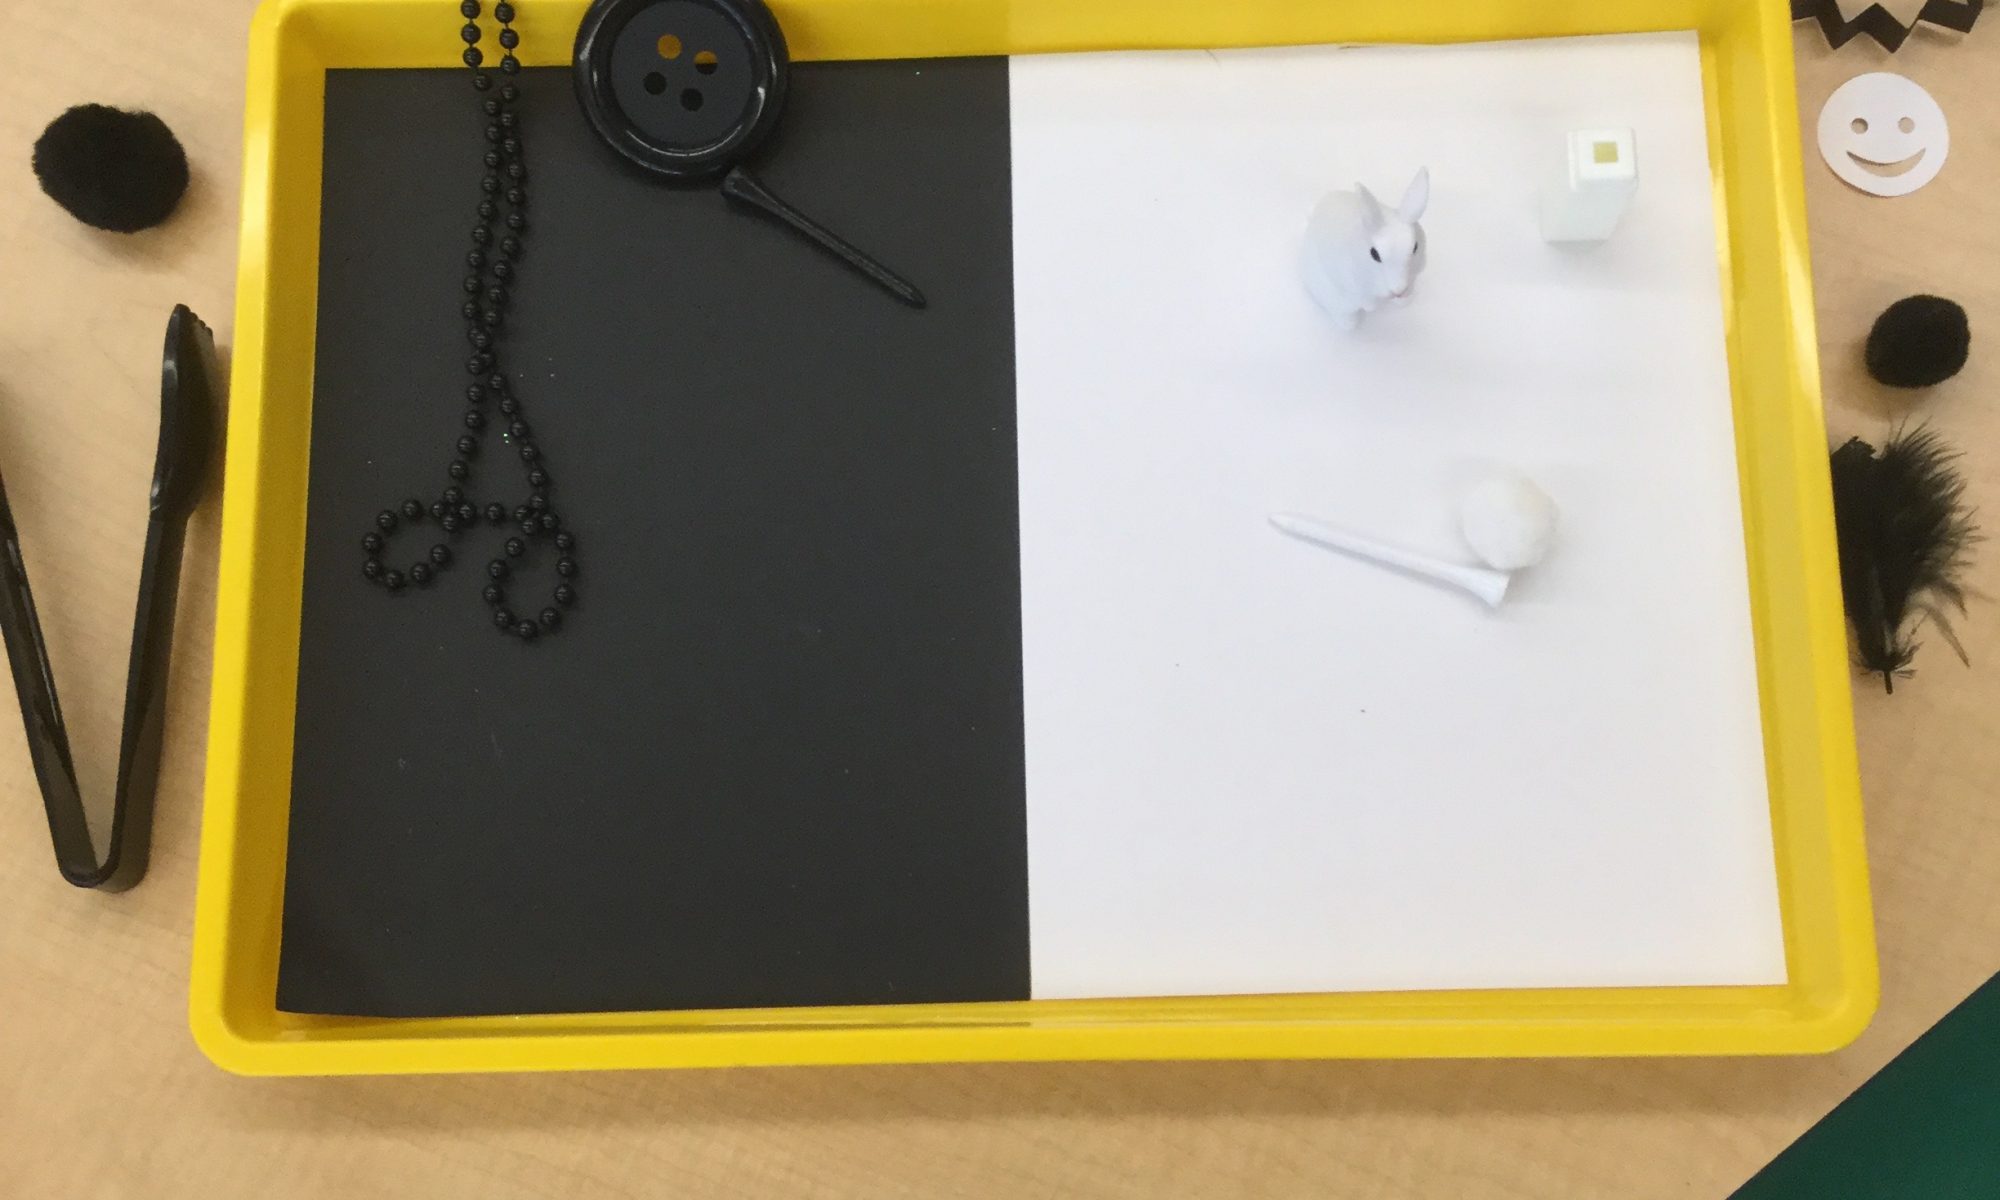
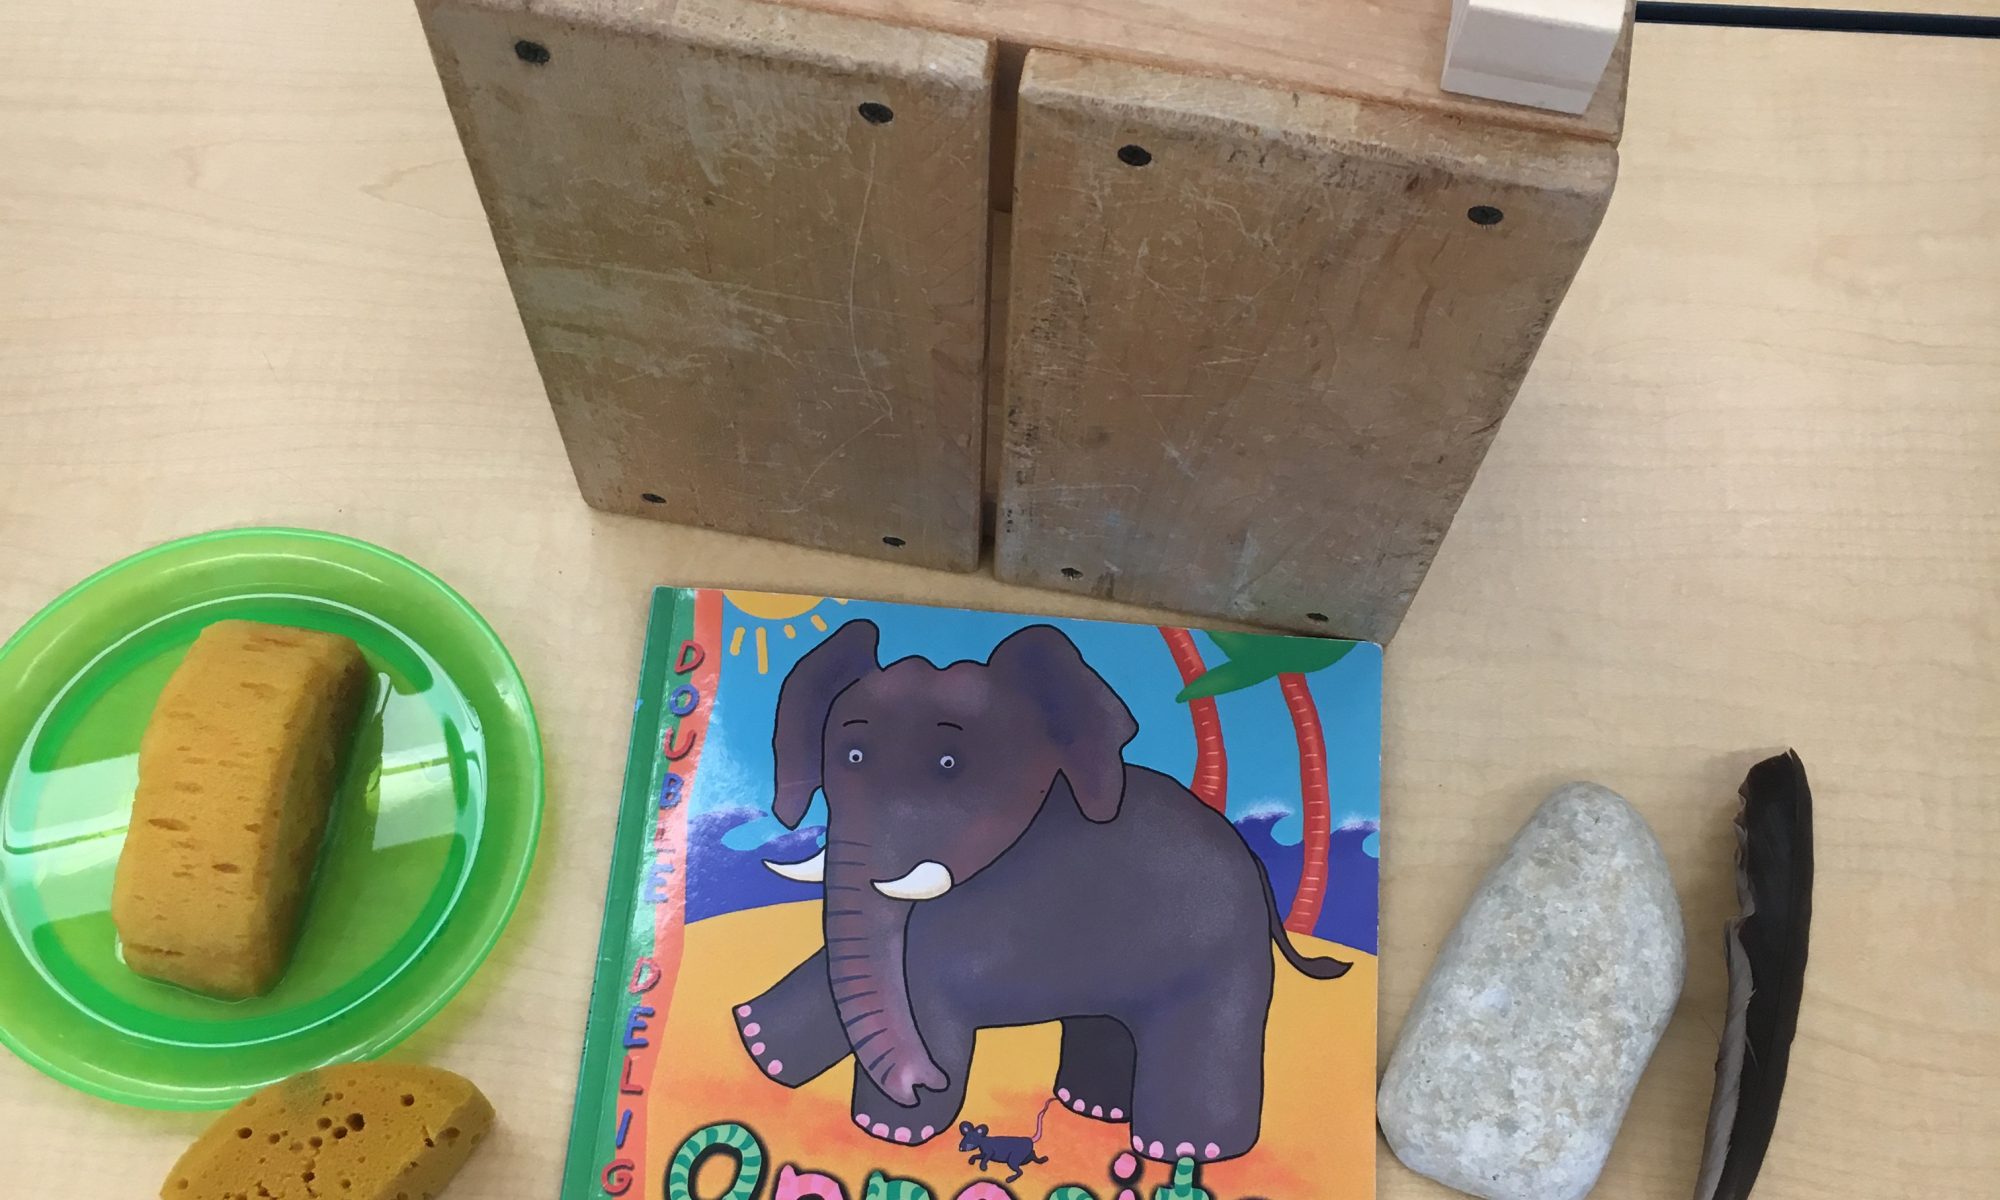
Physical pairs of opposite items that children can manipulate, for example:

  • A heavy rock / a feather or cotton ball
  • A small block / a large block
  • A wet sponge / a dry sponge
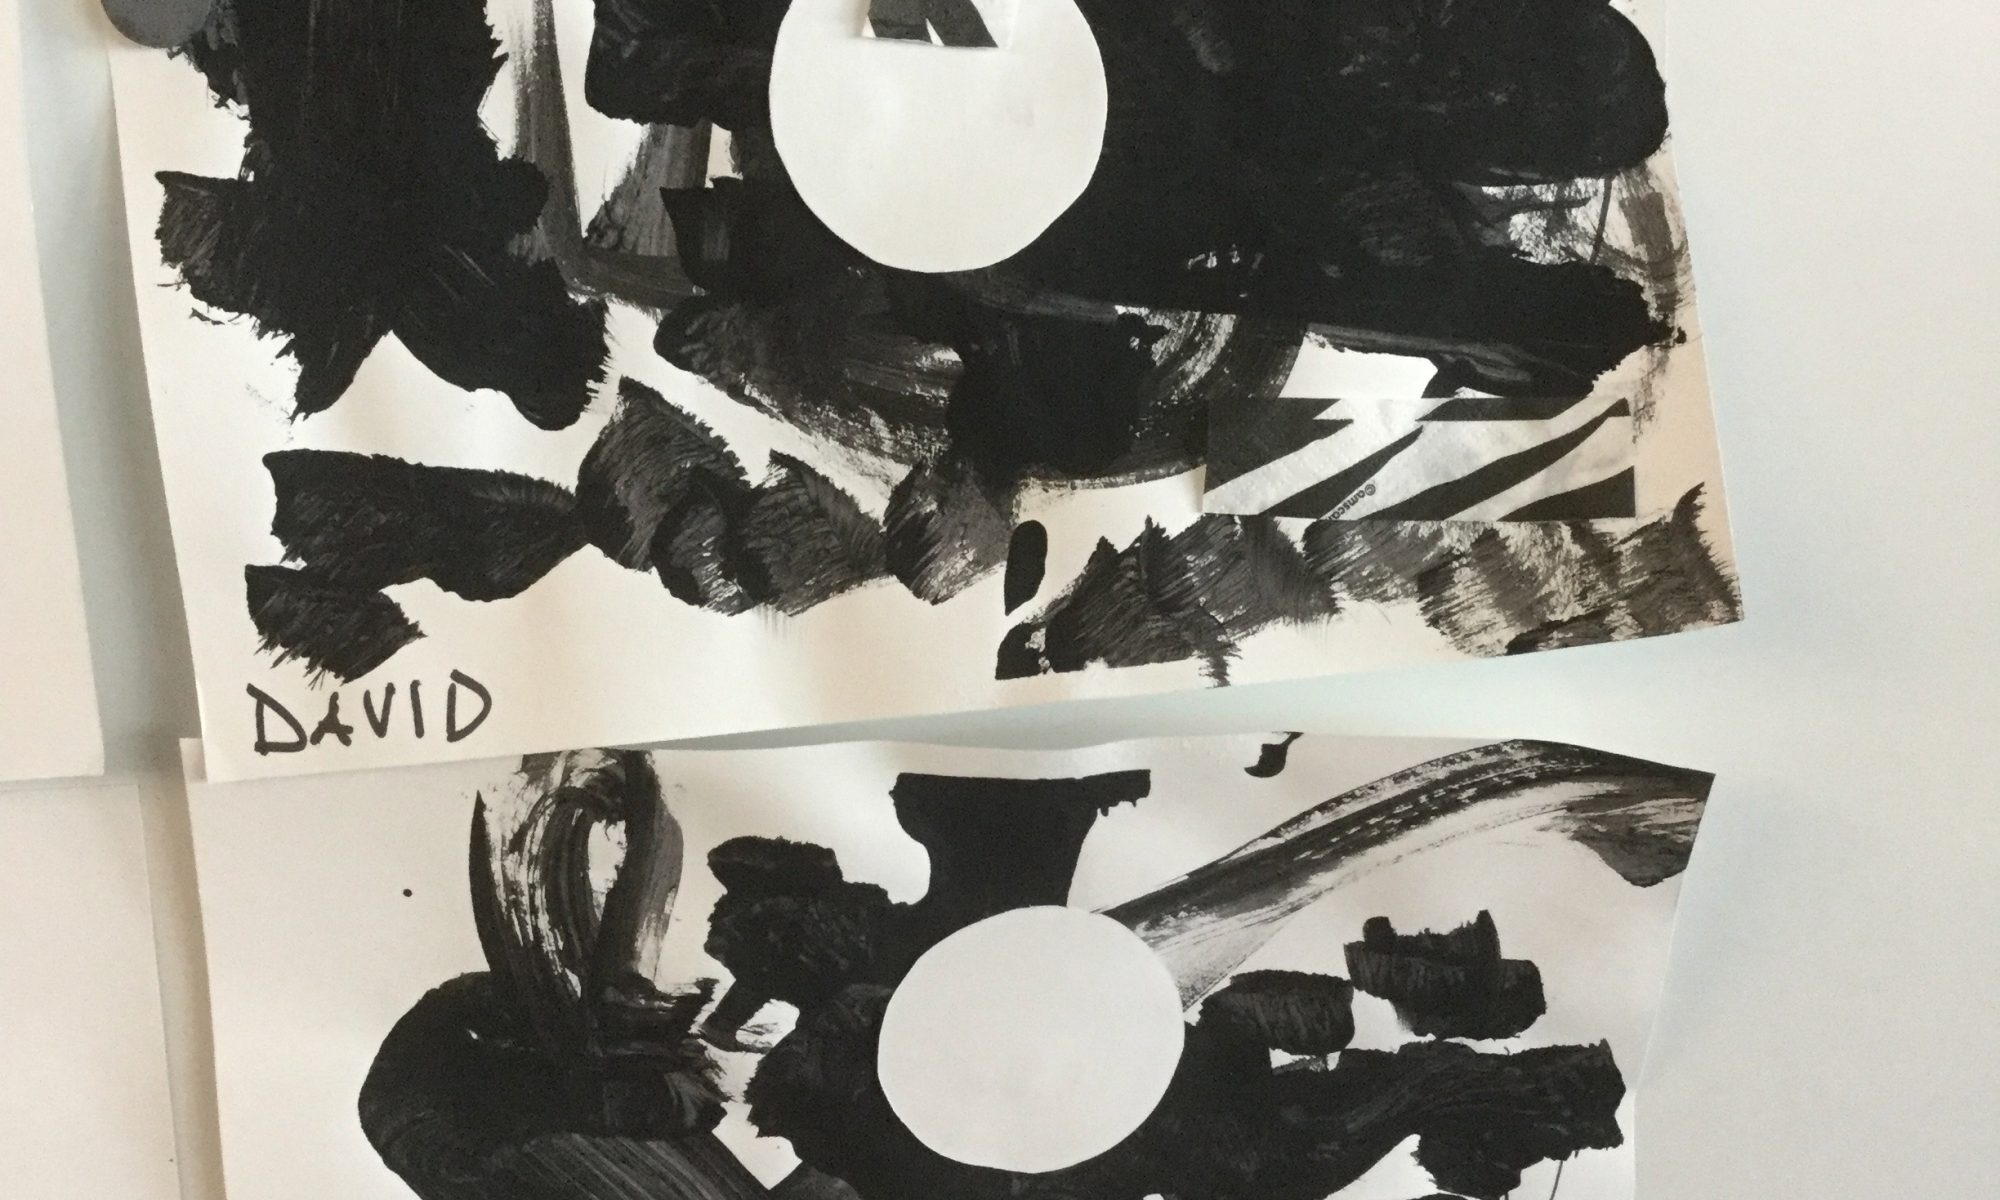
  • Something black / something white

Directions: Choose an opposites book to share with your little one.  Read it a couple of times. Reiterate the opposite word pairs and call them opposites. Try reading it a third or fourth time, reading a word and letting your child give you the opposite word.

There are several commercially prepared opposite cards that you can purchase from a teacher’s store, or you can make your own.  Look for pictures in magazines and create your own opposites book!

Look for ways you can illustrate opposite words by demonstration.  For example, walk across the room s-l-o-w-l-y. Then walk across the room as fast as you can.  Slow and fast are opposites. Show your child a Ping-Pong ball, then show him a beach ball. Describe one as very little, the other as big. Big and little are opposites.

Keep on presenting opposite pairs as you think of more.  And review any opposite books you may come across. Eventually, you’ll be able to say a word, and your child will be able to give you its opposite!

Black or White Sorting Game

Materials:

Lunch tray
White sheet of paper
Black sheet of paper
Various items to be sorted that are either black or white, such as a large black button, a white plastic bunny, a white cup, a black plastic spoon, white beans, necklace, a black jar lid, a white child’s sock, a black toy car, etc.

Directions: Lay the black paper and white paper on the tray, side by side. Take one of the sorting items and let your child identify it. What color is it? If it’s white, have the child place it on the white paper on the tray. If it’s black, place it on the black paper. Continue letting your child identify the items and sort them until he’s finished.

Another way to extend the game: lay either the black paper or the white paper on the tray by itself. If it’s the white paper, set all the white items on the sheet. Add two or three black items as well. Ask your child which items don’t belong. Let your child remove them. Do it again, using just the black paper, the black items, and a couple of the white ones.

Black and White Sensory Bin

Materials:

  • A large plastic tub or sensory table
  • Several bags of white rice, depending on the size of your tub
  • A bag of dried black beans
  • Black or white measuring cups or scoops
  • Black and white plastic animals

Directions: Fill your tub with several bags of white rice, to a depth of about 2 inches. Add a bag of black beans and let your child mix them in. Feel free to use other black items if you wish, such as black buttons, pompoms or even checkers! We used a black measuring cup set for pouring the rice. We also had a couple of short, white PVC pipe pieces that we included for scooping the rice into. The children poured rice into the PVC pipe and watched it come out the other end—amazing! Finally, we added some plastic animals—a mother and baby zebra, a black and white cow, a penguin, and mother and baby white tiger, a black and white horse, etc. The children loved burying the animals in the rice and digging them up again!

A Study in Black and White (Process Art for Toddlers)

Materials:

Materials:

A white sheet of construction paper
Masking tape
Black tempera paint in a cup
Child’s paintbrush
Cut-outs of white circles and other shapes
Glue stick

Directions:

Tape the construction paper securely to the work surface to keep it from moving during the painting process. Invite your child to dip the paintbrush into the cup of paint and “sweep” it across the paper. Encourage him to paint all over the paper. After your child is finished painting, set the paper aside to dry.

Once dry, give your child some of the white circles. Using the glue stick, encourage him to glue the circles wherever he would like to put them. Press firmly, so they stick. When we did this activity in our class, we came across some black and white cocktail napkins, which we cut into strips. Some of the children enjoyed gluing the strips on their painting as well. The end result is quite unique!

Mess-Free Jingle Bell Painting

Materials     
Shallow plastic container with lid
Sheet of paper
2 or 3 colors of tempera paint
Plastic spoon
4 or 5 jingle bells

Directions       
Trim your piece of paper to fit inside the box.  Using a spoon, drizzle the paint on the paper, being careful not to make big globs.  Before dropping the jingle bells into the box, we shook them, rolled them on the floor, and played with them a little bit.  Then I took one and dropped it in the box, asking Baby H. if she could drop one in, too.  She did, so I handed her the other bells and she dropped them in as well.  We securely closed the box, and I showed H. how to shake it.  This was the fun part for her!  If you have a box with a transparent lid, it allows your child to see the bells rolling around.  But if you don’t, your little one can still hear the bells jingle as they roll around, which is another experience!

When the rolling and shaking is no longer appealing,  open the box and remove the bells.  What remains is a lovely piece of art created using jingle bells!

Christmas Painting with Pine Boughs

Materials     
White construction paper; butcher paper works well, too!
2 or 3 colors of tempera paint
Freshly-cut pine boughs to paint with

Directions       
Painting with pine boughs is a unique, prickly-tickly experience!  You’ll want to take your little one with you to help select the  pine boughs. Be sure to take time to smell them and to feel the “pointiness!” 

This can really be done on any color paper, with your choice of colors.  I found it most effective to squirt little drops of color all over the paper and sweep the pine boughs through the paint.  The effect is a very wispy one, with some mixing of the colors, but the paint won’t be too muddy.  If your child really enjoys the process, let him/her do several paintings.  And if you choose to paint on butcher paper, you can use the end result for a unique wrapping paper after it’s dried!


Peanut Butter and Celery Reindeer Snack

Ingredients   
5 celery  stalks
Peanut butter
Wilton’s Candy Eyeballs (about $2.70 @ Target)
10 small pretzels, broken in half
10 fresh raspberries

Directions     
Wash the celery stalks and pat dry with a paper towel. Trim off both ends of the stalks and cut the stalk in half. Spread the peanut butter into the stalks.  Stick two eyeballs in the peanut butter towards the top of each stalk. Break (or cut) the pretzels in half, and put the halves above the eye balls, curving in towards each other. Finally, add one raspberry to the other end of the stalk for the nose. Now your reindeer is ready to eat!


Reindeer Antlers Dice Game

Materials     
Paper or Solo cup
2 craft sticks
6 spring-type clothespins
Small paper plate or piece of cardboard
2 googly eyes
Pompom for nose
Glue gun
Scissors or Exacto knife
A die (1/2 a pair of dice J)

Directions       
Use the glue gun to glue the googly eyes and the pompom to the cup, making the reindeer’s face.  Put a little glue around the base of the cup and stick it to the paper plate for stability.  Cut a slit in the top of the cup wide enough to insert the craft sticks, which are the base of the antlers.  Demonstrate to your child how to drop the die and touch the dots as you count them.  One-to-one correspondence is tricky for children under 5, which is why they should touch each dot.  They tend to rote count faster than their finger moves!  Once they’ve counted the dots on the die, they may put that number of clothespins   on the craft sticks, creating antlers.  After they’ve added the clothespins, remove them, and try it again!  Additionally, squeezing the clothespins is also great fine-motor practice!

Light Table Christmas Lights/Patterns

Materials     
A few strands of cut yarn
Floral marbles in a variety of colors
Light table or mirror
Tissue paper cut-out of Christmas tree, optional

Directions     

This activity can really be done on any flat surface, but doing it on a light table or a mirror gives it an added dimension! 

Lay the strand of yarn out on the table. Take a few of the floral marbles and place them on either side of the piece of yarn. As you place the marbles, tell your child you’re making Christmas lights, and invite him to try. There are many options for this activity. You can ask your child to use specific colors, make a pattern with the marbles, or just let him proceed on his own. From the picture above, you can see that my little friend made “partners” with his marbles, matching the same colors on either side of the yarn. You can also encourage simple patterning, using just two colors and alternating them. This activity provides good fine motor practice, too, as your child picks up the marbles and places them along the yarn!           

Strawberry Santas

Ingredients   
1.5 dozen strawberries, rinsed and dried
1 cup whipped frosting (from a can or home-made)
1 Tbsp. mini chocolate chips

Directions       
Cut the stem end of the strawberries off so that the berries sit up straight on a paper towel.  Next, cut off about 1/3 of the pointy end of the strawberry and blot dry.  Use a piping bag or a quart-size Ziploc bag with a hole cut in a bottom corner to pipe the frosting onto the strawberry base.  Top it off with the pointy end of the strawberry (the hat).  You can add a drop of frosting to the tip of the hat, and use a toothpick dipped in the frosting to make a couple of buttons down the front.  Finally,  place 2 mini chocolate chips in the frosting for Santa’s eyes.  Enjoy!