Putting Hearts into the “Mailbox”

Materials:      
Foam hearts
Empty coffee can, oatmeal box, or similar container with a lid
Exacto knife or sharp scissors

Directions:     
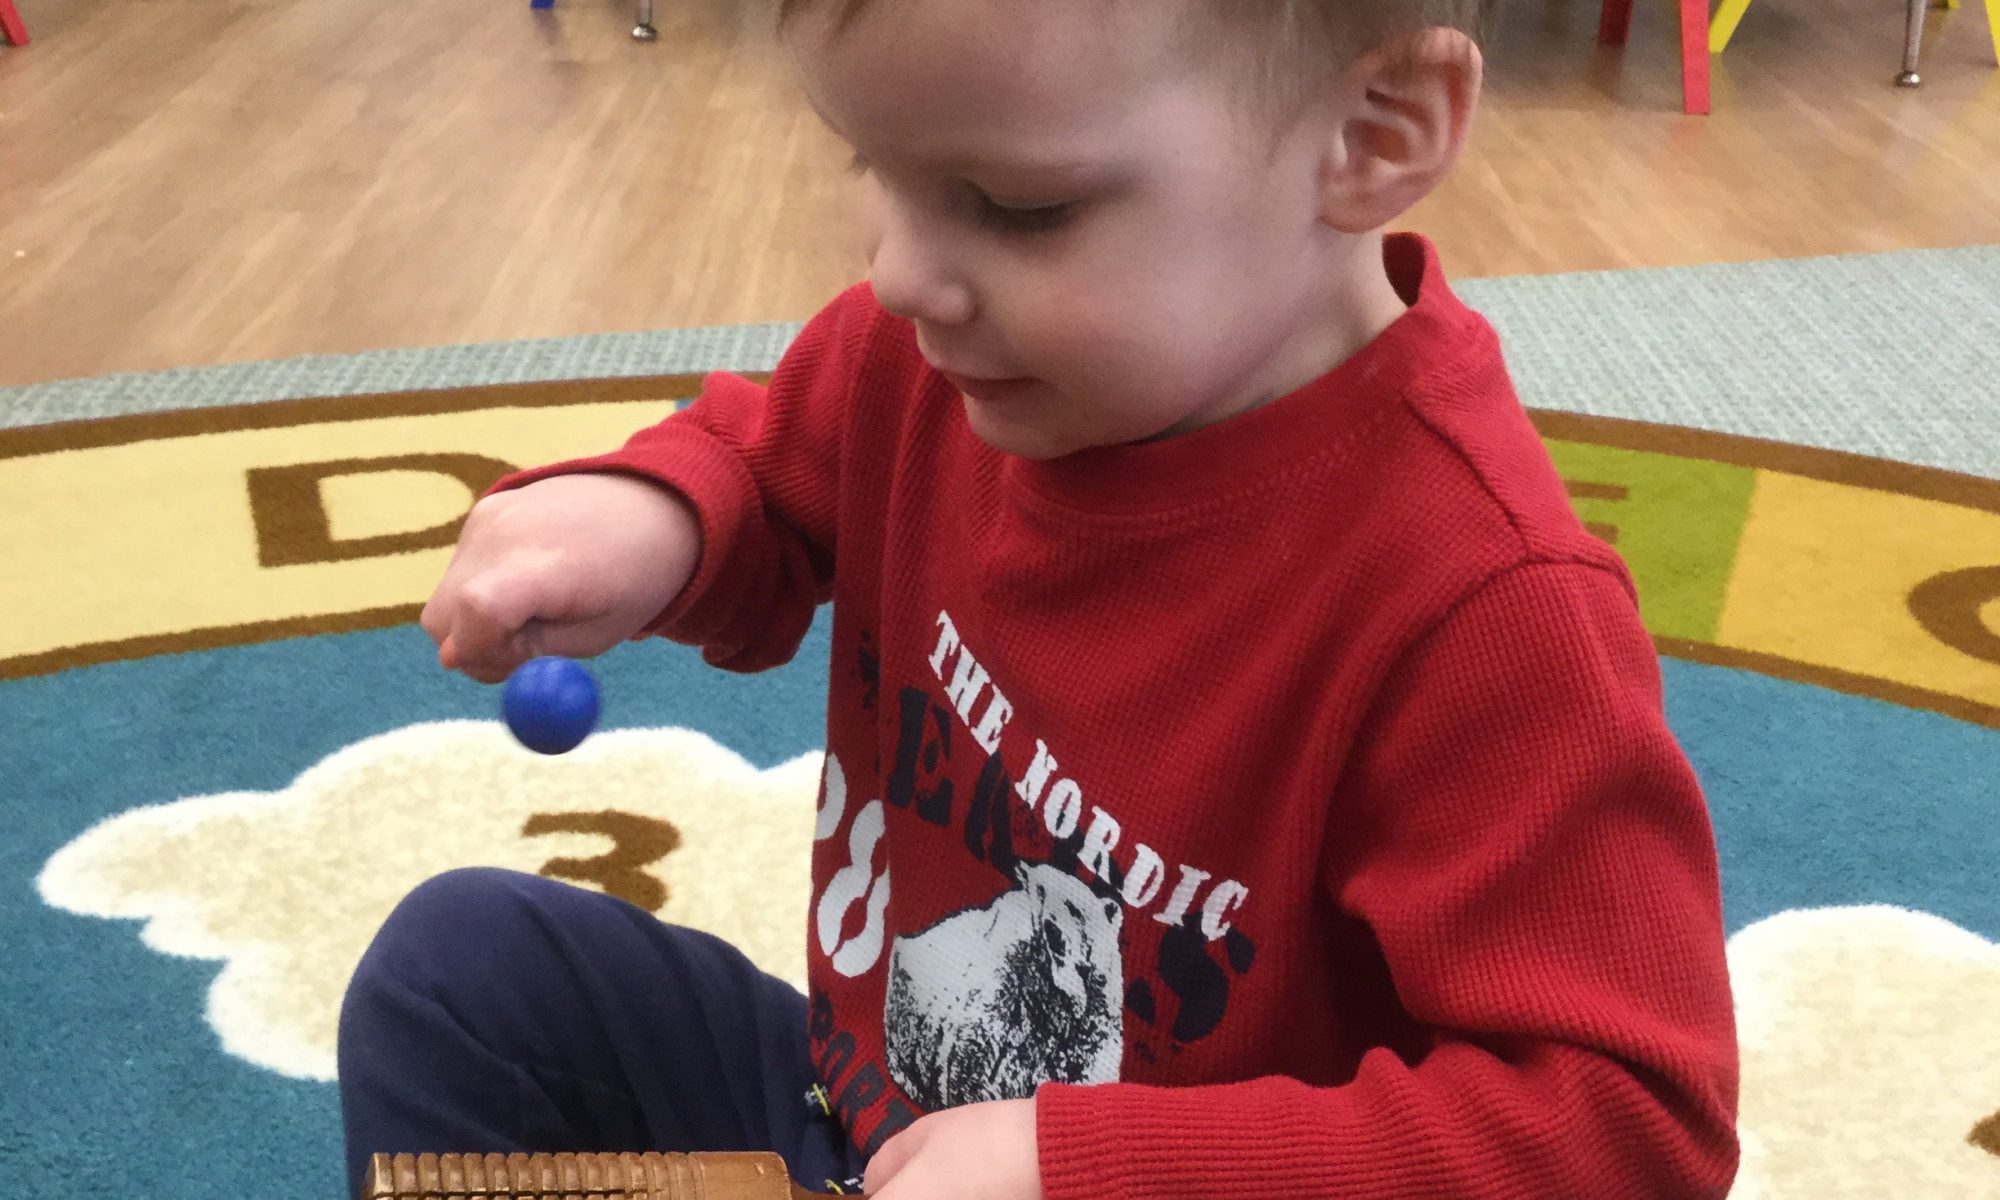
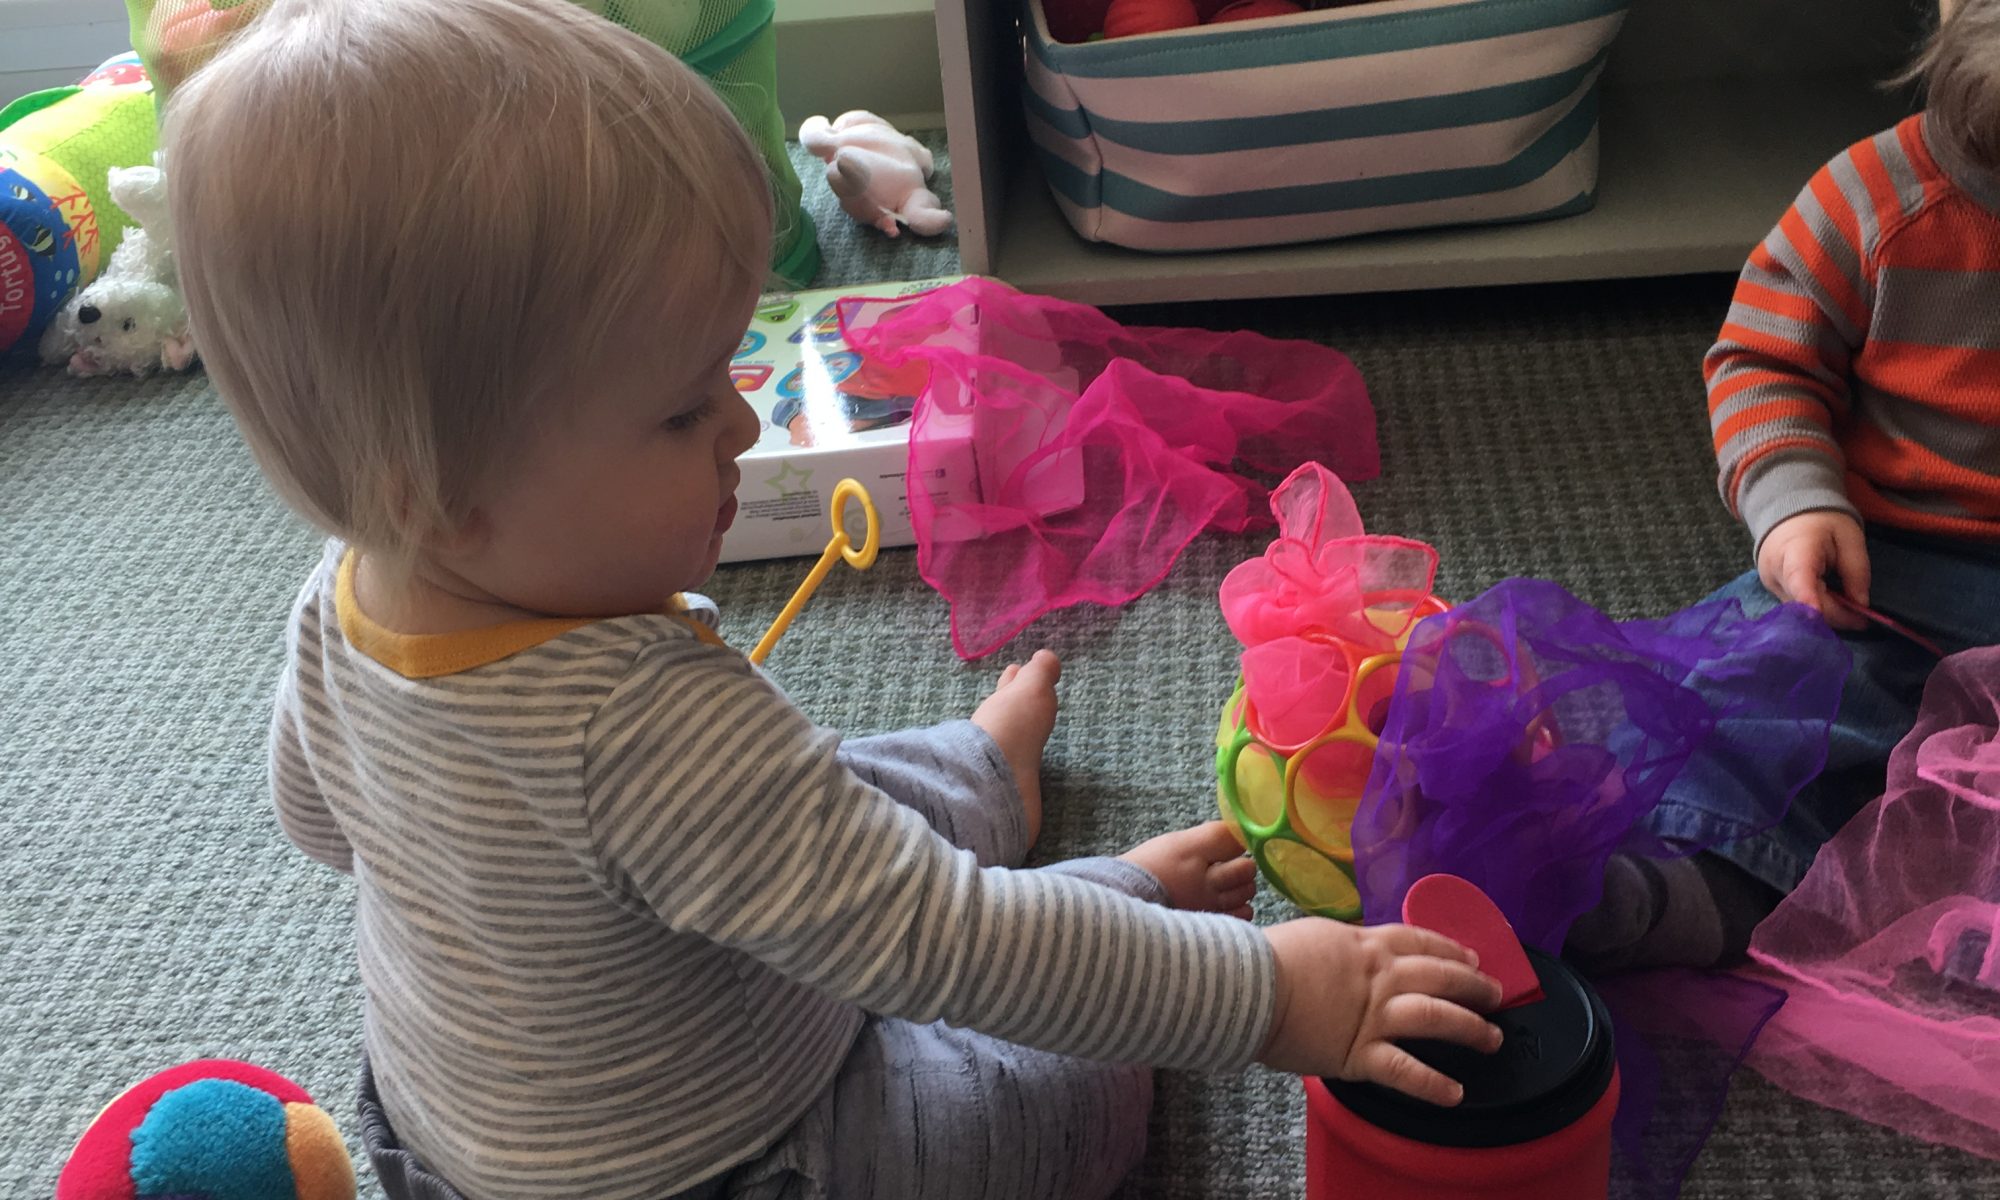
Cut a generously-sized slit in the lid of the can, big enough for the foam hearts to easily slide through. Secure the lid on the can, and give your baby a foam heart. Take one yourself, and tell him you’re going to put it in the mailbox. Show him how you can slide it through the opening. Encourage him to try it. He will probably put the heart in his mouth first, and you can show him how to slide another one in the opening. Ask him if he can put his heart in the box. It’s fine to demonstrate it again. We were successful doing this activity with a 10-month and a 12-month old. But it took them both several tries. It takes a tremendous amount of fine motor skill, eye-hand coordination, and persistence to do it at this age! Celebrate your baby when he’s successful, and encourage him if he’s having a little trouble. 

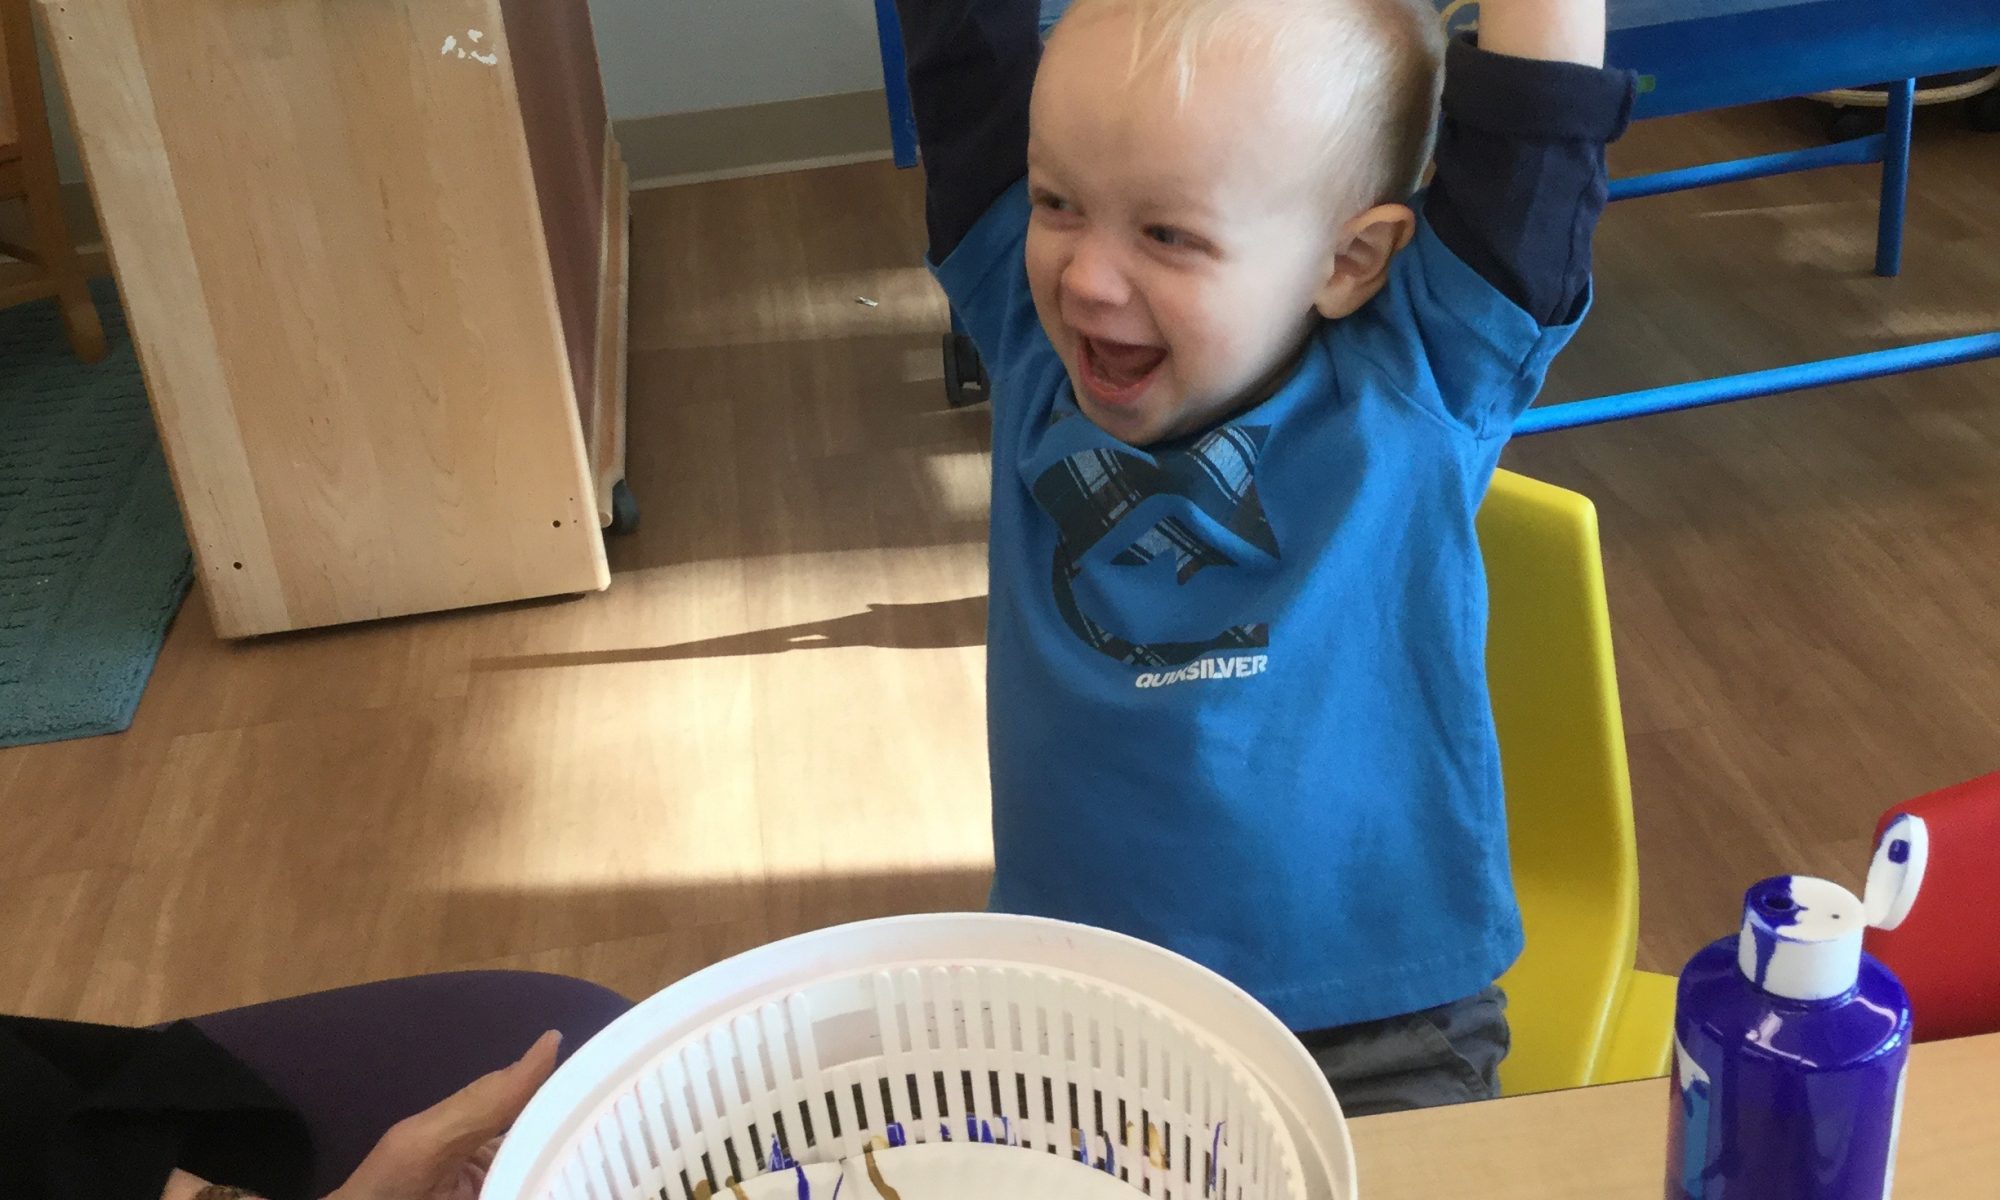
After there are a few hearts in the can, shake the can so your baby can hear the hearts inside. Open the can, and let him shake them out. Try it again if he’s willing!

Pink and Lavender Rice Play

Materials:      
A large, shallow plastic container
Enough uncooked rice to fill your tub about an inch deep
Pink and lavender scoops, cups, and bowls

Directions:     
Children of all ages love to explore rice at the rice table. We like to color ours, but it’s not necessary—white rice is fun, too! (If you need directions on how to color the rice, see the blog post “Hunting for Hearts” in which I’ve explained how to do it. It’s easy!)

Rice is a wonderful sensory material. It’s relatively inexpensive,  doesn’t leave residue on children’s hands, is easy to sweep up, is soothing to run one’s fingers through, and is calming to work with. Children love to scoop it up, fill containers with it, dump it out, and do it again. They make connections with and explore concepts of weight and volume. And it can be used over and over again. Store your rice in a plastic container with a tight-fitting lid.  It will keep for years!

Hunting for Hearts

Materials:      
Colored rice
Small plastic pink hearts and red hearts from a dollar store
A sheet of paper with pink and red hearts printed all over it
Tongs (optional)

Directions:     
You can put white rice in a casserole dish or a tub. If you prefer to color it, put the white rice (about 2 cups at a time) in a Ziploc bag.  Add a few drops of food coloring and a teaspoon of white vinegar to the Ziploc before sealing it completely. Once sealed, squeeze the bag with your hands continuously until the color is evenly distributed throughout. Spread the colored rice out to dry on a piece of newspaper or wax paper. It should dry in about an hour.

Make a heart sheet similar to the one in the picture by printing clipart hearts from your computer. It’s helpful to make the hearts on your sheet about the same size as the plastic hearts. Make half of the hearts red, the other half spink.  Once the rice is in a container, bury several red hearts and pink hearts in the rice. 

Challenge your child to use the tongs to find a heart and place it on the correct color heart on the sheet. If the tongs are too hard to use, let him place the heart using his fingers. It’s still a valuable fine-motor skill to practice the pincer grip to pick up and place the heart on the sheet. If you choose to work with your child, find a heart yourself and place it on the sheet. The more you are engaged in what your child is doing, the longer the activity will hold his interest!

Colorful Bead Sorting—Hearts

Materials:      
Multi-colored bag of pony beads    
 5 or 6 sheets of colored construction paper
3 pipe cleaners, cut in half
Scissors
Paper punch

Directions:  Cut one heart from each sheet of construction paper.  Punch a hole on the edge of each one and secure a half pipe cleaner in the hole. 

Pour the pony beads into a bowl or onto a tray. For younger children, you may want to remove any colors that don’t match any of your hearts.  Encourage your child to pick a heart±a red one, for example, and only thread red pony beads on the pipe cleaner. 

If you sort along with your child, you can choose a heart, thread a bead or two on it, and ask your child if he can find another bead for you to thread on your heart. Your child will stay engaged a lot longer if you work with him. Continue the sorting until your little one loses interest. It’s perfectly fine to choose a bead first and put it on the correct heart. The concept you’re trying to teach is how we group certain items together—based on color, in this particular activity. There are many ways to sort, and as your child increases his confidence in sorting, you can branch out into sorting by other attributes!

Frozen Paint

Materials:      
White construction paper
3 small plastic containers
Q-tips
3 different colors of tempera paint

Directions:      Pour enough of each color of the liquid tempera paint into each of your containers to cover the bottom of the container.  We used pink, red and lavender.  Put the containers in the freezer until frozen.     When the paint is frozen, remove it from the freezer and let it sit for 10-15 minutes to soften a bit.  (Leave it in the container!)  Because Valentine’s Day is close, we cut the white construction paper into hearts.   We had small sponge applicators to paint with, but you could use Q-tips instead.  You could also use small daubers, or spongy eye shadow applicators!  The children loved how the frozen paint covered the paper.  As it melted, it became creamier and covered even better!  When your child finishes painting, discard the Q-tips and put the paint containers back in the freezer for another day, if you’d like!

Find the Match

Materials:      
Sheet of construction paper
Permanent marker
Variety bag of foam hearts

Directions:  Make a simple, two-column chart, drawing a line down the middle of your construction paper, length-wise. Draw 7 or 8 crosswise lines, creating sorting boxes for the hearts. Select 7 or 8 matching pairs of hearts and spread them out on the table.  Pick one, and see if your child can find the match. Put the matching pairs side by side on your chart.  Let your child pick a heart to lay on the chart. Encourage him to look for the match, and place it on the chart. Continue in the same manner until all the heart pairs have been placed on the chart.

Snip ‘n Cut

Materials:      
Soda straws
Strips of construction paper, 1’ x 9”
Child-size scissors
Paper plate or small tray to catch snips

Directions:      Cutting for preschoolers can be quite a daunting task.  But you can lessen the awkwardness and frustration many children feel by breaking the task down into simple steps.  The action required for cutting is an “open/shut” movement of the dominant hand.  Show your child how to hold his hand with fingers straight out, perpendicular to his body.  Practice opening and shutting the hand, bringing the thumb together with the pointer and middle finger.  Saying “open-shut, open-shut” while doing the motion helps cement the action in thought.  Next, help fit the scissors to your child’s hand.  The thumb should be in the top hole; the index and middle finger should be in the bottom.  I like to use children’s scissors I can purchase from a dollar store that have a spring action that helps force the scissors open after each snip. 

Once your child is manipulating the scissors adequately, have him hold a soda straw in his other hand.  Hold the straw in the middle.  Now try the open-shut motion on the straw.  Encourage him to keep his thumb up! Be aware that when your child snips the straw, the pieces will go flying!  That makes it especially fun!  Encourage your child to continue snipping the straw in little pieces, helping him move his hand down the straw as he snips.  Your child might enjoy going around with a pipe cleaner, picking up the straw pieces and threading them! 

If your child wants to try more, give him a strip of construction paper or card stock.  You want to use a paper that’s somewhat stiff.  Keeping his thumb up, snip the strip into little pieces.  Make sure the strip goes into the scissor blades so the snip cuts clear through the paper.  Sometimes, if the paper isn’t far enough in the scissors, the child snips a little and rips the rest.  You want a clean cut!

Cutting with scissors is an acquired skill that takes practice!  Be encouraging and keep the practice sessions short.  Be patient!  Cutting with scissors is something adults can do because we’ve had years of practice.  Your child is just beginning! Gradually, you can increase the width of the paper strips so it takes multiple snips to cut through the strip.  Before long, your child will be able to hold the paper  and cut along a line.  When learning to use scissors, persistence pays!

Copy What You Hear!

Materials:      
Something you can tap out a beat on, i.e., a drum, tabletop, a wood block, even hand-clapping
Eager listeners!

Directions:      Preschoolers love games that actually help them sharpen their listening skills! And as parents, who wouldn’t like children that were more focused listeners?

I like to introduce the song, B-I-N-G-O to the children to teach them to listen for when to clap.  It goes like this,

There was a farmer had a dog
And Bingo was his name-O.
B-I-N-G-O,
B-I-N-G-O,
B-I-N-G-O
And Bingo was his name-O!

You can find the tune for BINGO on YouTube if you’re not familiar with it.

For very young children, we practice clapping for each letter of the word, Bingo.  Older children will be much better at spelling  B-I-N-G-(clap) the first time they sing it; B-I-N-(clap-clap) the second time through; B-I-(clap-clap-clap) the third time; B-(clap-clap-clap-clap) the fourth time; and (clap-clap-clap-clap-clap) the last time.

After your child is familiar with B-I-N-G-O, try clapping the 5-clap sequence without singing the song.  See if your child can clap it back to you.  It might take a little practice!  Keep practicing that sequence over several days or even weeks with your child.  You might want to try a little game.  Say “When you hear me go (clap-clap-clap-clap-clap) put your finger on your nose!”  Or, “rub your tummy”, or another silly motion.  At school, we use that sequence as a signal that means “turn and look at me”! 

We also like to mix it up sometimes!  Try tapping the sequence on a drum or on the table.  Encourage your child to repeat it after you do it.  We also use a wood block to tap on at school because it’s small, easy to master for preschoolers, and it’s loud!  As your child gets a little older, you can try teaching new rhythmic clapping sequences.  With practice, they should be able to come up with a sequence to teach you!

Blue and Yellow Jello

Materials:      
2 large boxes blue Jello
2 large boxes yellow jello
2 large cake pans or plastic tubs
Spatula or butter knife
Cups, scoops, spoons

Directions:      Make the two blue boxes of Jello according to the package directions and pour into large cake pan.  Refrigerate at least 4 hours until firm.   Make the two yellow boxes of Jello according to package directions, pour into pan, and refrigerate until firm.  Use the spatula or a knife to cut the Jello lengthwise and crosswise into 1-inch squares.  Use the spatula to scrape the squares into a large tub.  The kitchen sink works well, too.  Provide cups, scoops and spoons for your child to explore the jiggly texture!  Encourage your child to dig into the Jello with his hands.  What does it feel like?  What does it smell like?  He can even have a taste if he wants.

When he’s finished exploring the Jello you can save it in a large bowl, cover it with plastic wrap, and put it in the refrigerator for play another day!

Blue and Gold Salad Spinner Art

Materials:      
A salad spinner
8-inch white paper plate
Blue tempera paint
Gold tempera paint

Directions:      Push a paper plate into the bottom of the salad spinner basket.  I like to use paper plates because they’re strong enough to handle the paint and the spinning process, and you can get the plate out of the spinner without tearing it.  Drop a few drops of blue paint on the plate.  Then drop a few drops of gold paint on the plate.  Err on the side of not using enough paint.  You can always add more!  

Close the top securely and give the handle several good spins.  Invite your child to take a turn spinning as much as he wants.  When he’s ready, let the spinner stop and check out the results.  This is a process we enjoy in Acorn, and the children are always amazed and delighted with the results.  So much so, that they often ask to do several plates!