Milk Jug Drop and Dump

Materials:      
Gallon milk jug
X-Acto knife
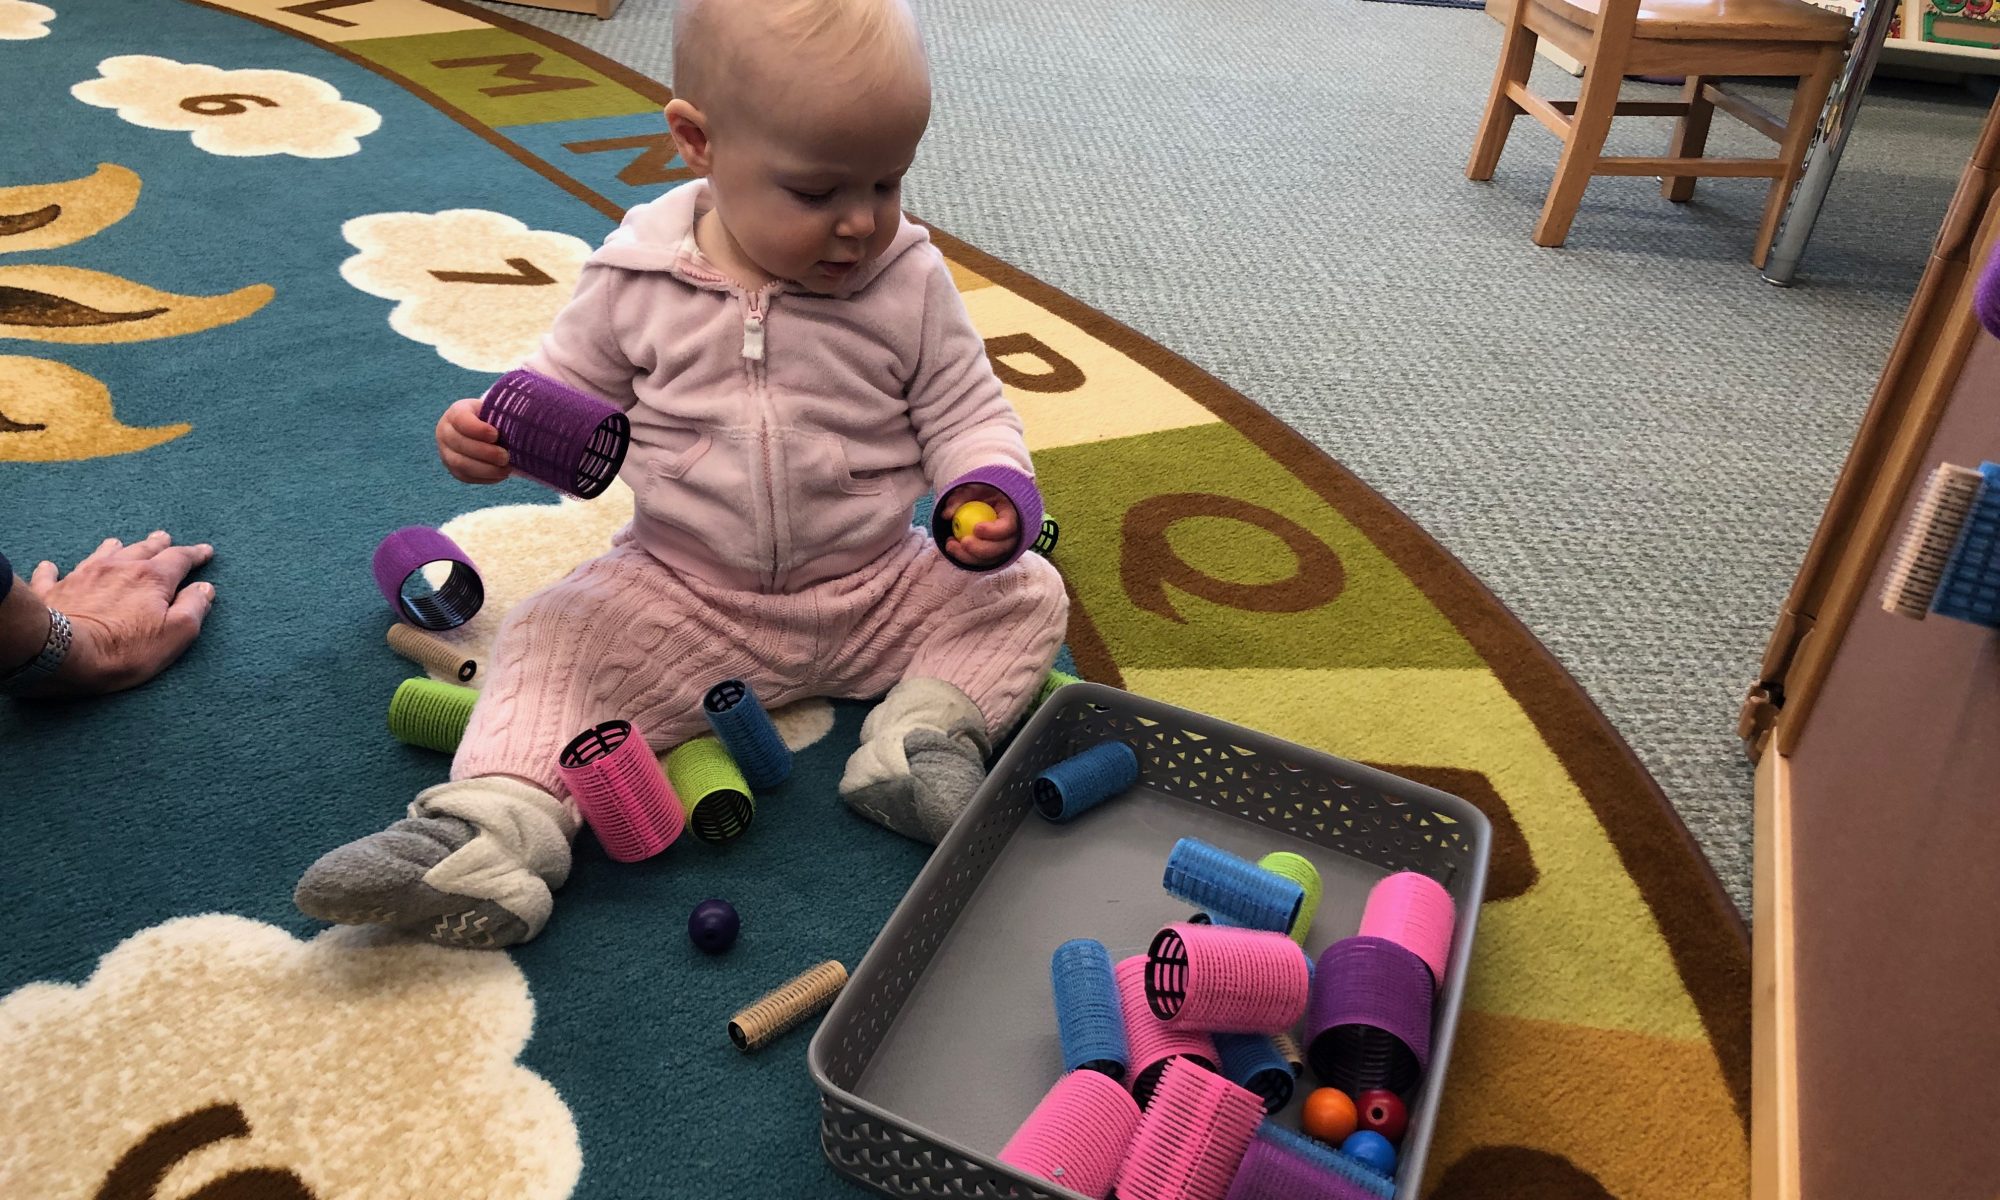
Basket of items to drop into the jug

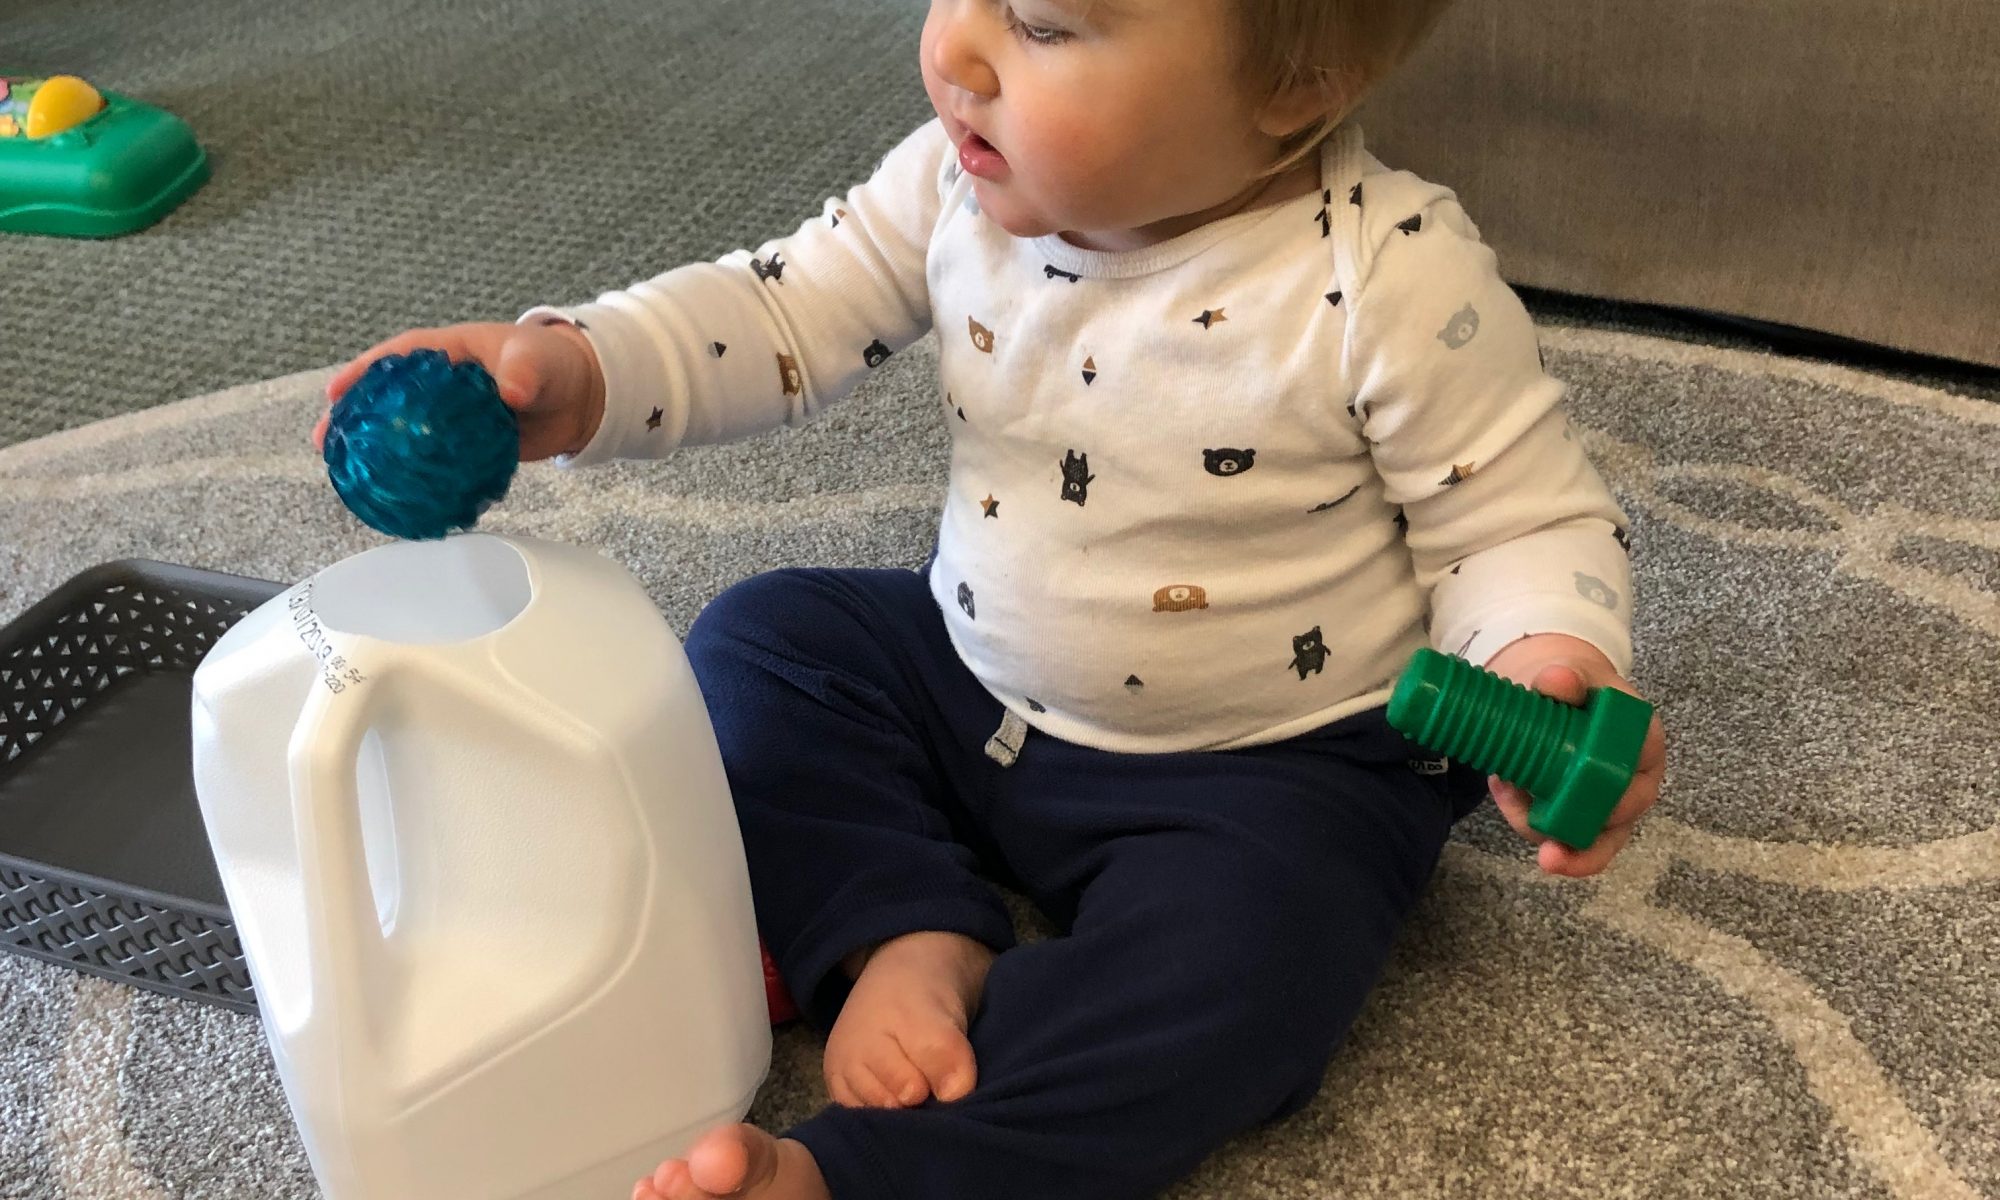
Directions: Thoroughly wash and rinse a gallon milk jug. Using the X-Acto knife, cut off the mouth of the jug, leaving the handle intact but making the opening big enough for your items and your child’s hand to fit through. Take one of the items and drop it through the opening. Ask, “Where did it go?” Let your little one take an item from the basket to drop through the opening. From here, the play will take on a life of its own. When Baby T. took an item, he invariably brought the item to his mouth before dropping it in the jug. One of the items, a textured blue ball that lit up whenever it hit the ground seemed to be a favorite. Baby T. would mouth the ball and then drop it into the jug, but not always successfully. When the ball missed the hole, Baby T. would crawl off after it and hold it for a while before dropping it in. When he dropped something into the jug, he would lean forward, looking in the hole for the toy. Sometimes he would reach in and pull something out, not necessarily what he just dropped in. Baby T. continued dropping in and retrieving items from the jug for 20–30 minutes before finally moving on to something else!

Find the Pairs

Materials:      
Large piece of paper to serve as a work mat
Two different colors of 12” x 18” construction paper
Scissors

Directions:  Make sure the “work mat” has a straight edge on the bottom. Use scissors or a paper cutter to cut the construction paper into 1” strips. It’s helpful to cut the two sheets of construction paper together so the strips are the same length and width. Once the strips are cut, take two different color strips (for example, 1 black and 1 yellow), lay them on top of each other and cut through both strips, making them identical lengths. Make several more pairs the same way, varying the lengths. If you plan to do this activity with really young children, make the lengths of the strips distinctive. Young children won’t be able to discern slight differences in lengths.

To get started, lay the strip pairs alongside the work mat. Encourage your child to choose a black strip and line it up with the bottom edge of the work mat. Ask your child to find a yellow strip that’s the same size as the black one. Encourage him to lay the second strip along the edge of the mat right next to the first one so he can easily compare the two. There’s  a lot of mathematical language you can bring into this activity—terms like, “size,” “length,” “width,” “equal,” “short-shorter-shortest,” “long-longer-longest.” You get the idea!

Once your child has matched the pairs, they may be ordered from shortest pair to longest pair. This might be an activity extension for another day, but if your child is excited about it, press on!       

Washi Tape Stripe Art

Materials:      
Roll of washi tape
Canvas painting frame or board
5 or 6 compatible colors of acrylic paint
Paintbrush for each paint color
2 strips of poster board

Directions: Tape off the canvas in a stripe pattern using the washi tape.  I like washi tape because it’s flexible, comes in a variety of designs and widths, and doesn’t leave a sticky residue behind. 

Choose your paint colors, and invite your child to choose one color to paint the first stripe. We found it helpful to let the child choose which stripe to paint and lay the poster board strips alongside the tape as a paint guide.  That seemed to keep the occasional errant brush strokes to a minimum! Once he finishes the first stripe, let him paint another if he’d like. You can choose another color and move your paint guides to another stripe, or not use the paint guides at all. Some of the older children didn’t like the paint guides, so they painted without them. It’s the process, not the product, so if the painter strays outside the tape lines, that’s perfectly fine, and I think it  actually enhances the product!

This project actually took a couple of days to complete. Children painted one stripe the first day and came back to it the next. When all the stripes have been completed, make sure the paint has thoroughly dried before pulling off the tape (a fun thing for your child to do) revealing a unique work of art!

Stripes on the Light Table

Materials:      
Painter’s tape
Small items to line up between the stripes (bottle caps, floral stones, corks, paper clips, cut straws, buttons, etc.)
A light table, although any flat surface will do!

Directions: Lay down stripes of painter’s tape on your surface. Invite your child to construct stripes in between the tape stripes with the material you’ve selected. Younger children may choose to build right on top of the painter’s tape, which is fine. They’re practicing the pincer grip as they pick up the material and eye-hand coordination as they place it on or within the stripe!

Staying on the Road

Materials:      
12 x 18” Sheet of construction paper
Crayon
Tempera paint and brush
Tape

Directions: Set the paper in front of your child. Tape the sides of the paper to hold it in place. Demonstrate how to draw a line from the top of the paper to the bottom with a crayon. Invite your child to do it. Say, “We’ve made a road! I can drive my finger down the road. Now you try.” Try to leave some space between the lines, about an inch and a half. Let your child continue drawing lines from top to bottom across the paper. Once the lines are finished, invite your child to dip a paintbrush into the paint and paint up and down the road, being careful to stay within the crayon lines.  Continue painting down each “road,” encouraging your little one to stay between the lines.

This is a wonderful activity for developing grip, eye-hand coordination skills, and an awareness of lines. Eye-hand coordination is essential for writing and other fine-motor activities later on and can be enhanced through activities like this one!

Making the “Stars and Stripes”

Materials:      
White construction paper, 9” x 12”
Red construction paper, 9” x 12” cut into inch-wide strips
Blue construction paper, cut into a 4” x 5” rectangle
White crayon
Watered down glue or glue sticks

Directions: We had a discussion about the American flag being something we see in our daily experiences that has stripes! We closely observed what components make up the flag by taking our classroom flag down and noticing the stripes, both red and white, the stars, and the blue rectangle behind the stars. We discussed how the American flag stands for the United States of America and that we all live in the United States. We also discussed that we handle the flag respectfully, never letting it touch the ground!

Then we tried making our own flags! Our intent was not to create “perfect” flags, with seven red stripes and six white, but rather to be aware of the components and include them in the creation! First, we talked about the red stripes, and we glued a few on the white paper, noticing that they went across the paper, not up and down. We pointed out that when we left a little space between the red stripes, it automatically created white stripes. Next, we noticed where the blue rectangle was located on the flag, and we glued that in the upper left corner of our paper. Finally, we added the stars. At school we have access to a die-cut machine that quickly cuts out stars; however, you can also make simple stars using a white crayon and making simple asterisks to represent the stars!

Cheese Paninis

Ingredients:   
Sliced bread
Melted butter
Aluminum foil
Pastry brush
Grated cheddar cheese
Panini maker (we used a George Foreman sandwich grill)

Directions: Melt a small amount of butter in the microwave, and when it cools just a bit, let your child dip the pastry brush in it and paint one side of his bread on the foil. Preheat the grill while letting your child spread the grated cheese on the unbuttered side of his bread. Help him butter a second slice of bread, and place it on top of the cheese, buttered side out. Place the sandwich in the panini maker and press it closed. In about a minute, you can remove the panini from the grill, cut it down the middle, and enjoy!

Exploring Velcro Rollers

Materials:
Velcro rollers
Small wooden beads capable of fitting through some of the rollers

Directions: Baby C. was intrigued with the pokey cylinders as soon as I set them in front of her! I initiated play by sticking two rollers to each other and handing her another one. She touched it and then brought it to her mouth to explore it. I stuck a couple of rollers to a felt board, but Baby C. had no interest in that. I set one of the bigger rollers on end and dropped one of the wood beads into it. She leaned over to look into the roller and immediately picked it up to find the bead. I stacked a second roller on top of the first and again dropped a bead into it. Baby C. knocked over both rollers to find the bead. Then she dropped a bead into one of the larger rollers and inserted her hand into the roller to retrieve the bead, wearing the roller like a bracelet for a few moments. Then the bead went into her mouth. I promptly fished it out. Then she searched for another bead to mouth, but I held my hand out, and she gave me the bead immediately. She picked up two more beads, brought them to her mouth, and then put them in my hand willingly. 

Baby C. happened to be wearing some knit wool pants which the rollers stuck to. She busied herself pulling them off when that happened and dropped them further away from herself. Play continued several minutes until Baby C. crawled off in search of a new adventure! Who knew Velcro rollers could be such fun!

Candy-Heart Chocolate Pretzels

Ingredients:    
12 oz. bag of Hershey’s Kisses, unwrapped
Square Butter Snap Pretzels
Candy hearts (small)

Directions:  Preheat oven to 350°.  Line a cookie sheet with aluminum foil or parchment paper. Lay out the pretzel squares on your cookie sheet.  They can be laid together pretty closely. Unwrap an equal number of Hershey’s kisses and set one on each pretzel square. Put the cookie sheet in the oven for 7–9 minutes. Remove sheet from oven; then press one candy heart into the chocolate kiss on each pretzel. Let cool (at least a little bit) before serving!