Polka-Dot Sensory Bag

Materials:      
Large (2 gal.) Ziploc bag
Magnetic steel-rimmed plastic counters from Amazon
Magnets
White paper
Water
Tape

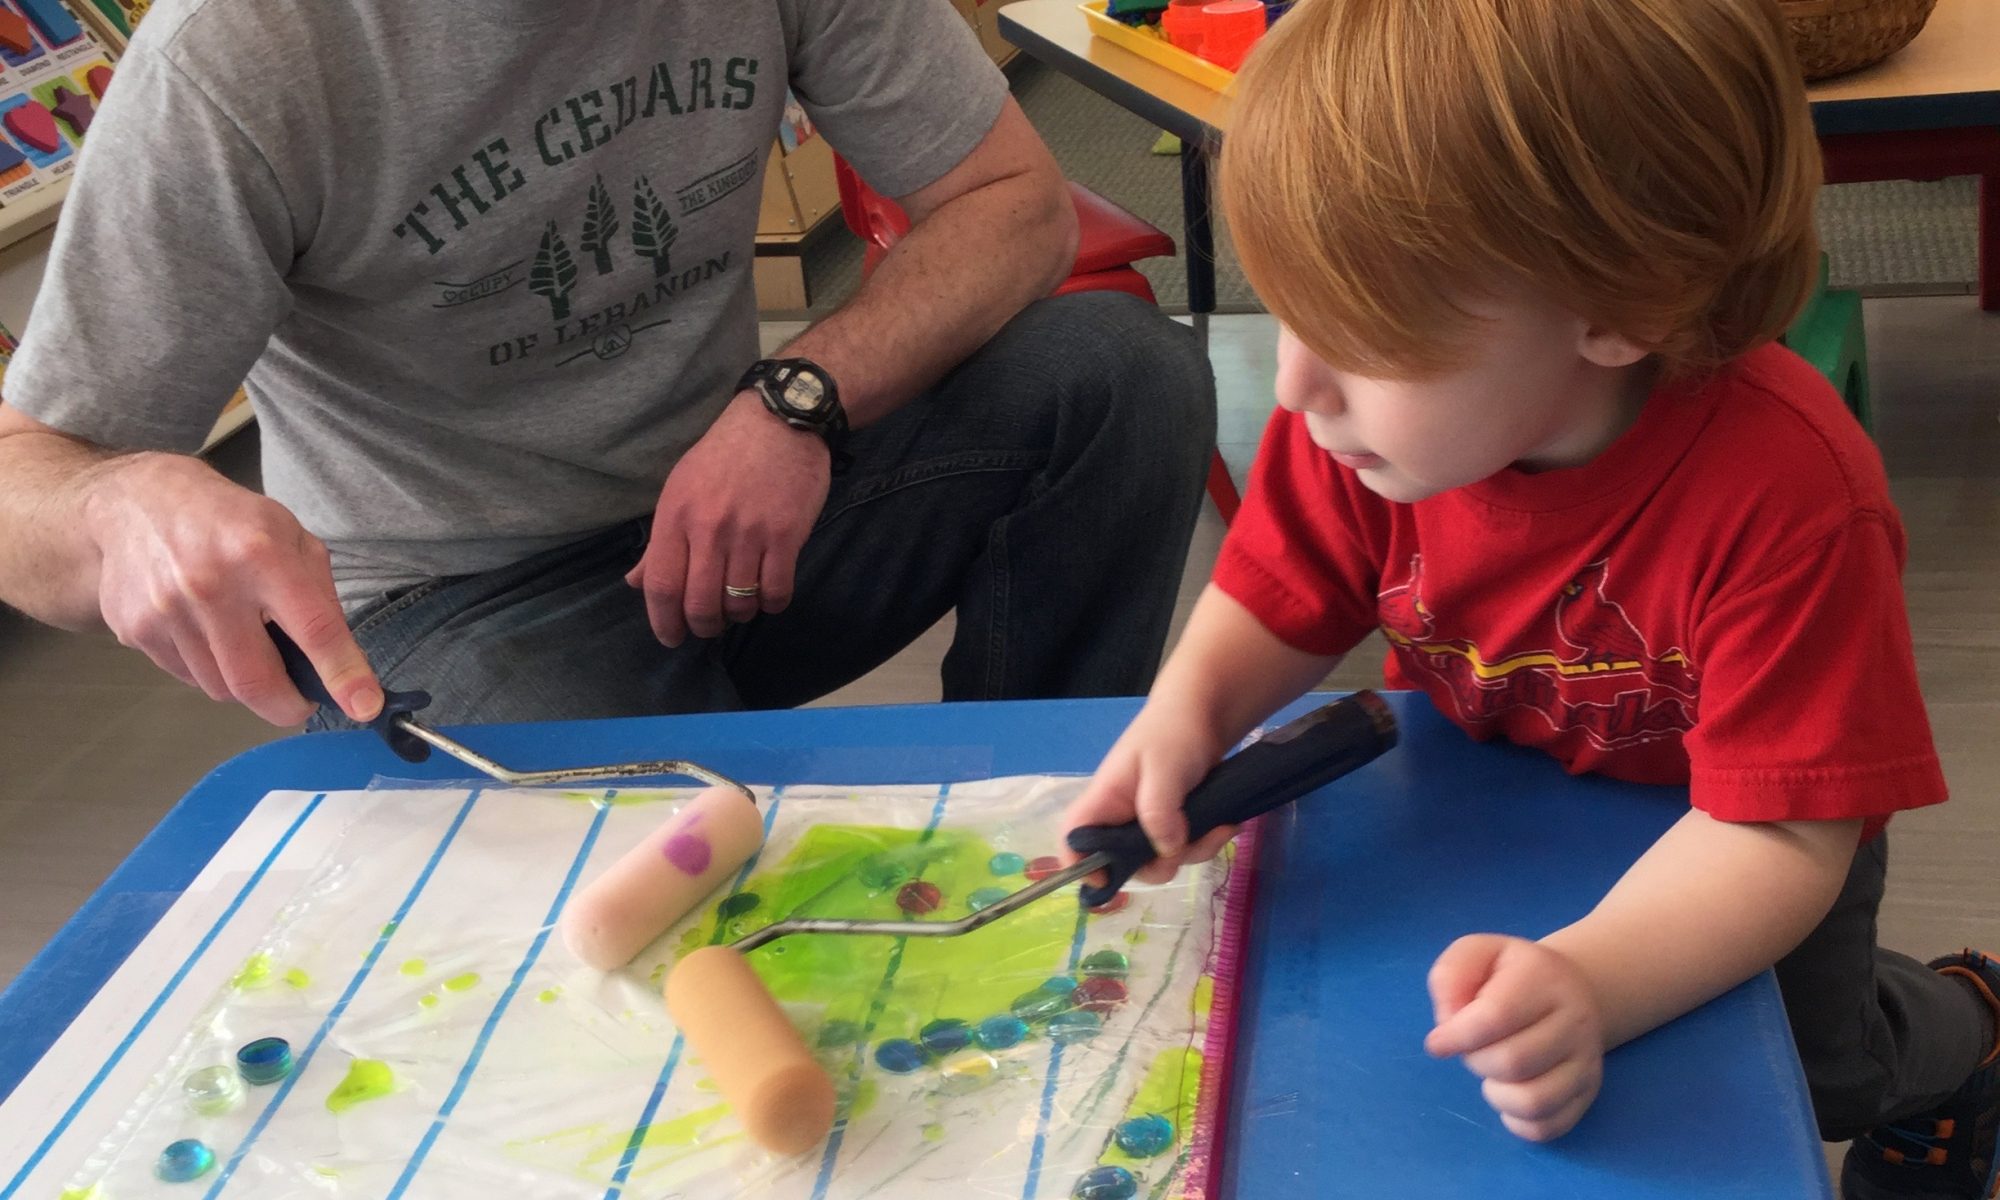
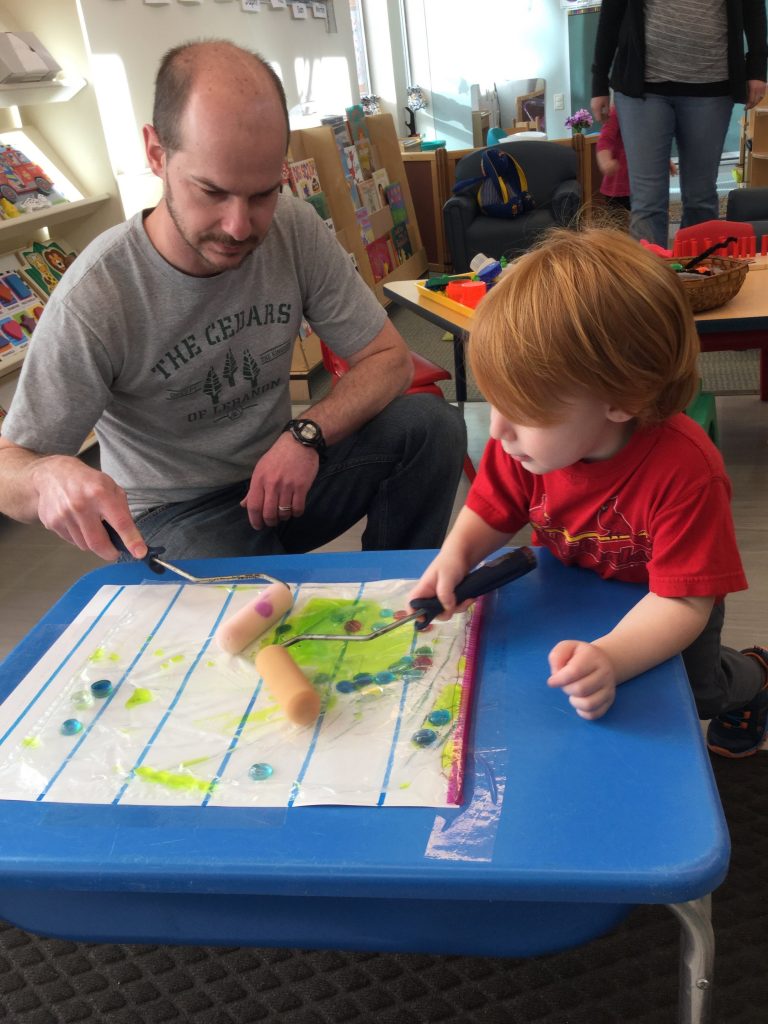
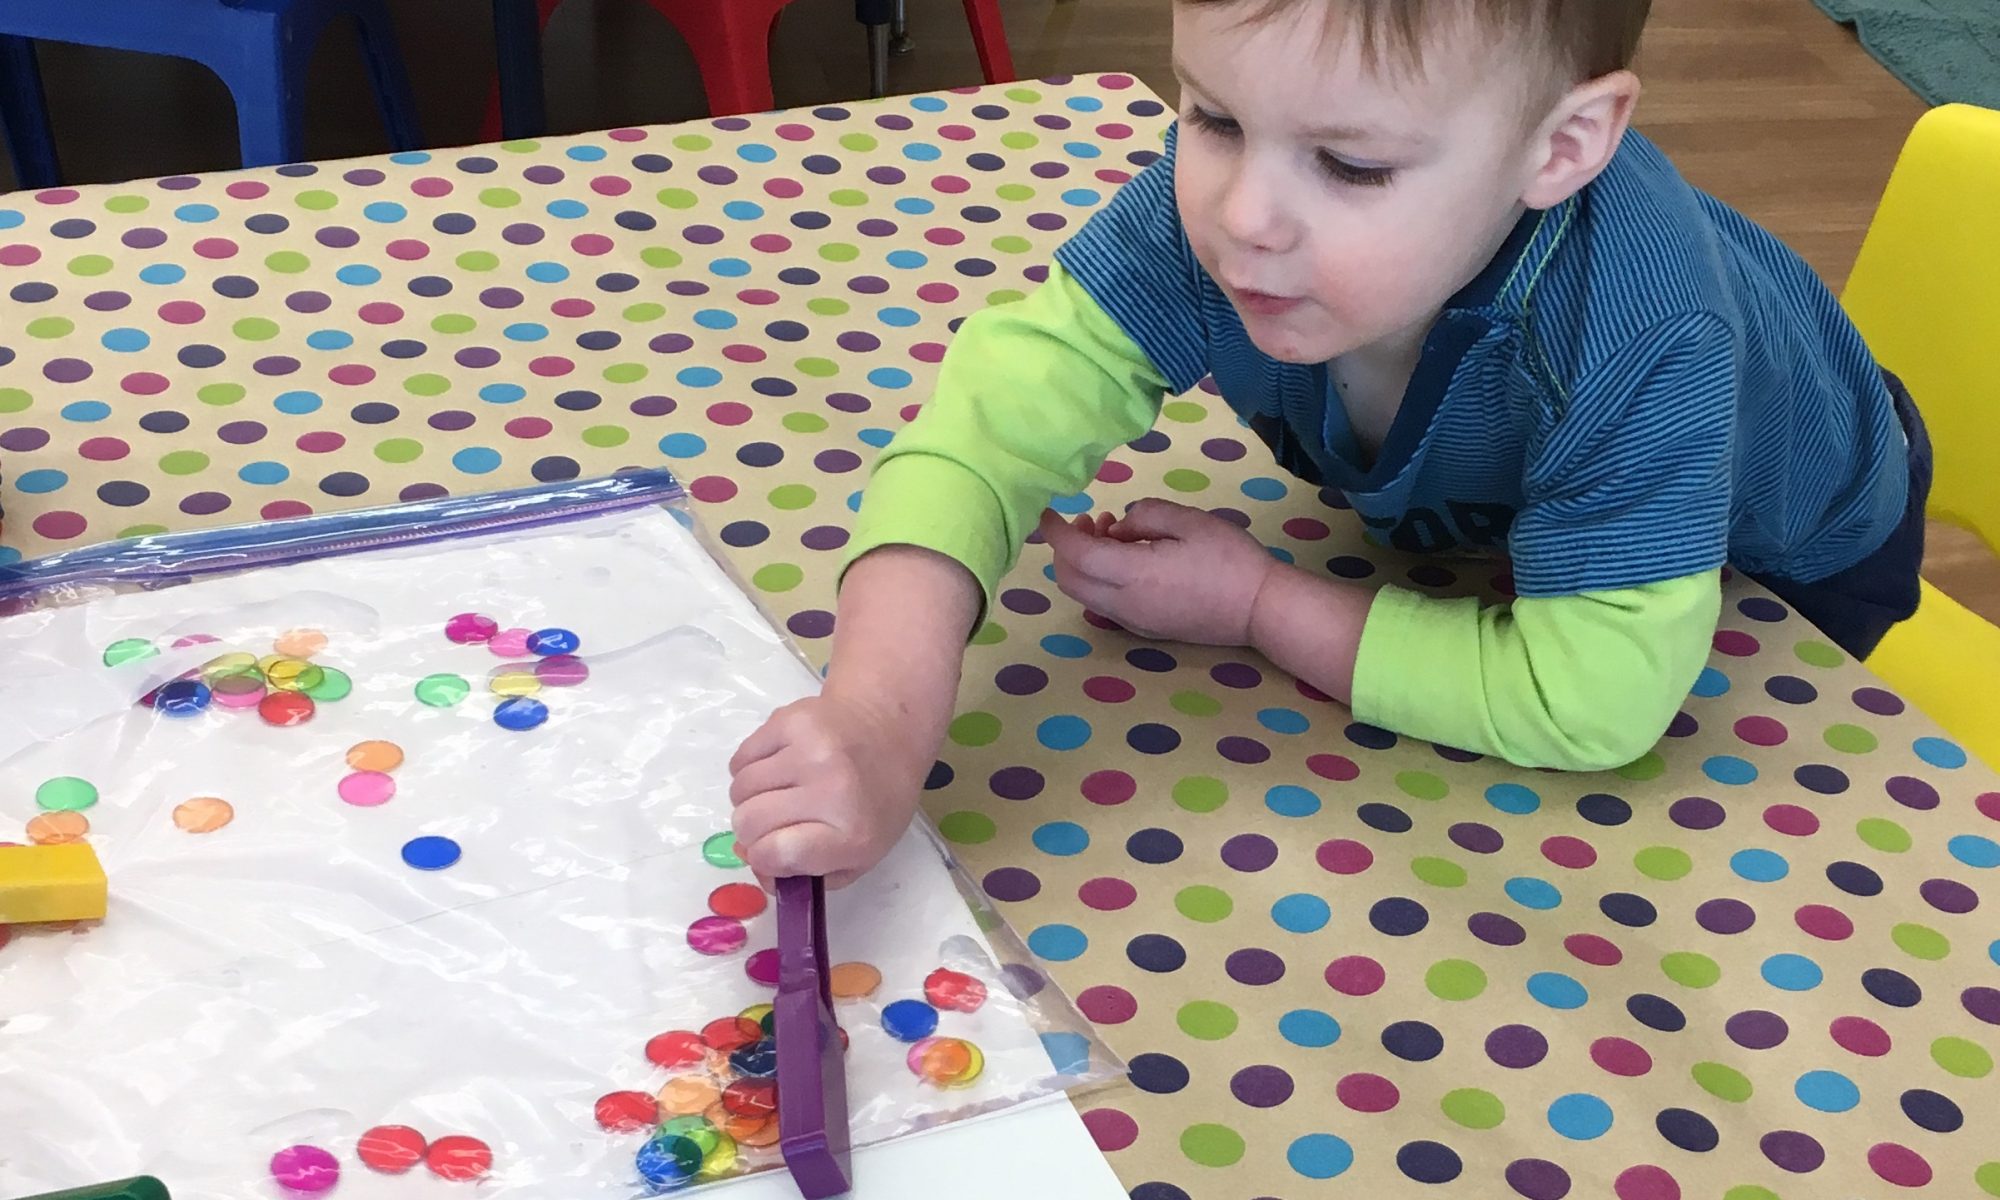
Directions:  This is a simple activity to set up and very engaging for young children!

Add a handful of magnetic plastic counters to the Ziploc bag. Pour in two cups of water. Zip the bag, being sure to get as much air out of the bag as possible. Use the tape to seal the bag to prevent accidental leakage. Place the white paper on the table with the Ziploc bag on top. You may want to tape the bag to the table to keep it from moving. Demonstrate to your child how to sweep the magnet over the bag to move the little counters around. Avoid dragging the magnet over the bag, as it eventually causes the bag to leak. If this is your child’s first introduction to using magnets, you can extend the learning by inviting your child to find items around your house that the magnet will stick to—maybe the refrigerator, paper clips, cans, etc. This is a trial and error exercise that can encourage your child to draw conclusions about magnetism, especially the fact that certain things attract the magnet, while other things don’t. Older children may be able to draw conclusions about why this is true, but don’t expect a child younger than four years to know. They are building foundational experiences with magnets.

Polka-Dot Pond

Materials:      
Large plastic tub
Foam sheets from a craft store
Scissors
Pen
Something round to trace—a glass, for example
Small plastic critters, bugs, etc.
Tongs (optional)

Directions:  Set the glass on the foam sheet and trace around the rim. Repeat, making as many circles as you can on the sheet. Depending on the size of your tub, you may want to use more than one foam sheet. Cut out the dots. Fill the tub with about two inches of water, and scatter the polka dots on top. We added little plastic snakes, frogs, and lizards to our pond, along with tongs for picking up the critters and putting them on top of the dots. Tongs can be tricky for 1- and 2-year-olds, which is why they’re optional. The children were engaged for quite a long time putting critters on the polka dots and dumping them in the water! If your critters are small enough, they will float easily. We also had fun identifying which were lizards, which were snakes, and which were frogs.

Polka-Dot Pictures

Materials:     
Dot markers
White paper

Directions:  Set the paper in front of your child. Help her unscrew the marker cap, and then demonstrate how to use the marker by dotting the paper rather than drawing with it like a marker. To help with this, try making a few small circles on the paper and having your child fill them in with the dot marker. Initially, it will take a little practice, but young children love to make dots! Your child will enjoy experimenting with different color dots, too.

Polka-Dot Graham Crackers

Ingredients:   
Graham crackers
Whipped cream cheese
Mini M&M’s for baking or jumbo confetti sprinkles

Directions:  Spread the whipped cream cheese on the graham cracker, covering the whole surface. Place the M&M’s or sprinkles in a random polka-dot pattern on top of the cream cheese. Eat and enjoy!

Hot and Cold Polka-Dot Sensory Bottles

Materials:      
2 plastic water bottles
Plastic tiddlywinks
Mini pompoms

Directions:  Put 2 or 3 dozen tiddlywinks in one of the bottles. Fill the bottle with cold water. I added a few small ice cubes to the water to make it extra cold. Screw the cap on tightly. Add about an inch of mini pompoms to the other bottle. Add hot water from the tap, filling the bottle. Screw the cap on tightly. Hand the pompom bottle to your child, saying “hot” as you hand it to him. Let him examine the bottle for a minute. Encourage him to turn the bottle over, observing the pompoms floating through the water. Next, hand him the bottle with the tiddlywinks in it. Say “cold,” and let him observe how the tiddlywinks move through the water. Repeat the sensory play, reaffirming the words “hot” or “cold” as he re-examines each bottle.

Connect the Polka Dots

Materials:      
Large piece of white paper
Sticky dots from the Dollar Store
Markers or crayons

Directions:  Stick the dots all over the paper in a random fashion. You can use multicolored dot stickers if that’s what you have. Give your child a marker or crayon and encourage him to make marks on the paper. We tried drawing circles around the dots, drawing dots right on the stickers, and eventually drawing lines from one dot to another. This is a great activity for refining your child’s eye-hand coordination, which is the processing of visual cues to direct the movement of the hands. This is an important part of the learning process and comes into play as your child is tracking print across the page, grabbing something, or even catching a ball!

Fruity Stars and Stripes

Ingredients:   
Graham crackers
Whipped cream cheese
Red fruit roll-ups or fruit rolls
Fresh blueberries

Directions: Spread the whipped cream cheese on the graham crackers. Unroll a roll-up, keeping it attached to the paper. Cut the roll-up into pieces as long as the graham crackers (about 5”); then cut the five-inch piece in thirds lengthwise. Add four blueberries to the upper left corner where the stars would be on the flag. You may want to snip off a little of the top two roll-ups so the blueberries adhere to the cream cheese a little better. Enjoy!

Striped Snakes

Materials:      
Old, dry dish sponge
12” x 18” construction paper
Black marker
Two googly eyes
Glue dots, Elmer’s glue, or double-sided tape
Small puddle of tempera paint in a Styrofoam meat tray
Scissors

Directions: Using the black marker, draw a simple snake shape on the construction paper. Dip the edge of the dry sponge into the paint, hand it to your child, and encourage her to print stripes all along the snake’s body, end to end. Help her to print her stripes across the body, widthwise. Let the painting dry. Use two glue dots to stick the googly eyes to the snake. Finally, cut out the snake. Maybe an older child would like to help with the cutting!

Ribbon Play

Materials:      
Light table or mirror
Variety of ribbons
Masking tape
Scissors
Floral stones (optional)

Directions: Lay a piece of masking tape at the top of the surface you’re going to use, be it a light table, mirror, or even a table or countertop. Gather your ribbons, and cut them so they’re all the same length. A variety pack of curling ribbon would work very well. Tape each ribbon to the masking tape, leaving a small stripe of space between each ribbon. You can glue another strip of masking tape across the top of the ribbons for extra strength if you wish. Invite your child to explore the ribbons. Show her how you can pull the ribbon taut and secure it with either floral stones or tape to hold it in place. Pull the next ribbon taut, and secure it as well. Now you’ve created stripes! Let her continue to create stripes or just explore the ribbons themselves

Paint Roller Derby

Materials:      
Large (two-gallon) Ziploc bag
Large sheet of white paper
Small paint rollers
Ruler
Marker
Baby oil
Food color
Water
Floral stones (two colors if you have them)
Tape

Directions: Using the ruler and marker, draw straight lines across the paper about two inches apart. Tape the paper to a table. Mix a little food color into about a cup of water. Pour it into the Ziploc bag. Add some baby oil to the mix, roughly half a cup. Vegetable oil works, too. Add the floral stones. Get as much air out of the bag as possible and then seal the bag. It’s a good idea to tape over the seal so the bag doesn’t accidentally open! Tape the bag directly on top of the paper with the lines. Then you’re ready to explore with the paint rollers. Your child may or may not notice that the oil and water don’t mix, so some of the liquid is colored, while some is not. It’s fine to use fingers to push the floral stones across the lines, but I like to provide the small paint rollers. The paint rollers are something the child can manipulate by himself, and they add an exciting dimension to the activity. Also, the rollers are soft, so the bag tends to last longer without punctures! Challenge your child to try to move all the stones to one end or the other, or to a certain line. Younger children will enjoy just exploring with the rollers. If you use two colors, you can try making a game of it by choosing one color of stones and just moving those. It’s harder than it looks!