Paper Play

Materials:      
A large sheet of butcher paper, approx. 4” x 6”  (A large sheet of gift wrap would work well, too.)
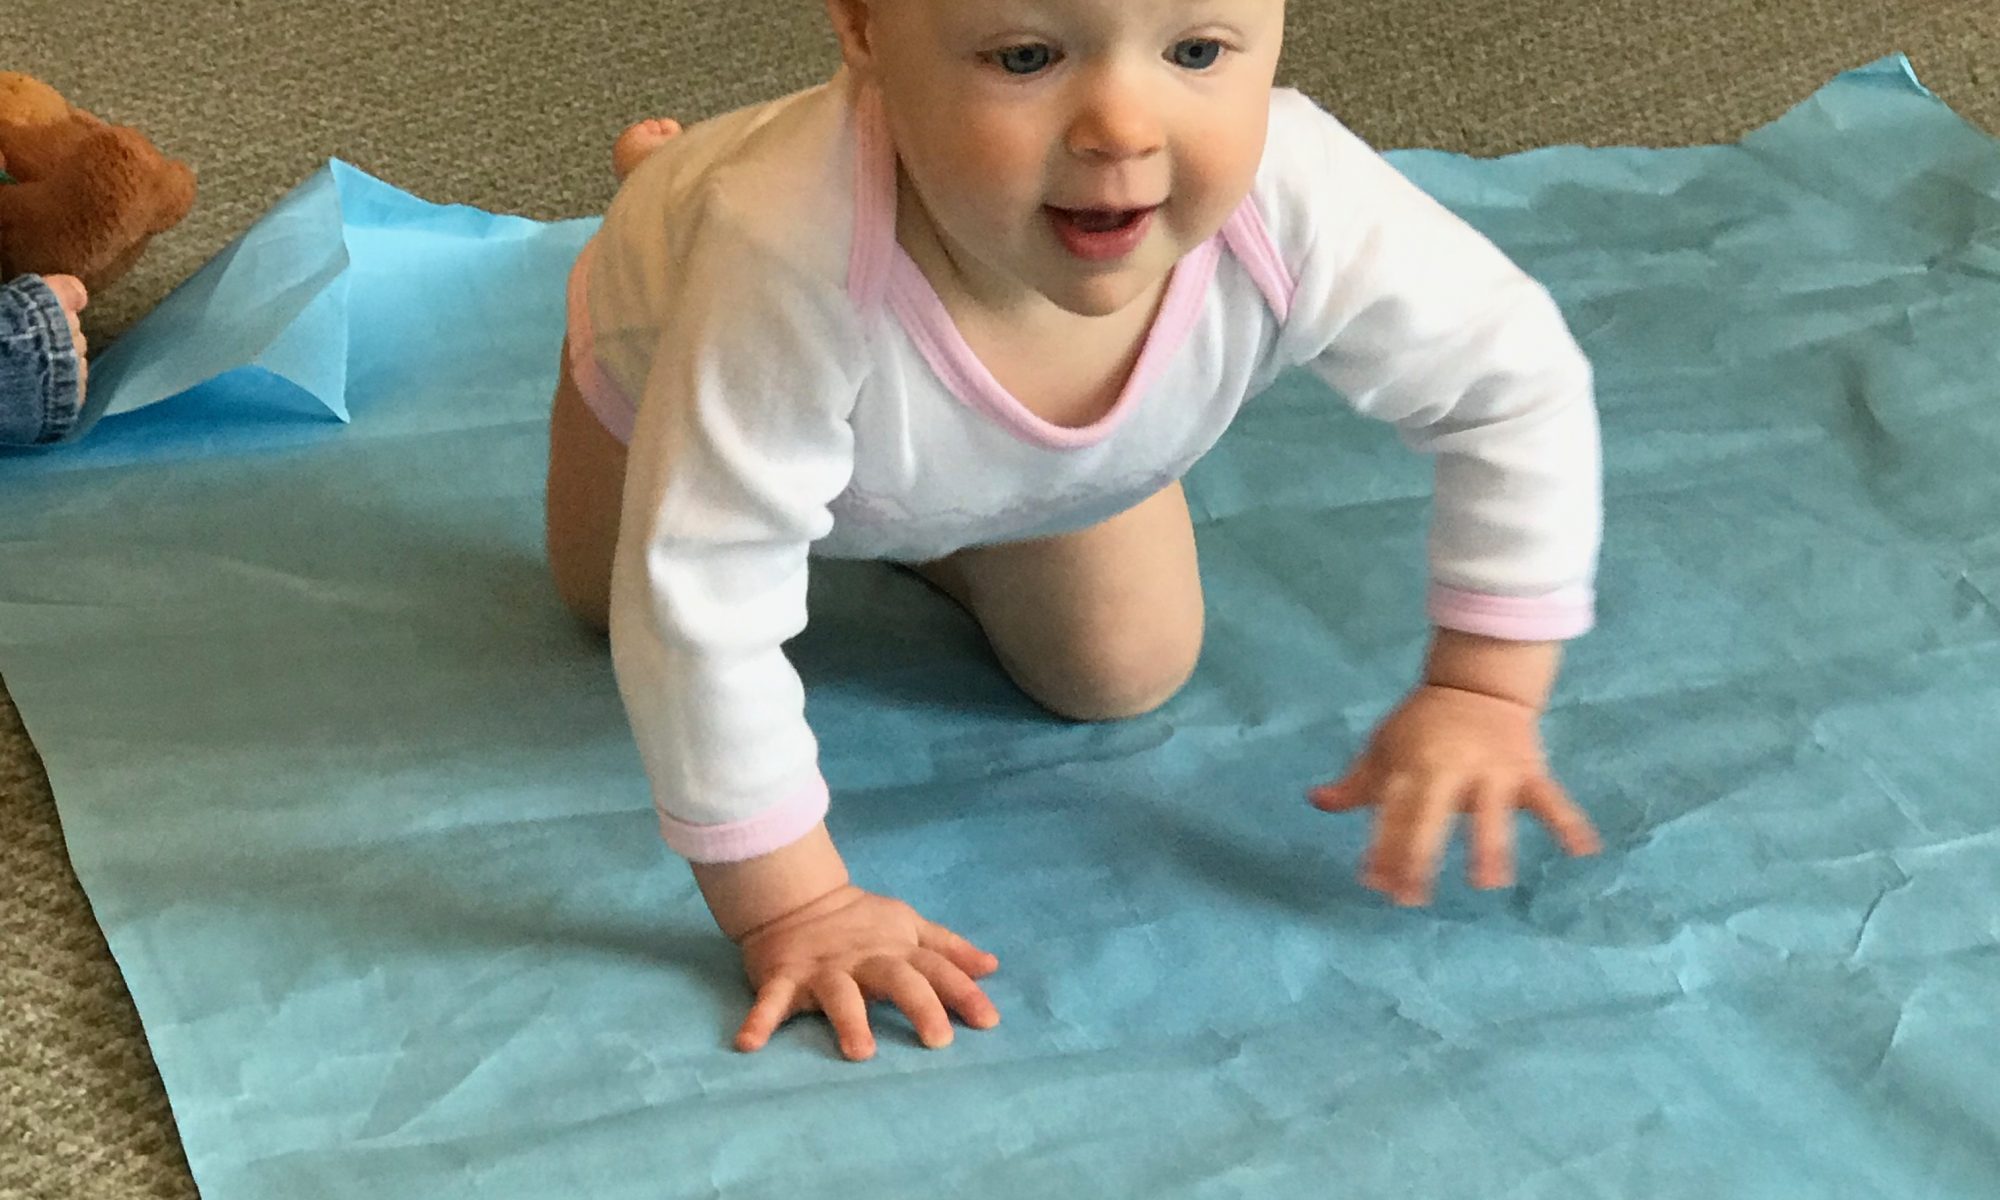
1 eager, crawling toddler

Directions:  Scrunch up the sheet of paper into a ball and then spread it out again on the floor. Put your baby at one end and quickly go to the other end. Encourage your baby to come to you. This is a great time for baby to be in a onesie and a diaper! Talk to him about the crunchy noise the paper makes. Let him crawl as much as he wants. Try rolling a small ball across the paper for him to fetch. When his interest wanes, scrunch the paper into a ball again and try rolling it to him. Most toddlers love exploring paper, and it’s a great interactive activity to do with your child!

Easter Egg Color Match

Materials:      
Plastic Easter eggs
Colored pompoms in hues that match the eggs
Empty egg carton (we used a carton that held two dozen)
Small tongs (optional)

Directions: Tis the season for Easter eggs, and we enjoyed this simple-to-assemble activity that gives practice in matching colors. Children older than three may have fun using tongs to manipulate the pompoms, but younger children will be less frustrated if they use their fingers.

Set the bottom of the egg halves in the egg carton. Place a small bowl or basket with the colored pompoms that match the eggs nearby. Pick a pompom up with the tongs, and place it in a matching egg half. Invite your little one to do the same. Very young children may place the pompom in any color, and that’s fine. You can ask him to see if he can find an egg that’s the same color as the pompom. If he shows no interest in color matching, the activity is more of an exploration of color, rather than an assessment. If he uses his fingers to pick up the pompom, he’s practicing his pincer grip, which is a bonus skill! An older child might like the challenge of manipulating the tongs to pick up the pompoms, which takes some practice to do successfully. Finally, when your child matches a pompom to the right color egg bottom, have him find the top of the egg and cap it off!

Apple Donuts

Ingredients:   
1 nice, round apple
Whipped cream cheese
Food coloring (optional)
Sprinkles

Directions:  Wash and dry the apple. If you have an apple corer, use it to cut out the core and seeds. If not, cut the apple into cross-wise slices, about 3/8” thick. Then remove the core from each slice with a knife. Pat any excess moisture from the apple with a paper towel. Mix a portion of the cream cheese with a couple of drops of food coloring to create a pastel “frosting.” Spread the cream cheese on the apple slice, all the way to the edges.  Then add a few sprinkles to create the donut look.  Enjoy!

Toys in Tin Foil

Materials:      
Five or six small toys
Sheets of aluminum foil
Basket

Directions:   Choose some small, familiar toys to wrap in aluminum foil. We recommend aluminum foil because it encases the toy without tape. Put the wrapped toys in the basket, and set it in front of your child. Let your child choose an item from the basket. Ask “What is it?  Can you unwrap it?” You can help by pulling one corner free, but most children will work at getting the mystery object unwrapped without your assistance! Encourage your little one to tell you what the object is. Invite him to choose another item.  You can try getting your child to predict by asking him what he thinks it might be. Sometimes the shape of the object is a clue. Objects you might want to use are a small ball, a plastic water bottle, a block, a cup, a hairbrush—all common household items. I love this activity because it’s a great way to work those fingers, and it will hold your child’s interest and curiosity. 

This is an activity for children 18 months and older. Younger children tend to mouth the items rather than unwrap them. Slightly older children have had the experience of unwrapping things (like presents) and will be intrigued to see what’s inside!

Toys in Foil

Materials:      
5 or 6 small toys
Sheets of aluminum foil
Basket

Directions:  Choose some small familiar toys to wrap with the aluminum foil. We used aluminum foil because it encases the toy without tape. Put the wrapped toys in the basket and set it in front of your child. Let your child choose an item from the basket.  Ask “What is it?  Can you unwrap it?” You can help by pulling one corner free, but most children will work at getting the mystery object unwrapped without your assistance!  Encourage your little one to tell you what the object is. Invite him to choose another item.  You can try getting your child to predict by asking him what he thinks it might be. Sometimes the shape of the object is a clue.  Objects you might want to try are a small ball, a plastic water bottle, a block, a cup, a hairbrush—all common household items. I love this activity because it’s a great way to work those fingers and it’s going to hold your child’s interest and curiosity. 

This is an activity for children 18 mos.+  Younger children tend to mouth the items rather than unwrap them. Slightly older children have had the experiential opportunity of unwrapping things (like presents) and will be intrigued to see what’s inside!

Threading Practice—Pastels

Materials:      
Pastel-colored plastic or wooden lacing beads
Three bamboo skewers
Small block of Styrofoam or floral foam
Small tray

Directions: Push the three skewers into your foam block and set the block on a tray. The skewers don’t have to be the same length. Set a small bowl of beads in front of your child, and invite her to thread beads onto the skewers. Your child is practicing her pincer grip each time she picks up a bead. (The pincer grip is instrumental to other small motor tasks like holding a pencil or zipping a zipper.) This activity also helps develop eye-hand coordination. Our eyes generally direct our hands in the completion of a task. This is a skill children come by naturally, but it takes practice to develop accuracy. That’s why small children know instinctively to hold out their arms to catch a ball, for instance, but they need practice to coordinate their movements to actually catch the ball. Similarly, it takes practice and focus to thread a bead on a skewer. 

Pastel Pink Yogurt Smoothies

Ingredients:   
1 cup Greek vanilla yogurt
¼ cup apple juice (more or less, depending on desired thickness)
Handful of frozen strawberries

Directions: Combine yogurt, apple juice, and strawberries in a blender.  Blend until smooth. Enjoy!

Pastel Pinecones

Materials:      
Pinecones
Tempera paint in pastel shades
Fine bristle paintbrushes
Newsprint to protect the table

Directions:  Our class took a walk around the campus, collecting pinecones as we went. We brought our collection back to the classroom and set them out to dry in a basket for a day or so. We placed sheets of newsprint on the table and set out cups of pastel paint and paintbrushes (the kind that come in kids’ watercolor paint sets). Pastel shades of pink, green, yellow, purple, and orange were available. The children were encouraged to paint their pinecones using all or as many of the colors as they wished. They did not have to paint every scale of the pinecone—just enough until they were satisfied with their work. This project encouraged the children to focus on painting a small surface (the scales) and exercising the eye-hand coordination necessary to put the paint where they wanted it to go!

When the paint dried, the pinecones made a unique display in our classroom, hanging with twine from a specially selected stick!

Pastel Color Mix Bags

Materials:      
Gallon Ziploc bag
Tape
White tempera paint
Another primary paint color

Directions:  We’re learning about how pastel colors are made from a mix of white and a bit of another color. To experience this, we used gallon Ziploc bags containing a puddle of white paint.  Each child chose another color to add to his bag. We taped the bags to the table on one end, and also taped the zippered side to prevent any leakage. Then we encouraged the children to use their fingers and hands to mix the two colors together until the darker color became a pastel. When the children were finished mixing, we carefully cut a hole in one corner of the bag and squeezed the new pastel color into a jar to use for painting at a later date!

Polka Dots and Bears

Materials:      
Color-coding dots
Plastic teddy bear counters, various colors
White sheet of construction paper

Directions:  Stick the colored dots randomly all over the paper. Choose only those teddy bear counters that match the colors of your dots. Take a teddy bear and ask your child to find a dot of the same color where you can sit the bear. Place the bear on the dot. Once your child understands the idea, let him place bears on the dots, matching the colors as you did.