Dot Sticker Pathways

Materials
Paper
Dot stickers
Black Sharpie

Directions
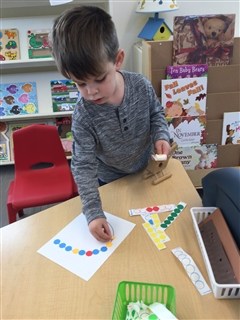
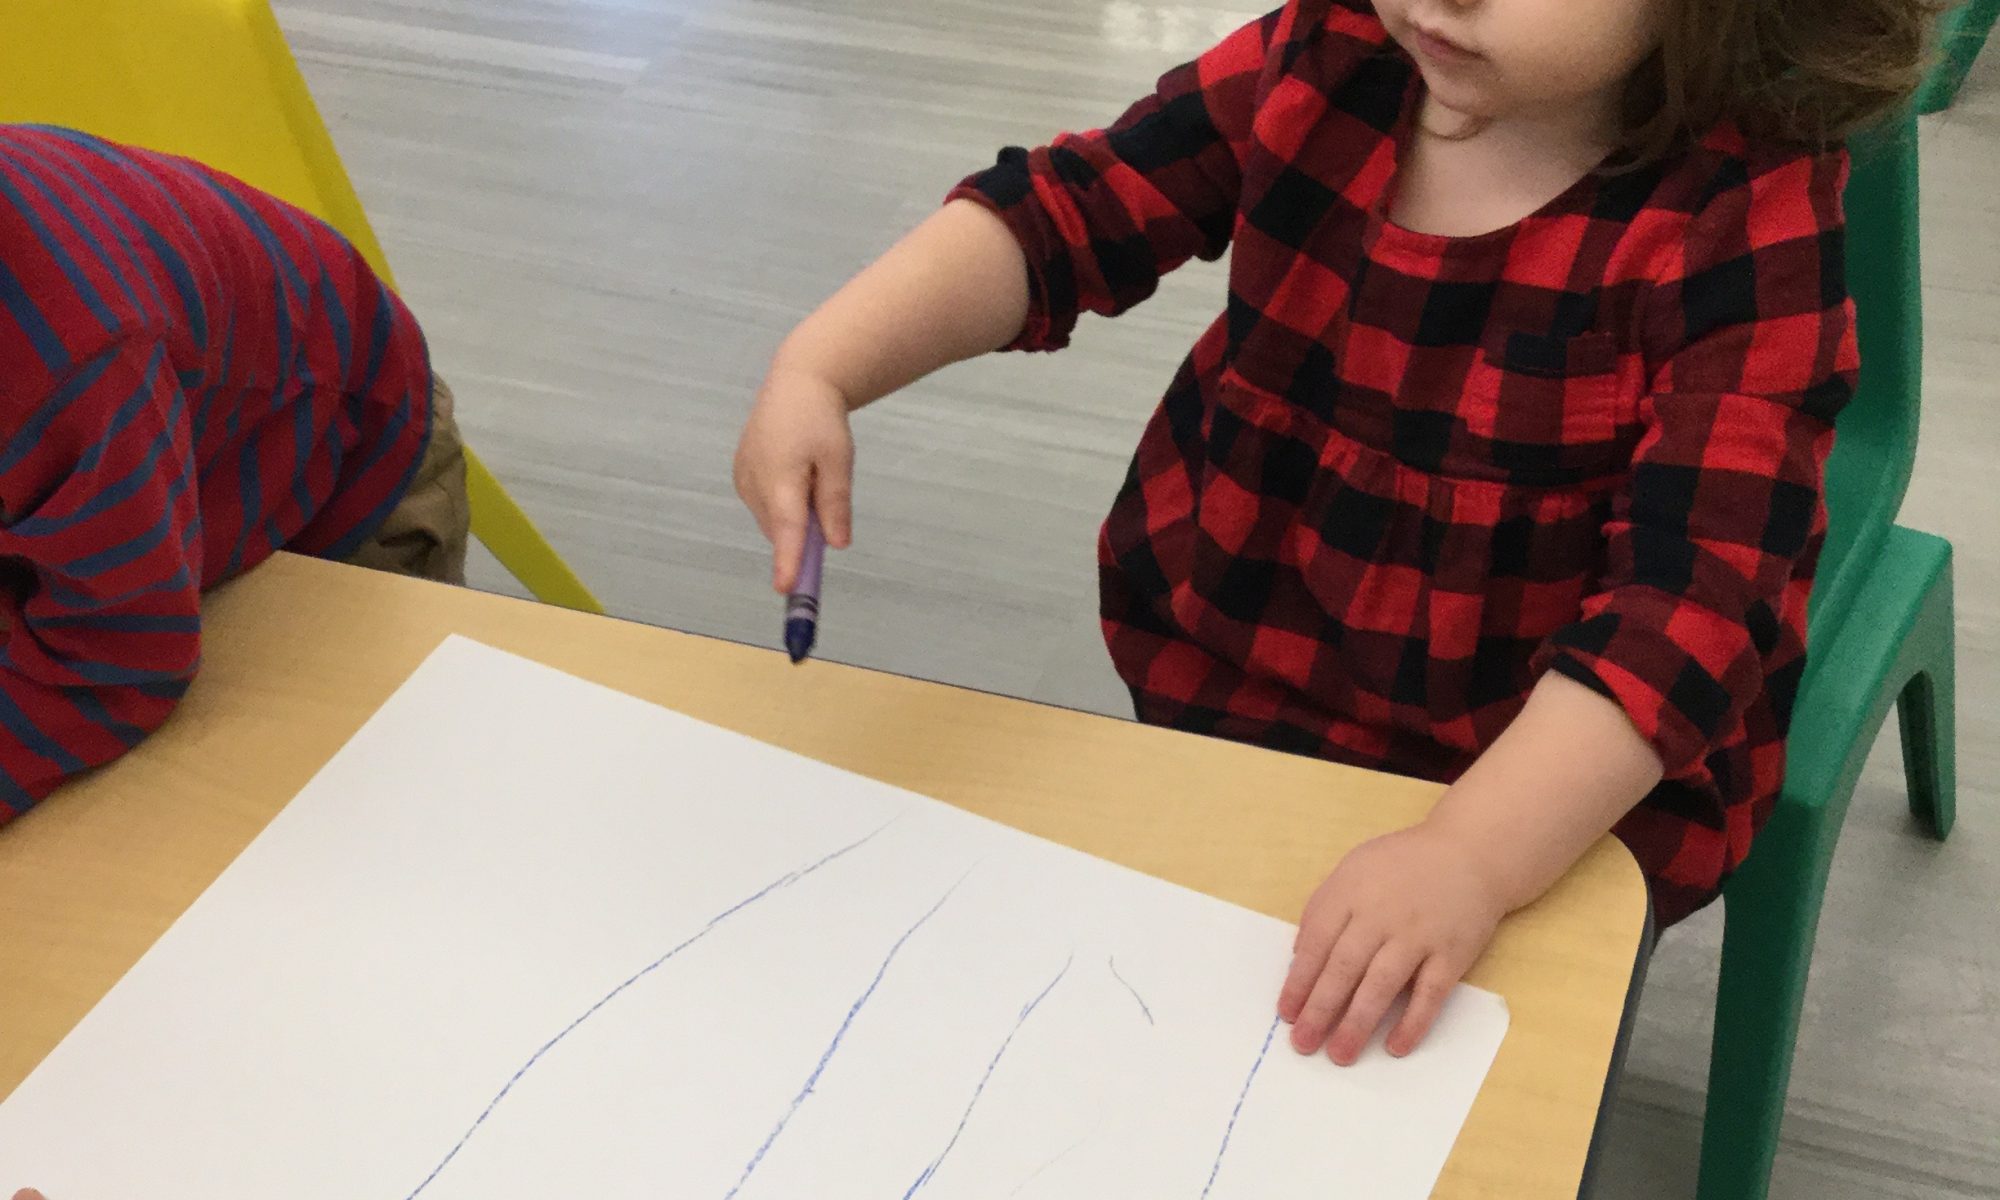
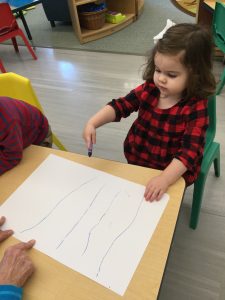
Using a black Sharpie marker, draw lines or curves on a piece of paper. Invite your child to place colorful dot stickers along the black lines.  

Lesson extensions:

  • Encourage your child to use his index finger to trace along the lines
  • Count the dots
  • Count all the yellow dots, the blue dots, etc.
  • Invite your child to draw the line or curve, then place stickers on it


Canvas Board Painting

Materials
Piece of canvas board
Painter’s tape
Tempera paint in 3-4 colors
Dishwashing brush

Directions
Make stripes on the canvas using the painter’s tape.  Pour paint, one of each color onto a paper plate. Provide a dishwashing brush for each color of paint. Invite your child to use the brush to dip into the paint and then dab onto the canvas.  Many children chose to move the brush back and forth, rather than dab.  That’s just fine.  It is all about the process and experience. Encourage your child to cover the entire canvas with paint. Once the paint has dried completely, remove the painter’s tape for a fun striped surprise!

Painting Stripes


Materials
Tempera paint 
White Paper
Paint brush 
Work surface (table)

Directions
Secure a piece of white drawing paper to the table surface. Using a marker, draw lines down the paper approximately two inches apart. Pour tempera paint into a paint cup or on a small paper plate. Encourage your toddler to use a paint brush to paint a stripe between each of the marker lines on paper.  Allow to dry, then display.

This activity encourages your toddler to track with his eyes and control of the paint brush.

Painting on Stripes

Materials

Tempera paint in various colors, if desired
Striped Wrapping Paper
Paint brush or foam sponge brush for each color paint
Work surface (table or easel)

Directions
Secure a piece of wrapping paper to the table surface or easel. Pour tempera paint into paint cups or on small paper plates. Encourage your child to use a paint brush or foam sponge brush to paint between the lines of the wrapping paper.  Allow to dry, then display.

This activity encourages concentrated focus and control of the paint brush – a good one for preschoolers.

Stripe Patterns on Fleece Scarves

Materials
Solid color winter scarf (or make one out of fleece)
Colored craft sticks
Tray
Pictures of patterns (optional)

Directions
Lay the solid-colored winter scarf out on a flat surface (a carpeted space works well). Place a supply of colored craft sticks on a tray next to the scarf. Invite your child to place craft sticks along the scarf in a simple pattern to make stripes. How lovely!

Younger children will enjoy just making stripes with the craft sticks, if patterns haven’t been introduced yet.


Drawing Stripes

Materials
White paper
Crayons or markers (thick crayons, markers, or crayon rocks work best for small hands)
Tape

Directions
Secure the paper with tape onto the work surface. Encourage your toddler to choose a crayon or marker and make lines or stripes down the paper.  Introduce the words top and bottom. With toddlers, don’t be too concerned about the way your child chooses to grip the writing instrument. Encourage preschool age children to hold the marker or crayon using a correct writing grip.

Stripes and Paint Rollers

Materials
White paper (approx. 12 inches square)
2-gallon Zip-loc baggie
Large bottle of baby oil (half bottle)
1 cup water, colored with food coloring
Flat floral marbles
Small craft paint rollers

Directions
With a marker, draw lines down a piece of 12″ square paper. Secure it to the table with tape. Place about 20 flat floral marbles in the 2-gallon Zip-loc baggie.  Add 1 cup of colored water and half of a large bottle baby oil to the baggie. Secure all sides with clear duct tape and tape on top of the paper. Encourage your child to try to place the floral marbles between the lines using their fingers or roller.  Preschoolers can count the number of marbles between each stripe.    

Creating Stripes using Ribbons

Materials
12″ pieces of ribbon in all sorts of colors
Clear contact paper (12″ square)

Directions
Secure contact paper to a table, sticky side up. Invite your child to choose one ribbon at a time and gently lay it across the contact paper. Continue until the contract paper is covered with stripes of ribbon. Hang contact paper on a window to allow light to shine through. This makes a beautiful colorful hanging. 

Twisted Bread Sticks

Ingredients
1 container of Pillsbury bread sticks
1 egg

Directions

Separate dough into strips. Invite your child to twist each strip of dough and place  on a greased or parchment paper covered cookie sheet. Ask your child to help crack and beat one egg. Using a pastry brush, brush egg on top of each pastry stick.  Bake as directed on the package. Enjoy warm breadsticks as a special snack.