Rainbow Fruit Licorice Strings

Ingredients:   
Strawberries
Clementines
Mango
Green grapes
Blueberries
Purple/Red grapes
Twizzlers Pull ‘n’ Peel

Directions: Cut the fruits (as needed) into bite-size pieces. Use a wooden skewer to poke a hole through each piece of fruit. Poke the licorice string through each piece of fruit in the order listed above. Unlike using bamboo skewers, it’s safe to eat the whole thing. Enjoy!

If you’re making only one or two licorice strings, you’re going to have a lot of fruit left over—perfect for making a fruit salad. 

Also, this is a snack that doesn’t keep well. The string licorice absorbs the juice from the fruit—it’s still edible but not as inviting after an hour or two.

Q-tip Fine-Motor Play

Materials:      
A plastic jar with an insert with holes in it
Q-tips

Directions: Present the jar you’ve chosen to your little one. Show him the holes in the insert. (I used a jar that originally had sprinkles in it. Just make sure the holes in the top are big enough to accommodate the Q-tips.)

Demonstrate how to insert a Q-tip into the jar. Give your child a Q-tip and invite him to try. Encourage him as he focuses on inserting the Q-tip. Give him the time to put all the Q-tips in the jar, but watch for signs that indicate it’s too difficult a task. I offered this activity to a 12-month-old child who loved putting the Q-tips in the jar. Another child, who was 15 months old, found it too complex a task and wanted to mouth the Q-tips. If your child is not interested, wait a few weeks and try again!

Rainbow Sensory Bottles

Materials:      
Six sturdy, recycled plastic water bottles, such as the Voss or Core brands
One pkg. of Clear Water Jewels (from Michaels—about $3.25 per pkg.)
Water-based food coloring in purple, blue, green, yellow, orange, and red
Hot glue gun

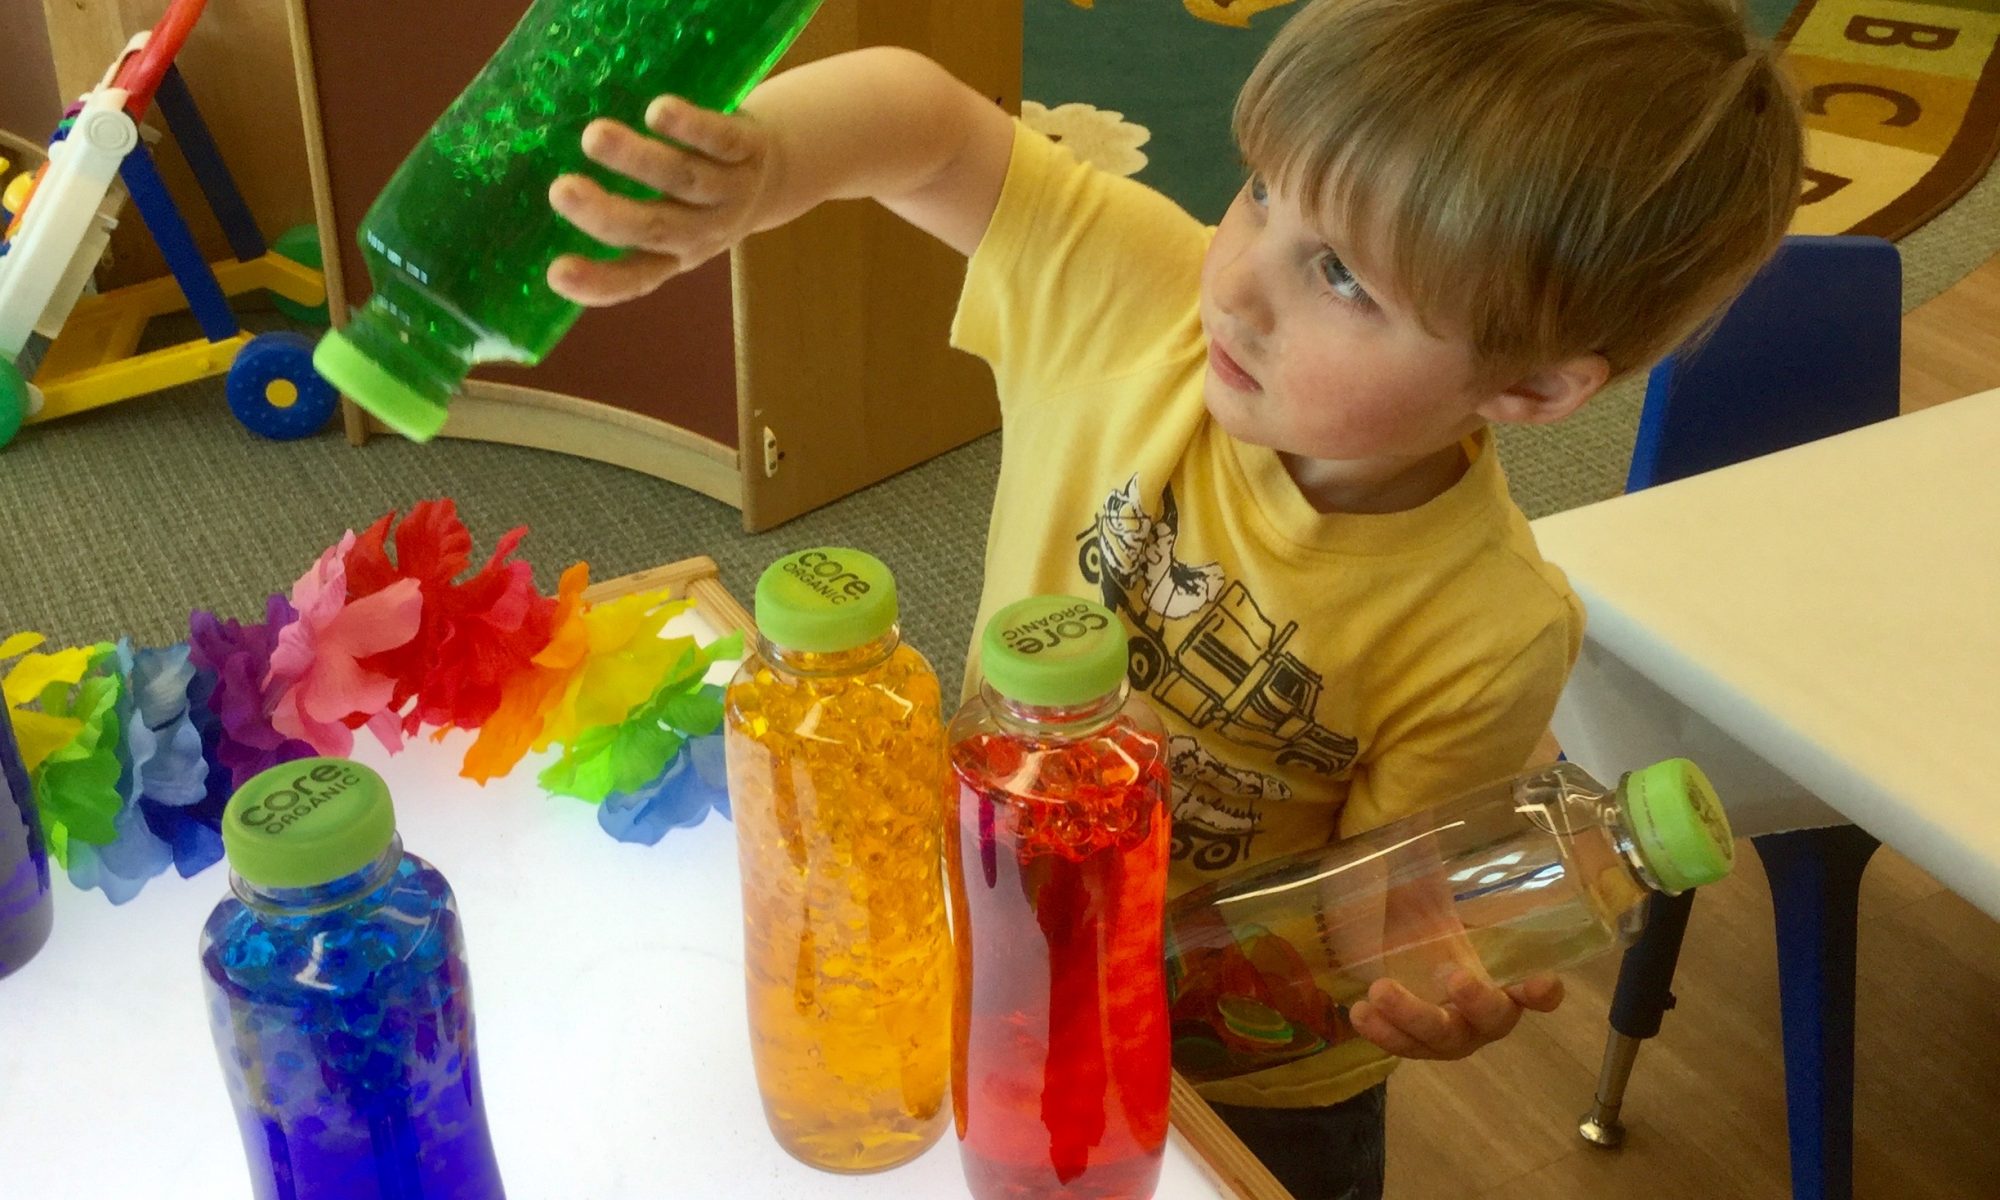
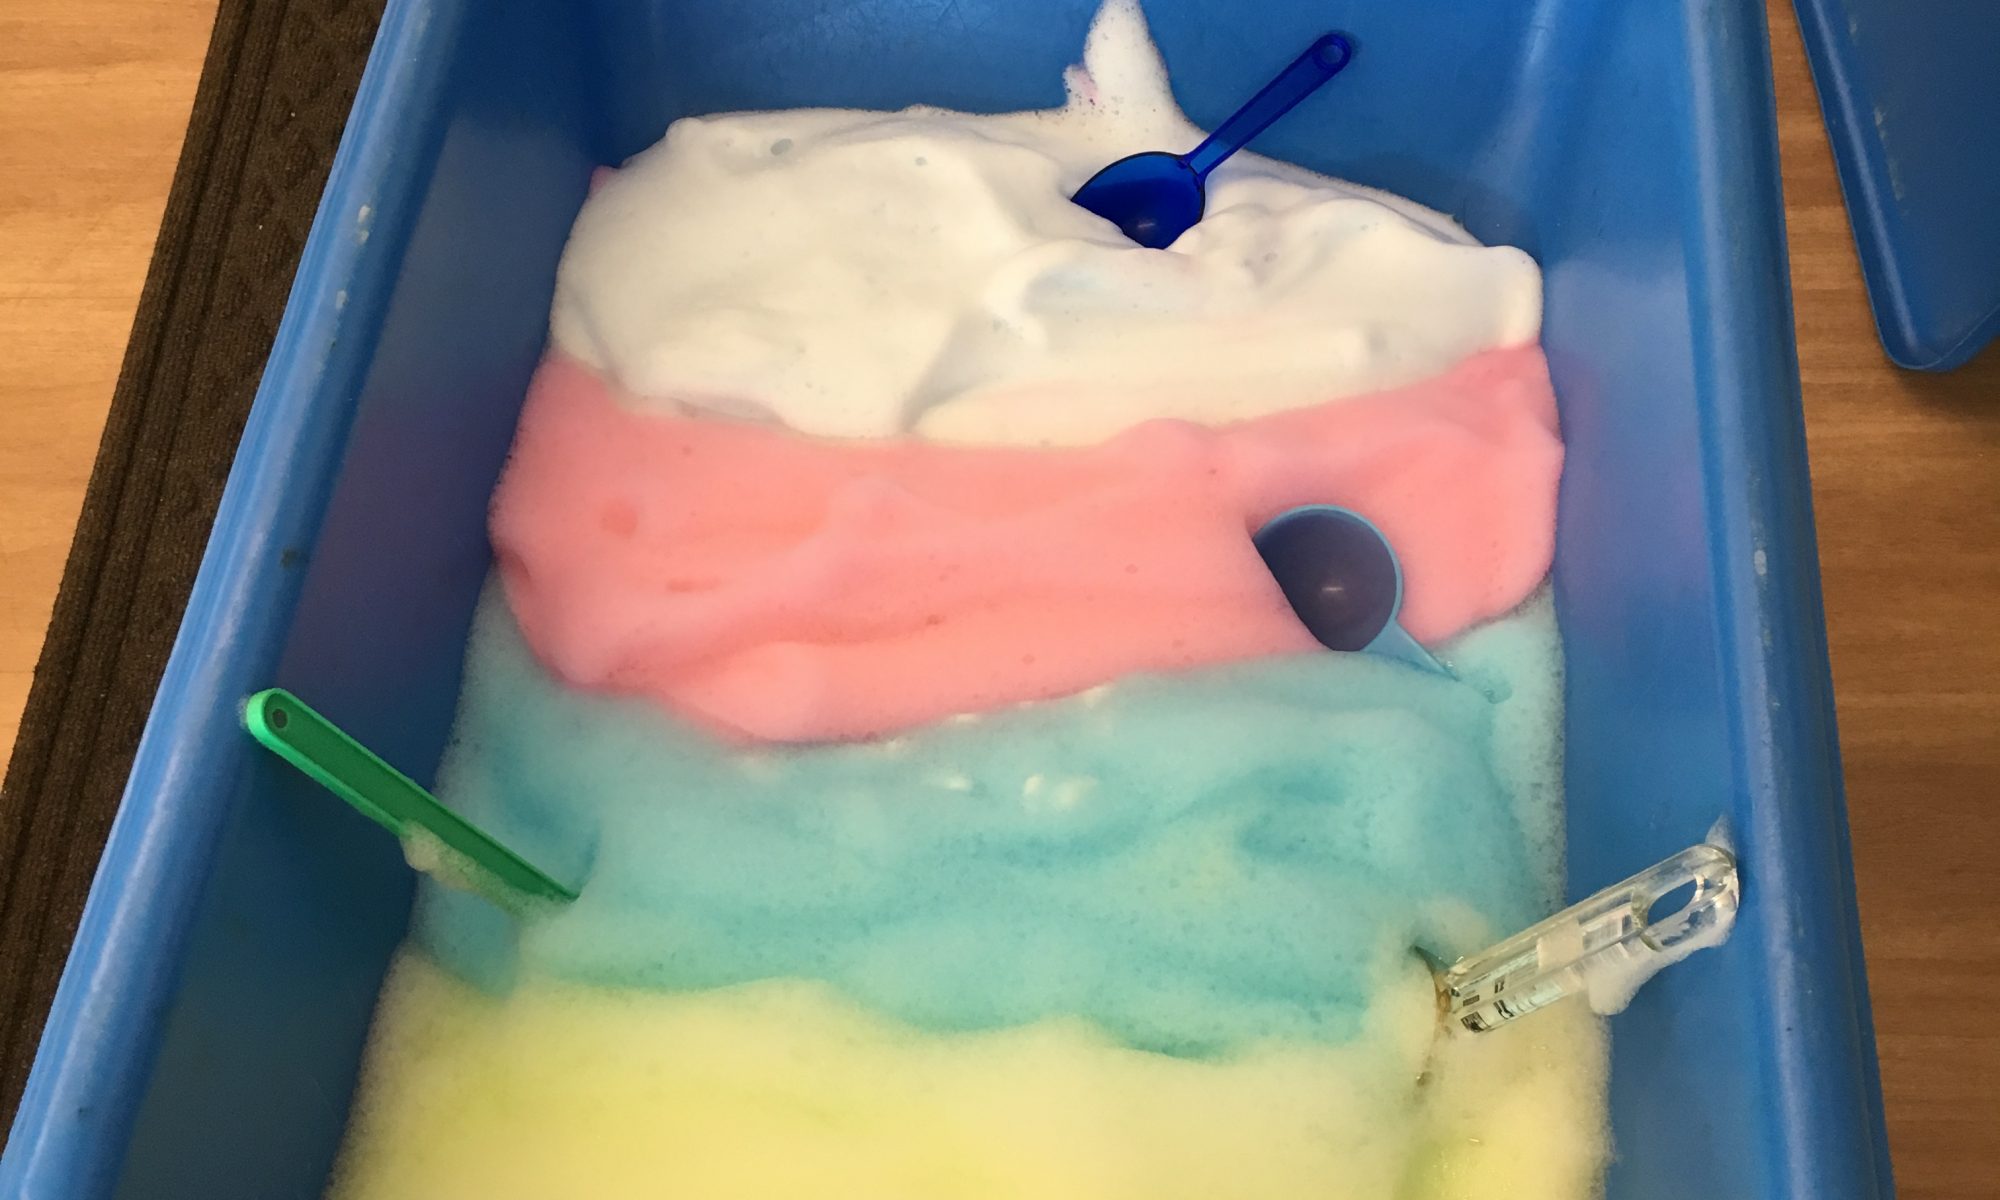
Directions: Reconstitute half a package of clear water jewels in a dish tub with at least three inches of water. One package reconstituted makes about four quarts of water pearls, so half a package will be plenty! It takes four–six hours for the water jewels to reconstitute, so plan ahead. Add more water if you need to. When they’re ready, use a funnel to put the desired amount in each bottle. Add a little water and food coloring to each of your six bottles. If you plan to keep the rainbow jars for a while, I recommend using hot glue to secure the tops on the bottle. You definitely do not want water jewels anywhere but in the bottles! 

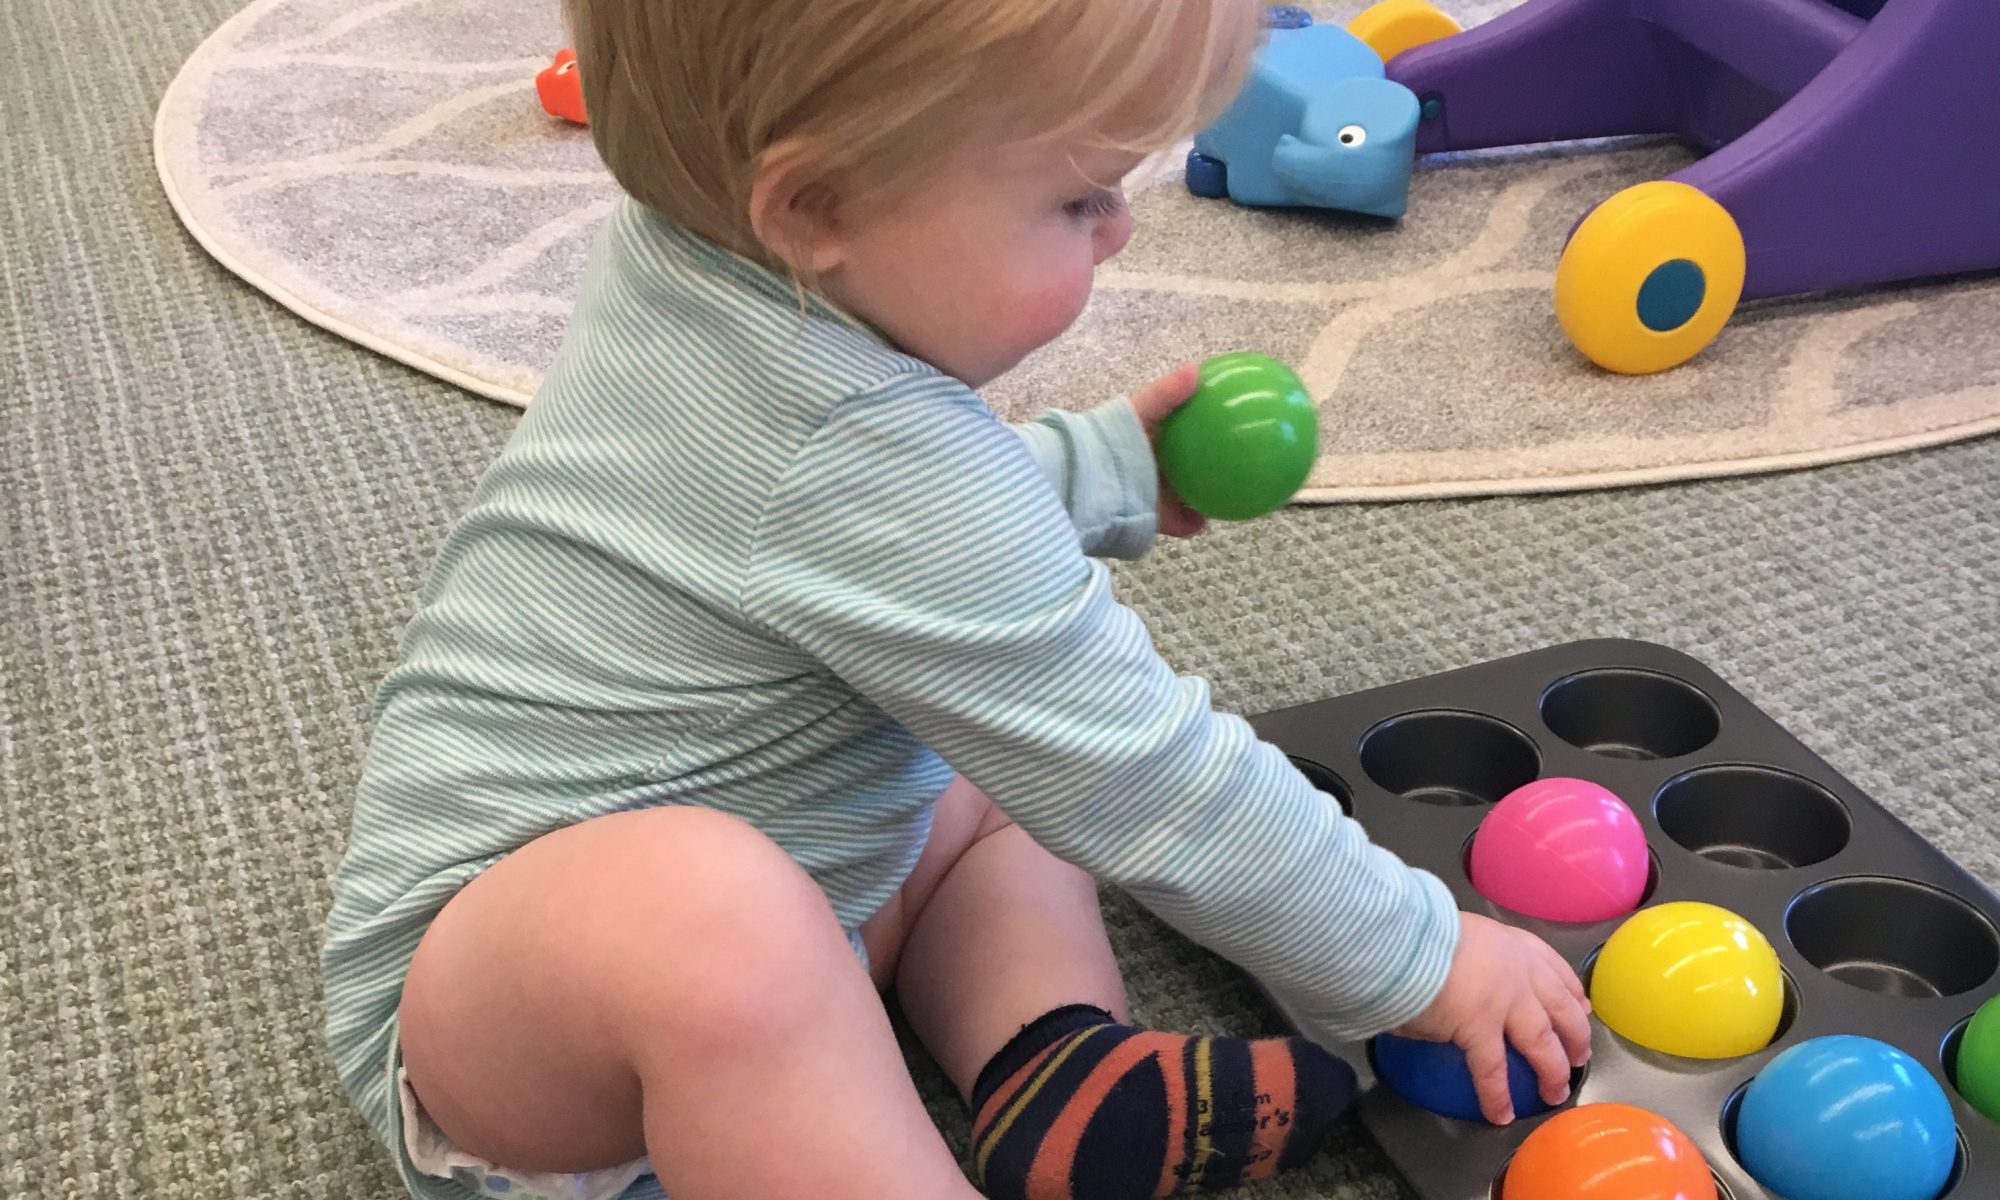
Your little one will enjoy handling the bottles, comparing them to one another, perhaps rolling them on the floor, turning them upside down, drinking in the colors with her eyes.

You may also want to create a clear bottle using just water and adding small items that are rainbow colors and will float in the water. Tiddlywinks, small colorful pompoms, colorful rubber bands, etc. are fun choices. Just don’t add anything that might rust!

If you have a sunny windowsill where you can keep the bottles when your child is not exploring them, it creates a rainbow effect wherever the light hits.

Rainbow Letter Match

Materials:      
If you have a magnetic chalkboard, great. If not, a dry-erase board or a large sheet of paper will work just fine.

Markers in purple, blue, green, yellow, orange, and red
Magnetic alphabet letters in purple, blue, green, yellow, orange, and red

Directions: Assuming you don’t have a magnetic chalkboard, use your markers on paper or dry-erase markers on a dry-erase board to draw the stripes of a rainbow in an arc shape. Start with purple on the bottom, then blue, green, yellow, orange, and red on top. Make the space between stripes wide enough to accommodate the letters. Let your child match the magnetic letters to the matching stripes. When they’re finished, you’ll have a rainbow of letters! How many can your child identify? (Fun to know, but not really an expectation for this activity.)

Rainbow Cake

Ingredients:   
White cake mix
Eggs
Oil
Water
Wilton Icing Color (you need six) purple, blue, green, yellow, orange, red)
Hand mixer
Six small bowls
Bundt pan

Instructions: Make the white cake mix according to package directions. Divide the batter into six equal portions (about 2/3 cup each). Mix a small dollop of red food color into the first portion and mix thoroughly with the mixer. Pour it into your greased pan. It’s OK if it’s not evenly distributed, but if it is spread throughout the pan, your whole cake will have some red in it. Rinse your beaters before moving on to the next color. Next, mix a little orange color in the next portion and add it on top of the red. Do the same for yellow, then green, blue, and finally purple. Bake your very colorful cake according to package directions. Let it cool slightly, and then remove it from the pan. When completely cool, slice and enjoy with a cold glass of milk!

Bubble Wrap Rainbows

Materials:      
Sheet of white construction paper
Tempera paint in the following colors: purple, blue, green, yellow orange, red
Sheet of bubble wrap large enough to cover the construction paper

Directions:  Simply popping bubble wrap is a really fun activity for a toddler. But creating unique rainbows at the same time is even better! And even though there are typically seven colors in representations of rainbows, for our purposes, six colors work just fine!

The first step is best done by mom or dad. Squirt a thin line of paint in an arc shape starting at the bottom center of the paper. Start with purple and add each color in the order listed in the materials. When finished, carefully lay the sheet of bubble wrap on top of the construction paper. Show your child how to press on the bubble to pop it, which also spreads and blends the paint. Encourage your child to use both of index fingers together to pop the bubbles—it makes it a little easier. And of course, you can pop the bubble wrap right along with her. When you’re finished, carefully remove and toss the bubble wrap to reveal a stunning rainbow!

Ball Play and Ball Pit

Materials:      
Muffin tin
Ball pit balls
Small blanket or scarf

Directions: This is a great activity for 12-month-olds or slightly older. You can pick up a bag of balls at Walmart or from Amazon relatively inexpensively. They’re lightweight and the right size for toddlers to grasp easily.

I put the balls in a small tote bag. Then I set the muffin tin in front of Baby T, took a ball from the bag, and put it in the tin. He immediately picked up my ball and mouthed it. Then he went for what was in my bag, still holding the ball from the tin. I let him get a ball and then emptied the tote bag in front of him. He reached for a ball and put it in the tin when I asked him if he could. He kept the first ball, taking a few seconds to mouth it again while using his other hand to put another ball in the tin. I used the blanket to throw over the tin. He was surprised for a moment, but then pulled it off to reveal the balls. He was happy to add more balls to the tin for a couple of minutes and had equal enjoyment dumping the tin out and doing it again!

You could extend this activity for an older child by lining up a couple of baskets to throw the balls into. Or you might make a simple ramp to roll the balls down. And it doesn’t hurt to introduce color names by saying “Oh, you’ve got a blue ball!” 

Try making your own ball pit by adding them to your Pack ‘n Play. It probably takes 100+ balls to cover the bottom of it. You can also enjoy them in the bathtub!

SWAT—Number Recognition Game

Materials:      
Large piece of white paper
Paper cup
Black marker
Small stickers (optional)
Fly swatter
Oversized foam die

Directions:  Draw the numbers 1 through 6 randomly on the paper using the black marker. Make the numbers about 3 inches high. Use the paper cup to trace a circle around each number. Place the correct number of stickers on the circle outline for each number so your child can count them if she’s having trouble identifying the numbers. 

Show your child how to drop the die between her legs (while sitting on the floor). Have her count how many dots are showing on the top of the die.  Look for that number symbol on the sheet. When she finds it, let her swat it with the fly swatter. We try to swat the number the right number of times—i.e., if her number is 3, she swats it three times!

Pastel Tortillas

Ingredients:   
Mini tortillas (we used four-inch ones)
Two or three colors of food coloring
New or VERY clean small paintbrushes
Two or three ramekins with a tablespoon of water in each
Shredded cheese
Toaster oven

Directions: Prepare the ramekins by adding a few drops of food coloring into the water and mixing it with the paintbrush. One color for each bowl. Invite your child to dip her brush into a color and paint a design on her tortilla. Let her use each color. If  the tortilla gets very watery, blot it a little with a paper towel. We didn’t have a problem with it being too wet. When the “painting” is finished, let your child drop some shredded cheese on her tortilla, spreading it around a little bit with her fingers. Then bake it in a toaster oven briefly—just until the cheese has melted. Let it cool for a minute or two, then it’s ready to eat! We folded the tortilla in half like a taco and ate it that way.

Pastel Soap Foam

Materials:      
Liquid dish soap
Small pitcher of water
Red, blue, and yellow food coloring
Large mixing bowl
Hand mixer
Large plastic tub to contain your soap foam

Directions:  Pour about three tablespoons of dish soap into the mixing bowl. Add an equal amount of water to the bowl. Add several drops of red coloring. Mix on high speed for several minutes until the foam forms peaks. When you’re ready, pour the foam into the large plastic tub. Rinse your bowl and beaters, and repeat the process, adding the blue coloring this time. Beat on high speed until it forms peaks. Dump it into the large tub. Repeat, adding the yellow coloring. When it forms peaks, pour it into the tub. We made a fourth batch, leaving it white.

Add spoons and cups, or just invite your child to scoop it up in his hands.  Explore the foam, touching it, scooping it up and blowing it, and even putting a little on his face! If you’re concerned about your little one eating it or getting it in his eyes, use baby shampoo instead of dish soap. Unfortunately, the foam won’t last too long, so plan to whip it up and use it right away. It’s great, clean fun while it lasts!