Your baby is growing so fast during the first year and by the second half of the year, your baby is interested in exploring the world around him. Soon your baby will be crawling, cruising, or walking and interested in investigating what he can see.
Here are some activities to try with your baby:
- PEEKABOO
Materials needed: Small toys or books, blanket
What to do: Place a toy or book under a blanket, leaving part of the object showing. Then ask your baby, “Where is it?” and encourage him to look for it.
Variations: After your baby has mastered finding a partly hidden object, move on to hiding it completely under the blanket.
Skills learned: Fine motor skill development, object permanence
- STACKING
Materials needed: Plastic measuring cups or small cardboard boxes
What to do: Take turns stacking the cups or boxes and knocking them down.
Skills learned: Understanding cause and effect, fine motor skills
- PUZZLES
Materials needed: Wooden puzzles
What to do: Around 12 months of age, your baby will be ready for large wooden puzzles. Choose puzzles that have colorful shapes or simple pictures and knobs for grasping. Demonstrate how puzzles work and offer lots of praise when your child is successful. Puzzles take lots of patience and persistence, but are such a good activity!
Skills learned: Problem solving, fine motor skills, visual skills
- READING
Materials needed: Board or cloth picture books
What to do: Regularly read books to your baby, pointing to the pictures as you read and engaging her by changing your voice for different characters. Invite your little one to participate by touch the pictures, lifting the flaps, and turning the pages.
Skills learned: Language development, listening skills
- CLAP WITH ME
What to do: Around 6 to 8 months of age, your child will learn to clap. Enjoy clapping this rhyme with your child:
Clap, clap, one, two, three
Clap, clap, clap with me.
Clap, clap, four and five.
Clap, clap, bees in hive.
Clap, clap, six, seven, eight.
Clap, clap, you are great.
Clap, clap, nine and ten.
Clap, clap, begin again.
Skills learned: Imitation, rhyming
- RHYME TIME
What to do: Sing songs with real or made-up words that rhyme, like “thump, thump, thump, bump, bump, bump, jump, jump, jump.” Singing songs and repeating rhymes help your baby’s language development.
Skills learned: Develops auditory discrimination
- SHAKE THE BOTTLE
Materials needed: Empty 16-ounce bottle, colored rice or pasta
What to do: Fill the bottle with the rice or pasta, and glue the top back on so your baby can safely watch and hear what happens as he shakes, rattles, and rolls the container. Babies this age are also learning about cause and effect, which is an exciting new skill.
Skills learned: Fine motor skills, auditory discrimination, cause and effect
- DISAPPEARING CHEERIO
Materials needed: Cheerios, opaque plastic cups
What to do: Create your own version of the old-fashioned shell game by hiding a Cheerio under a cup and seeing if your baby can find it. This simple activity reinforces object permanence, a major concept.
Variations: Using two different-colored cups, put the Cheerio under one cup and move it around to see if your baby can remember which one was the hiding place. After your baby has found the Cheerio under the first cup, show him you are now putting it under the second cup and see if he remembers that the Cheerio has moved.
Skills learned: Attention skills, memory development, object permanence
- LIGHT SHOW
Materials needed: Colored plastic containers, mini flashlights
What to do: Turn on some mini flashlights, and drop them into empty water bottles, Tupperware, or any colored, lidded containers. Place your baby in tummy time in a dark room and let him explore the colorful lighted containers on the floor in front of him. Closely supervise as your little one grasps and turns, bangs and rolls the containers.
Variations: Take a flashlight out of a container, place your baby on her back and simply move the light slowly on a dark wall. Pause on objects and talk to or with your child about what she’s seeing.
Skills learned: Visual sensory stimulation, eye movement skills, sustained attention, socialization, bonding, body movement
- BAGGY FINGERPAINTING
Materials needed: Washable finger paint, a gallon-size zippered freezer bag, tape
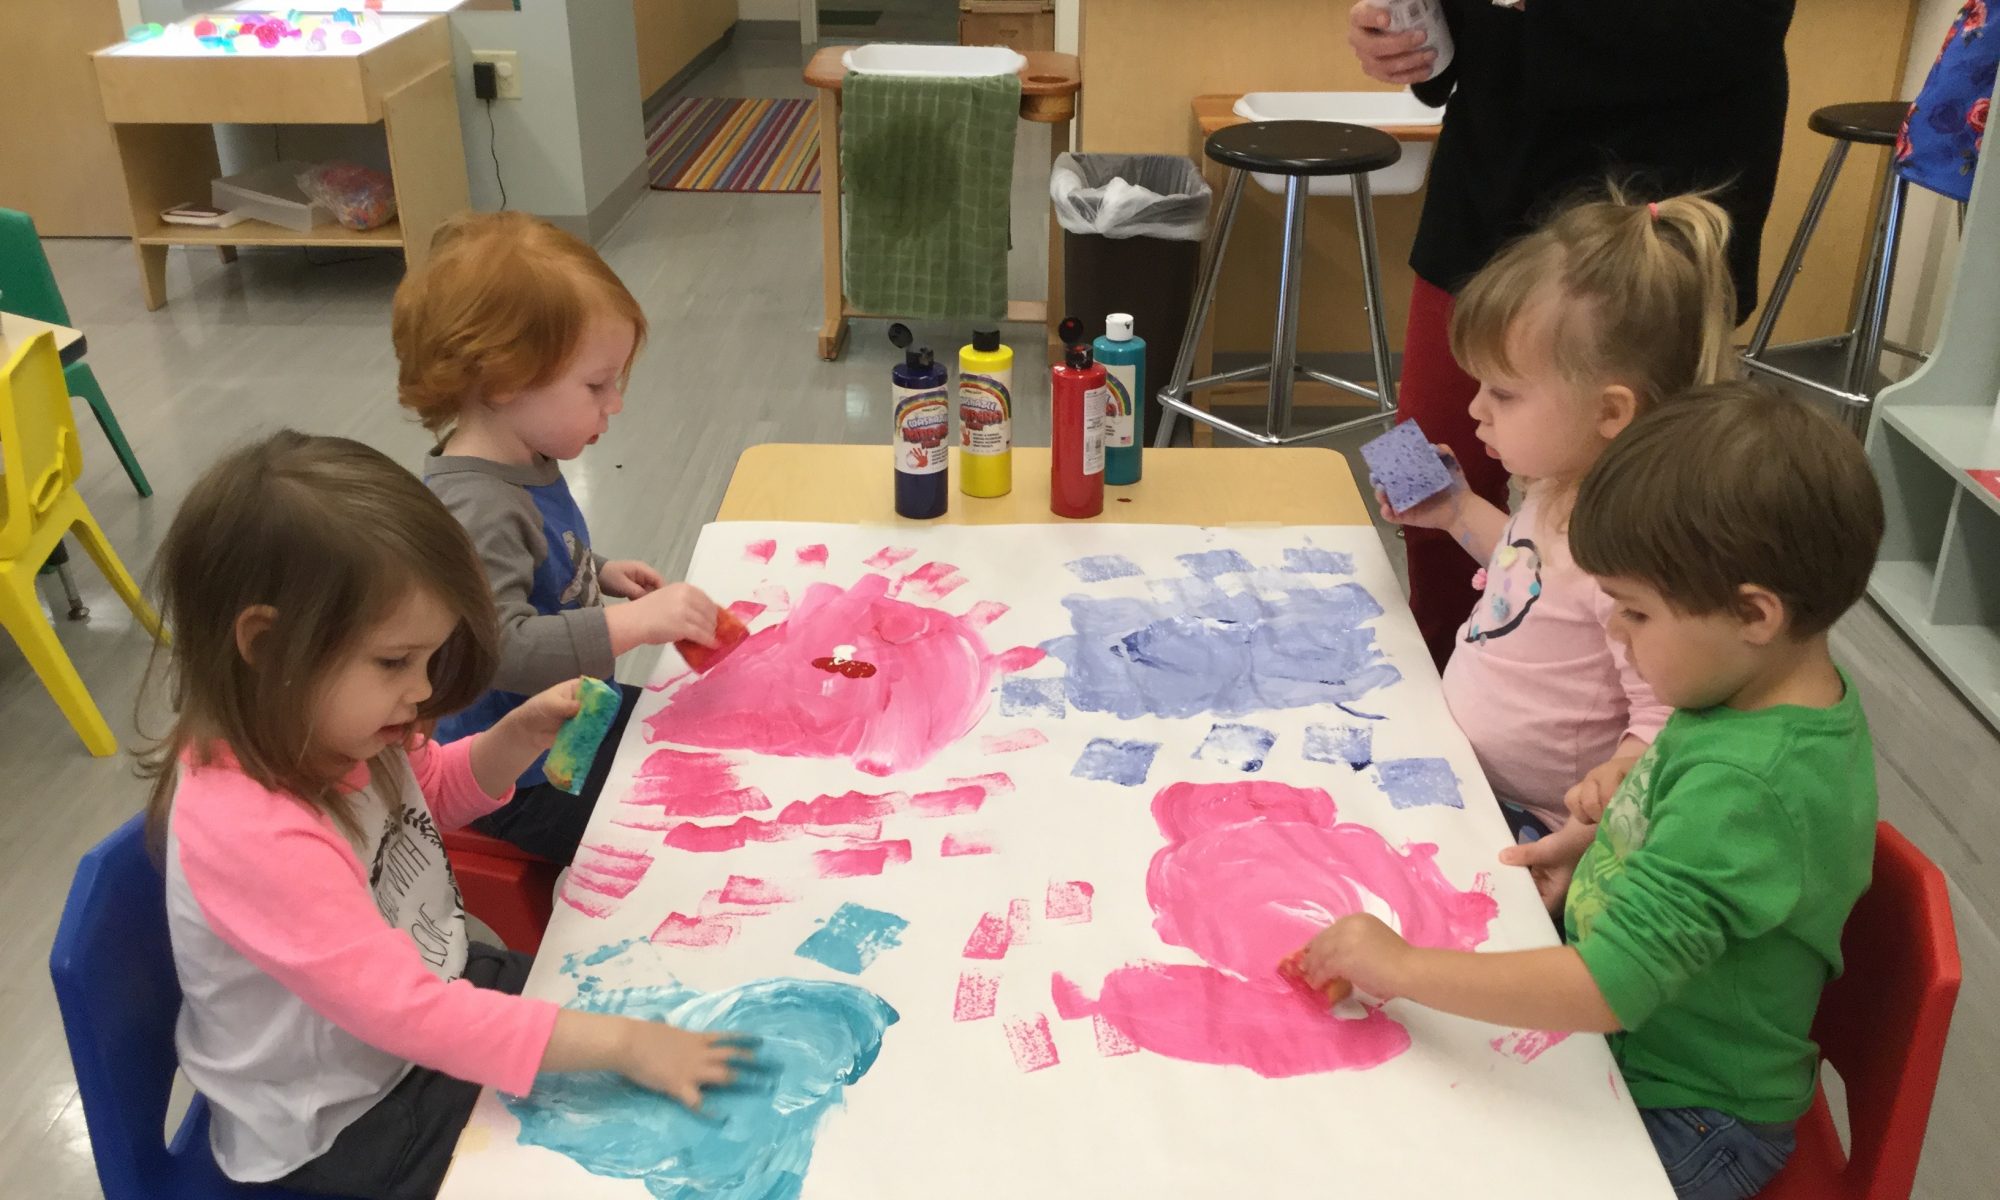
What to do: Squeeze a couple of dark colors of washable finger paint into a zippered baggy and seal tightly. Add duct tape for extra security. Spread the paint around to coat the inside of the bag, then place it on the floor in front of your baby during tummy time. Show him how to make marks on the outside of the bag with his hand or finger.
Variations: Try this activity in a high chair when your child is able to sit independently.
Skills learned: Sensory development, fine motor skills, understanding cause and effect, early writing skills
- CONTAINER PLAY
Materials needed: Small toys, container
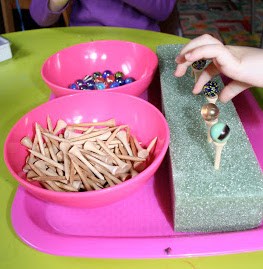
What to do: Place a few toys in a container with an opening a bit bigger than balls or pegs, plastic links, or other smaller items. Hand the container to your baby, who will probably turn it over and over, causing some toys to tumble out. Eventually, your baby will realize that something is rattling around inside and that toys seem to be falling out of it, so she will start shaking, banging, and reaching inside the container. Reload the container periodically until your child figures out how to do it on her own.
Variations: Once she’s gotten good at putting items in the container, you can extend the activity by choosing a narrow-mouthed container and longer toys, like rectangular blocks, pegs, and plastic spoons. Your baby will learn through trial and error that she has to turn the objects to fit them into containers.
Skills learned: Object manipulation and orientation skills

