Materials
Chenille pipe cleaners
Pony beads
Directions
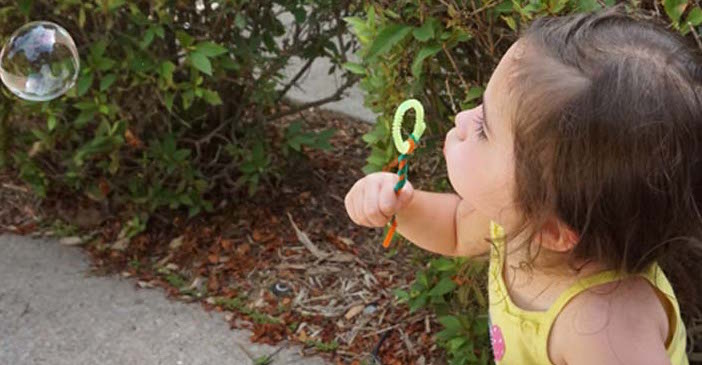
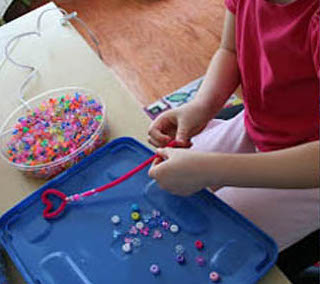
Have your child decide  which shapes she wants to make the bubble wands—circles, hearts, ovals, etc. Form the shape at one end of the pipe cleaner, leaving a little extra bit to wrap around the body of the pipe cleaner in order to keep the shape. The bigger the shape, the bigger the bubbles.
 Next, slide pony beads onto the pipe cleaner. This is a great fine motor activity for your child. When all the beads are on the pipe cleaner, twist the end of the pipe cleaner to keep them from falling off.
Use the fun bubble wands for blowing bubbles.