Cookie-Cutter Art

Materials:      
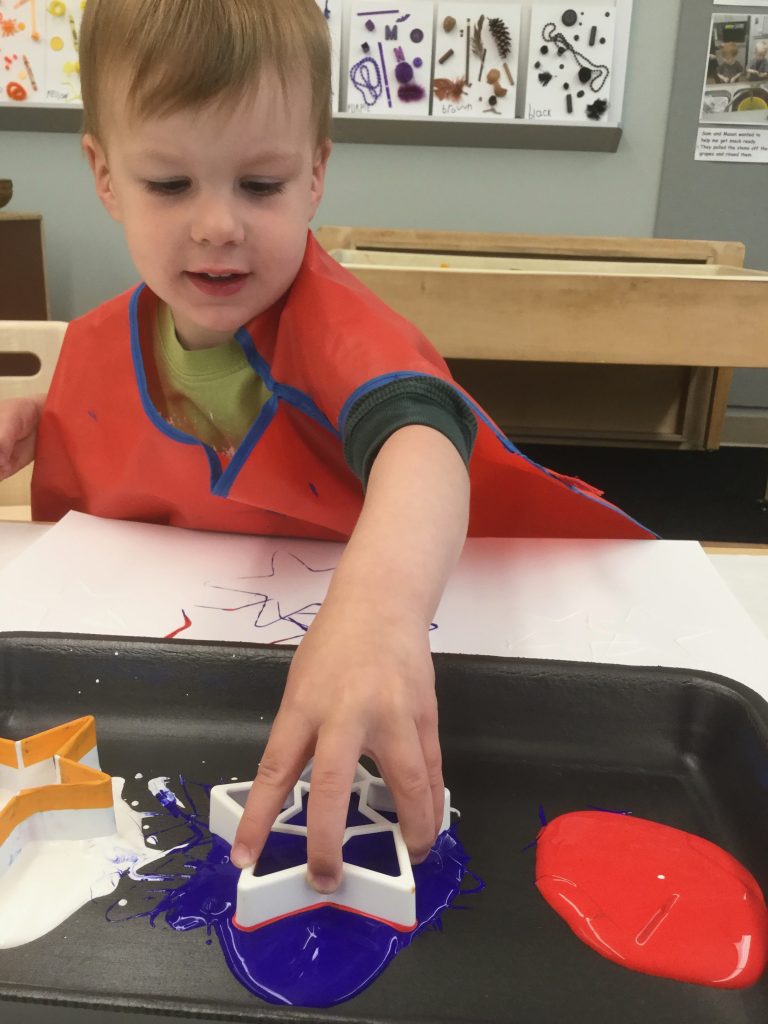
Star-shaped cookie cutters of various sizes
Styrofoam meat tray
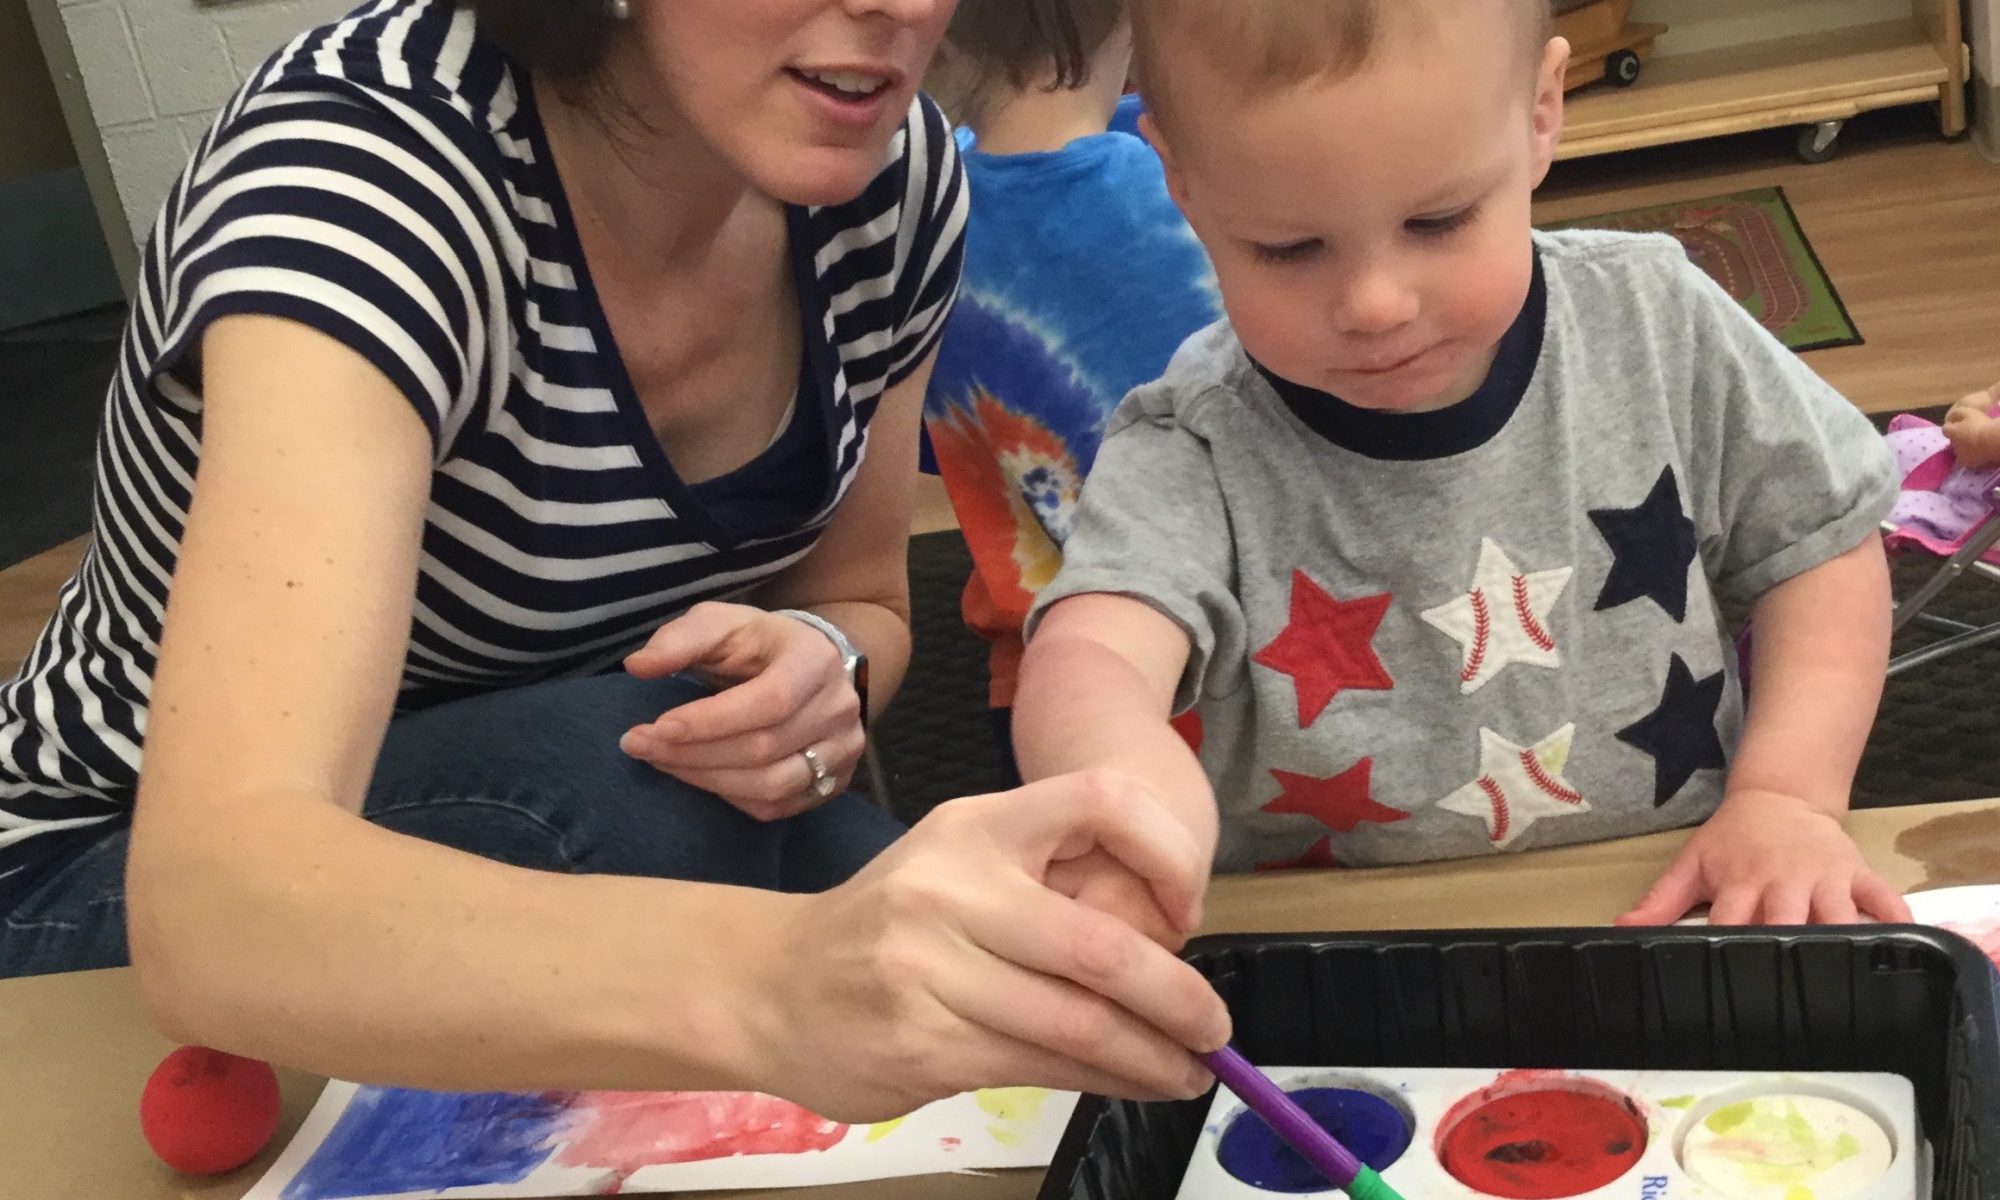
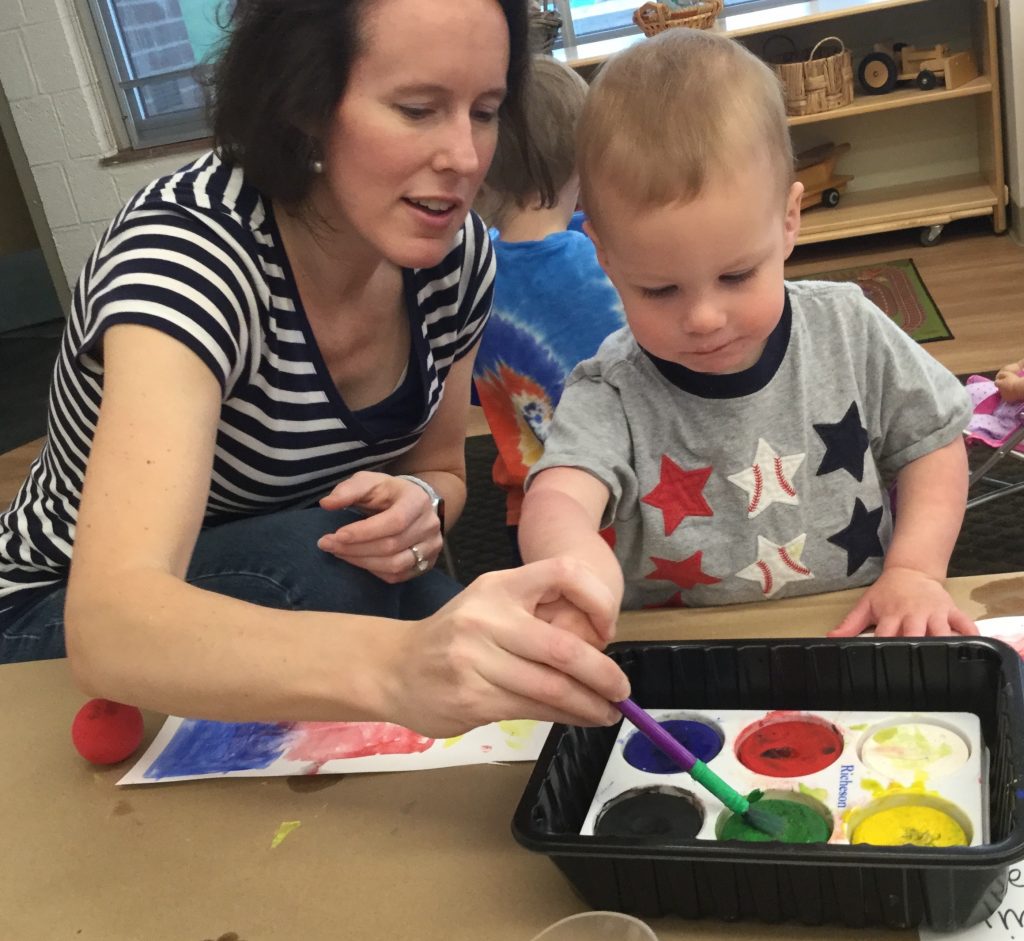
Red, white, and blue tempera paint
White construction paper

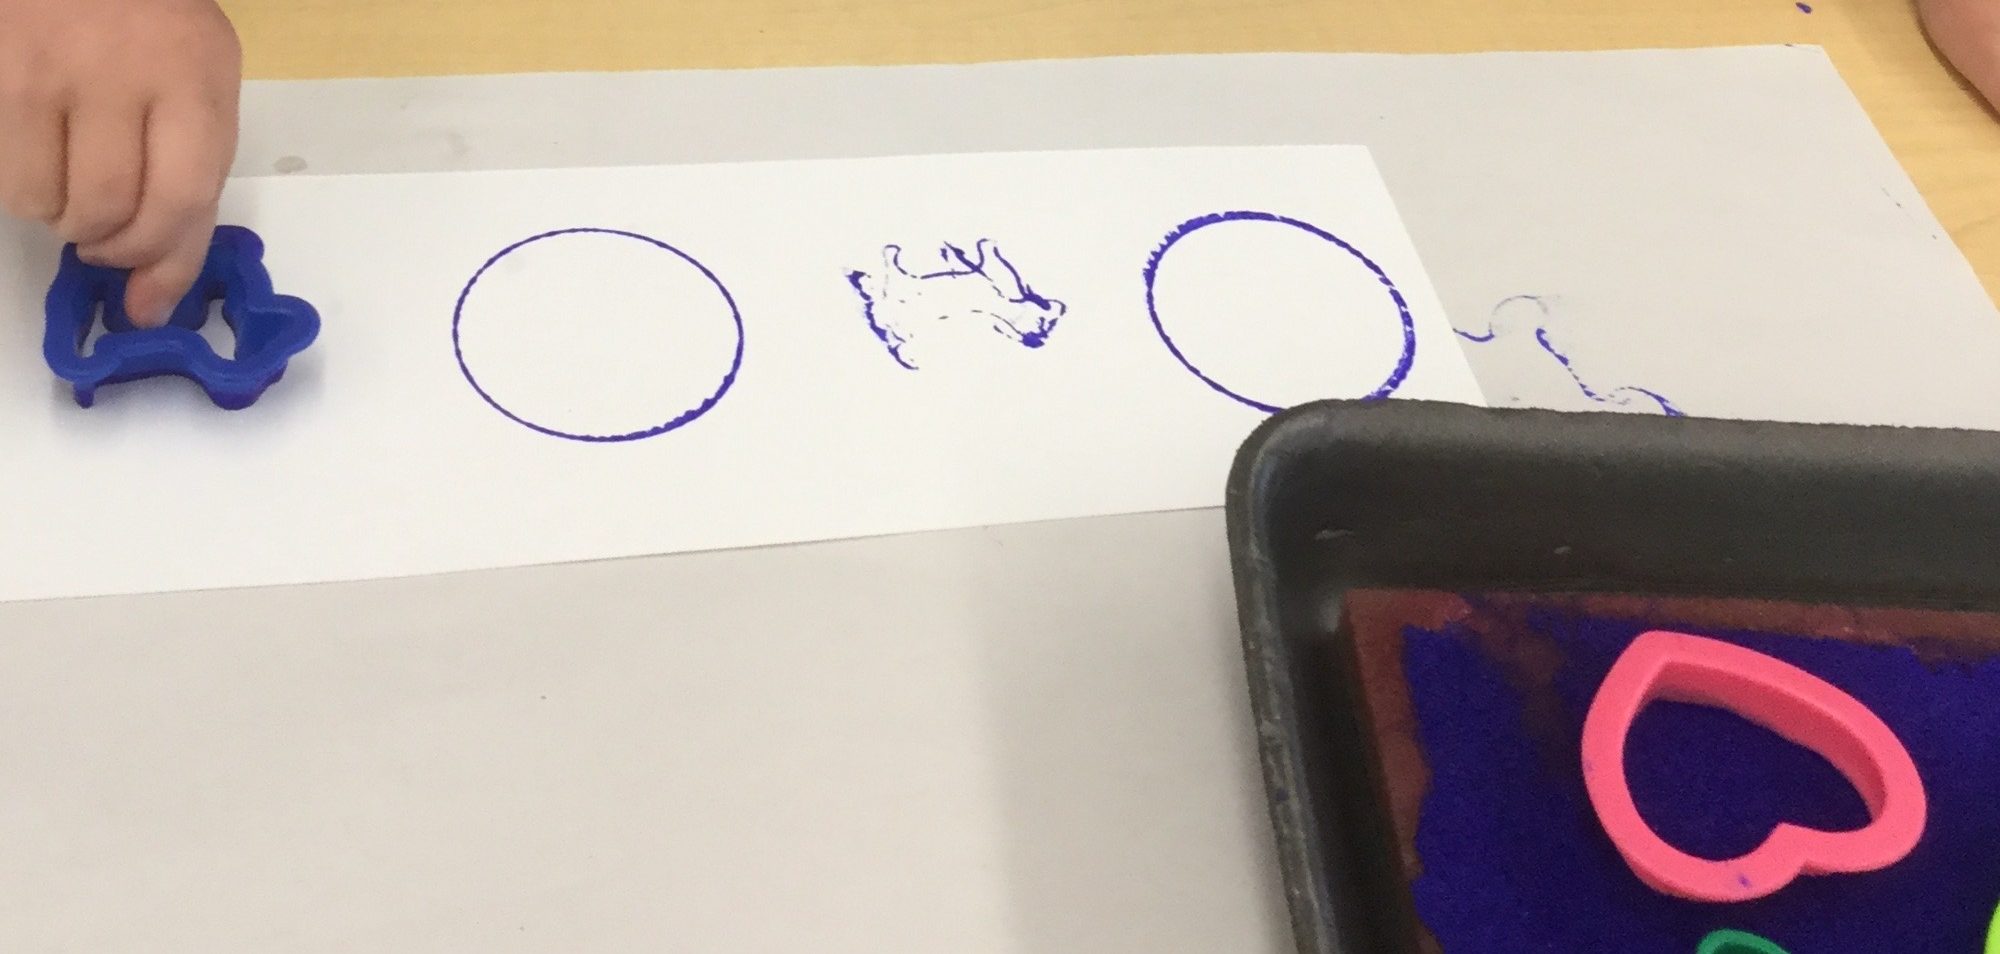
Directions: Pour a small amount of each paint color into the meat tray. Tape the construction paper to the table, and set the cookie cutters out for your child to choose from. Choose a cutter yourself and demonstrate how to dip it into the paint, holding the sides so that fingers don’t touch the paint. Make a print and pick up the cutter. Dip it again and make another print. It’s okay if the paint colors start to blend—the effect of the blended colors is quite pleasing. Let your child try it. Often young children will try to rub the cookie cutter all over the paper, rather than make a print and lift it up to make another print. That’s fine, as children need a chance to explore the process and the materials so they can develop their own creative style. Art is always about the process, not the product!

Stamping a Pattern

Materials:      
Styrofoam meat tray
An old sponge
Blue tempera paint
A few cookie cutters
A narrow strip of construction paper

Directions:  Dampen the sponge, and place it on the Styrofoam tray. Pour some paint on the sponge and spread it all over the sponge. (We used an expired gift card to spread the paint around—works great!) Ask your child to choose two of the cookie cutters.  Dip the first one into the paint-saturated sponge. Let your child know that he’s going to make the first print on the left side of the paper strip. After he makes a print, invite him to dip the second cookie cutter in the paint and make a print next to the first shape. You can tell him he’s created a sequence of two shapes. Repeat the process, stamping with one shape and then the other all the way to the end of the strip of paper.

I limit the pattern to just one color, as we’re focusing on making a pattern, not on color. When he’s a confident pattern-maker, you can certainly introduce a two-color pattern!

Revealing the Secret Pattern

Materials:      
Strip of white paper, approx. 6” x 18”
White crayon
Water color paint set with a paintbrush
Water in a cup
Tape

Directions:  This is an activity that will require mom or dad to do part and your little one to do part. First, tape the paper to your work surface. Next, mom or dad  should draw a simple pattern on the paper with the white crayon. For example, a circle, a triangle, a circle, a triangle, etc. Press firmly with the crayon when you’re making the pattern. (If you don’t have a white crayon, you can use the end of a small candle, e.g., a birthday candle).

Put a little water in the cup and demonstrate to your child how to dip the brush in the cup of water and then in the water color paint cake. Once he’s made a little liquid watercolor, let him paint all over the paper. The color will cover the paper except where the crayon marks were made! (And if you don’t have a paint set handy, just mix a little food coloring into the water.)

Hunting for Worms

Materials:      
Pipe cleaners
Bowl
Lint roller

Directions:  Use scissors to cut the pipe cleaners into three-inch segments. Bend them slightly so they look more like worms. Scatter the worms on the carpet and show your child how to pick one up with the lint roller. Using your fingers, peel it off the roller and put it in the bowl. Invite your child to hunt for a worm, picking it up with the lint roller and placing it in the bowl with her fingers. The Acorn kids had a great time hunting for worms, dumping the bowl, and hunting for more!

(We used pipe cleaners, but you could also use pieces of yarn for the worms.  And if you don’t have a lint roller, you can use a child-safe magnet to pick up the pipe cleaner worms.)

Construction Site in the Sand Table

Materials:      
Large, shallow tub
Sand
Fist-sized rocks
Mini trucks
Blocks
A scoop/shovel or two

Directions:  Opportunities for sand play fascinate and engage young children. Sand lends itself to filling, dumping, molding into shapes (with a little water), measuring, and scooping. We’ve had a generous amount of rain in St. Louis lately, so our outside sandbox has been pretty saturated, which inspired us to bring some of our outside sand exploration inside. We downsized our construction vehicles, added a few “boulders,” a couple of small tree cookies, and let the play begin. It didn’t take long for a bridge to be created, as well as a ramp to get to the bridge. Roads were built for the trucks, and some of the trucks even traversed over a pile of boulders! The dump trucks were filled with sand, which was then transported across the sand table. BIG truck sounds were heard! And this activity was as popular with the girls as it was with the boys.

We keep a child-size dustpan and brush nearby for easy cleanup

Building Pattern Sequences

Materials:      
Unifix cubes in two colors (any connectible blocks will do)

Directions:  A pattern repeats itself over and over again. In order to demonstrate this, I gave the children two different colored cubes and asked them to stick them together. I told them they’d just created something called a sequence. When they’d finished, we laid each sequence side by side in an upright position. We checked them to see if they were all the same. We had to change two of the sequences because we wanted each sequence to have a blue cube on top and a yellow one on the bottom. When the children agreed that all the sequences were the same, we connected them together in a long “train.” We had just created a pattern, which is a sequence that repeats itself!

There are so many fun ways to explore the concept of patterns. Cutting two straws of different colors into pieces and threading them on a shoelace is one way.  Or using two different colors of inch cubes or blocks and laying them end to end creates a pattern. Keep it simple with young children.  Make sure they are very familiar with AB patterns before you move on to more sophisticated ones.

A-B Pattern Snack

Ingredients:   
A banana
Oreo Minis

Directions:  A simple way to reinforce the concept of patterning is to create a pattern you can eat! This easy snack does just that.

Cut the banana into slices. Put a banana slice on the plate. Next to it, place an Oreo Mini cookie. Then put down another banana slice followed by another Oreo Mini.  Repeat the pattern a few more times. We served this snack on a long, narrow strip of construction paper so we could repeat the sequence multiple times! Ask your child what comes next in the pattern. Can he extend the pattern on his own?

Teddy Bear Count and Graph

Materials:      
Simple, computer-generated bar graph
Colorful teddy bear counters (or an alternative)
Circular, colored labels that match the colors of the teddy bears

Directions: Create a simple bar graph with six squares up and six squares across. Stick five colored labels across the bottom. (The square in the lower left side of your paper stays empty.) Write in the numbers 1–5 up the left side of the graph.

The teddy bears we used came in five colors, but in lieu of teddy bears you could use colored buttons, paper clips, pompoms, etc., as long as the colors match the labels. Set out varying amounts (up to five) of your counters. Pick a teddy bear or button or whatever you’re using, and show your child how to look for the matching label along the bottom. Place the button in the first space above the colored label. Let your child place the other items in the correct squares. Make sure you don’t have more than five of any counters.

When finished, take the time to count the items in each color. Show your child the number  that correlates along the side. Ask your child to show you that many fingers. Young children love lining up all the items and will probably enjoy doing this activity again and again!

Rolling-Pin Rainbows

Materials:      
Rolling pin
Plastic wrap
Long sheet of butcher paper
Tempera paint in the following colors: red, orange, yellow, green, blue, and purple
Tape

Directions: Cut the butcher paper to a length just a bit shorter than your table. Use the tape to secure the paper on both ends. Wrap the roller part of the rolling pin tightly with plastic wrap and tape it in place. This helps with cleanup, and it helps the roller spread the paint more evenly. Keeping the length of your roller in mind, apply a small amount (about the size of a quarter) of red paint and then orange, yellow, green, blue, and purple. It’s fine, even preferable, if the paint colors touch a little bit. Then invite your child to stand on one side of the table holding the handle of the rolling pin. You are on the other side of the table. Together, walk the roller to the end of the paper. This takes teamwork! You can walk and roll the roller back to the beginning and roll it again if you can keep the roller on track. The result is a stunning rainbow. Let it dry, and hang it up in your child’s room. This is the Acorn children’s favorite rainbow art activity!

Rainbow Ice Play

Materials:      
Red, orange, yellow, green, blue, and purple food coloring
Six plastic ice cube trays
Small pitcher
Water
Large, shallow plastic tub

Directions: Fill the pitcher with water, and add a few drops of red food color. Mix well, and pour carefully into the first ice cube tray. Rinse the pitcher, and fill again, adding orange food color. Fill the second tray. Continue in the same manner with the remaining colors. When all trays are full, put them in the freezer for several hours or overnight.

When you’re ready to play, dump the ice into the plastic tub, being careful to  keep each color “pure” until your child starts exploring. We also included large salad tongs and wide-mouth plastic jars. The Acorn children found this exploration quite engaging. They loved filling up the jars and examining all the colors. When interest wanes, you can always put the remaining ice into Ziploc bags and refreeze it for another time. (I would not recommend wearing mittens, as the color will stain.)