Apple Tree Game

This game can be adapted to meet various skill levels.

Materials 

Simple cut out of apple tree glued onto heavy cardstock or cardboard 
Red dot stickers 
Red pompoms 
Homemade spinner or cards with letters, numbers, or sight words 

Directions 

Place red dot stickers on tree to represent apples. Write an uppercase letter on each dot. Make a simple spinner or create flash cards with the same uppercase letters. Invite your child to spin the spinner or turn over a card. He then places a red pompom on the red dot sticker that matches the card or letter on the spinner. Continue playing until all the red dot stickers are covered with pompoms. 

Adaptations

1. Match uppercase letters to lowercase letters.
2. Use a die and match the number of dots on the die to the number symbol on the red sticker dots. 
3. Create a spinner or flashcards with sight words: and, the, is, to, in, etc. Write same sight words on red dot stickers. Child reads the word from the spinner or card and places a red pom .pom on top of the matching sight word on the red dot sticker.

Starry Night Art Resist

Materials
Art paper (affordable art paper )
Liquid watercolor paint  
Paintbrush assortment
Plastic pipettes
Star Stickers (Avery work best)
Salt

Directions 
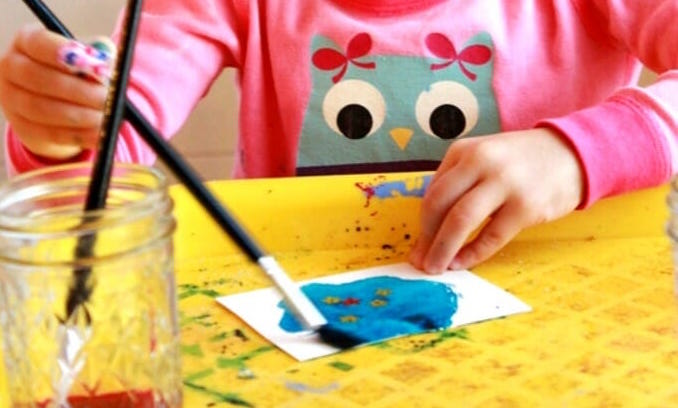
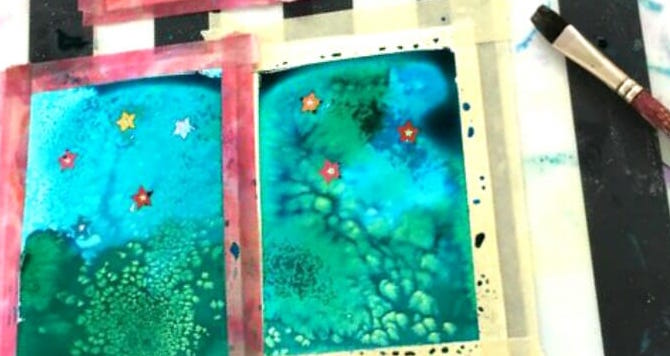
Invite your child to place star stickers all over a piece of art paper. Set up some small containers of watercolor paint in blues and violets. Then invite your child to paint the art paper with just water and a brush until the entire sheet is wet. Add different blue and violet shades of watercolor paint to your paper- brushing it in different directions or swirling it so the colors blend together. (This part is super fun, and the kids LOVE it!) Sprinkle salt on top of the wet paper. Set the paper aside to dry completely.  After the paint has dried completely, carefully remove the star stickers and gently brush the salt off the paper. Display  the beautifully starry night picture.

Enjoy reading Katie and the Starry Night by James Mayhew


Star Cards Resist

MATERIALS
Watercolor paper, cut into smaller squares and rectangles, about 3×4″ each
Small star stickers (Avery star stickers work well)
Liquid watercolor paint (we used blue and turquoise)
Small paint brush
Container for watercolor paint
Salt
Blank cards (card stock folded into cards)
Glue stick
Black Sharpie

Directions
Cut the 9×12″ watercolor paper sheets into smaller squares and rectangles, about 3×4″ each. Press star stickers onto the watercolor paper.  Paint over the watercolor paper and stickers with liquid watercolors.  Sprinkle salt onto the paper.  Observe what happens. Once paint is dry, gently remove the stickers and brush away the salt with fingers or a dry, clean brush. Glue the starry night art to the front of blank cards, which were made from 8×10 paper folded in half. Press the cards by placing them under a heavy book until the glue is dry.  Use a black Sharpie to make a border around the artwork.


Can You Catch A Star?

Materials
Bag of black beans
Container or baking pan
Small baby food jar or container
Colorful plastic star buttons
Tongs
Book:  Twinkle by Nick Bland (optional)

Directions
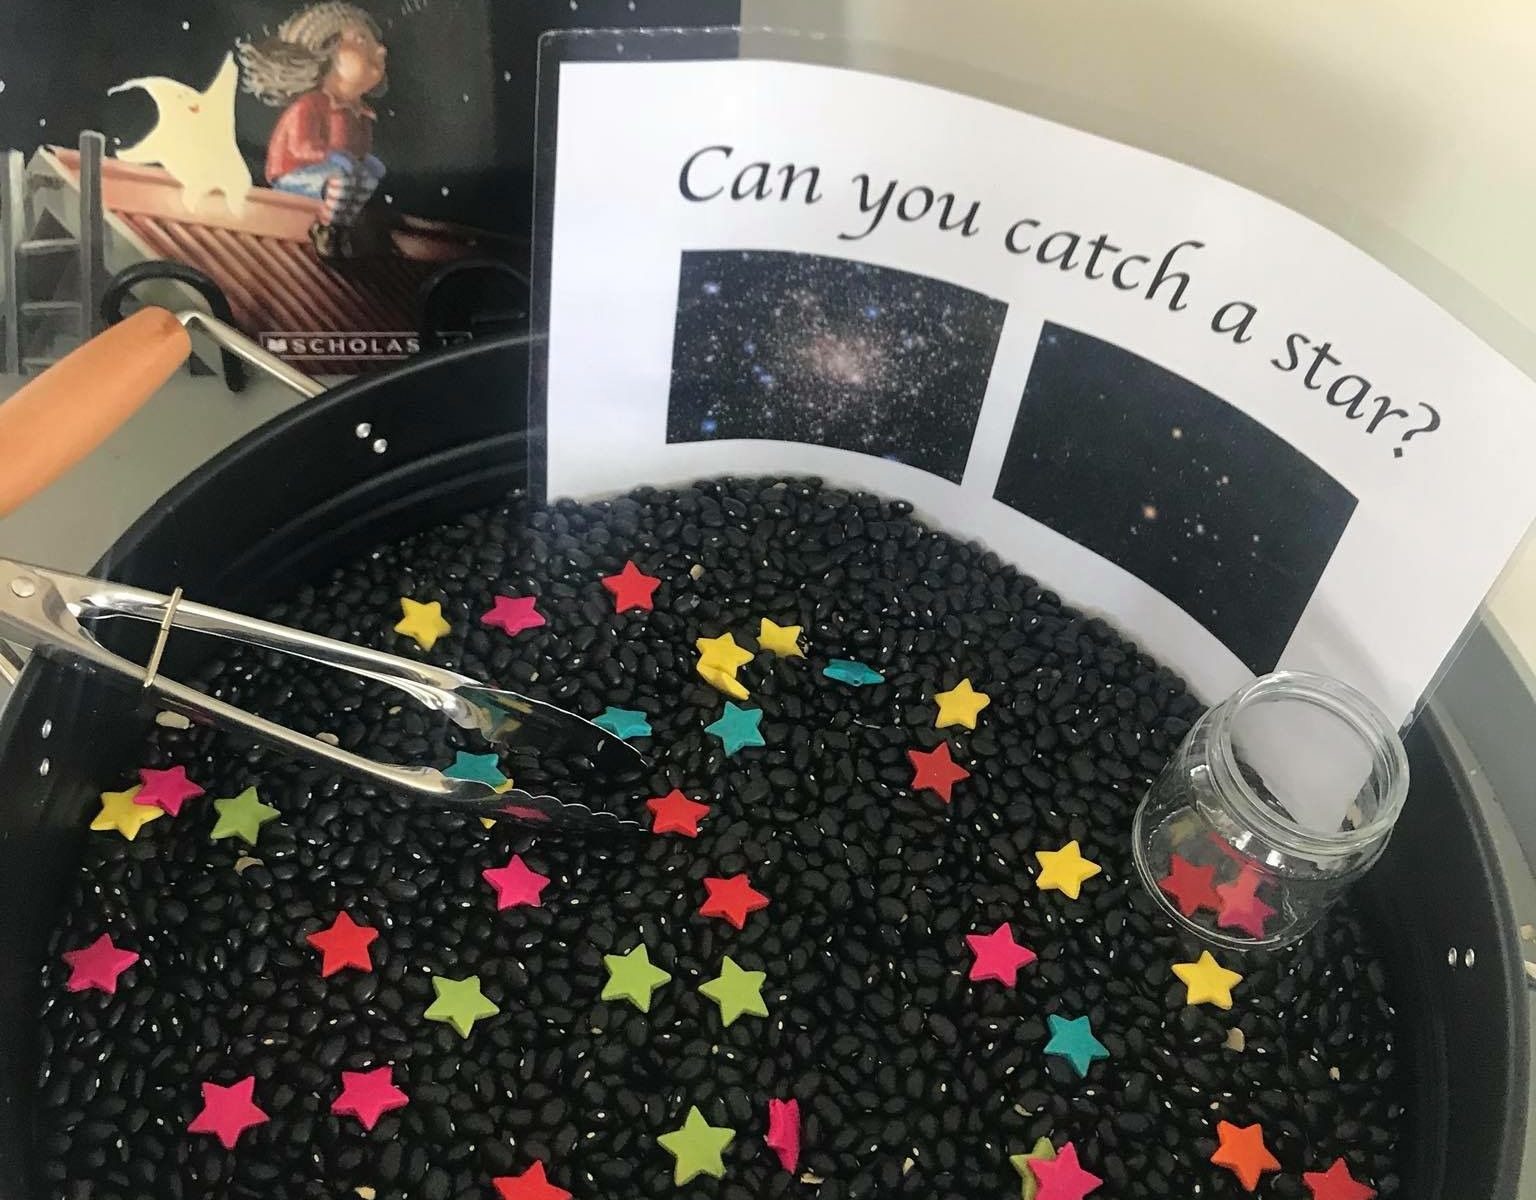
Pour black beans into the container or baking pan.  Add colorful plastic stars or star buttons.  Invite your child to use a pair of small tongs to catch a stars. Drop the stars into a small container like a small bowl or baby food jar. How many stars can your child catch? Can you count the stars? Sort the stars?

This is an excellent fine-motor activity for older toddlers and preschoolers.

Constellation Sensory Bag

Materials
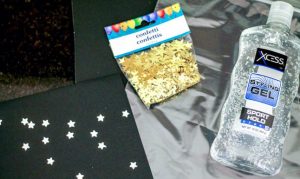
Gallon Ziploc bag
Clear hair gel (16 oz) – from the Dollar Store
Star-shaped confetti
Black poster board

Directions
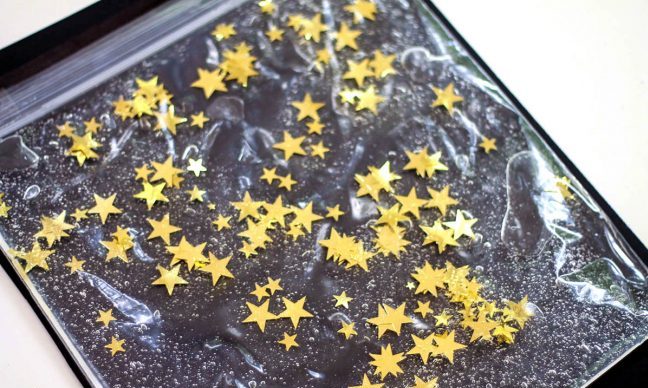
To make your bag, empty the contents of the clear hair gel into the gallon storage bag.  Shake in the star confetti (about 1/3 of the bag). Before sealing your bag, lay it flat and squeeze out as much air as possible. To make the stars really shine, tape the Ziploc bag down to a piece of black poster board.

Invite your child to explore, move the stars around to make their own constellations. For younger children, reinforce the edges of the bag with packing tape or clear duct tape.  Older children may enjoy researching different constellations, drawing constellations on cards, and then trying to make the constellations by placing the cards placed under the bag.


Star Soup

Materials
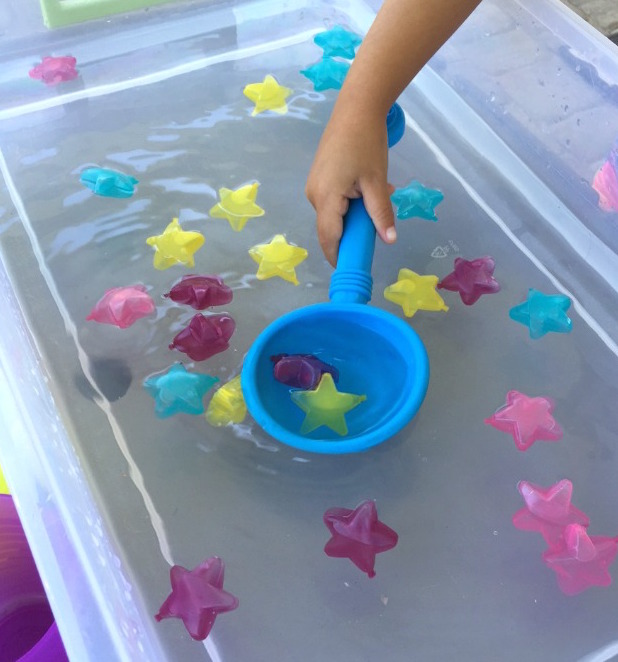
Large tub of water
Scoops
Star-shaped ice cube molds

Directions
Freeze colored water in the star-shaped ice cube molds for several hours.  Place them in a large plastic tub filled with water (or use in the bath tub!).

Provide various scoops and invite your child to scoop up as many stars as they can.  Allow your child to explore the water and stars.  Talk about how they float on top of the water.  Why? 

Older children can count how many they catch in the scoop.  Try again and count.  Did they get more or less the second time?  How many more or how many less?  Catch you catch just the yellow stars?

This is a fun activity to do outside on a warm summer day.


How to Catch a Star

Materials
Star shapes (plastic glow-in-the-dark stars or stars cut from cards stock or paper)
Flashlight (optional)
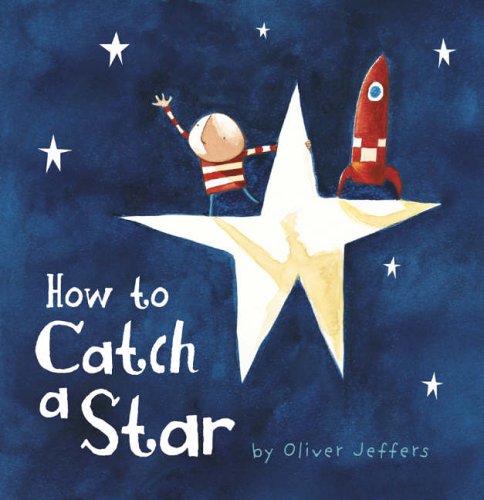
Book:  How to Catch a Star by Oliver Jeffers (optional)

Directions
Hide stars around the house or out in the yard. If you have the book, How to Catch a Star, read it to you child.  After reading the book, tell your child there are stars hidden all over the house or in the yard and she needs to go catch her  own stars. Provide a flashlight for additional fun! Your child will enjoy playing the game over and over and even hiding the stars for you to find.

Lesson Extensions

  • Count the stars
  • Use different colors and sizes of stars. Sort the stars.
  • Write letters on the stars and encourage your child to find and keep only the stars that start her name
  • Write uppercase and lowercase letters on the stars and have your child match the letters

This is a great game that can be played with several children and with a variety of ages.

Twinkling Stars Sensory Box

Materials
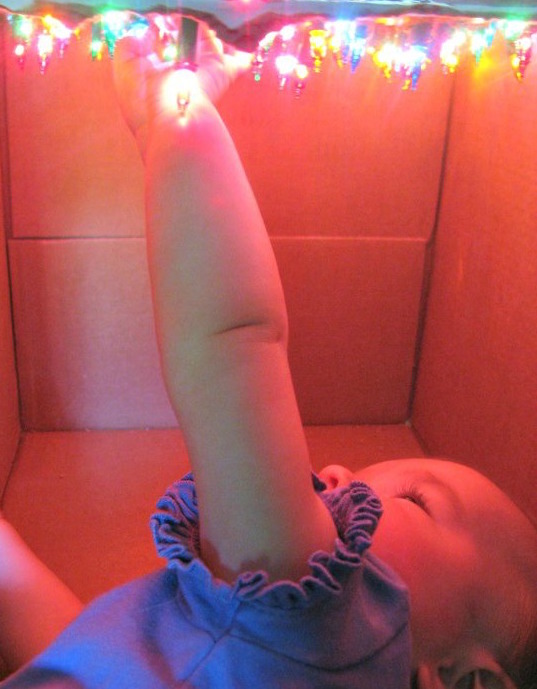
Large cardboard box
String of mini lights (50–00)*
Scissors or sharp knife

Directions
Using scissors or a sharp knife, poke holes in the top of a box large enough for your infant or toddler to lie down in. Scissors tend to make bigger holes that makes it easier to push the lights through.  Push the lights through the holes so that they can be seen when inside the box.  Plug the lights into a nearby outlet and lay your infant or invite your toddler in the box.  Your infant or toddler will love observing the twinkling lights about their head. Close supervision is needed.

*Note: I recommend you not use ultra-bright lights and always test the lights for heat before your child enters the box. Most mini lights do not get warm, but it’s always a good practice to test them.

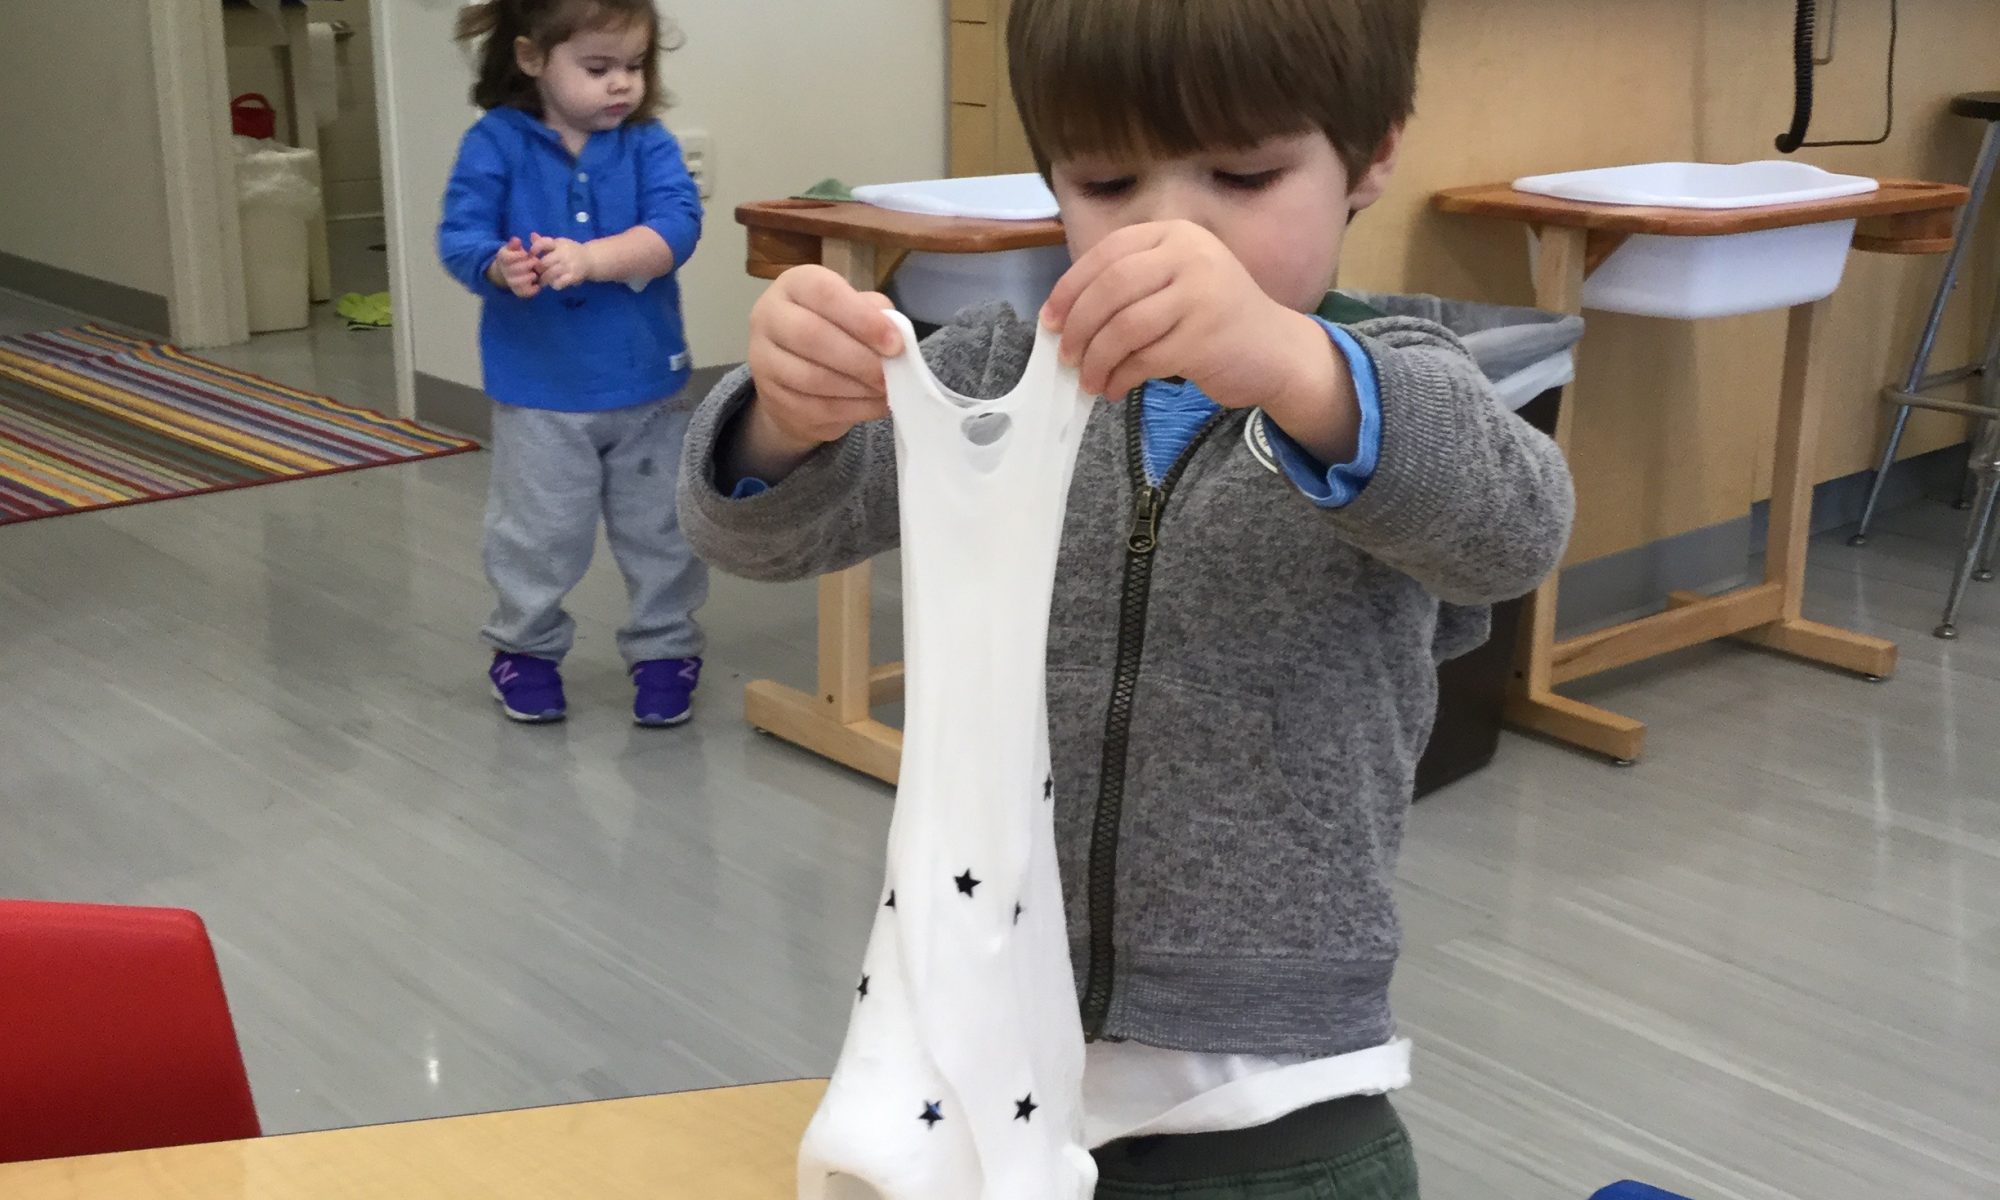
Marshmallow Slime with Black Stars

Ingredients
1 bag mini marshmallows
2 tbsp coconut oil, plus additional for mixing
1/2 cup corn starch, plus additional for mixing
1/2 cup powdered sugar, plus additional for mixing
Food coloring (optional)
Black glitter stars

Directions
Place marshmallows and coconut oil in a large pot and heat over medium heat. Stir continuously until melted. (You can do a microwaved version of this as well.)

Once melted, pour your marshmallow melt into a mixing bowl and add in corn starch and powdered sugar. Mix with your hands. Note: this will get STICKY! To help with this, coat them in coconut oil. (As the slime cools, invite your child to help with the mixing.)

Transfer the mixture onto a cornstarch coated surface, and continue to knead and mix until the “right” slime consistency is reached. It should be stretchable and not sticky. Keep adding corn starch, powdered sugar, and coconut oil until you feel happy with your texture.

Add stars and knead. Have fun rolling, stretching and playing with your slime!

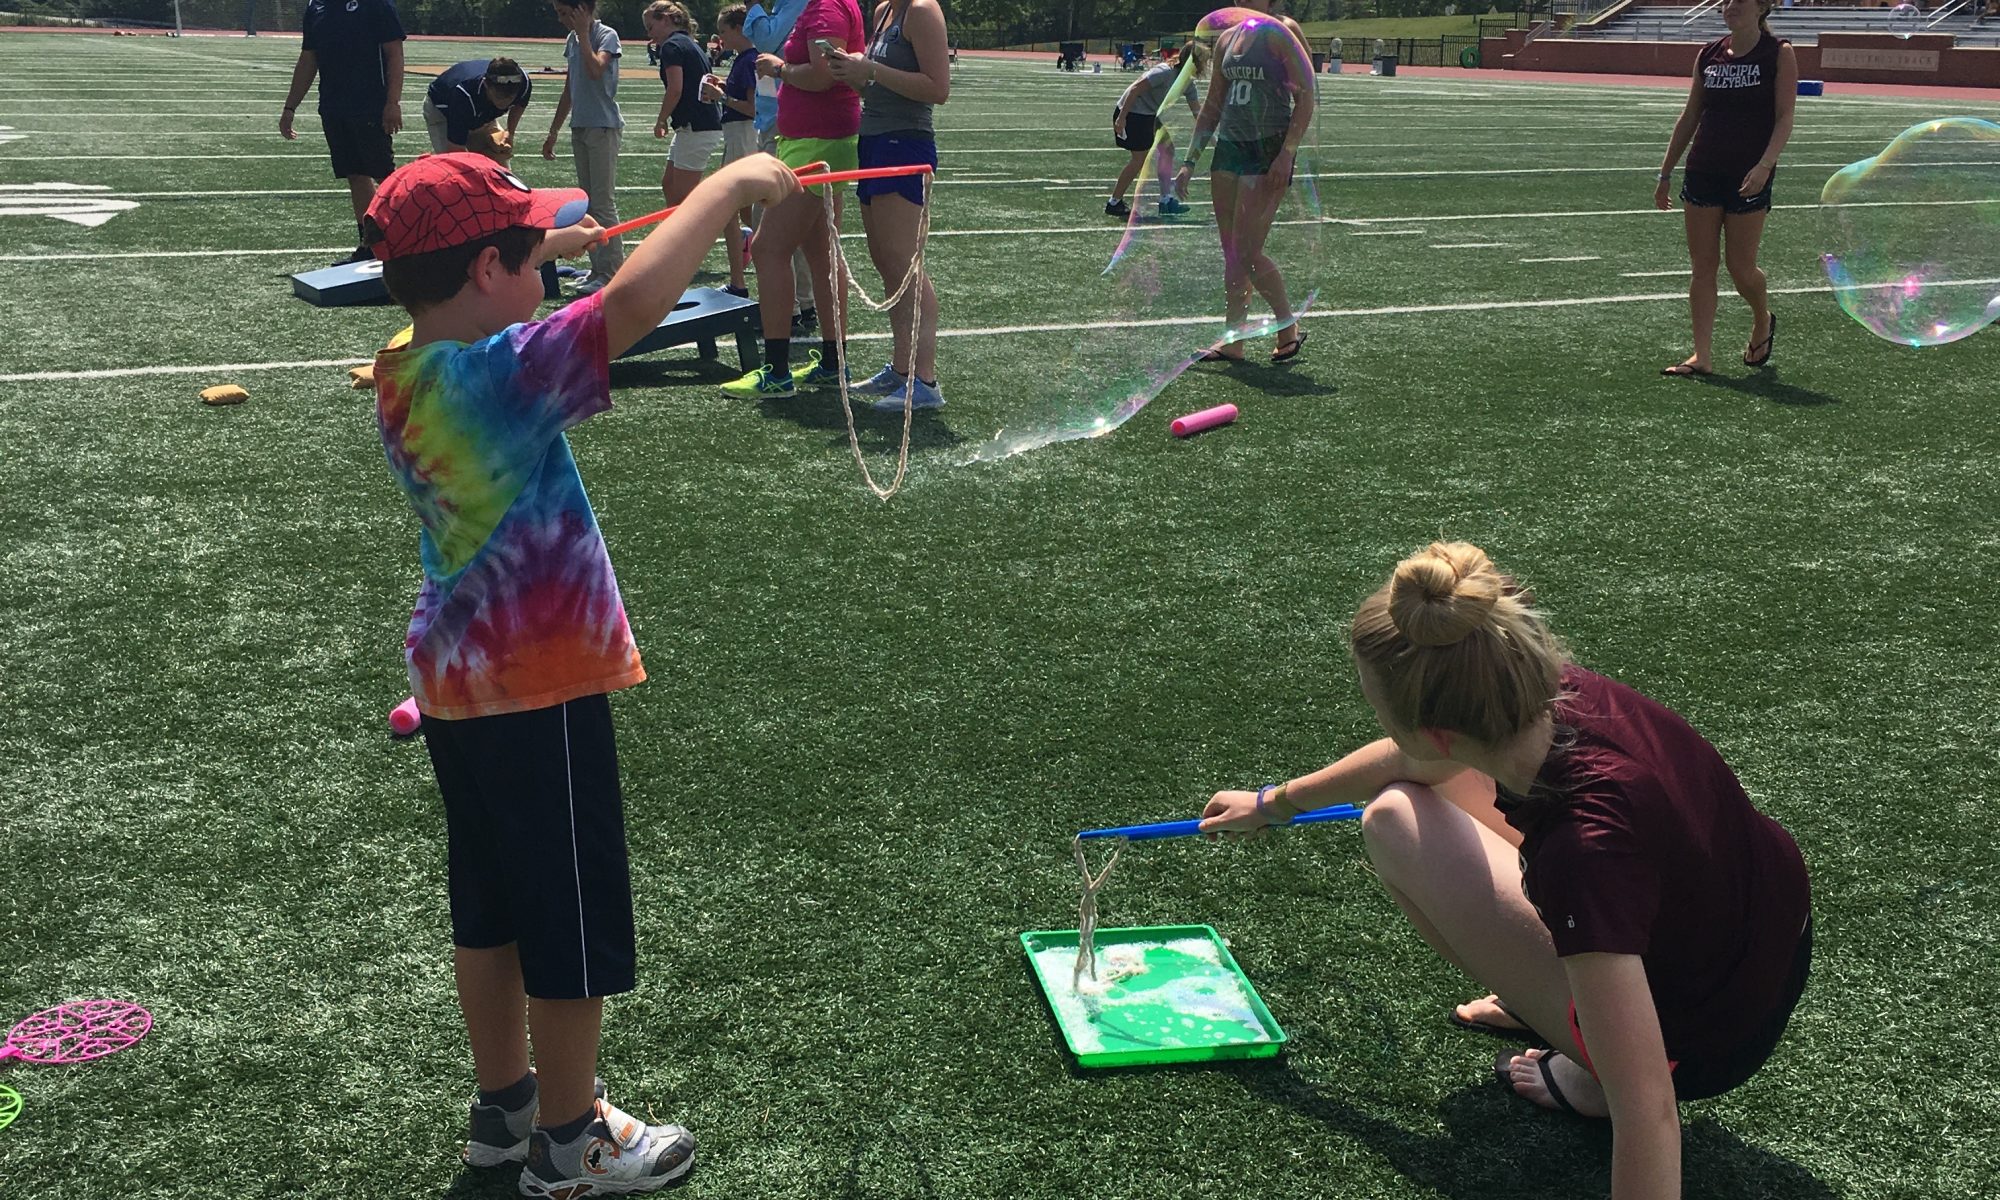
Giant Bubble Solution

Ingredients
12 cups warm water
1 cup cornstarch
2 tablespoons baking powder
1 cup Dawn dish detergent
1 tablespoon glycerin (can be purchased at Michael’s in the cake decorating aisle)

Directions
Put half the water in a bucket and vigorously stir in the cornstarch until it’s dissolved. Mix in the rest of the water and baking powder until it’s all combined.  Add the soap and glycerin to the water mixture. Stir slowly with a big spoon so that you don’t make suds or foam in the bucket.

Let the bubble solution sit for an hour or more before using. Stir it gently for at least two minutes before making bubbles.  Stir the bubble solution every 10 or 15 minutes while you’re using it since the cornstarch and baking powder tend to settle at the bottom.

Use giant bubble wands to make giant bubbles.