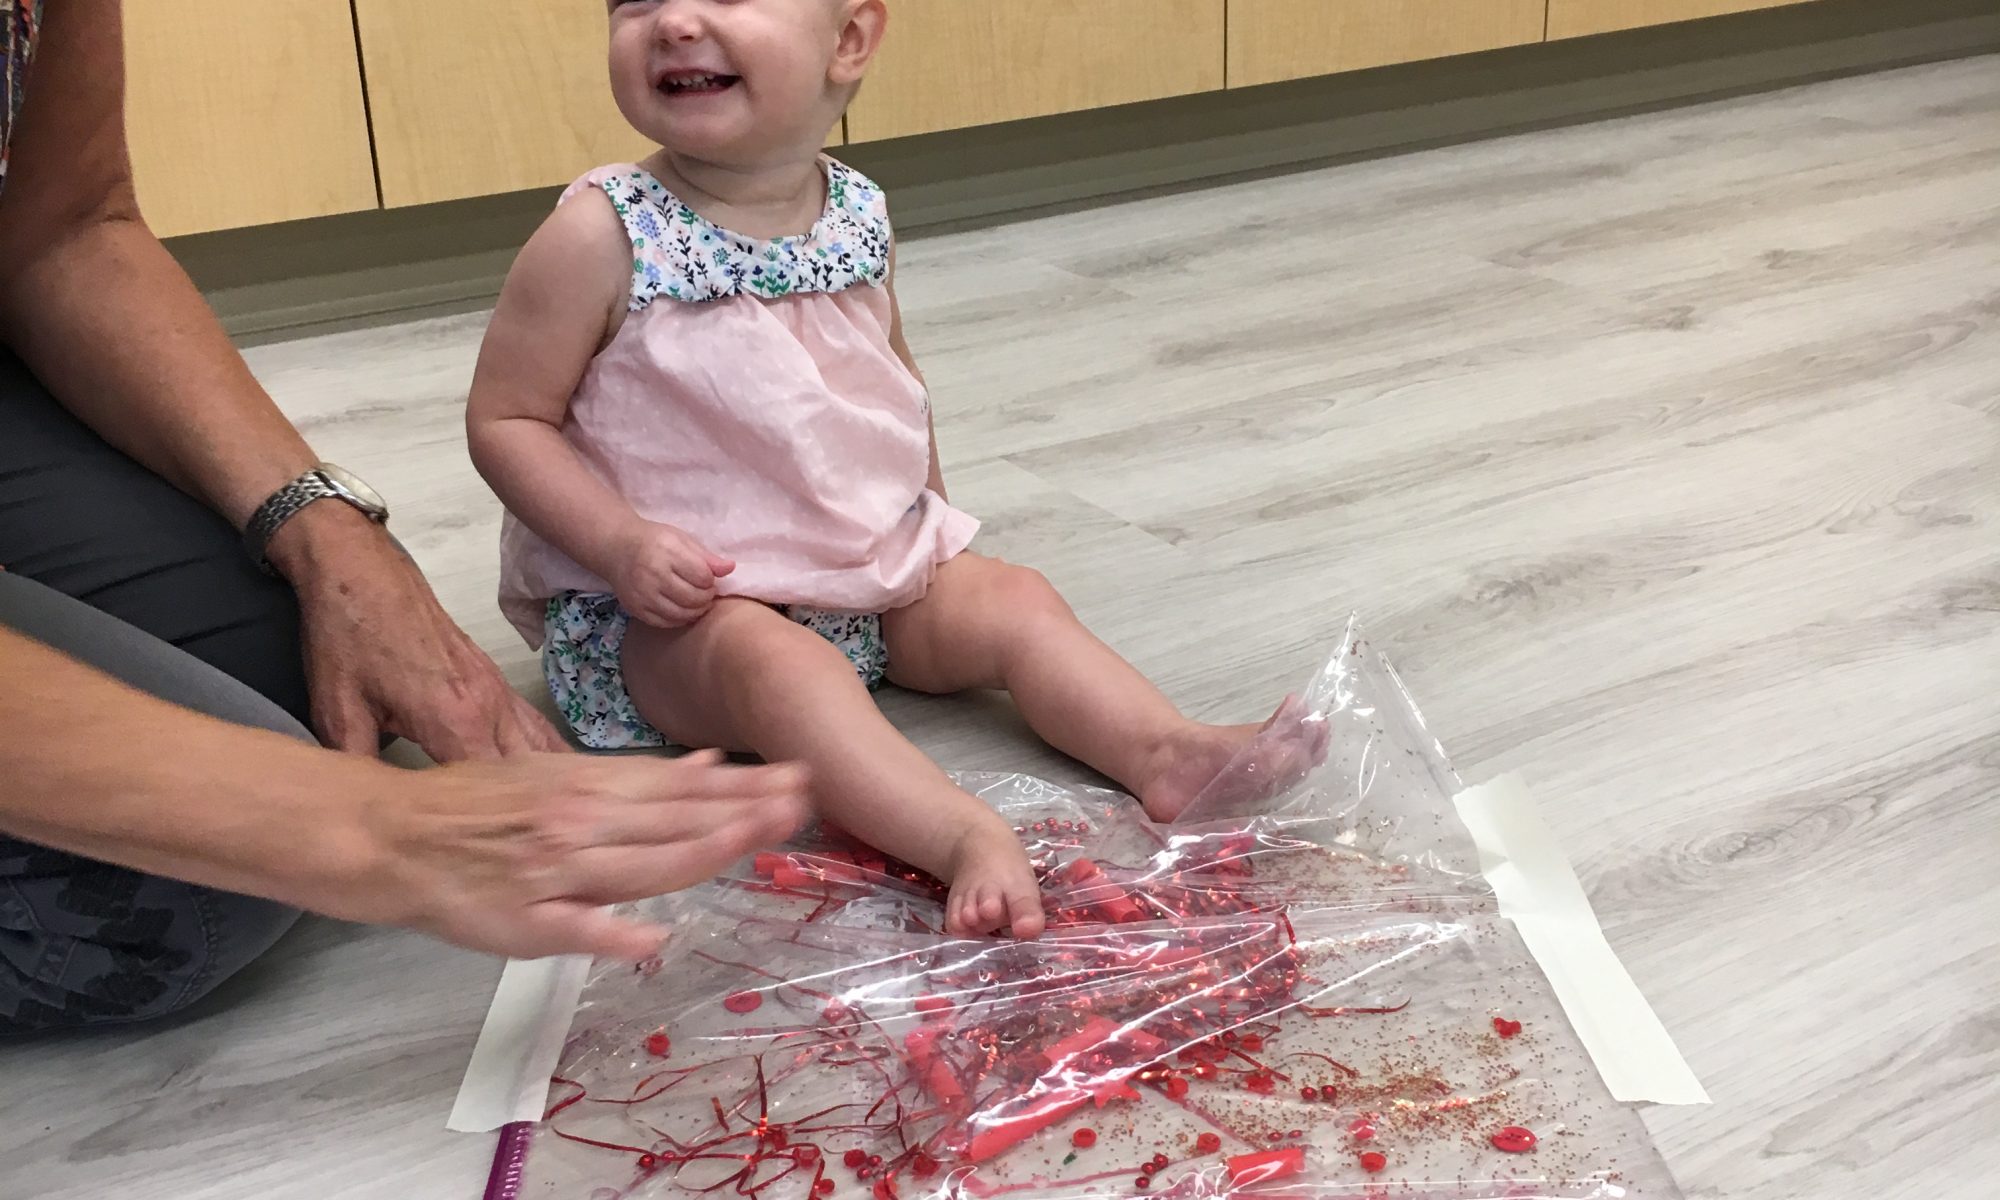
Easy Fruit and Cracker Pizza

Ingredients   
Ritz crackers
Strawberry flavored cream cheese
Cut-up strawberries, blueberries, or other favorite fruit

How to make it
Wash, dry and cut up fruit. Spread cream cheese on cracker. Press a few pieces of fruit into the cream cheese. Eat and enjoy!

Tower Building

Materials       
Wooden inch cubes
A tray to catch falling towers is helpful but not necessary

Directions 
If you’re using this activity to focus on a particular color (we were learning about red), you can start your child  off sorting out the red cubes from the rest.  Once you have a dozen cubes or so, you can encourage your child to stack them, one on top of the other to build a tower. Toddlers have an instinctive need to knock things down, so you can try building your own tower, encouraging him to build his taller than yours!

Marble Painting

Materials       
Shallow 9” X 13”plastic container with lid, or a clean pizza box
Construction paper, cut to the size of your container or box
3 or 4 marbles
Plastic spoon
Red tempera paint

Directions   
Lay the construction paper in your container. Put the marbles in the plastic cup. Pour enough paint into the cup to fully coat the marbles. Use the spoon to transfer the paint-covered marbles onto the construction paper.  Close the container and invite your toddler to shake the container vigorously! If you want, you can have a second cup with a different color paint. When they’re finished, open the container to reveal the unique finished product!           


Hide-and-Seek Treasure Hunt

Materials     
A large plastic tub or box, approximately 8” deep
Packing material — We used gift bag Mylar, which can be found at any dollar-type store.  Packing peanuts or shredded paper work well, too.
Several small items to hide in the packing material
Basket or container to put the “found’”treasure in

Directions
Invite your toddler to look for some items that are related in some way—maybe they’re all the same color, or maybe all vehicles. Older children could look for items that begin with a certain letter sound.

Once you find your items, fill your container with your packing material. Bury the items you’ve collected (the treasure). Let the seeking begin!  As your toddler finds the items, have him tell you what it is before putting it in the basket.

Contact Paper Red Collage

Materials       
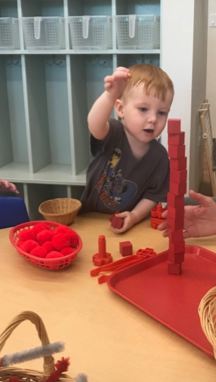
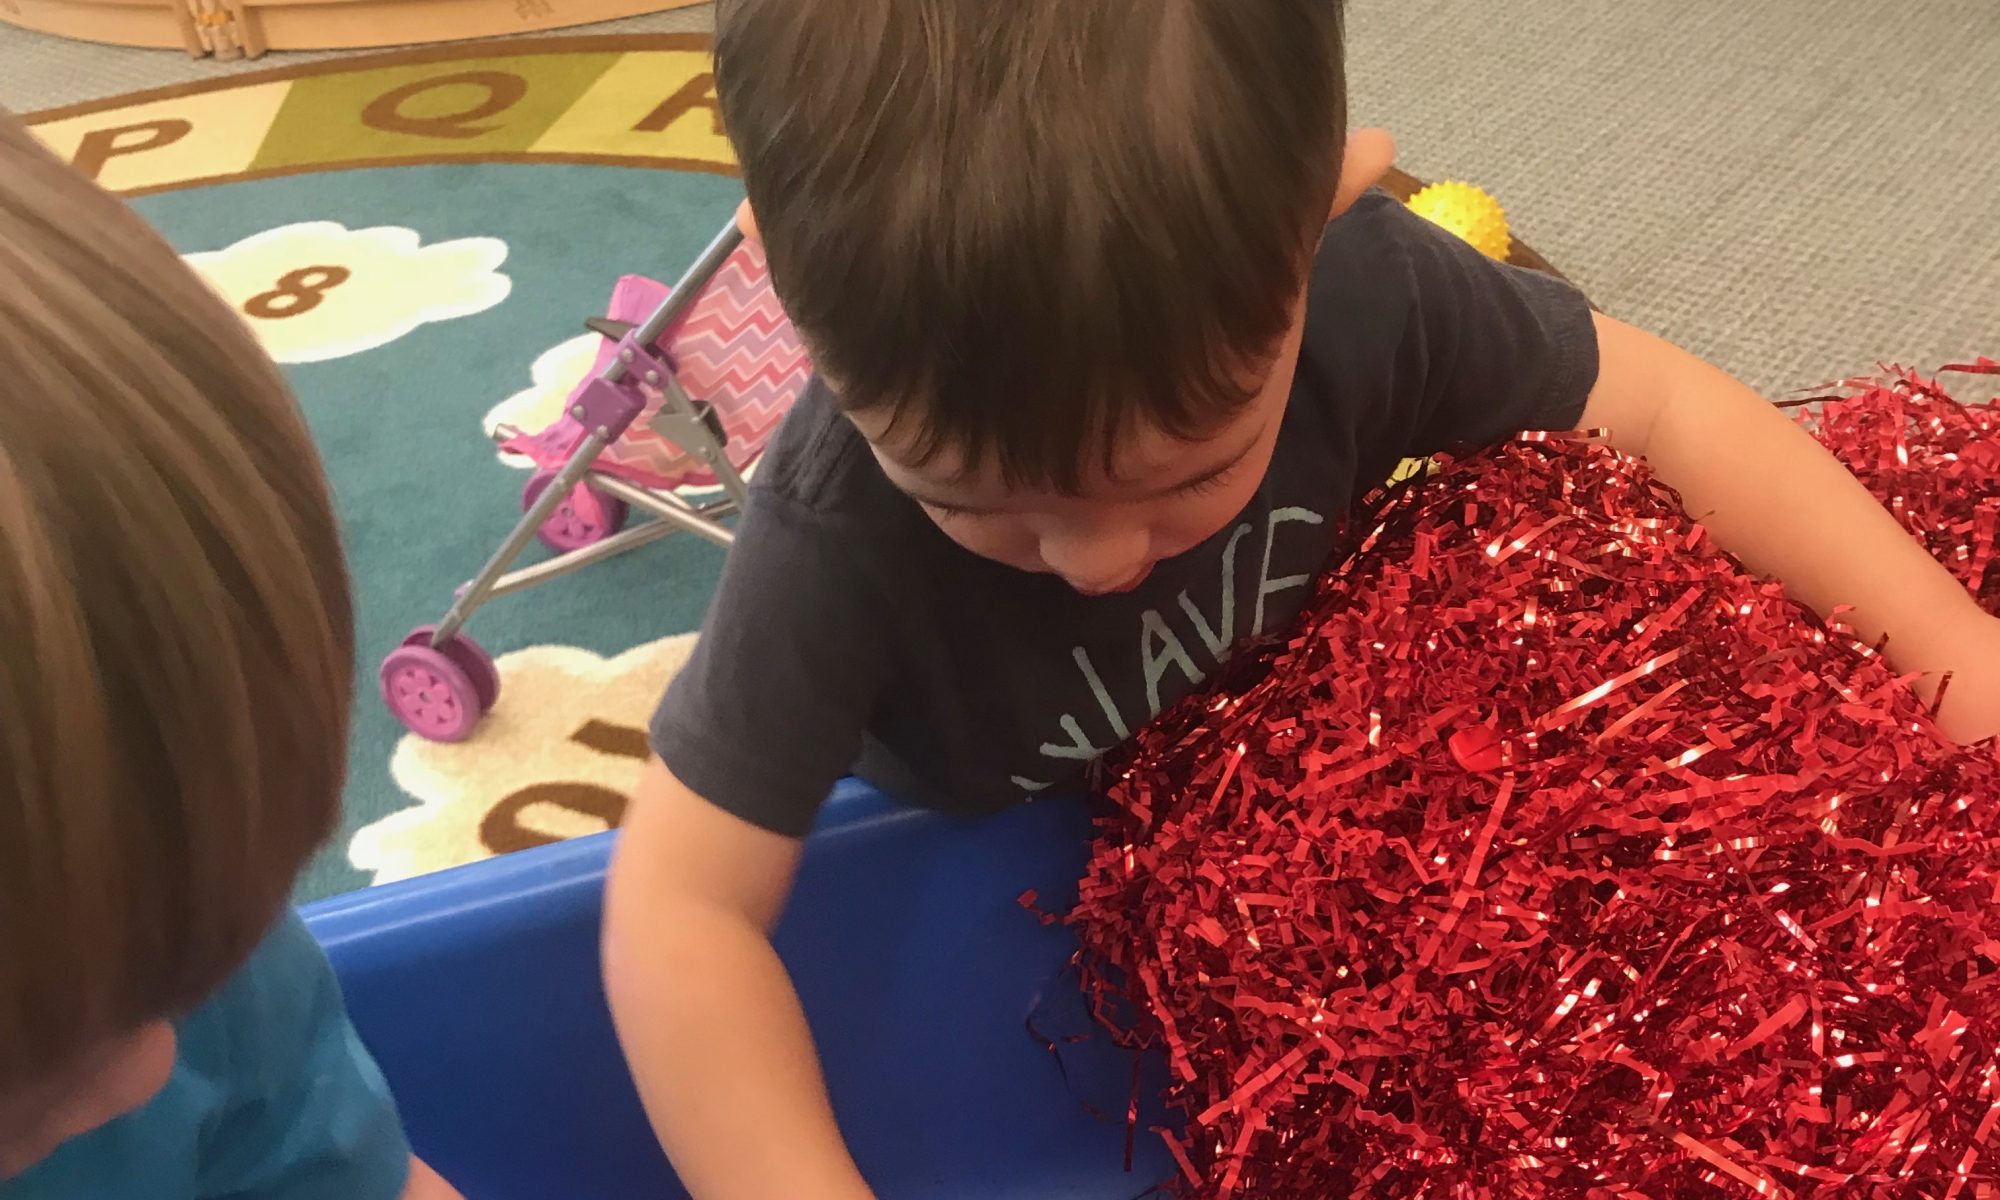
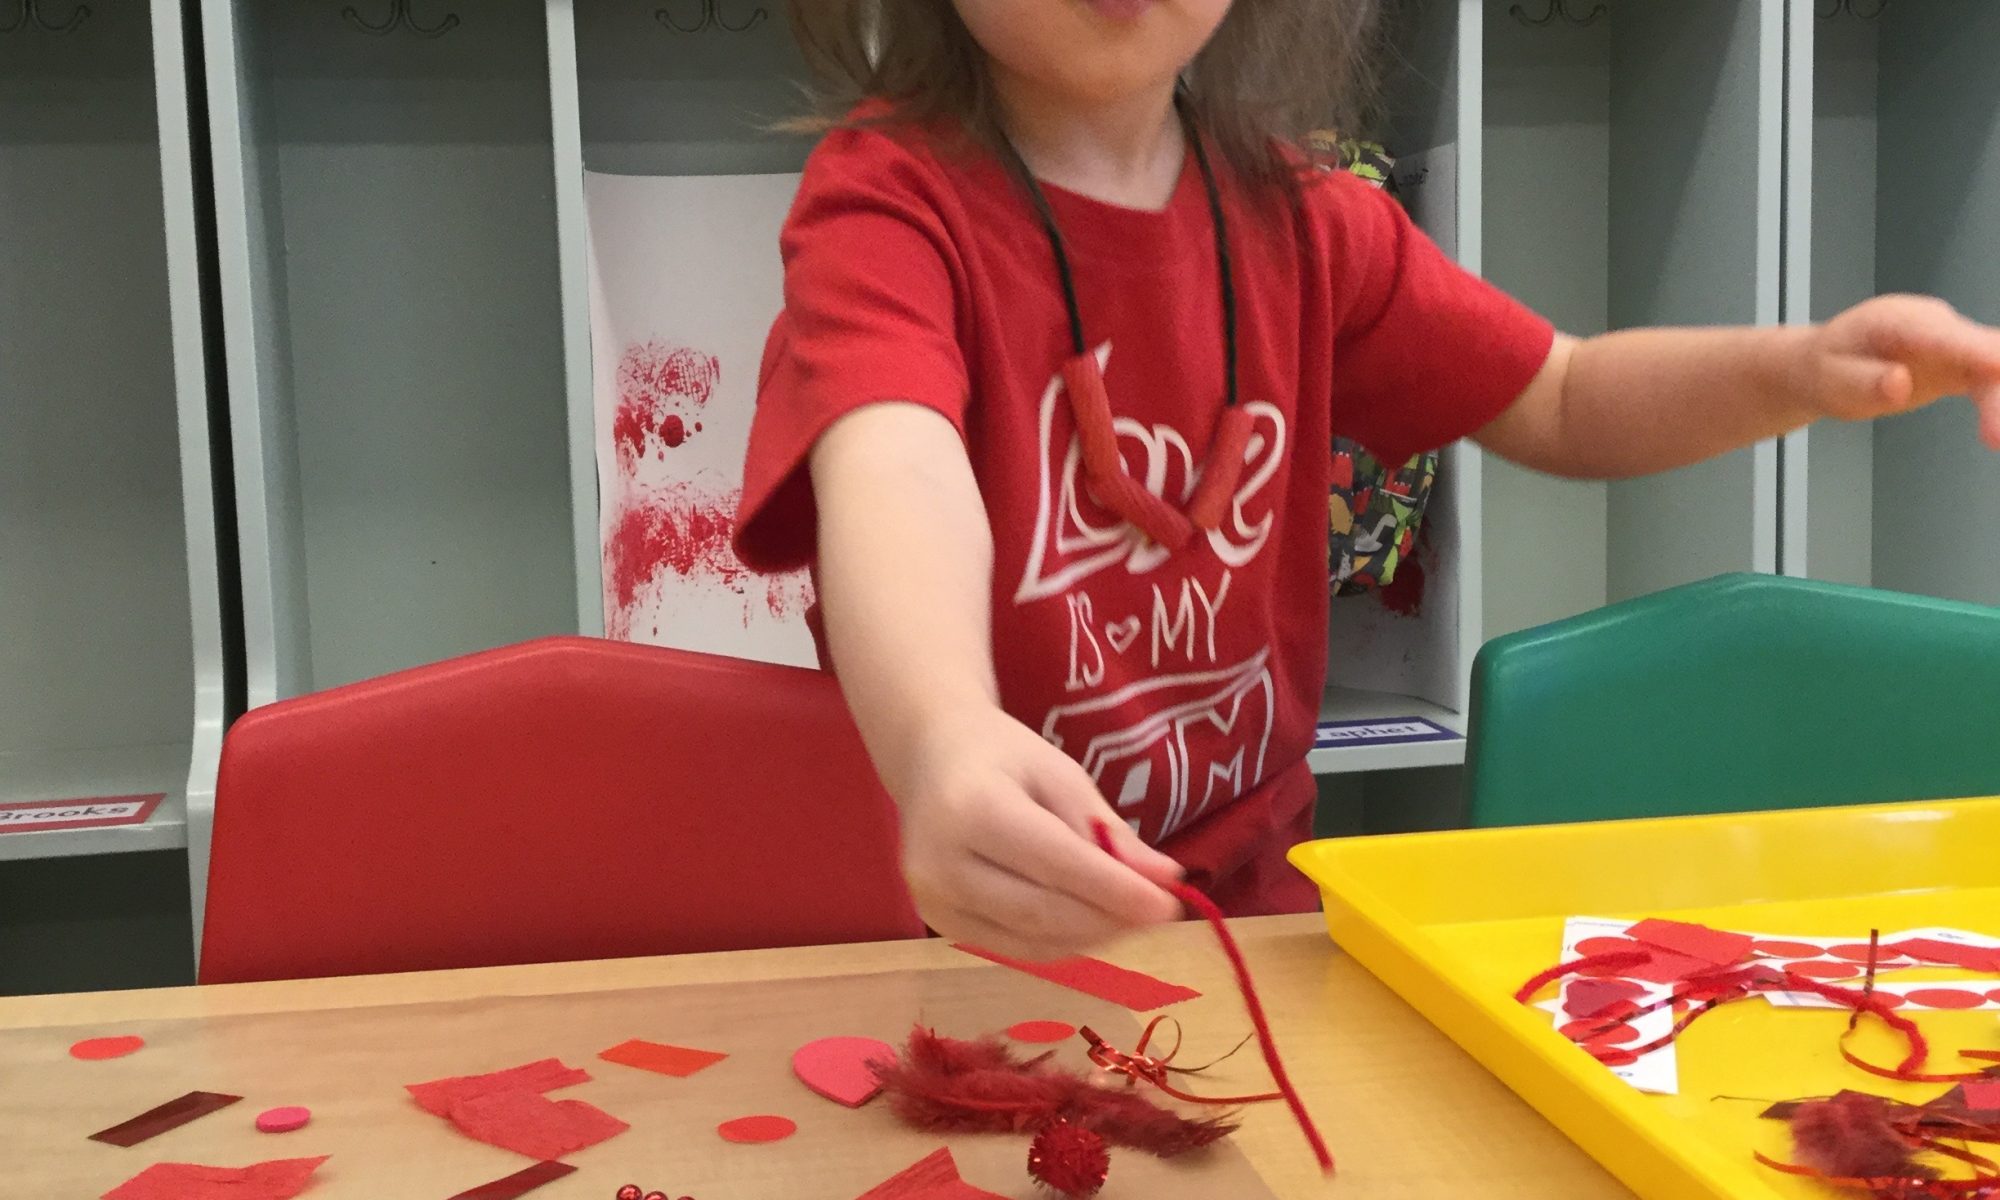
Small red items, such as red buttons, beads, pieces of tissue paper or construction paper, cut-up straws, pipe cleaners, ribbon, yarn, etc.
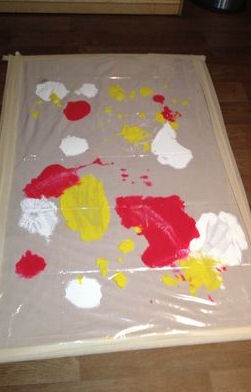
Large sheet of clear contact paper
Masking tape

Directions   
Cut the contact paper to the size you’d like your collage to be.  Peel off the backing and use masking tape to tape the contact paper, sticky side up, to a flat surface.  (A low window works well, as it lets the light shine through!)

Invite your toddler to press the items you’ve gathered onto the sticky surface.  When the interest wanes, you can loosely stick the backing back on to save the project for later. Otherwise, turn your finished collage over and smooth it to the window (you might need some masking tape reinforcement if the collage is heavy) for all to enjoy!

Bubble Wrap Painting

Materials       
A sheet of bubble wrap, long enough for your table
Red tempera paint, mixed with shaving cream
A spoon
Tape
 Paint smock
A washtub or sink nearby for cleanup afterwards

Directions   
Lay the bubble wrap across the table, bubble side up. It doesn’t matter whether 
you use the big bubble kind or the small—both are fun! Tape the ends of the bubble wrap to secure it. Also tape along the top and bottom, about every 12 inches. 

Put smocks on the kids, and spoon globs of the paint mixture on the bubble wrap. Invite them to spread the paint with their fingers, palms, or whole hands. Painting on bubble wrap adds a dimension that you can’t experience on plain paper!

Red-Themed Busy Bag

Materials
2 ½ gallon  Ziploc  storage ag
Clear packing tape
Red waterproof items such as red buttons, cut-up red straws, red pony beads, red yarn, red glitter
Warm water

Directions
Use the packing tape to reinforce the sides and bottom of the Ziploc bag completely.  Add the red items to the bag.  Pour approx. 2 cups of warm water into the bag and zip or press shut; seal last side with packing tape.  Place the bag on the floor and tape in place with clear packing tape.  Invite your child to pat the bag with hands and feet to move the contents around in the water!


No-Mess Tummy-Time Painting

Materials
12×18 piece of white paper
Tempera Paint
Heavy Duty Plastic Wrap
Clear packing tape

Directions
Securely tape all edges of large piece of white paper onto the floor using heavy packing tape. Spoon globs of paint onto the paper, being careful not to get too close to the edge.  Lay heavy plastic wrap on top of the white paper and secure again with tape. Place baby in front of the paper and encourage him to explore the colors with hands and feet. 

Be sure to pick up painting off the floor and allow to dry completely. 

Watermelon on a Stick

Ingredients
Seedless watermelon
Popsicle sticks

Directions
Cut 1 inch thick circular slices of a seedless watermelon. Then cut each slice into quarters and then halves to make eight triangular watermelon shapes. Using the knife, jab it into the rind for easier popsicle stick insertion.  Store in refrigerator until serving. 

Apple-Print Mural

Materials
Butcher paper
Red and green tempera paint
Paper plate
Apple halves
Fork

Directions
Place butcher paper on a long table, on the floor, or hang outside on a wall.  Pour tempera paint onto a paper plate.  Invite your child to help you stab the fork into the apple half and then dip apple into the paint. Allow your child to explore painting and printing with the apple halves.