Exploring Blue Floral Stones in Sand

Materials       
A large, shallow plastic tub or sand table
Play sand—the finer, the better
Floral stones or beach glass (available at Hobby Lobby)
Craft sticks

Directions     
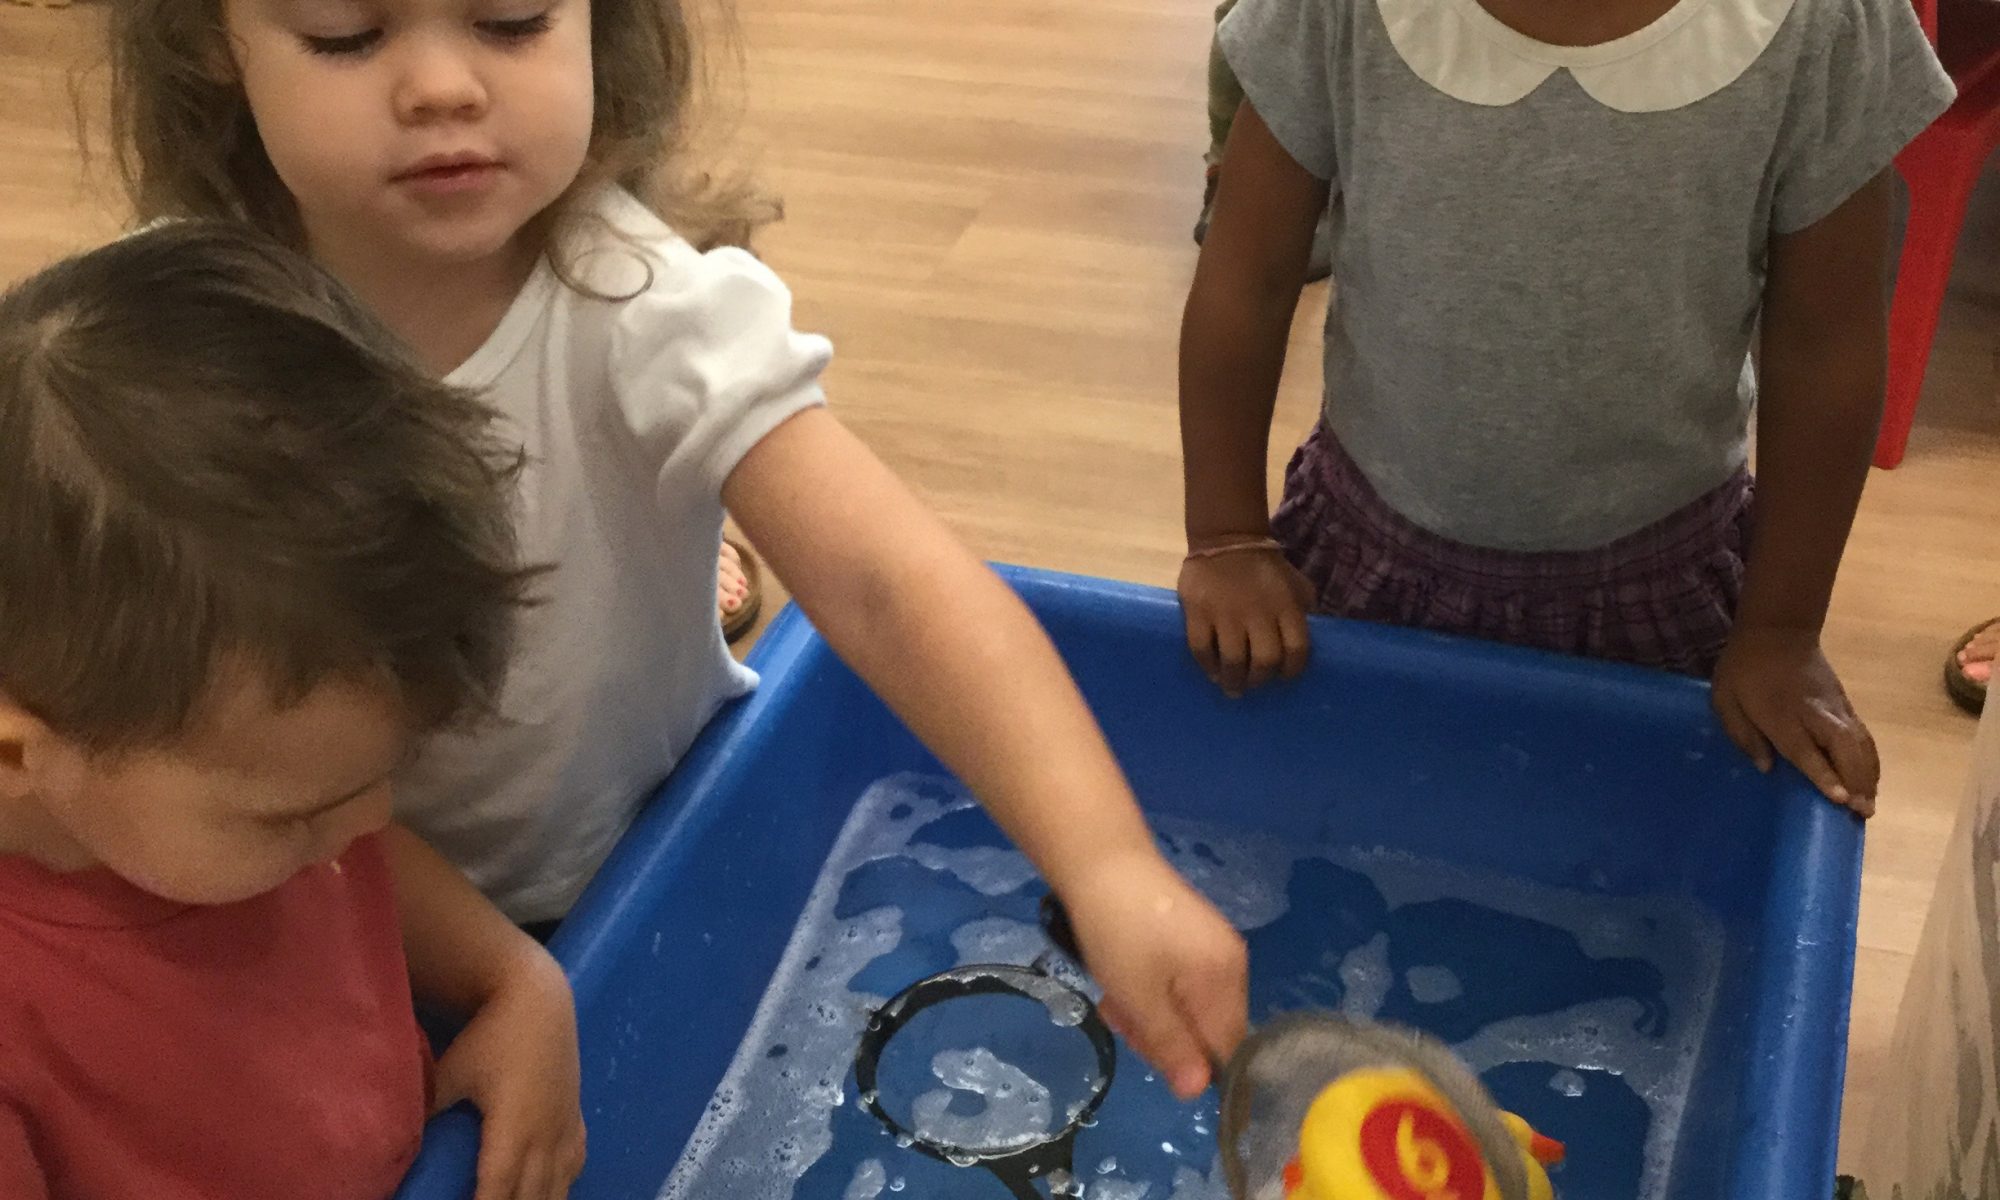
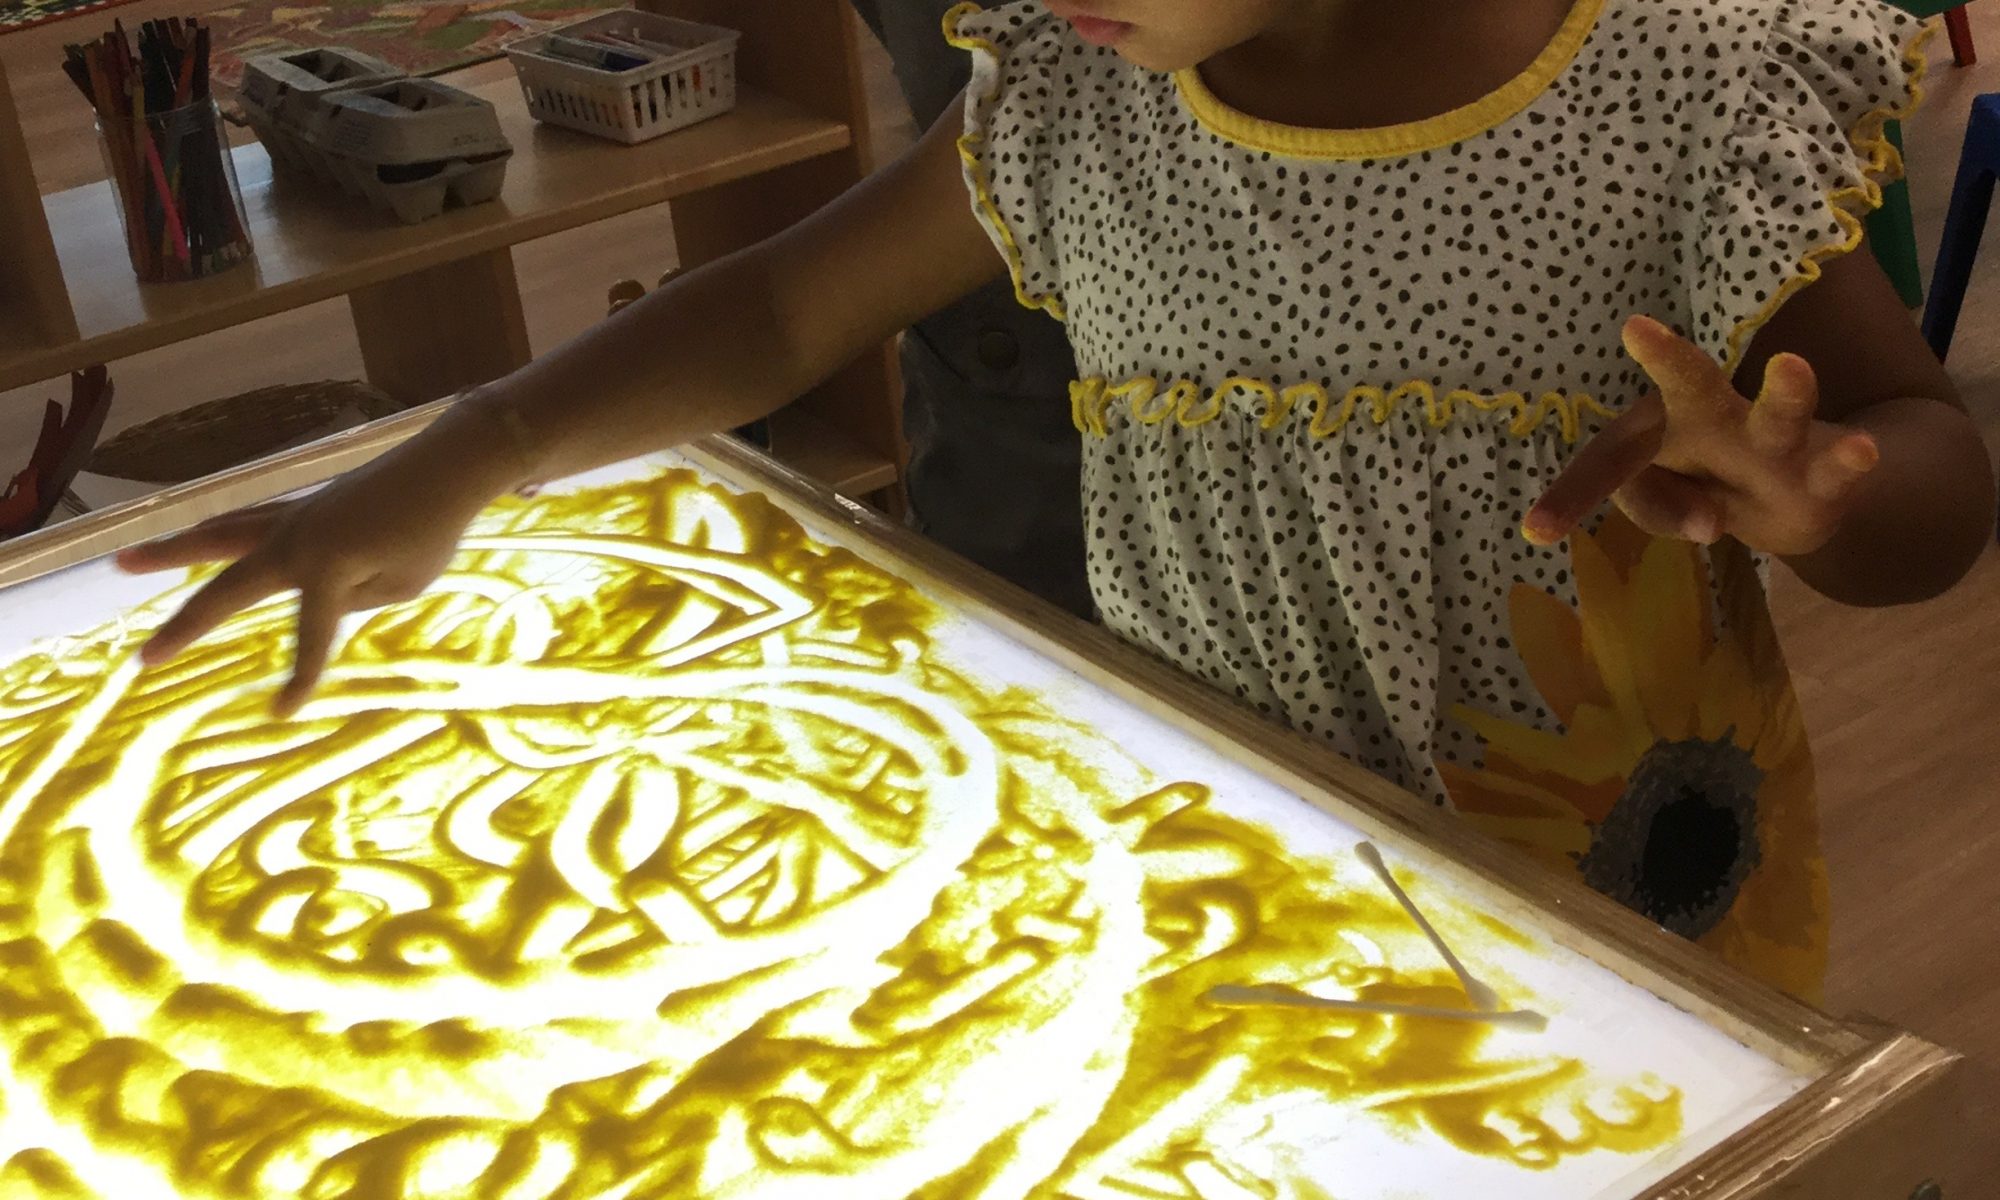
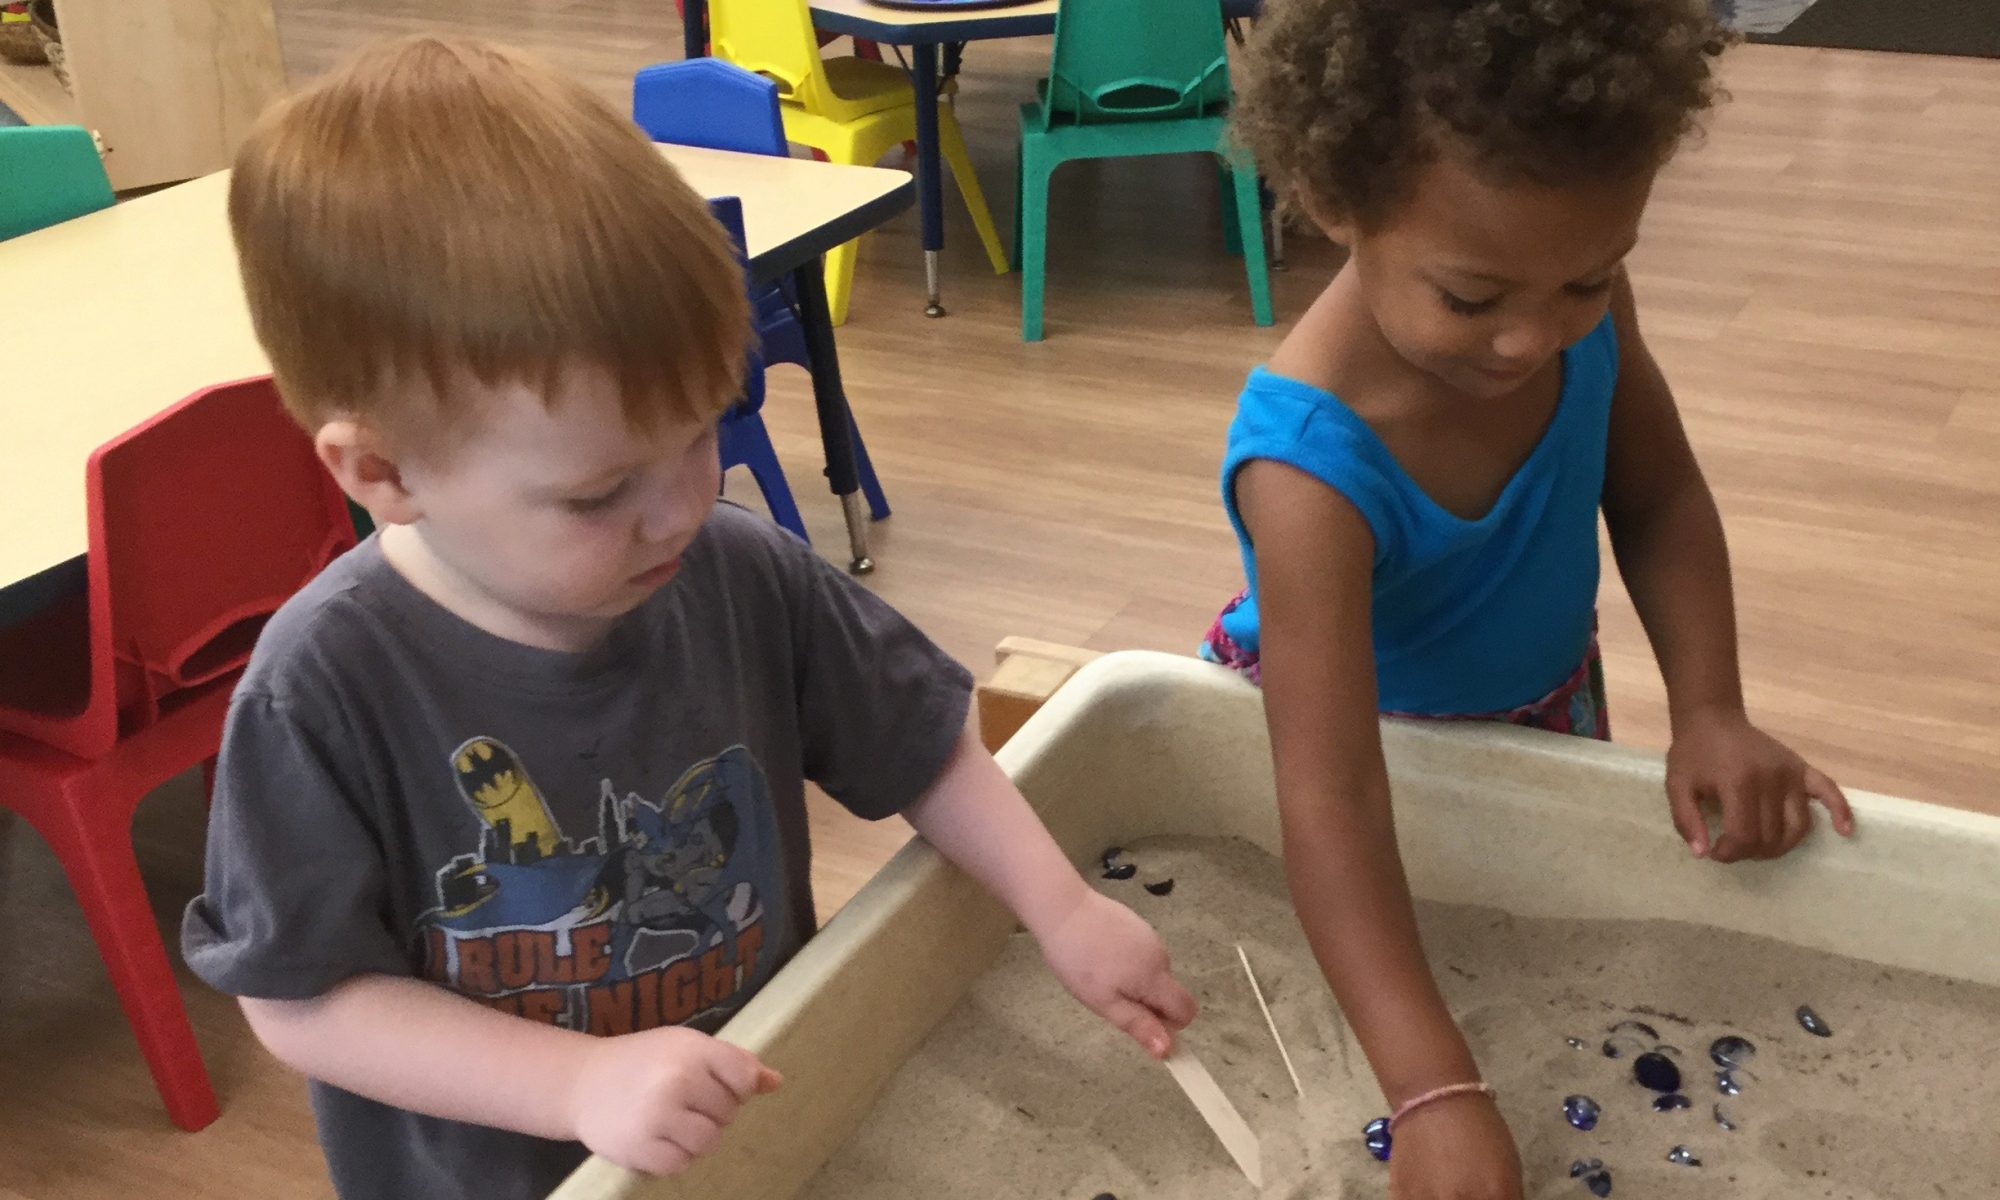
The feeling children get when digging, filling, and dumping containers of sand is both satisfying and relaxing at the same time. They can be engaged in sand play for hours at the beach. The sand table in our classroom, filled with beach sand, holds the children’s interest almost as long.  They enjoy running their fingers through the sand, burying their hands in it, sifting it, filling containers with it, dumping containers of it, and mixing water into it. 

Recently, we took all the tools and containers out of our sand table, replaced them with blue floral stones and craft sticks, and watched to see what happened.  At first, the children started retrieving all the blue stones and put them into piles.  We challenged them to do something with the craft sticks.  They “drew” with them in the sand. Then, one child started using his stick as a scraper, smoothing sand throughout the sand table. One of the girls started laying her sticks on the sand and placed a few stones on top. This led others to start making “roads” with their sticks, with more stones on top. This morphed into burying stones in the sand and using the craft sticks as diggers to find the stones. It was very interesting to observe what the children would do without pails and shovels as they’re accustomed to.  

Blueberry-Banana Smoothie

Ingredients   
1 frozen banana
1 cup frozen blueberries
1 ½ cup milk of choice
1 Tablespoon almond butter
2 Tablespoons ground flaxseed (optional)

Blender

Directions       
Place all ingredients in a blender and blend until smooth.

Blueberry Snack Cake

Ingredients   
3 eggs
1 ¾ cup sugar
¾ cup butter, softened
1 tsp. vanilla
2 cups flour
12 oz. fresh blueberries (about 2 cups)

Preheat oven to 350°. With a mixer, beat the eggs and sugar about 5–7 minutes, until slightly thickened. The mixture should almost double in size.  The eggs work as a leavening agent, so it’s important to beat them long enough. The mixture should form a ribbon when you lift the beaters out of the bowl. Add the butter and vanilla, and mix for 2 minutes more. Stir in the flour until just combined.  Add the blueberries and mix by hand so they are distributed evenly throughout the batter..

Spread batter in a buttered 9 x 13 pan. Bake for 40–50 minutes until very lightly browned and a toothpick inserted near the center comes out clean. Let cool completely before cutting into small squares. 

Baby Treasure Basket

Materials      
A sturdy basket
Natural and man-made items that can be safely explored by baby

Instructions   
I like to collect items for the treasure basket that relate to a theme.  For simplicity of purpose, I have chosen items that are blue. Your items will be explored sensorily by your baby, which means they will be shaken, tapped, dropped, mouthed, etc., so when you’re choosing items, make sure they can withstand the abuse! When you set the treasure basket in front of your child, sit with him and observe. You don’t need to talk him through the exploration.  When he’s done with the treasures, put the basket away for another time.  When you get it out again, switch out a few things or add some things to keep it interesting.  It’s not unusual for your baby to look through the basket in search of something they liked and remember from the last time!

Yellow Duckies in the Tub

Materials       
Sturdy plastic 6-qt. container
A collection of yellow rubber ducks (can be purchased in party-favor packs at the Dollar Store)
A small, fine-mesh handheld kitchen strainer
A bowl to collect the ducks

Directions      
Fill the container half-full of water. You can add a few drops of food coloring to color the water if you’d like. A little dish soap can be fun, too!

Add the ducks.  Give your child the kitchen strainer and encourage them to catch the ducks and put them in the bowl. How many can your child count When all the ducks have been caught, dump out the bowl and catch them again!

This activity can also be done in the bathtub, in a wading pool, or in the sink. However, young children should always be supervised when playing in even small amounts of water.

Scrambled Eggs

Ingredients     
1 or 2 eggs per child
Splash of milk
Salt and pepper to taste
Butter

Mixing bowl
Whisk or handheld egg beater
Spatula for turning eggs in pan
Heat source and frying pan, or electric frying pan

Directions         
Bring everything you need to make the scrambled mixture to the table—the bowl, the eggs, milk, salt, and pepper. Have a rag handy to wipe up spills or messy fingers! Demonstrate how you crack an egg on the side of the bowl or directly on the table. Cracking eggs is a science, so don’t be concerned if shells get in the bowl—you can fish them out!  Some young children get concerned if they get any of the egg white on their hands or fingers, so have a rag or paper towel available. Let them take turns scrambling the eggs, using either a fork, a whisk, or a handheld mixer. Add the butter to your pan, over medium heat, and let it melt. Pour the egg mixture into the pan and let it sit briefly. Be sure your child understands the pan is extremely hot and not to be touched!  If you’d like, you can add some shredded cheese to your mixture.  Continue to turn the eggs, letting them cook thoroughly. Cool slightly before serving. Enjoy!

Lines in the Sand

Materials     
Yellow bottled sand  (You can also use cornmeal in place of the sand)
Kids’ paintbrushes or Q-tips
Shallow plastic container or box

Directions       
Pour a small amount (1/3 cup or so) of the sand or cornmeal into the container. You can add more depending on the size of your container.

Demonstrate to your toddler how to make lines with the paintbrush or Q-tip. Let him try it. You can also use a finger to make circles, spirals, zig-zags, letters, etc. This is an engaging way to practice fine motor skills, gripping the preferred writing tool and drawing with it. Older children will enjoy the challenge of copying a shape or design. This is also a fun activity to do on a light table, if you have one!

Ice Cube Splash and Play

Materials      
Plastic sheet (a Dollar Store picnic tablecloth works great!)
Bath towel for your baby to lay on
Shallow 9” x 13” baking dish or similar-size plastic tub
3–4 different colored frozen ice cubes
Food coloring
Water

Directions     
Spread the plastic sheet out on the kitchen floor. Lay the bath towel on top. The night before, fill a few very small plastic containers with water, add a few drops of food coloring (a different color in each container), and freeze. 

To do the activity, fill the shallow baking dish with an inch of water and set it in front of your baby.  Add the colored ice cubes, and watch as your baby tries to catch them. He or she will get wet, so have a dry shirt ready! Your baby will be delighted by trying to grab the ice cubes and splashing in the water!

Fingerpainting on a Transparent Surface

Materials      
Yellow tempera paint, thoroughly mixed with shaving cream
An acrylic transparent surface or tempered glass (a sliding glass door is a great option)
Plastic spoon
A piece of construction paper
One of dad’s old t-shirts for a paint smock
A squeegee and damp rag for easy cleanup

Directions     
Squirt the shaving cream into a paper cup, almost to the top. Add liquid tempera paint and mix thoroughly. Add more tempera to get the shade you want. Use the spoon to drop the paint mixture onto your surface. 

Demonstrate how to spread the paint around with your hand.  Encourage your child to do the same.  Show your child how to make lines and circles with her fingers. When finished painting, place the construction paper over the painting and smooth it gently with your hands to make a print.  Use the squeegee for quick clean-up and the damp rag for little hands.

Cornbread and Jam

Ingredients    
Basic boxed cornbread mix
Eggs and milk as called for in the package directions
Strawberry jam
Muffin tin
Cooking spray or muffin liners

Directions       
We love to cook in Acorn, and try to cook once each week!  First, all helpers must wash and dry their hands.  To be most successful, try to have everything you will need on a tray and easily accessible—measuring cups, measuring spoons, cornbread mix, measured amount of milk, right number of eggs, mixing bowl, muffin tin, and muffin papers, if you use them.  If you’re cooking with one or two children, give them specific jobs—the egg cracker, the milk pourer, and, of course, the mixer!  Cooking is a sequential process, and children need to know that, so be sure to let them do their specific “jobs” in logical order, but be sure you’re talking to them and explaining what you’re doing as you do it.  And it goes without saying that children need to understand that ovens are hot and not to be touched! 

Cooking is a wonderful opportunity to use new vocabulary and touch on basic math concepts. And it’s very creative! When we make cornbread muffins, the final step is to let each child add a little squeeze of jam to their muffin before it goes into the oven.  Extra yumminess!  And remember to leave the oven light on as the muffins bake so your helpers can observe what’s happening as  they cook!