Water Play

Materials     
A water table (a large, shallow plastic container placed on the floor or on a low table)
3–4 inches of water
Small plastic cups, measuring cups, funnels, basters, large spoons, jars, sieves, etc.

Towels
Adult supervision

Directions       
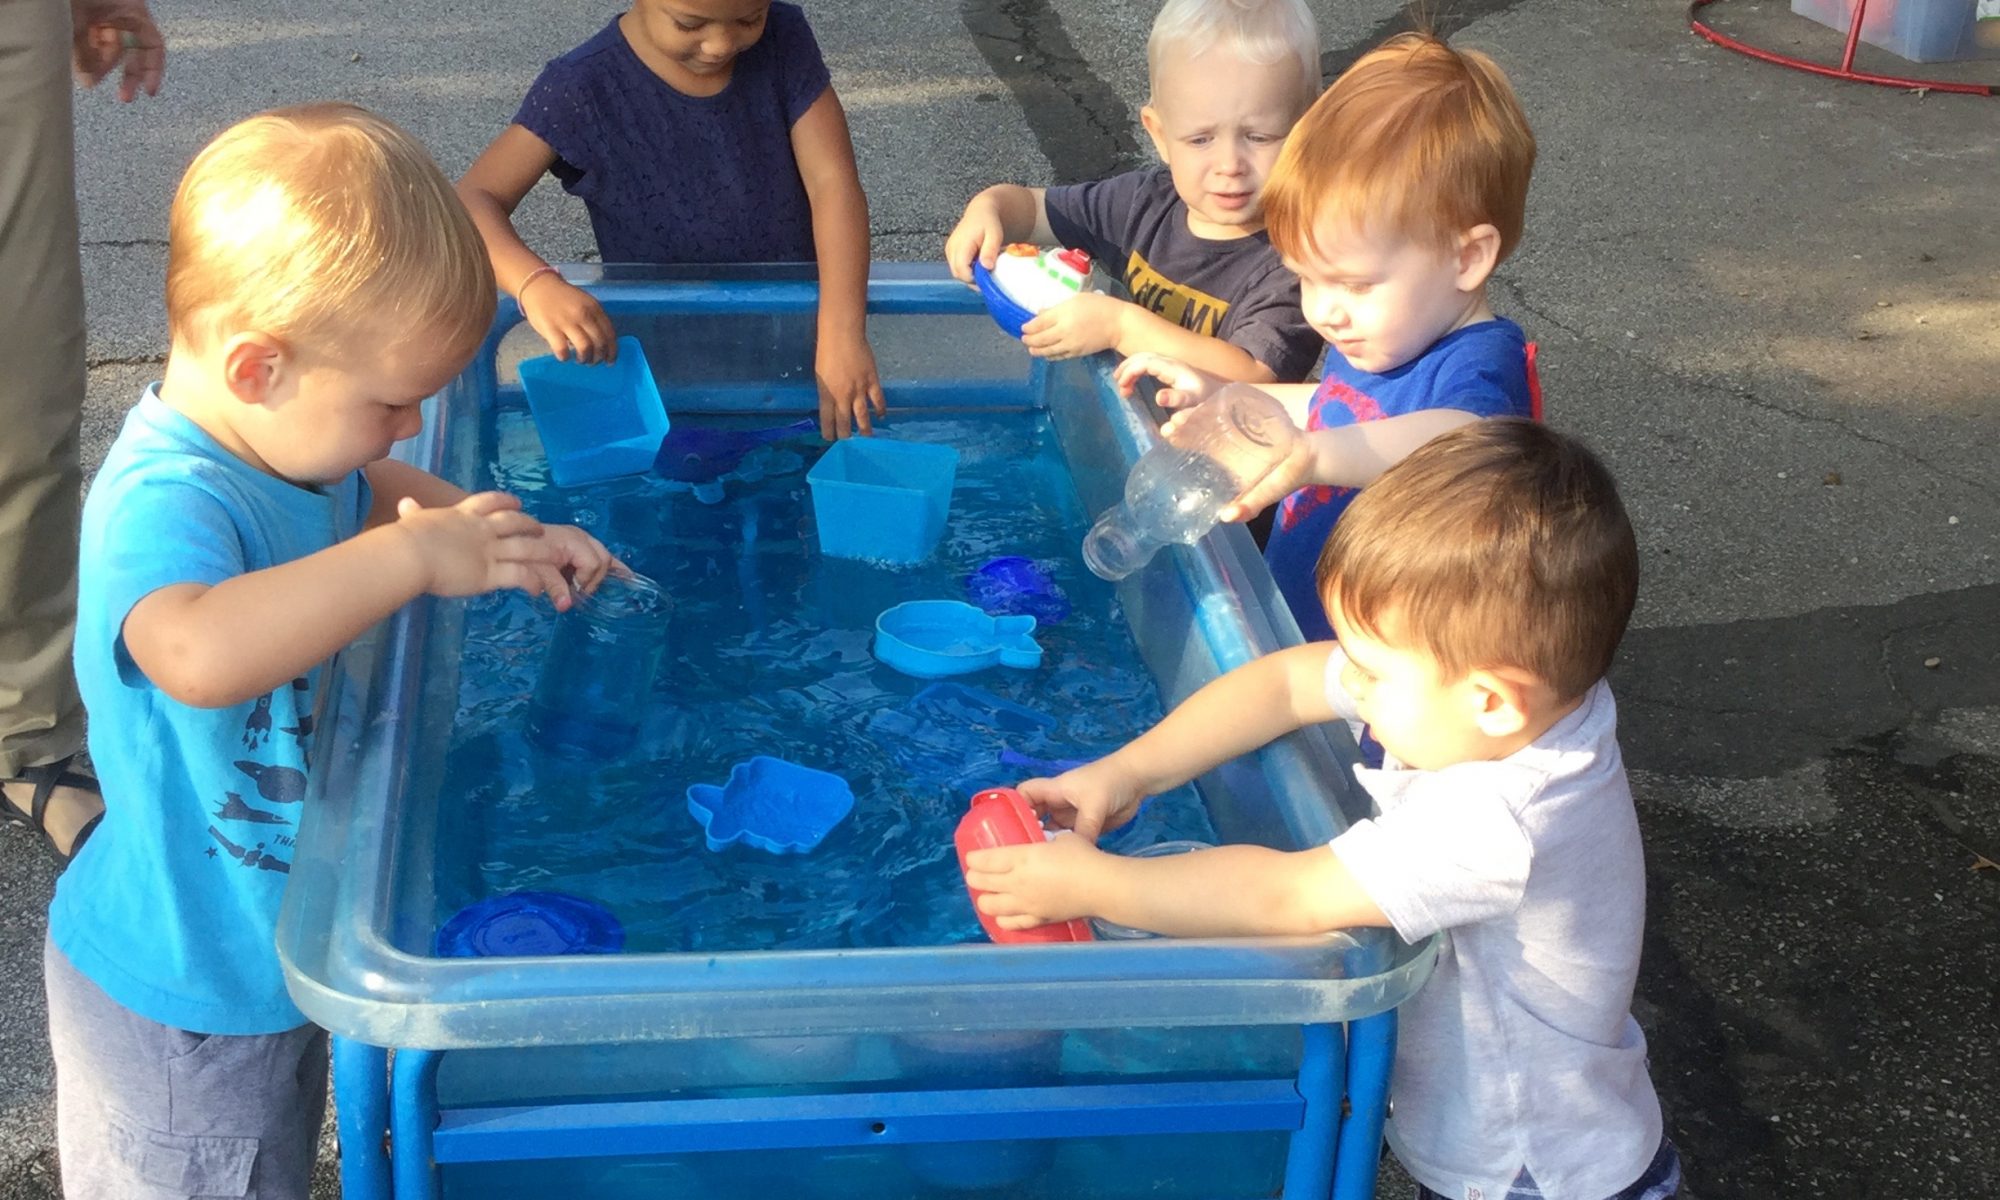
Water play for preschoolers is great fun—ask any three-year-old!  But in addition to being fun, it’s a great way for children to improve hand-eye coordination, dexterity, precision; experiment with basic math concepts, including volume, fractions, (half-full, quarter-full) more/less; science concepts, as they determine why some things sink while other things float; social skills as they talk with others about what they’re experiencing and learn to share the water toys.

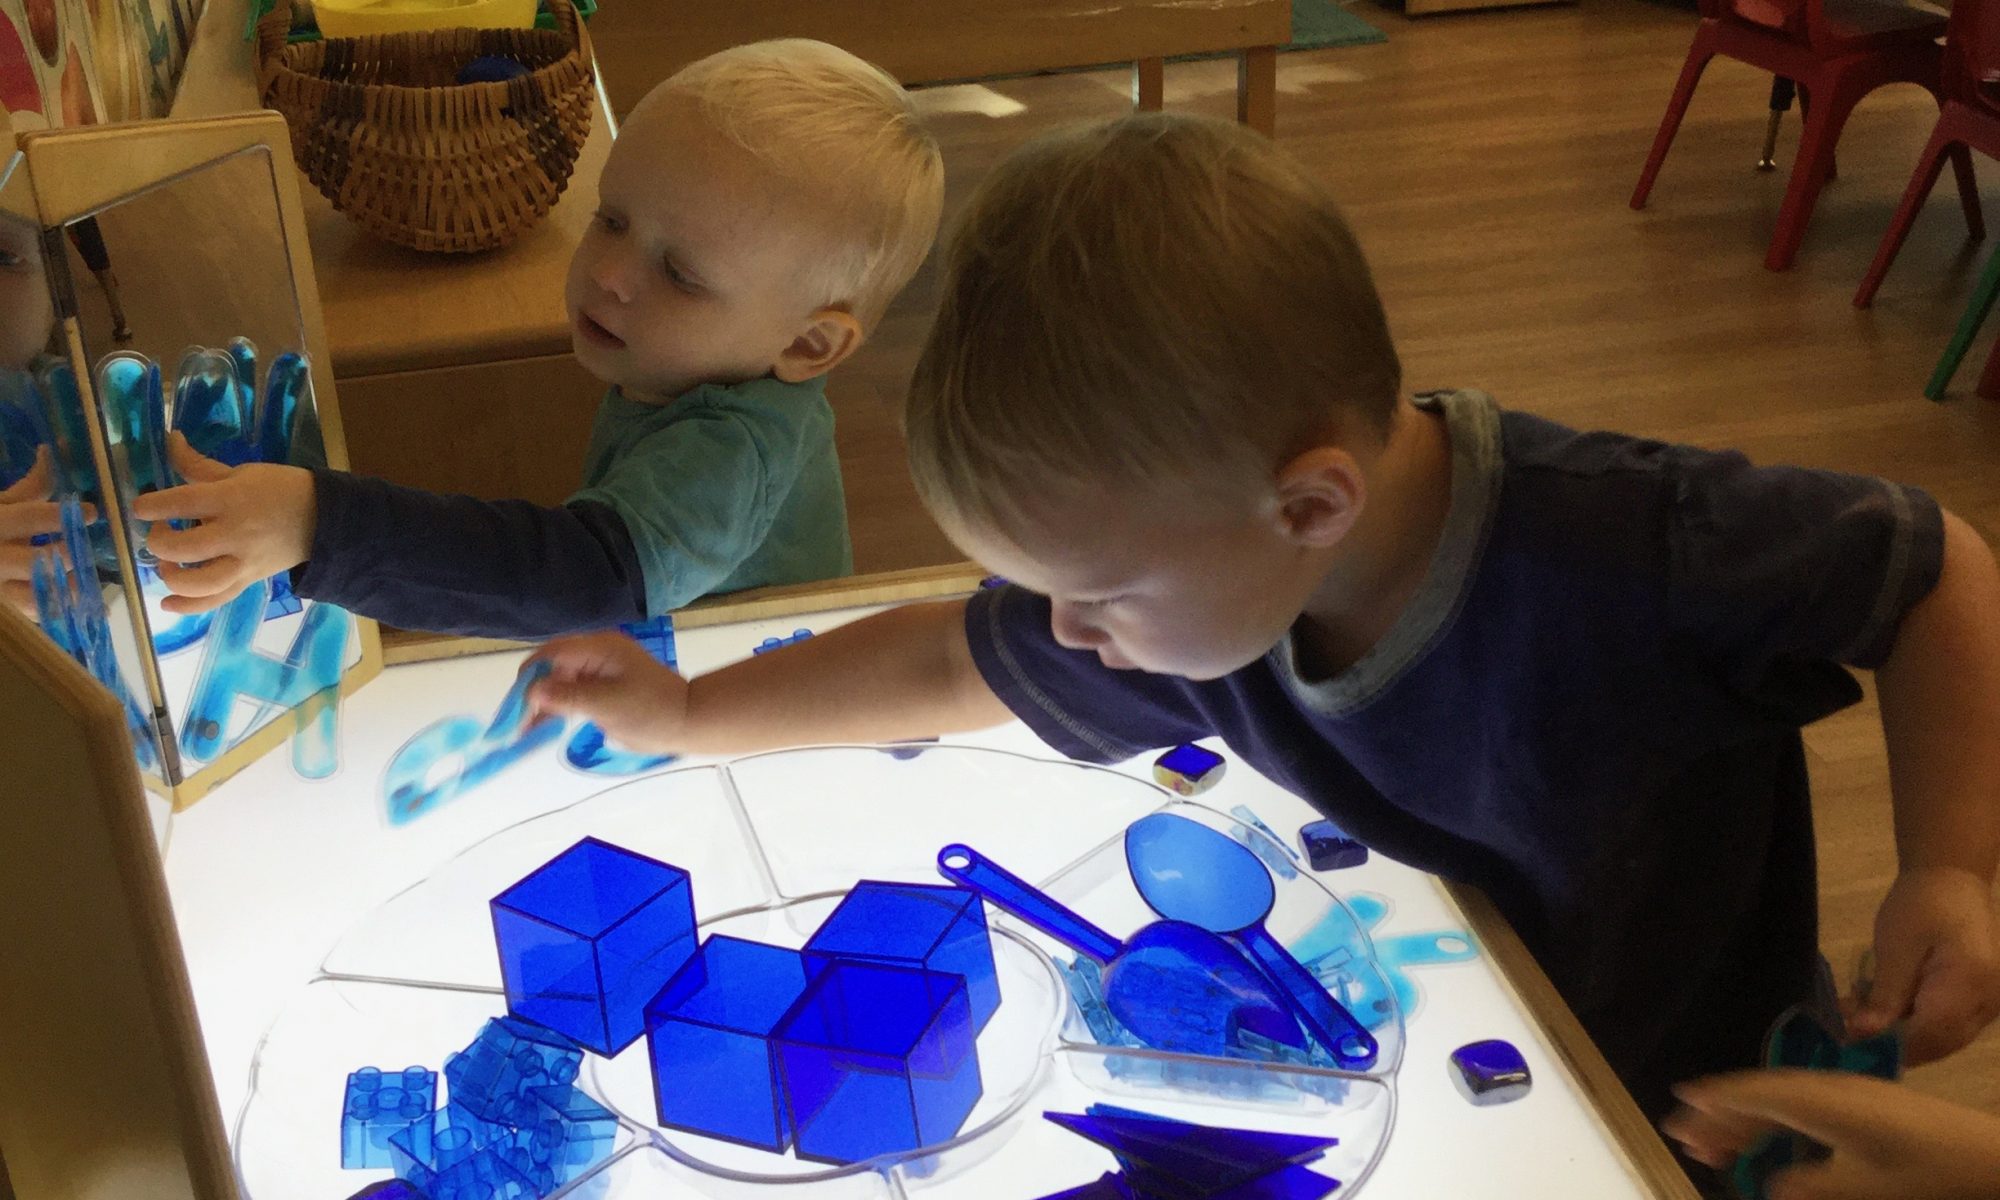
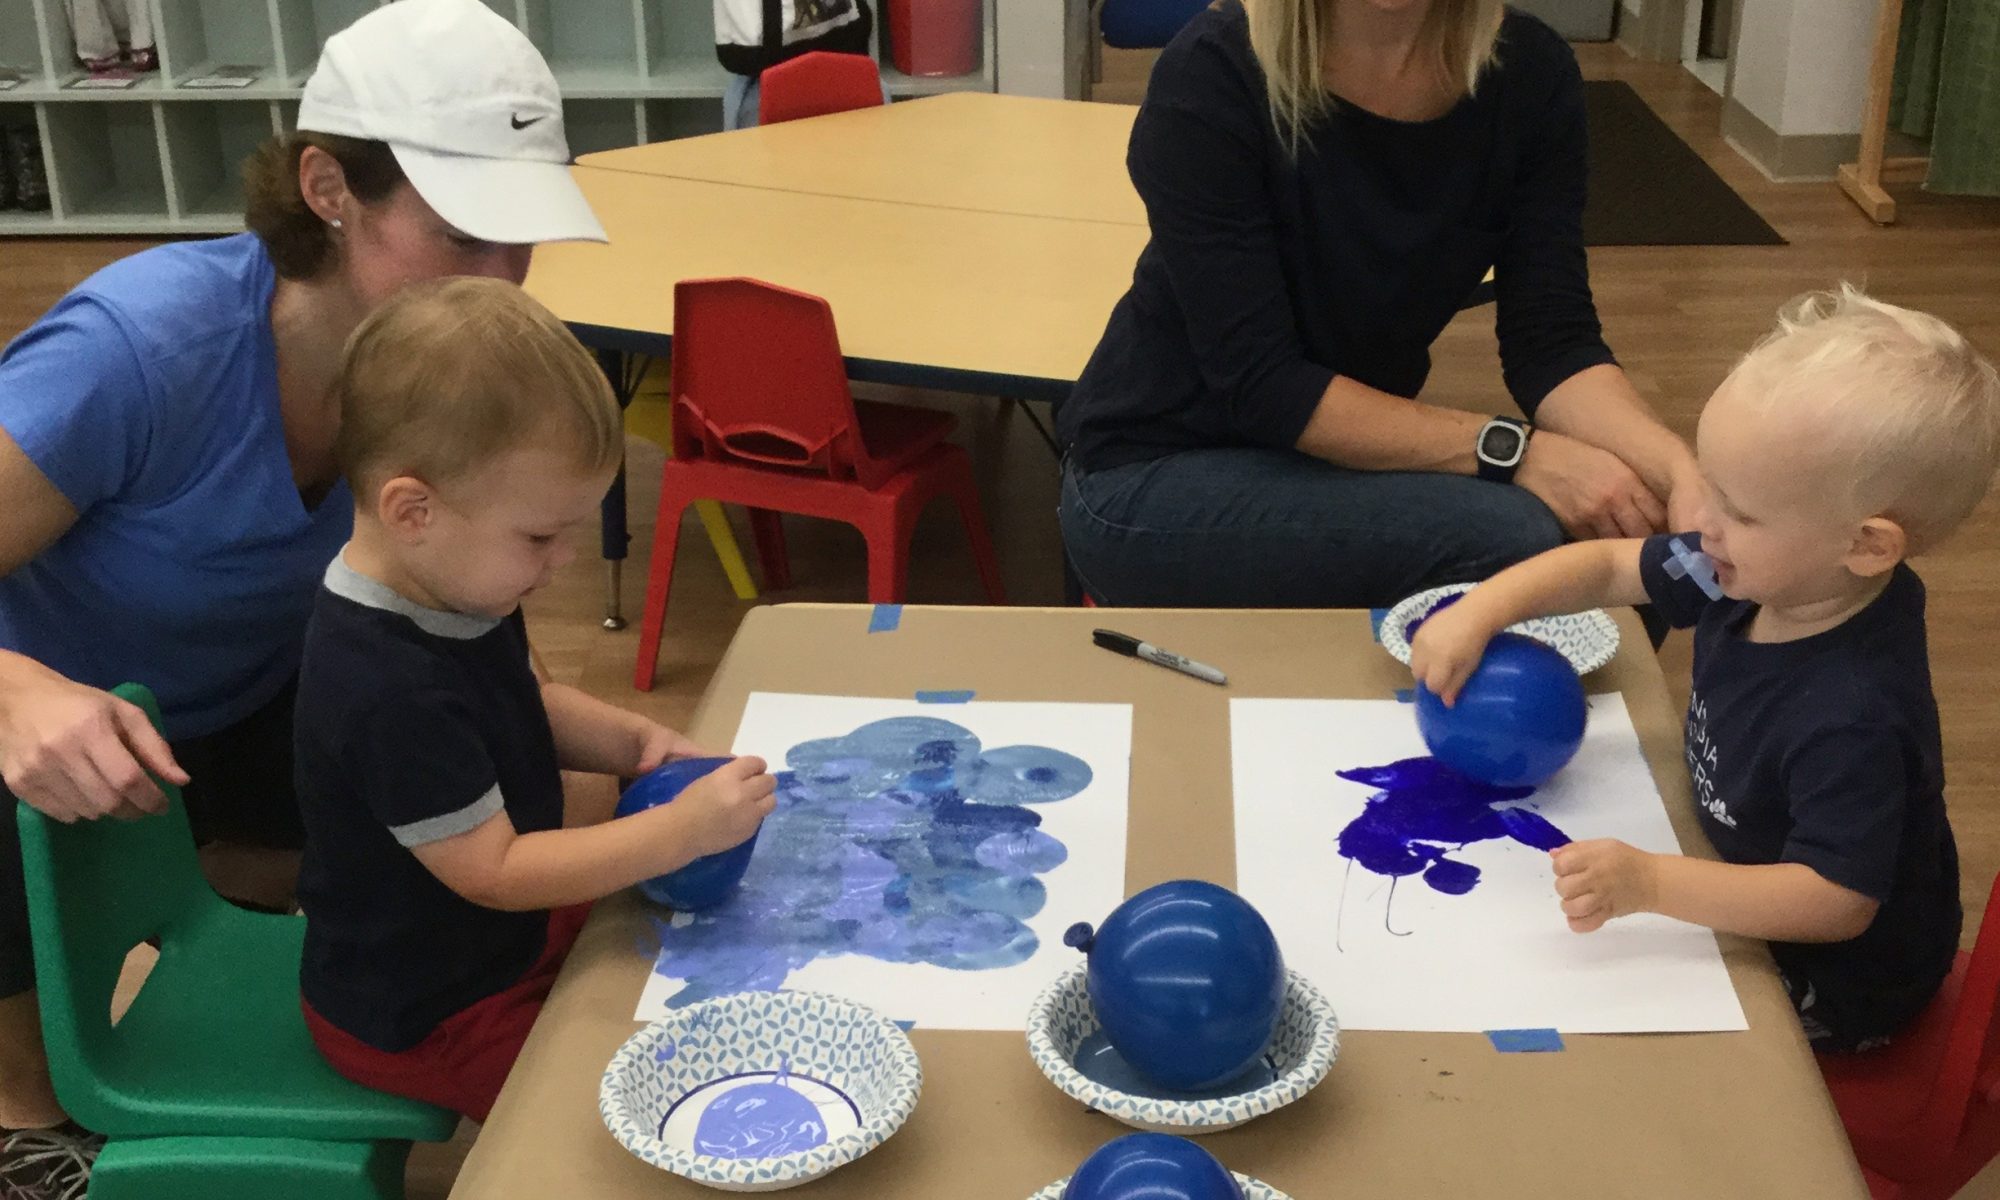
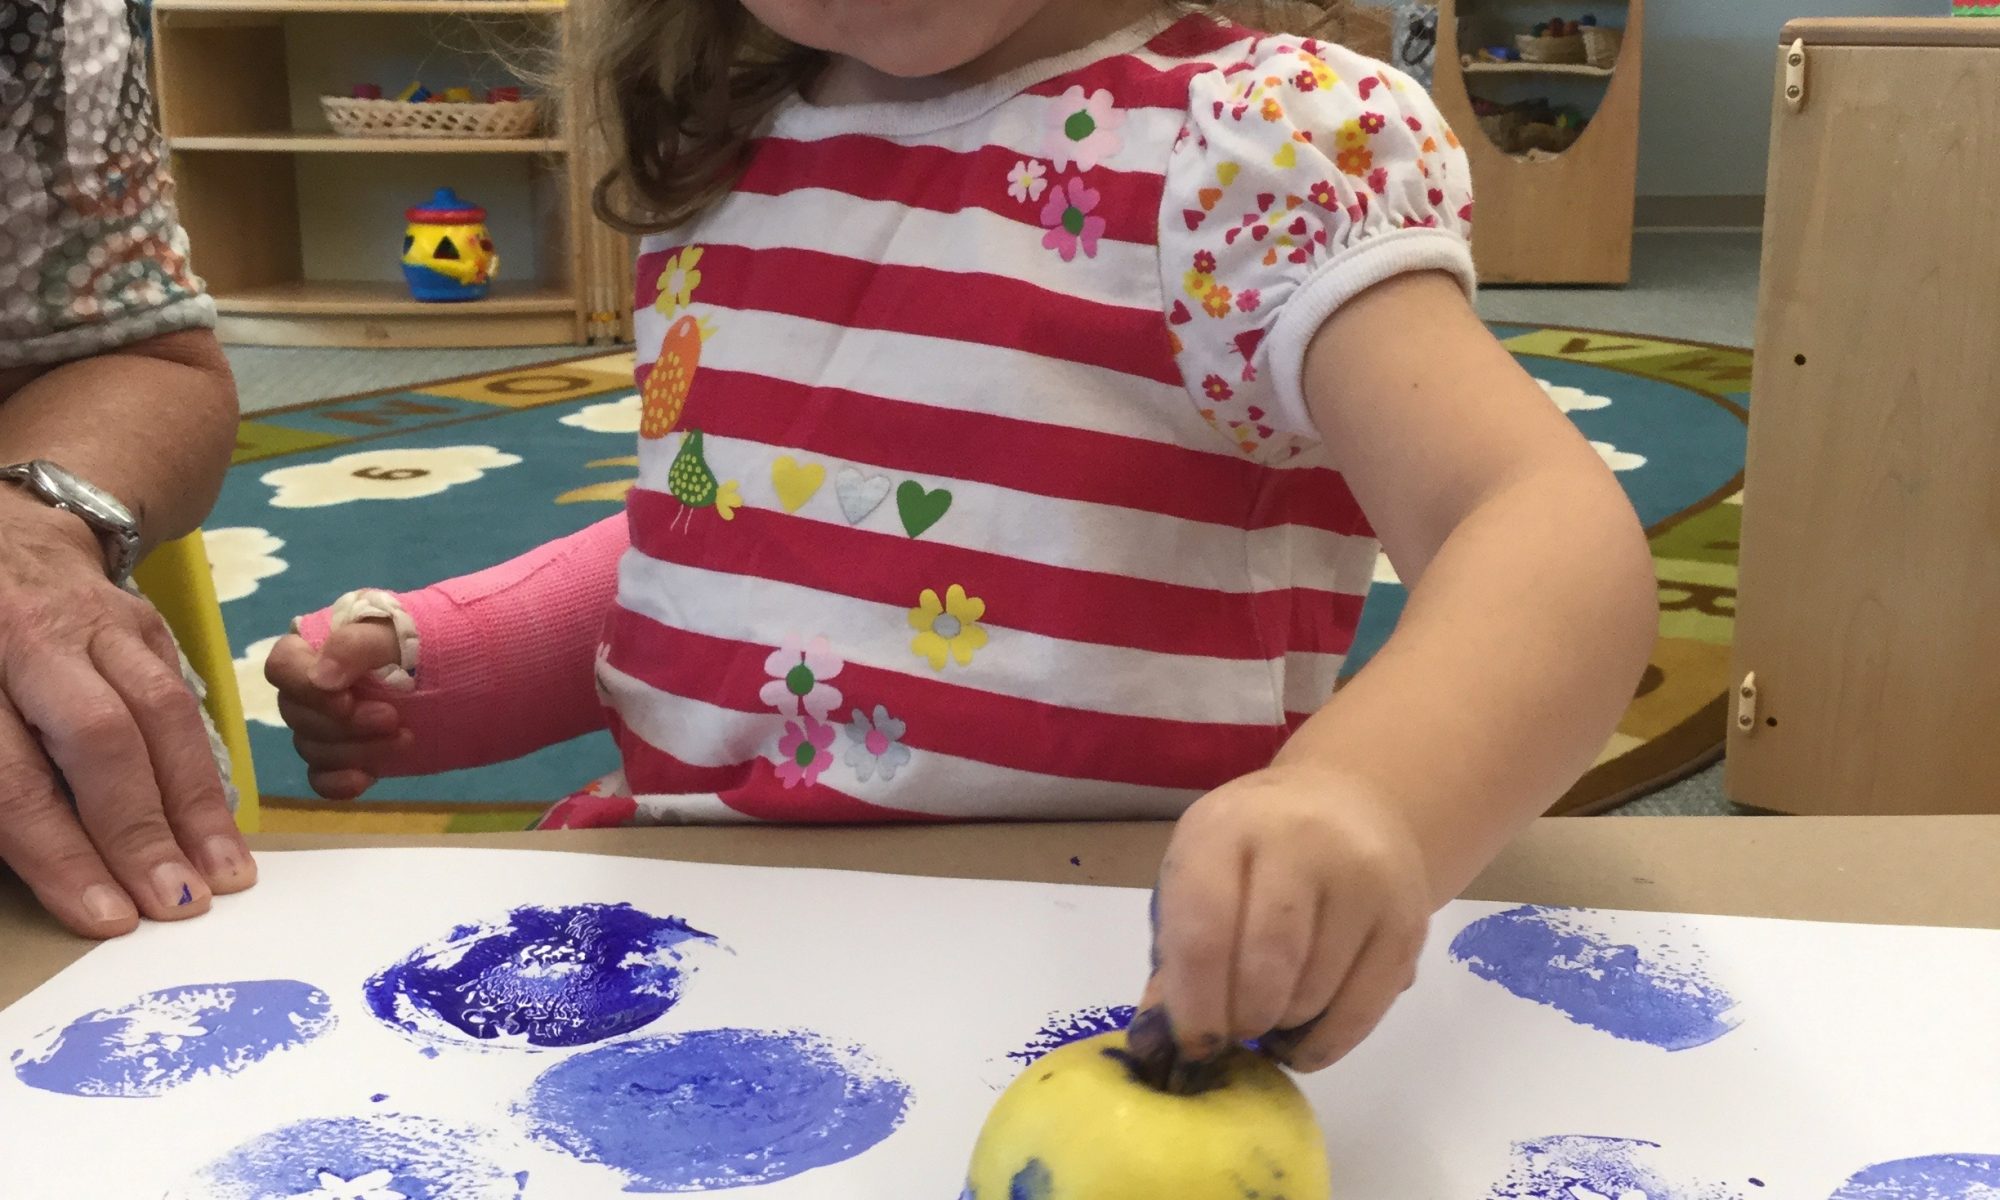
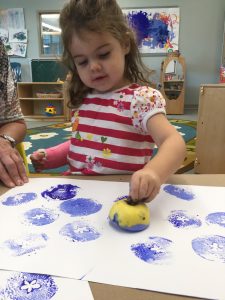
For blue week, we tried adding blue food coloring to the water.  We used only blue cups, funnels, etc.  We even used a blue water table!  Children love experiencing water play, and the benefits of such an activity are far-reaching, and well worth the occasional spills!


Shape Sorting

Materials       
Shape sorter and shapes

Directions     
Shape sorters are a classic preschool toy, widely praised by early educators for 
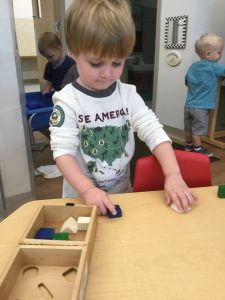
promoting basic math skills, vocabulary, awareness of same/different, and fine motor skills.  Set a shape sorter in front of your child with all the shapes beside it.  Explain to your preschooler that each shape has its own special “door” into the sorter, and his job is to find the right door for each shape.  Pick up a shape and identify it to your child (a circle, triangle, star, – whatever the shape may be.)  Give the shape to your child to examine, talking about what makes it different from the others.  Then, let your child examine the sorter itself.  Typically, there are cutouts for the shapes on all sides of the sorter, so you can examine the sides of the sorter, one at a time, comparing the cutouts to the shape.  Let him try the shape in some of the cutouts, gently encouraging him to perhaps turn the shape a little to fit it into the sorter.  Congratulate him when he finds the correct “door”.  Then choose another shape and proceed in the same manner.

 If you don’t have a shape sorter, you can make a shape sorting sheet on paper.  Trace some simple shape outlines on a piece of paper.  Using cardboard, or another color of paper, cut out shapes to match those you’ve traced.  See if your child can lay the paper shapes on the correct outline.

Color Collections

Materials       
Blue floral stones
Blue plastic geometric shapes
Blue beads
Blue ribbon pieces
Blue dyed macaroni pieces
etc.

Directions       
For Blue Week, we collected a variety of blue items to be explored on the light table. Light tables give a whole new dynamic to exploration, and if you don’t have one, you can easily make one out of a plastic container and a string of Christmas lights.  Check Pinterest for DIY information.

Another option for exploring items in your color collection is to set the items on a mirror.  Set the mirror on the floor, sit your preschooler in front of it with a basket of items to explore, and watch the learning begin!


Blueberry Muffin Pan Cakes

Ingredients     
Blueberry muffins box mix 
Eggs
Oil
Water
Powdered sugar (optional)

Directions     
When we cook, we look for something yummy, simple, and quick from start to finish!  These pan cakes fit the bill! We give everyone a job:  we have egg crackers, an “oil” man or woman, water pourers, mixers, and even tasters! 

Prepare the blueberry muffin mix according to package directions, but instead of filling muffin pans with the mixture, try frying them in an electric fry pan in some oil, or on the stove, over medium heat. The children don’t do the actual cooking, but they do watch from a safe distance. Be sure to have the discussion that stoves and frying pans are HOT, and we DO NOT touch them! 

After flipping the cakes over, let them cool on a plate for a few minutes before serving.  The result is a slightly-thicker-than-pancakes cake that tastes like a blueberry muffin. And a pinch of powdered sugar makes them even yummier!

Blue Nachos

Ingredients   
Blue corn tortilla chips
Shredded cheddar cheese (or the cheese of your choice)

Cookie sheet
Aluminum foil

Directions     
Line the cookie sheet with a sheet of foil for easy clean-up.  Preheat oven or toaster oven to 350°.  Spread a layer of blue corn tortilla chips on the cookie sheet.  Sprinkle with shredded cheese.  The amount of cheese is a personal preference, but the chips should be mostly covered.  Put the cookie sheet in the oven for about 4 minutes.  If the cheese is melted, pull out the nachos and let them cool a minute before serving.  If the cheese hasn’t quite melted, give it another minute, but keep an eye on it!

This is a great recipe to make with your child because they can do all the steps, and it’s fast!  Enjoy!

Balloon Painting

Materials     
2 – 3 barely inflated balloons, knotted
2 – 3 small bowls for the paint
Construction paper
Tape

Directions       
Balloon painting is great fun, but needs to be closely supervised! J  Tape a piece of construction paper to the table.  Pour a small amount of paint into the bowls.  Your balloons should be inflated with 1 or 2 breaths of air and be tied in a knot.  If the balloon is too inflated, it’s hard for a little child to hold!  Dip the balloon into one of the bowls of paint.  Demonstrate how to bounce the balloon all over the paper.  Saying “boun-cy, boun-cy, boun-cy” as you do it, encourages your child to bounce the balloon, rather than smear it on the paper. (And it’s fun to say!)  Try it with several colors, or shades of color.  The results are always unique!

Apple Printing

Materials     
1 or 2 apples
Knife for cutting apples
Tray for paint
Construction paper
Tape

Directions       
Cut your apples in half, cross-wise, revealing the “star” that is formed when you cut through the seed casings.  We found that Golden Delicious apples worked best, but any apple will do.  Pour a small puddle of paint in a styrofoam meat tray or paper plate.  We used blue and mixed a little blue into white paint to get a lighter shade of blue.  If you choose to use 2 shades of paint, they can both go into the same tray. 

We used the top half of the apple to make prints, primarily because the stem made it easier to hold on to!  If you prefer, stick a fork into the apple half and hold on to the fork for easier handling.  Use the tape to secure your paper to the table.  Make sure the apple half is completely covered with the paint.  We used an extra sheet of paper to “blot” the first print; then made subsequent prints on another paper. 

Encourage your child to make prints all over the paper, re-dipping the apple in paint as necessary.   This is also fun to do with citrus fruits, but it’s helpful to cut the citrus fruit in half and let it drain on a paper towel for a couple of hours before using it to print with!

Spray-Bottle Painting

Materials     
Large sheet of white paper
1 spray bottle for each color you’d like to use
Liquid watercolors for each spray bottle
Packing tape
White crayon

Directions       
We laid out the sheet of paper on a table first, and used the white crayon to draw lines, circles, and squiggles. Press down hard with the crayon!  We talked about making “invisible” drawings, meaning that the crayon markings were very hard to see! When finished, hang the paper up, preferably outside, using the packing tape. 

Pour some liquid watercolor into a spray bottle. A little liquid watercolor goes a long way, so fill the spray bottle with about a tablespoon of color, and add a little water. Put a second color in another spray bottle with a little water. (We used blue and turquoise.) Demonstrate how to squeeze the trigger on the squirt bottle, and let your toddler try it. Be sure the squirt nozzle is directed towards the paper!

As your child squirts the paper, the crayon lines should resist the watercolor, and the squiggles will appear, as if by magic! When finished, leave the paper hanging until dry. Clean up watercolor splatter with a hose!

Paper Punching

Materials     
Strips of construction paper
Easy-to-squeeze paper punch (under $2 at Walmart)

Directions       
Cut a few strips of paper into various lengths. Demonstrate how to insert the paper into the punch and squeeze it a few times, revealing the holes you made. Your toddler will want to try it, and may need help holding the paper and squeezing the punch at the same time.  (Walmart also sells a small punch that can sit on a flat surface and can be pushed down with two fingers.)

This is a wonderful activity to help strengthen the small muscles in the hands that are vital for writing, buttoning, fastening, and zipping later on. Once your toddler gets the idea, he’ll be making hole-punched paper strips for everyone in the family! 

Letter Matching

Materials       
Small cookie sheet or pizza pan
Magnetic letters
A large sheet of construction paper
Felt-tip marker

Directions
Assemble a dozen or so magnetic letters (more for older children) and stick them to the cookie sheet.  Use the felt-tip marker to make several, but not all of the letters on the cookie sheet. Try to make your letters resemble their magnetic letter counterpart as closely as possible!  Invite your toddler to look at a letter you point out on the sheet. Describe the letter to your child—”It looks like a circle with a monkey tail on the side.” Let your child look at the letters on the cookie sheet, picking up the matching letter and laying it on top of the letter on the paper. Your child does not have to know the letters of the alphabet to do this activity. This is purely a matching game. But it’s also a good introduction to beginning letter recognition!