Orange-Colored Rice Sensory Bin

Materials     
Large plastic tub
White rice
White vinegar
Orange food coloring (I recommend Wilton’s paste coloring for the vibrant results)
Ziploc bag (gallon size)

Directions       
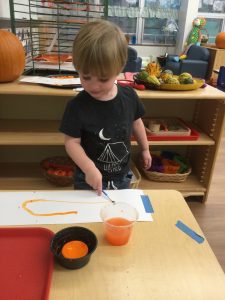
To color white rice, pour 2–3 cups rice into the Ziploc bag. Add a teaspoon of vinegar and a small amount of color (about ¼ teaspoon).  Zip the bag, and squeeze the bag repeatedly until all the rice is colored satisfactorily. Then lay a sheet of newsprint on the counter and spread the colored rice in a thin layer on the paper to dry. It will take an hour or two. Repeat the process if you want a greater quantity of rice.

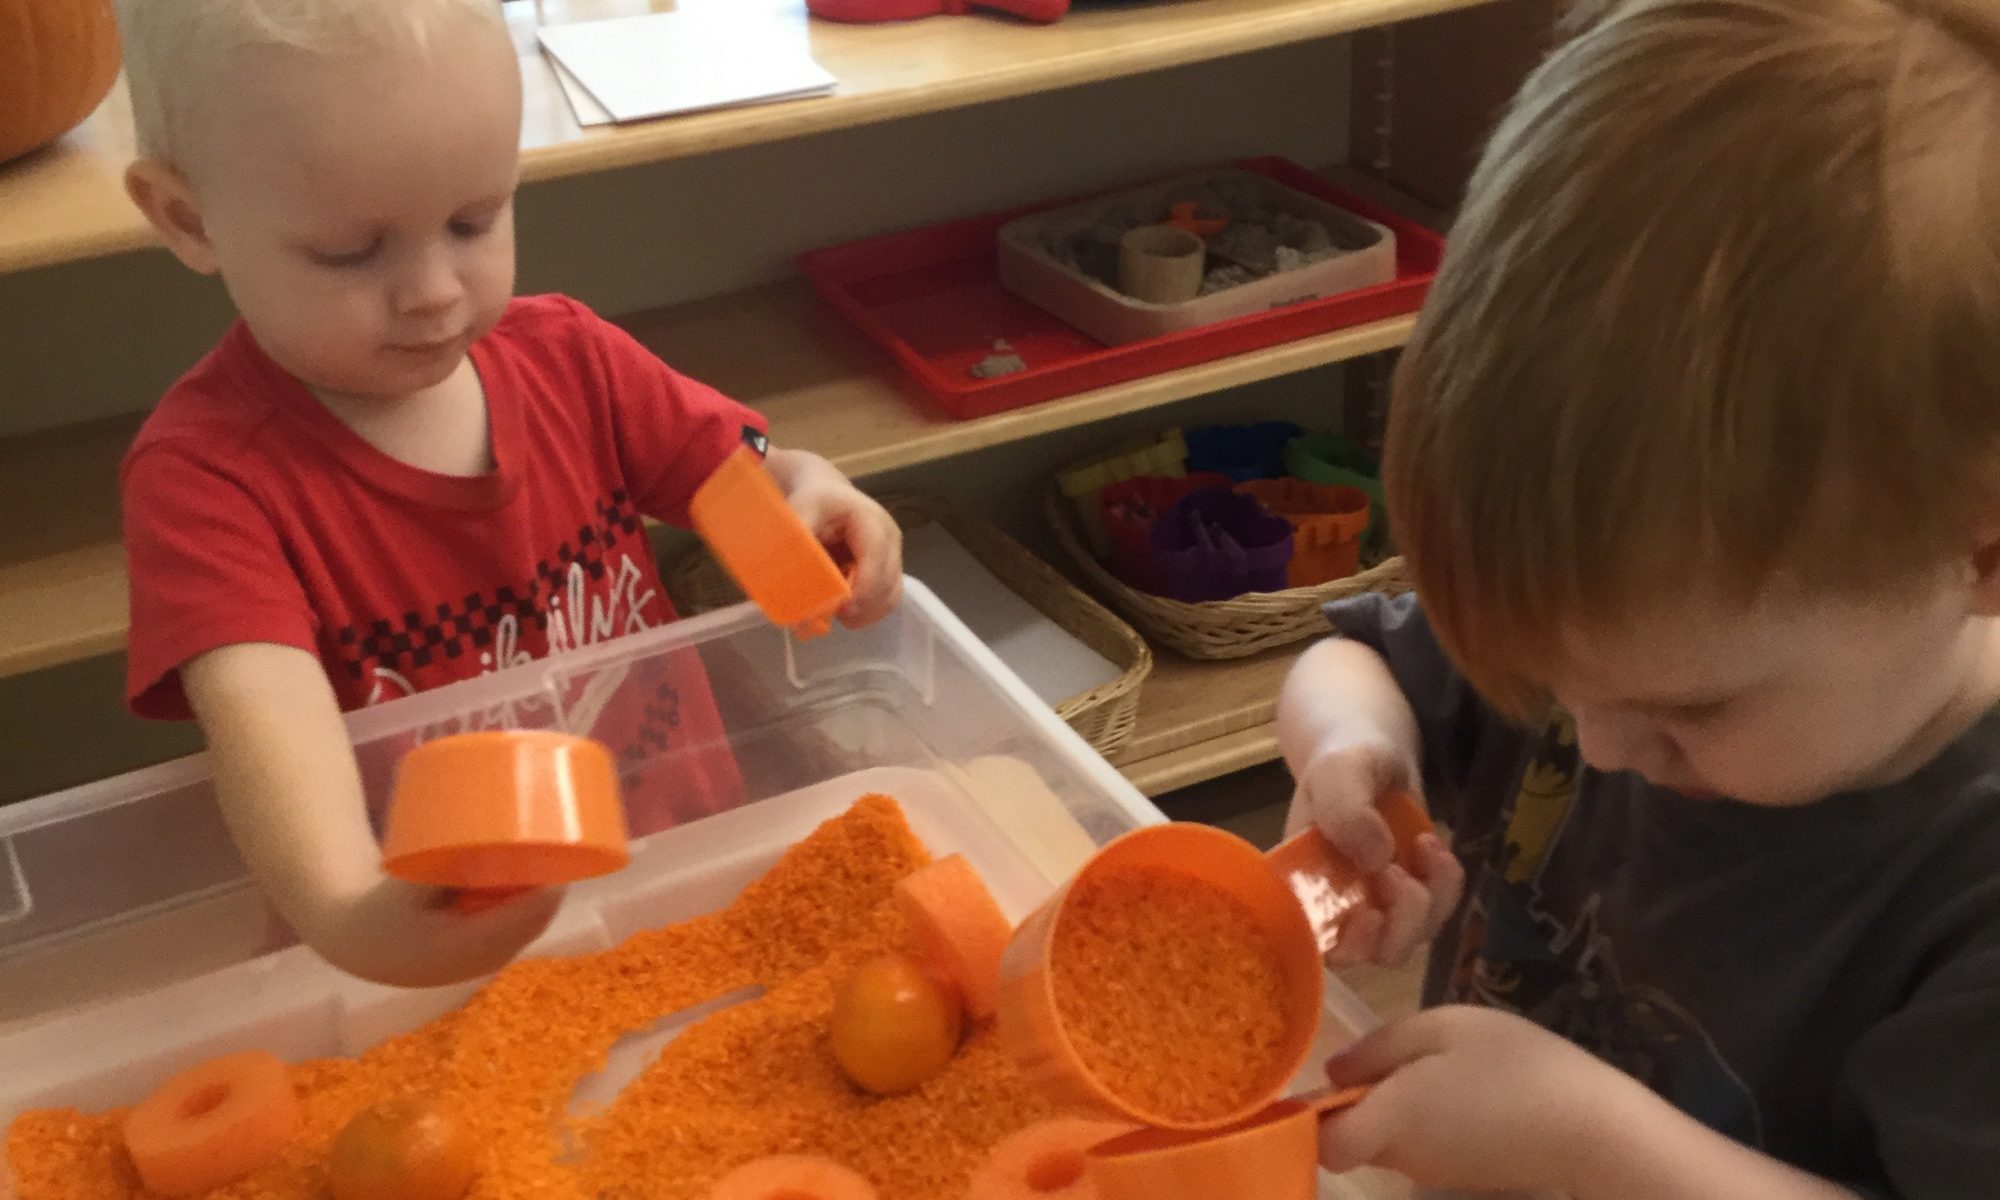
When the rice is dry, pour it into a large tub. Add measuring cups for scooping and pouring. We added orange pool noodles cut into 1-inch thick slices. We also added orange clementines for even more orange-ness! Let the fun begin!

Pumpkin Painting

Materials     
Painting paper
Black marker
An easel or tabletop
Orange tempera paint
Foam or bristle paint brush

Directions       
If you have an easel, clip the paper in place for painting. If you use a tabletop, tape the paper securely in place with masking tape.  Hopefully, you’ve been to a pumpkin patch and your child has seen that pumpkins come in all sizes and shapes!  Discuss what type of pumpkin your preschooler would like to paint (big and round, tall and skinny, bumpy, tiny, etc.) and draw it for him on the paper with the marker.  Then  go over the outline with your finger, explaining that for this picture, he should try to paint inside the outline you made.  This requires a level of large and fine motor control that will be challenging!  Encourage him to cover any white spots he sees (where there’s no paint!)  It’s fine if he goes outside the outline, and you should expect as much.  The idea is to get him to work at controlling where the paint should go.  After he finishes, and the paint has time to dry, cut out the pumpkin shape.  If desired, you can talk about what kind of a jack-o-lantern he could be, cutting shapes for eyes, nose and mouth out of black construction paper.  Talk with your child about where the eyes on his face are. Use a glue stick or Elmer’s glue to glue the features in place!  Remember to let your child glue the features on where he thinks they should go.  It doesn’t need to be perfect—it just needs to be his!

Easy Pumpkin Fluff

Ingredients   
15 oz. can pumpkin
8 oz tub Cool Whip (I used sugar-free, but any kind will do)
Small box vanilla instant pudding

Directions     
Combine the pumpkin, Cool Whip, and vanilla pudding in a medium bowl.  Mix with an electric mixer until combined and fluffy, about 1 minute. Spoon into bowls and refrigerate to chill, or you can eat it immediately, like the Acorn kids did!  You can use Nilla Wafers, Scooby-Doo Graham Snacks, or even apple slices as scoops. Tastes like pumpkin pie without the crust!

Orange Sensory Bottles

Materials      
Small, clean plastic bottle with tight-fitting lid
Small interesting items to put into your bottle, such as beads,  bits of    aluminum foil, buttons, string or ribbon, etc.
Water
Hot glue gun

Directions       
Choose a small bottle that your child can easily handle.  Small juice or water bottles work well.  Choose items that will easily fit into the opening of your bottle.  Sensory bottles can be dry, like a shaker bottle, or have a liquid that the items will float through. 

 If you choose to make a liquid sensory bottle, choose items that will not lose their color if they get wet.  Fill the bottle about 1/6 full with your items; then add  water almost to the top.  Leave some space for air!  Put the top on and shake the bottle.  If you’re happy with it, remove the top and use your glue gun to add some glue to the top of the bottle cap.  Quickly screw it back on.  The glue will prevent your child from accidentally getting the cap off and dumping the contents.  Your little one will be fascinated watching the items you’ve inserted float through the water!


Orange Sand Slime

Materials     
½ cup clear Elmer’s Glue
 ½ cup water
Liquid laundry starch
Orange craft sand

Directions     
Pour ½ cup Elmer’s glue into a small bowl.  Add the water and mix well.  You can get orange craft sand from Hobby Lobby for about $3.00/jar, which is more than you’ll need.  I don’t really measure how much to use, but to keep it simple, add about ½ cup of the orange sand.   Regular beach sand works well, too, if you don’t care about the color.   Add the laundry starch slowly, about 2 tablespoons at a time.  The slime will start to form as your stir.  Add more starch, a tablespoon at a time, and mix well.  The slime will start to coagulate and pull away from the sides of the bowl.  When it’s hard to stir, start mixing it with your hands.  A little laundry starch on your hands will keep it from sticking to you.  When it’s no longer sticky, it’s ready to play with.  The slime can be kept in an airtight container when not in use, but will need a little re-mixing when you get it out again.  Always be sure to have your child wash his/her hands after playing with the slime!

No-Mess Finger Painting

Materials      
Ziploc bag, gallon size or bigger
Construction paper, cut to fit inside the bag
3 or 4 tempera paint colors of your choice
 Packing tape

Directions     
Insert the construction paper in the Ziploc bag.  Add a squirt of each of the paint colors you’ve selected.  Carefully zip the bag, eliminating as much air as possible without disturbing the paint.  Use the packing tape to securely tape the bag on all four sides to the floor.  Set your baby in front of the bag and encourage him to use his hands to spread the paint around.  Lightly “pat-pat-pat” the bag yourself to give him the idea!  When he’s finished “painting”, take the bag, with paper inside, and tape it to a low window.  It’s really quite interesting with the light from the window coming through, and your baby can spread the paint some more on a vertical surface!

Mini Pumpkin Washing

Materials       
Mini pumpkins
Large plastic tub
Soapy Water
Sponge, cut into quarters
Bowl of water for rinsing
Towels or rags for drying the pumpkins

Directions       
Fill the plastic tub with enough slightly warm water to make the pumpkins float, about an inch.  Add some liquid dish soap and froth the water so it’s sudsy.  Add the pumpkins and pieces of sponge and let your child start scrubbing.  When the pumpkins are clean, rinse them in the bowl of clean water.  Use the towels to dry them off.  The clean pumpkins can be displayed in a basket or used as fall decorations around the house!

Making Marks with Watercolors

Materials       
One cake of watercolor paint
Construction paper
Cup of water
Thin brush
Masking Tap

Directions       
Making marks on paper with a thin watercolor brush is a wonderful way to encourage your preschooler to practice those important fine motor skills!  It’s also a process that requires your child to follow a simple sequence of steps to bring about the desired outcome.  Your child will also become aware of different kinds of lines (straight, curvy, zigzag, long/short lines, vertical/horizontal lines) and shapes.  Use the masking tape to secure the paper to the table in front of your child.  Provide your child with a ½-filled cup of water.  Show him how to dip his brush into the water; then swirl the wet brush on the watercolor cake to pick up the color.  We start out by using only one color of paint initially, to simplify the process.  After he has some paint on his brush, encourage him to “sweep” the brush across the paper.  Dip the brush in the water again, swirl it on the watercolor cake, and mark the paper again.  When your child is finished, show him how to rinse the brush in clean water so he’s ready the next time!


Clementine Pumpkins

Ingredients    
Clementine oranges
Celery

Directions       
Peel the number of clementines you will need.  The stem of the “pumpkin” is made from a thin sliver of celery.  If your celery stalks have any thin offshoots, cut those off the main stalks into 1/2 inch pieces, inserting one into the top of each clementine.  If you don’t have enough offshoots, cut thin pieces from the main stalks instead.  

Where IS it?

Materials     
A tray
2 or 3 items for your baby to explore
A small blanket or cloth of some kind

Directions       
Sit your baby on the floor in front of the tray.  Give him one of the items to explore. (Put the others aside for now.) Let your baby explore the item for a few minutes.  Choose something that is safe for him to mouth, because that will be part of the exploration!  After a minute or so, take the object from your baby and hide it on the tray under the blanket.  What is the reaction?  If your baby is 6 to 10 months old, he is probably perplexed, wondering where the item went, even though you put it under the blanket in front of him! He has not yet developed what is known as “object permanence,” which is the awareness that if something is gone from view, it’s not gone forever.  Generally, babies at 
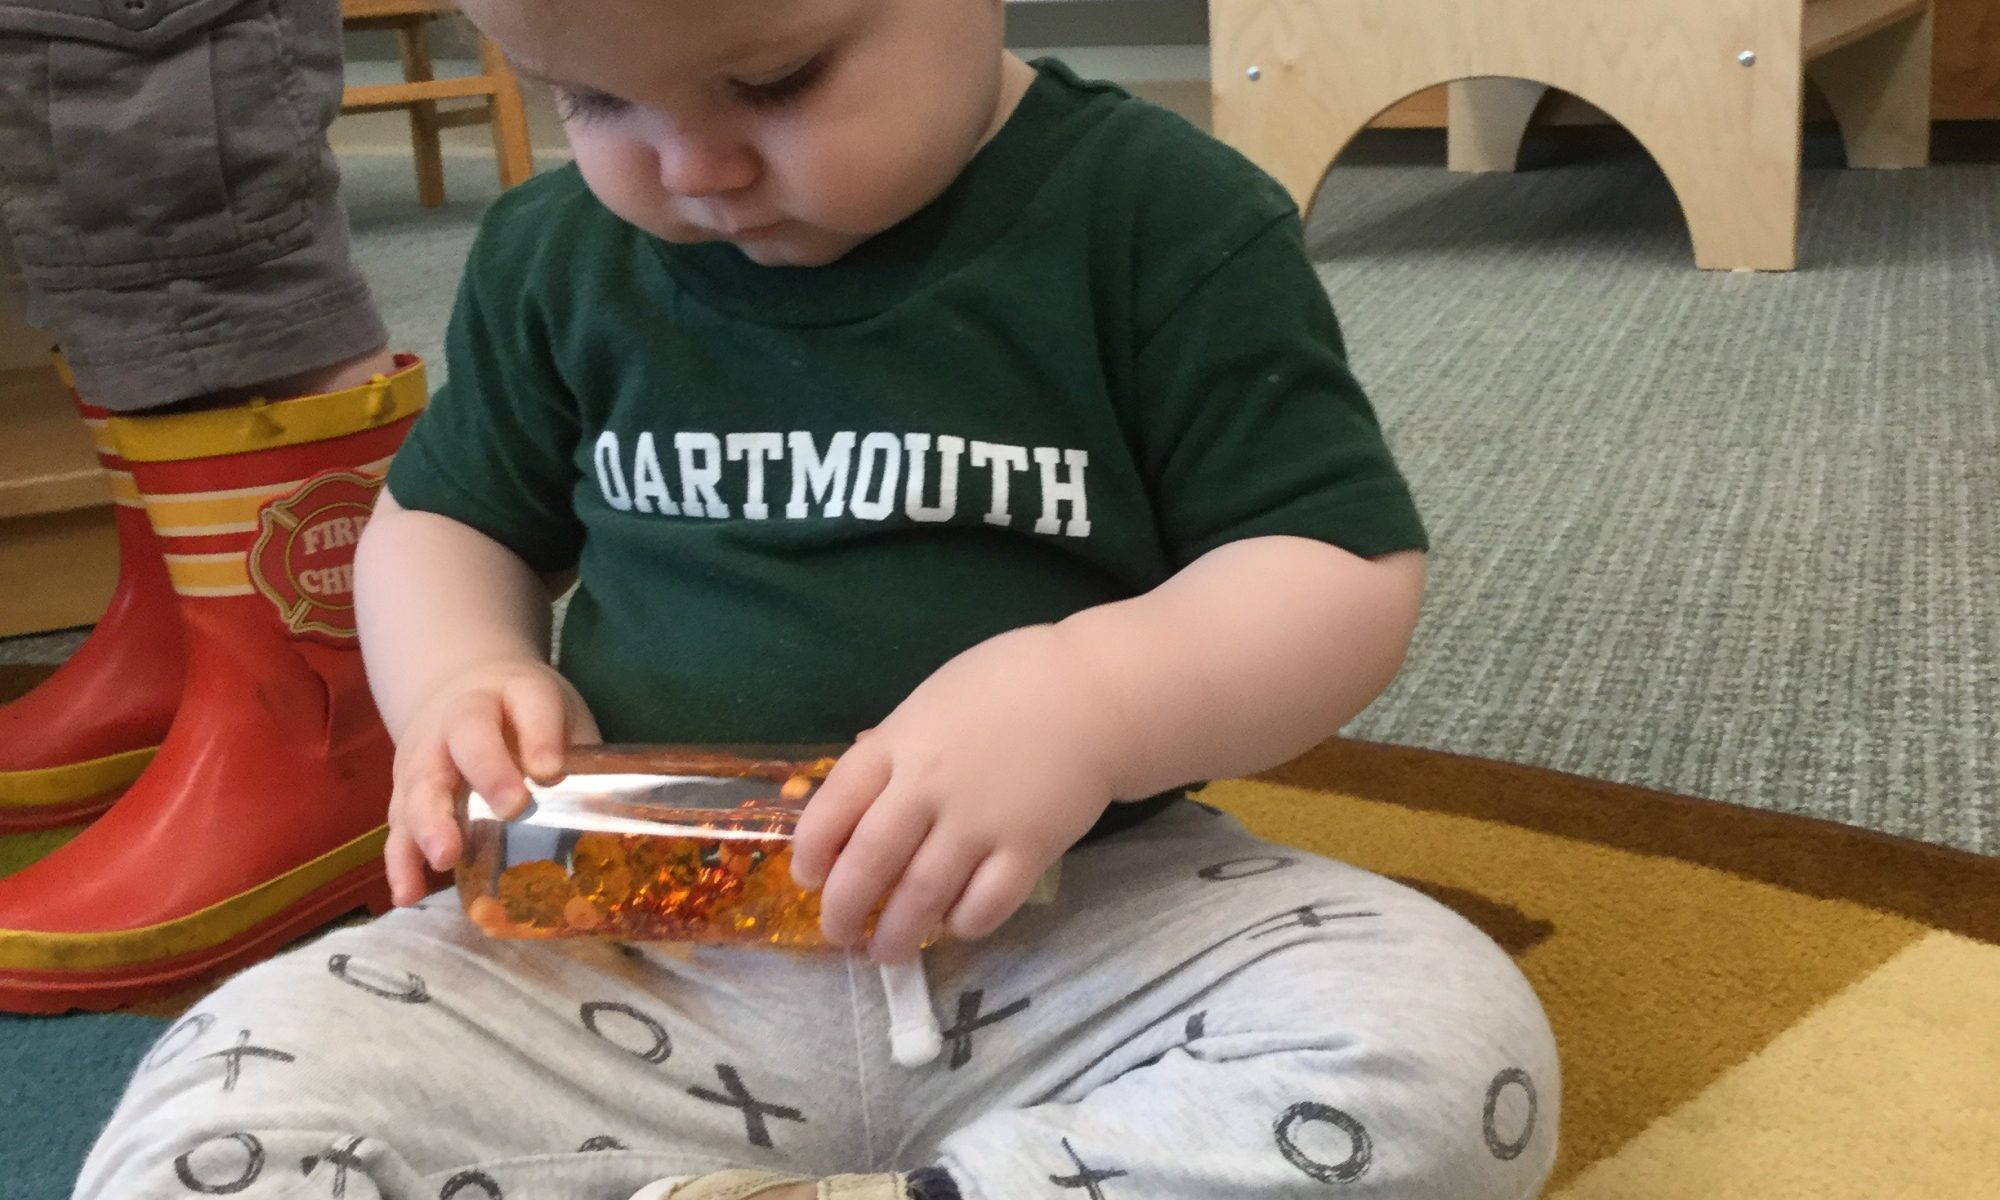
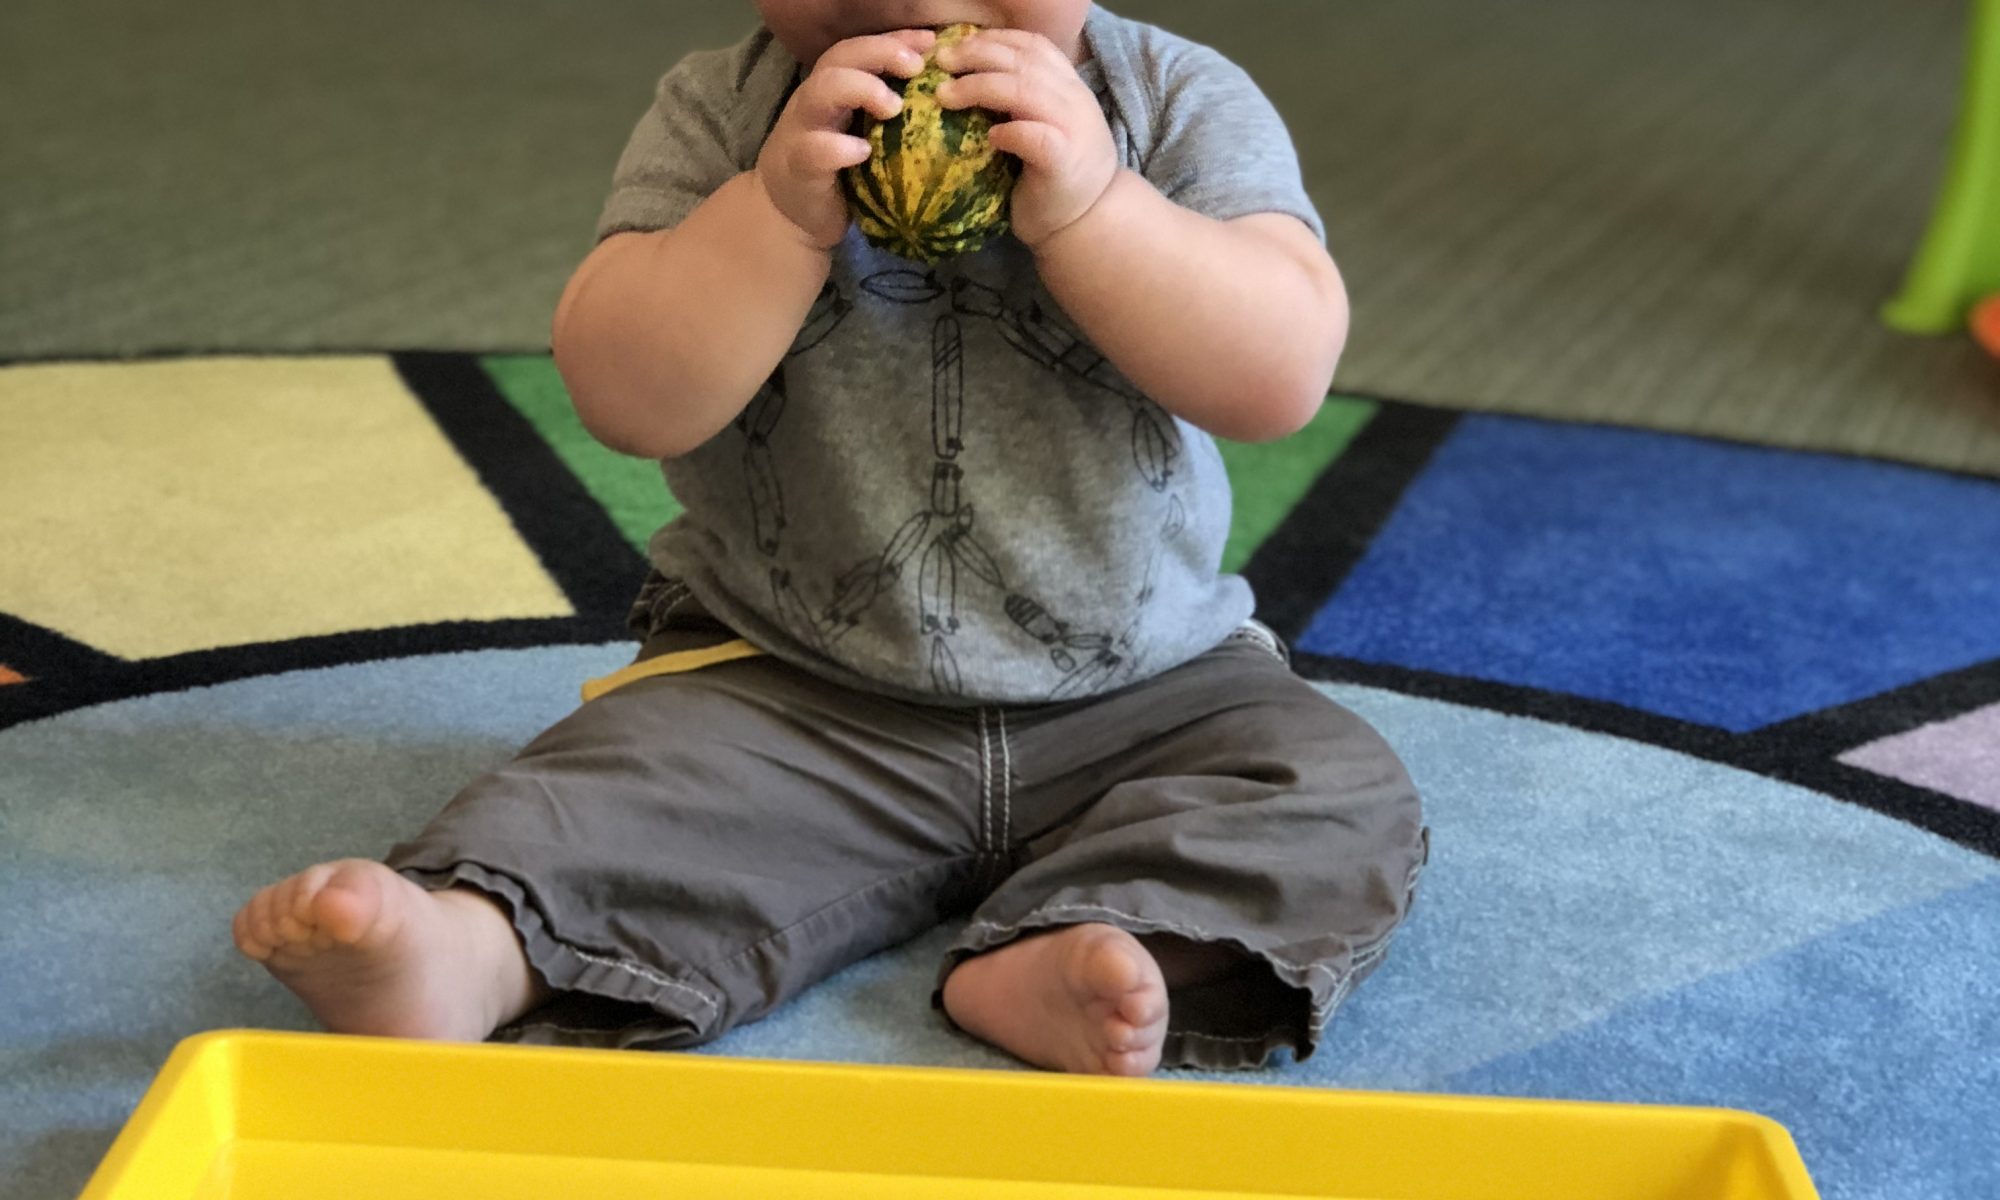
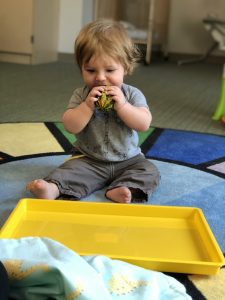
this stage of development learn through exploring the environment that objects still exist even when covered up or hidden.  Try it again with another object. It’s a fun game to play again after a few weeks.  Playing peek-a-boo is another way to illustrate this concept with younger babies.