Materials
Pine cones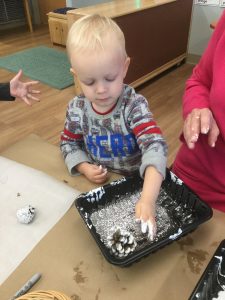
Paper cups
Elmer’s glue
White acrylic paint
Popsicle stick for mixing
2 flat-bottomed meat trays
Silver glitter
Waxed paper
Thin Christmas ribbon or string
Glue gun
Warm, soapy water and a few rags for clean-up
Directions
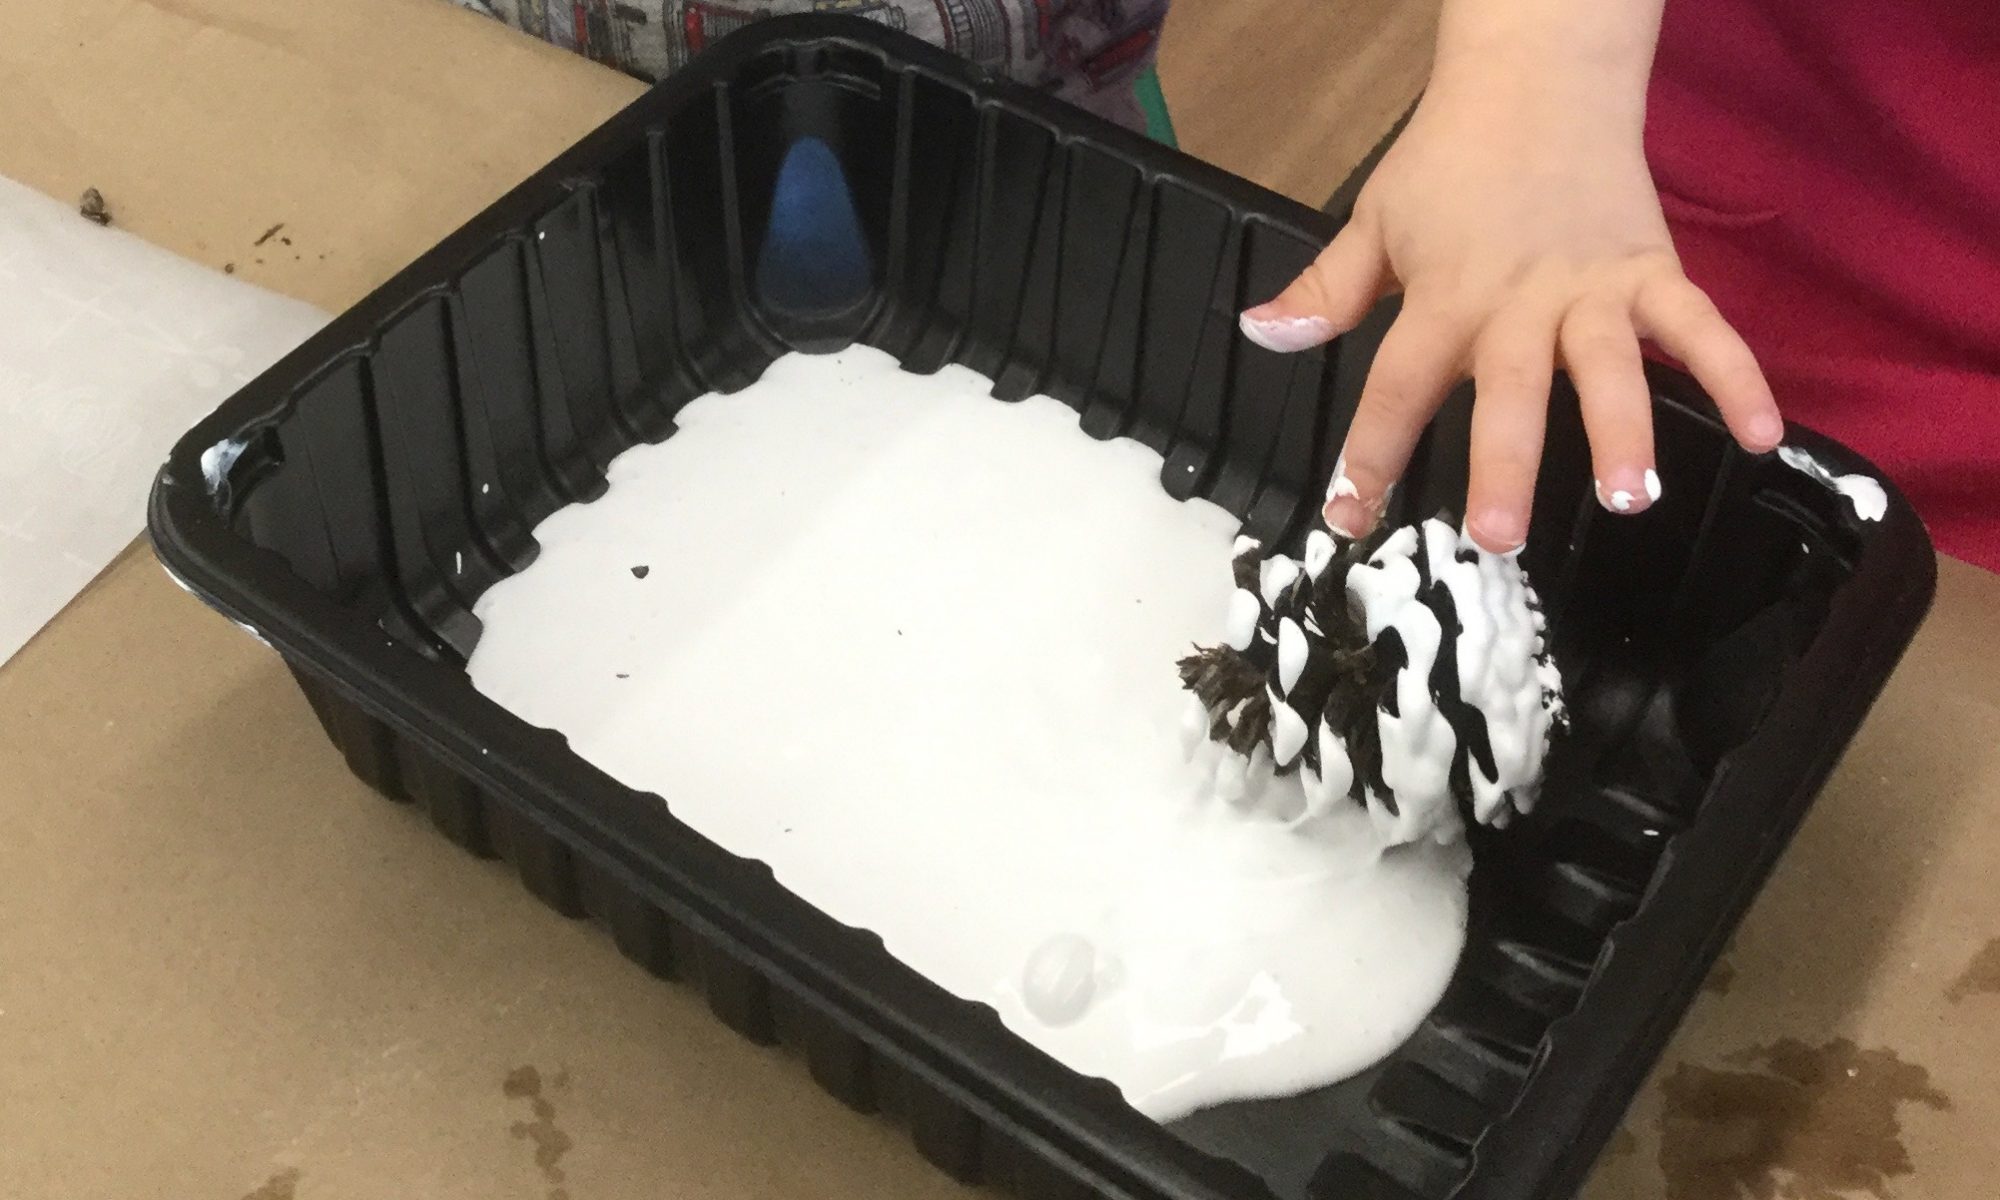
Take your child on a nature walk to search for pine cones. Choose ones that are nicely formed and let them air dry overnight. Thoroughly mix the Elmer’s glue and white acrylic paint in the paper cup, using the popsicle stick. Your mixture should be 50 percent glue and 50 percent paint. Pour the glue/paint mixture into one of the meat trays. Let your child roll the pine cone in the mixture, using his hands to gently spread the mixture over the pine cone. You don’t have to completely cover the pine cone. Pour a generous amount of silver glitter into the other meat tray. Let your child roll the pine cone vigorously in the glitter, coating it all over. Set the pine cone on the waxed paper to dry overnight. Cut an 8-inch piece of thin Christmas ribbon and tie the ends together. Use the glue gun to glue the string to the bottom of the cone. When the glue cools, it’s ready to hang on your Christmas tree!
If you prefer, you can make several of these pine cones, but don’t attach the string. They make a lovely display just sitting in a bowl or basket with a few sprigs of evergreen or holly!
 ribbon, bows, evergreen sprigs, Christmas cookie cutters, jingle bells, etc.