Make a pinhole camera to use during the solar eclipse!
Directions for a pinhole camera – NASA approved.

Supporting Christian Science families and their young children
Make a pinhole camera to use during the solar eclipse!
Directions for a pinhole camera – NASA approved.
White Chalk
9×12 piece of construction paper – dark blue or black;smaller piece of construction paper cut into a circle to reprsent the moom.(approx.4×4)
Masking tape
Scissors
Hair spray (optional)
Cut out a circle from a small piece of construction paper. Tape the circle to the center of the 9×12 piece of construction paper. Trace around the circle template with a thin line of chalk. invite your child to color heavily with chalk on the edges of the circle template. Then invite your child to use a finger to spread the chalk out from the template onto the background construction paper. Make sure all the excess chalk is spread out or shaken off, and then remove the circle template to reveal the clear space behind it. Label the center moon. Chalk can be lightly sprayed with hair spray to keep it from smearing.
Explain a solar eclipse to your child. The white chalk represents the light from the sun. The dark center circle is the moon.
Pool noodle
Tempera paints: Yellow, Red, Orange, Black
2 paper plates
Containers to hold paint
Hole punch
Brass Brad
Newspaper
Cover the work surface with newspaper. Pour a small amount of paint in four different containers. Using a sharp knife, cut the pool noodle into four small two-inch sections. Using one pool noodle piece, invite your child to dip it into black paint and press it onto one of the paper plates. Cover the whole plate. This will be the moon. Using yellow, red, and orange, invite your child to cover the other paper plate. This will be the sun. Using a pool noodle gives wonderful texture to the surface and is easy for small hands to grip. Paint brushes or small sponge pieces clipped with a clothes pin can be used, too. Once the paint has dried, use a hole punch and punch a hole towards the edge of each paper plate. Place the “black moon” on top of the “bright sun” and hold togther using a brass brad.
Talk to your child about what happens during a total solar eclipse. Use the paper plate model to show how the moon moves in front of the sun. Invite your child to play with the plates, moving the moon on top of the sun.
1 cup water
1 cup flour
Cotton Balls
Foil
Cookie sheet
Pam Non-Stick cooking spray
Food coloring (optional)
Mix water and flour. Divide into portions, if adding food coloring of choice. Wrap a cookie sheet with foil, spray with Pam Non-Stick cooking spray. Dip cotton balls in batter and place on baking sheet. Bake at 300 degrees for about 45 minutes. Let them cool and harden. Invite your child to smash open the cotton balls by pressing on them or using a small toy hammer. Close supervision is recommended.
1 box of instant chocolate pudding mix
milk
bowl
large white paper
Make the chocolate pudding as directed. Allow time to thicken. Place a glob of chocolate pudding onto a piece of paper that has been taped to the table surface. Invite your child to use his hands to made designs in the pudding. Of course the best part is getting to lick your fingers as you work! Once we brought out a mirror to show the boys their chocolate covered faces, they liked to even add more pudding to their faces!
Allow the paintings to dry or toss after enjoying the sensory art experience.
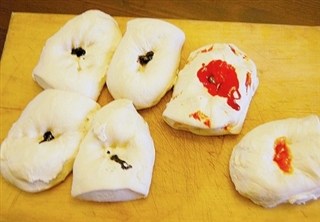 Ingredients
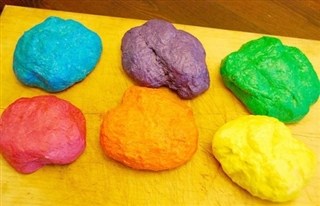 Directions
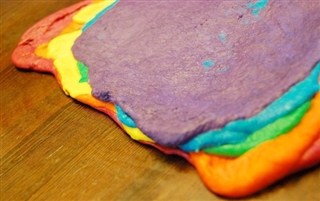 Heat oven to 400 degrees and bake for about 20 minutes. Remove from the oven and cool for 10 minutes. Take bread out from pans and cool on racks.
Blue tempera paint
Small plastic or paper cup
Straw
Liquid baby soap
Water
White construction paper
Newspaper
Cover surface with newspaper. Place a small amount of blue tempera paint into the bottom of the cup. Add liquid soap and an inch or so of water. Gently mix together. Place the straw into the soapy mixture and blow gently until the bubbles reach the top of the cup. Adults will want to do this step for toddlers so they don’t suck the liquid up the straw, or you may cut a small hole near the top of the straw to prevent soap and paint mixture from being swallowed. The children will enjoy blowing the bubbles and watching them come to the surface. Invite your child to take a piece of white construction paper and touch it to the top of the bubbles. They will delight in seeing the bubbles make prints onto the paper.
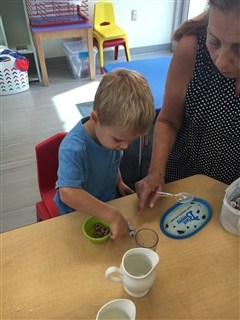 Ingredients
1 cup fresh blueberries
1/2 cup light vanilla yogurt
Parchment paper-lined cookie sheet
Gently fold fresh blueberries into 1/2 cup of vanilla yogurt. Using a small spoon, scoop out blueberries and place them onto a parchment paper-lined cookie sheet. Freeze for one hour. Enjoy them as a refreshing frozen blueberry treat. Store in an airtight container in the freezer.
Recipe by Live Eat Learn
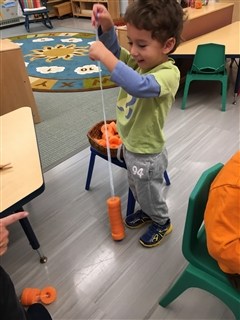 Materials
1 Pool noodle cut into 1 inch pieces
1 piece of ribbon (approx. 24 inches long)
Place pool noodles in a basket or container. Tie a pool noodle piece to the bottom of the ribbon. Re-enforce the threading end of the ribbon with a piece of masking tape. Invite your child to thread the pool noodle pieces onto the riboon. How many can he thread? Count the noodles.
Piece of bubble wrap
Dot stickers (optional)
We all love to pop bubble wrap and it is an excellent fine motor activity for children. Popping bubble wrap strengthens the fingers. To extend the activity and add a new element, stick dot stickers onto the bubbles. Encourage toddlers to press on the blue dots, red dots, green dots, etc. For preschool age children, write letters or numbers on the dot stickers and encourage your preschooler to find and press the letters in his name, match upper case to lower case letters, or complete addition or sutraction problems by pressing on numbers (i.e. 2 and 3 is 5).
Have fun and enjoy!