Materials
2 Paper plate
Stapler
Bown tempera paint
White school glue
Shaving cream
Paint brush
Plastic fork
Construction paper
Scissors
Glue stick
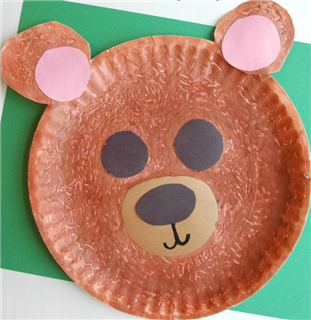
Directions
Mix paint by adding equal parts of school glue with shaving cream. Add brown tempera paint to the mixture. Cut two small circles for the ears out of one of the paper plates. Staple the ears to the top of the other paper plate. Invite your child to use a sponge brush or regular paint brush to paint the paper plate and ears. Ecourage your child to make the paint thick on the plates. Once the paint is dry, add details by gluing construction paper onto the plate: meke eyes, inside of the ears, nose, and use a Sharpie marker to make a mouth.
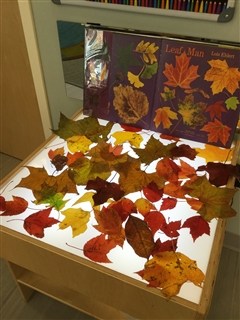
Read a teddy bear book together!
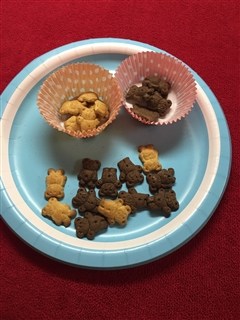
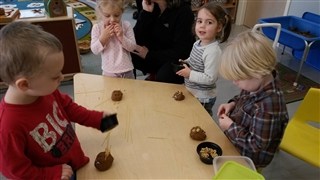
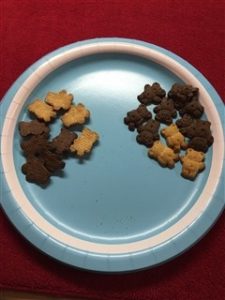 2 different kinds of teddy grahams (chocolate, honey)
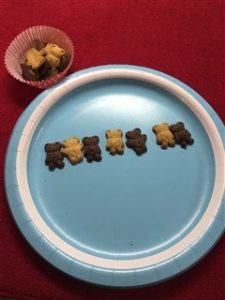 1. Sort the teddy grahams by front and back. When pouring a few onto the plate, sort into two piles – teddy grahams facing up and teddy grahamns facing down.