
Materials
Various colors of craft foam sheets
Scissors
Circle template
Sharpie marker
Large plastic tub of water or bath tub
Cups, basters, water bottles, etc. for playing and exploring
 Directions
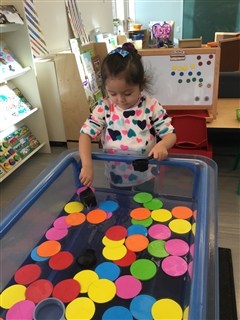
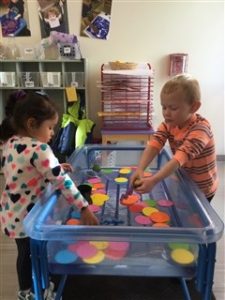
Using a circle template, trace circles onto foam sheets. Cut out. Fill a large container with water. Place the foam circles and other ojects for water play in the container. Invite your child to explore and play. Do the foam circles sink or float? What happens when I pour or squirt water on them? Can they stick to the sides of the container?
This is an excellent activity to do in the bathtub! Children will love sticking the foam circles onto the side of the tub or on the wall. Allow dots to dry on a towel before putting them away.
Lesson Extensions: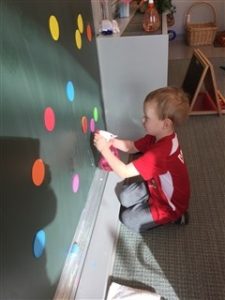
After allowing your child plenty of time to explore on his own, encourage your child to sort the dots by color, count the dots, make patterns with the dots, or create pictures with the dots.
Your child may also want to use a spay water bottle to make dry dots stick to a window, mirror, chalkboard or white board. Your child will love using these dots over and over.