
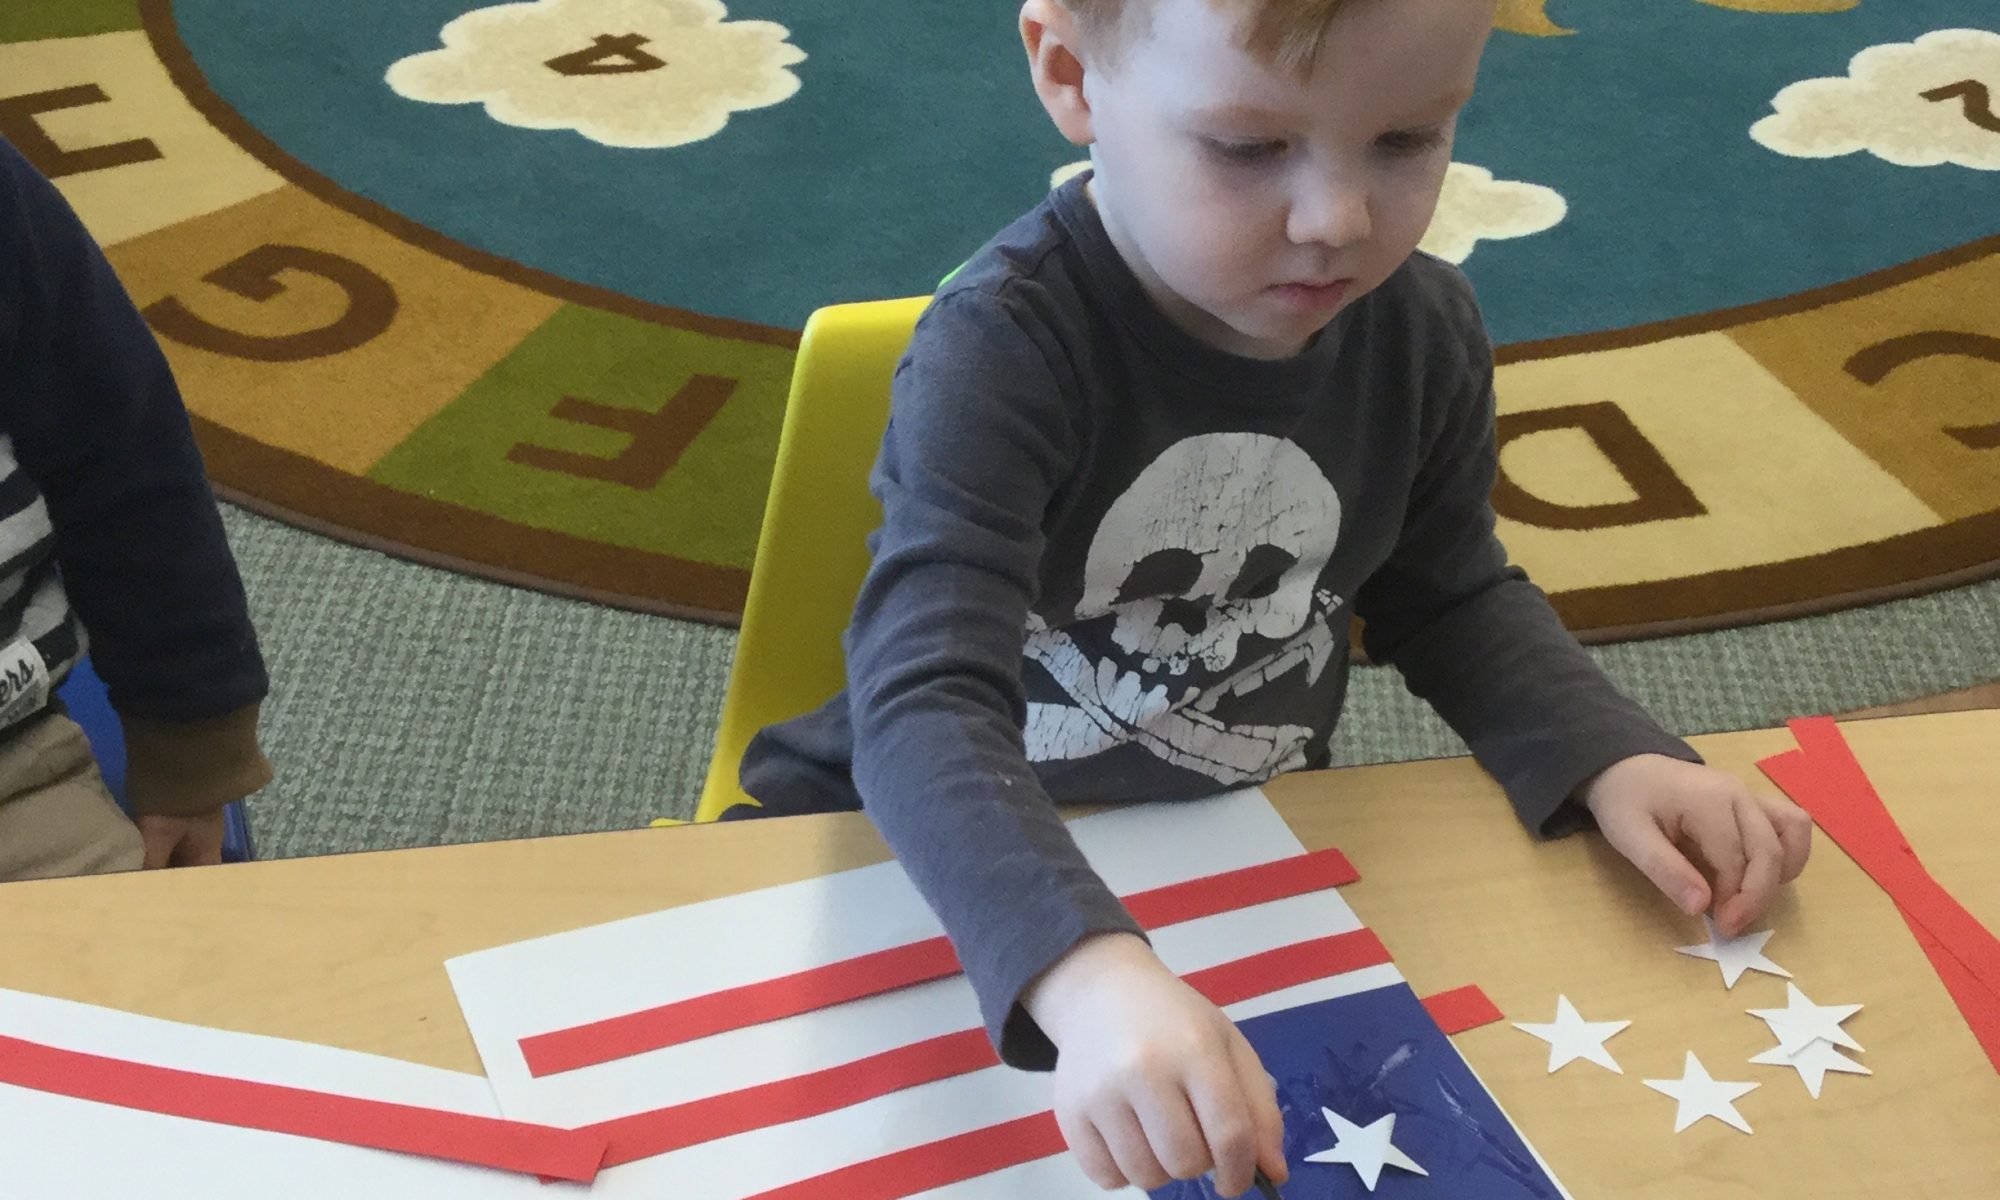
Materials:
White construction paper, 9” x 12”
Red construction paper, 9” x 12” cut into inch-wide strips
Blue construction paper, cut into a 4” x 5” rectangle
White crayon
Watered down glue or glue sticks
Directions: We had a discussion about the American flag being something we see in our daily experiences that has stripes! We closely observed what components make up the flag by taking our classroom flag down and noticing the stripes, both red and white, the stars, and the blue rectangle behind the stars. We discussed how the American flag stands for the United States of America and that we all live in the United States. We also discussed that we handle the flag respectfully, never letting it touch the ground!
Then we tried making our own flags! Our intent was not to create “perfect” flags, with seven red stripes and six white, but rather to be aware of the components and include them in the creation! First, we talked about the red stripes, and we glued a few on the white paper, noticing that they went across the paper, not up and down. We pointed out that when we left a little space between the red stripes, it automatically created white stripes. Next, we noticed where the blue rectangle was located on the flag, and we glued that in the upper left corner of our paper. Finally, we added the stars. At school we have access to a die-cut machine that quickly cuts out stars; however, you can also make simple stars using a white crayon and making simple asterisks to represent the stars!