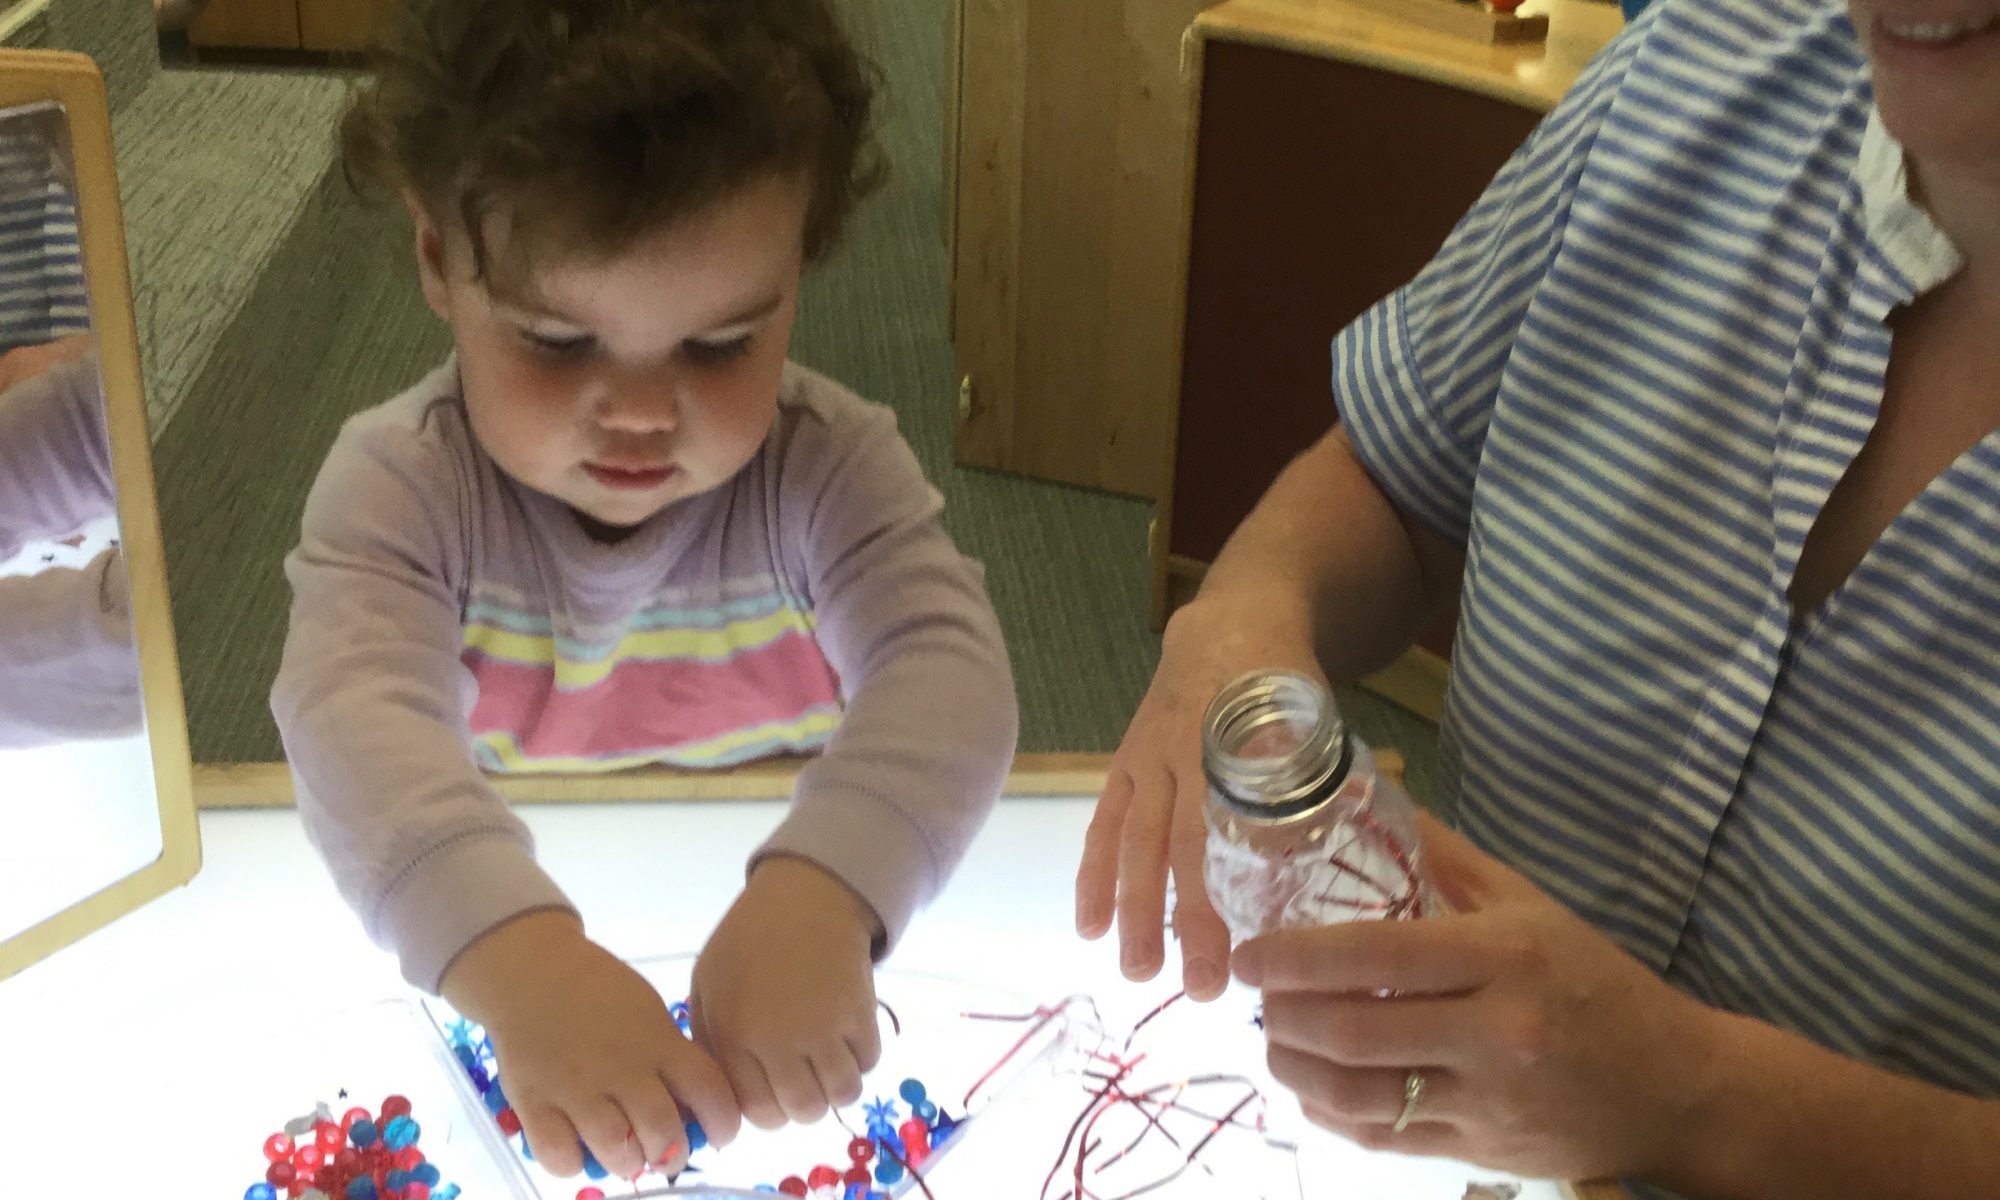
Materials:
An eight-ounce plastic water or juice bottle with lid
Small red, white, and blue items to put inside the jar, i.e., buttons, beads, tiny pieces of torn aluminum foil, mylar gift bag stuffing, Rexlace (cut into pieces), plastic straw pieces, etc.
Glue Gun
Water
Directions: Sensory bottles are an engaging and safe way for very young children to explore and examine tiny items up close without concern for mouthing or swallowing the items. Tiny collections of things have always had a fascination for little people. And with careful supervision, very young children can make their own sensory bottles almost all by themselves.
Thoroughly rinse a clear plastic juice or water bottle. Remove the label and any sticky residue from it. (Goo Gone is great for this.) Provide a variety of items to insert into the bottle, and encourage your little one to do just that. Showing your child how to pick up one bead or one button at a time will help develop her pincer grip, which is an important skill prerequisite for mark-making and drawing later on. There should be enough items minimally to cover the bottom of the jar. You can certainly assist by adding more. Fill the jar with water, leaving some air space at the top. Screw on the lid, and let your child shake the jar, tip it upside down, etc. If you decide the bottle needs more items inside, remove the lid and add more. If you’re happy with it, remove the lid, add a few beads of glue from the glue gun, and quickly screw the cap on tightly. Adding glue under the lid insures that your child won’t unscrew the lid accidentally! Enjoy!

