
Materials
Green construction paper
Red construction paper
1-inch square of brown paper for trunk
Scissors
Ruler
Glue stick
White paint (optional)
Directions
This activity is a fun way to teach your child the concept of shortest to longest.
Cut 6 1-inch wide strips from the green paper. Make the first strip 6 inches long, the second strip 5 inches long, the third strip 4 inches, the fourth strip 3 inches, the fifth strip 2 inches, and the sixth strip 1 inch long.
Have your child put all the strips on the red sheet of paper. For younger children you may want to draw a triangle on the paper as a guide.
- Ask your child to find the longest strip of paper and put that at the bottom of the page.
- Now find the shortest strip. Put that at the top of the page.
Don’t glue anything down yet! Look at the four strips that are left. Let your child examine them. Can he find the longest strip of the four? Put that strip just above the longest strip he put down originally.
Now ask him to find the shortest strip of the three remaining pieces. Put that one under the strip at the top. Now there are two pieces left. The longest of the two goes towards the bottom; the remaining piece goes on top.
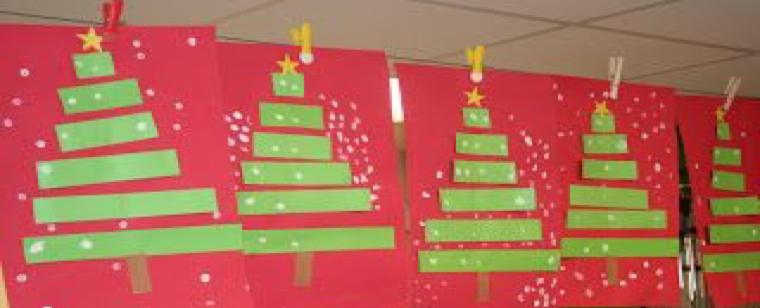
Now you can help your child adjust the strips so it looks more like a Christmas tree. Starting at the top, use the glue stick to affix the strips to the paper. Glue the brown square to the bottom of the longest strip to make the trunk. If your child is interested, he can dip his pointer finger into white paint to create “snow” on his tree!