
Materials
Painting paper
Black marker
An easel or tabletop
Orange tempera paint
Foam or bristle paint brush
Directions
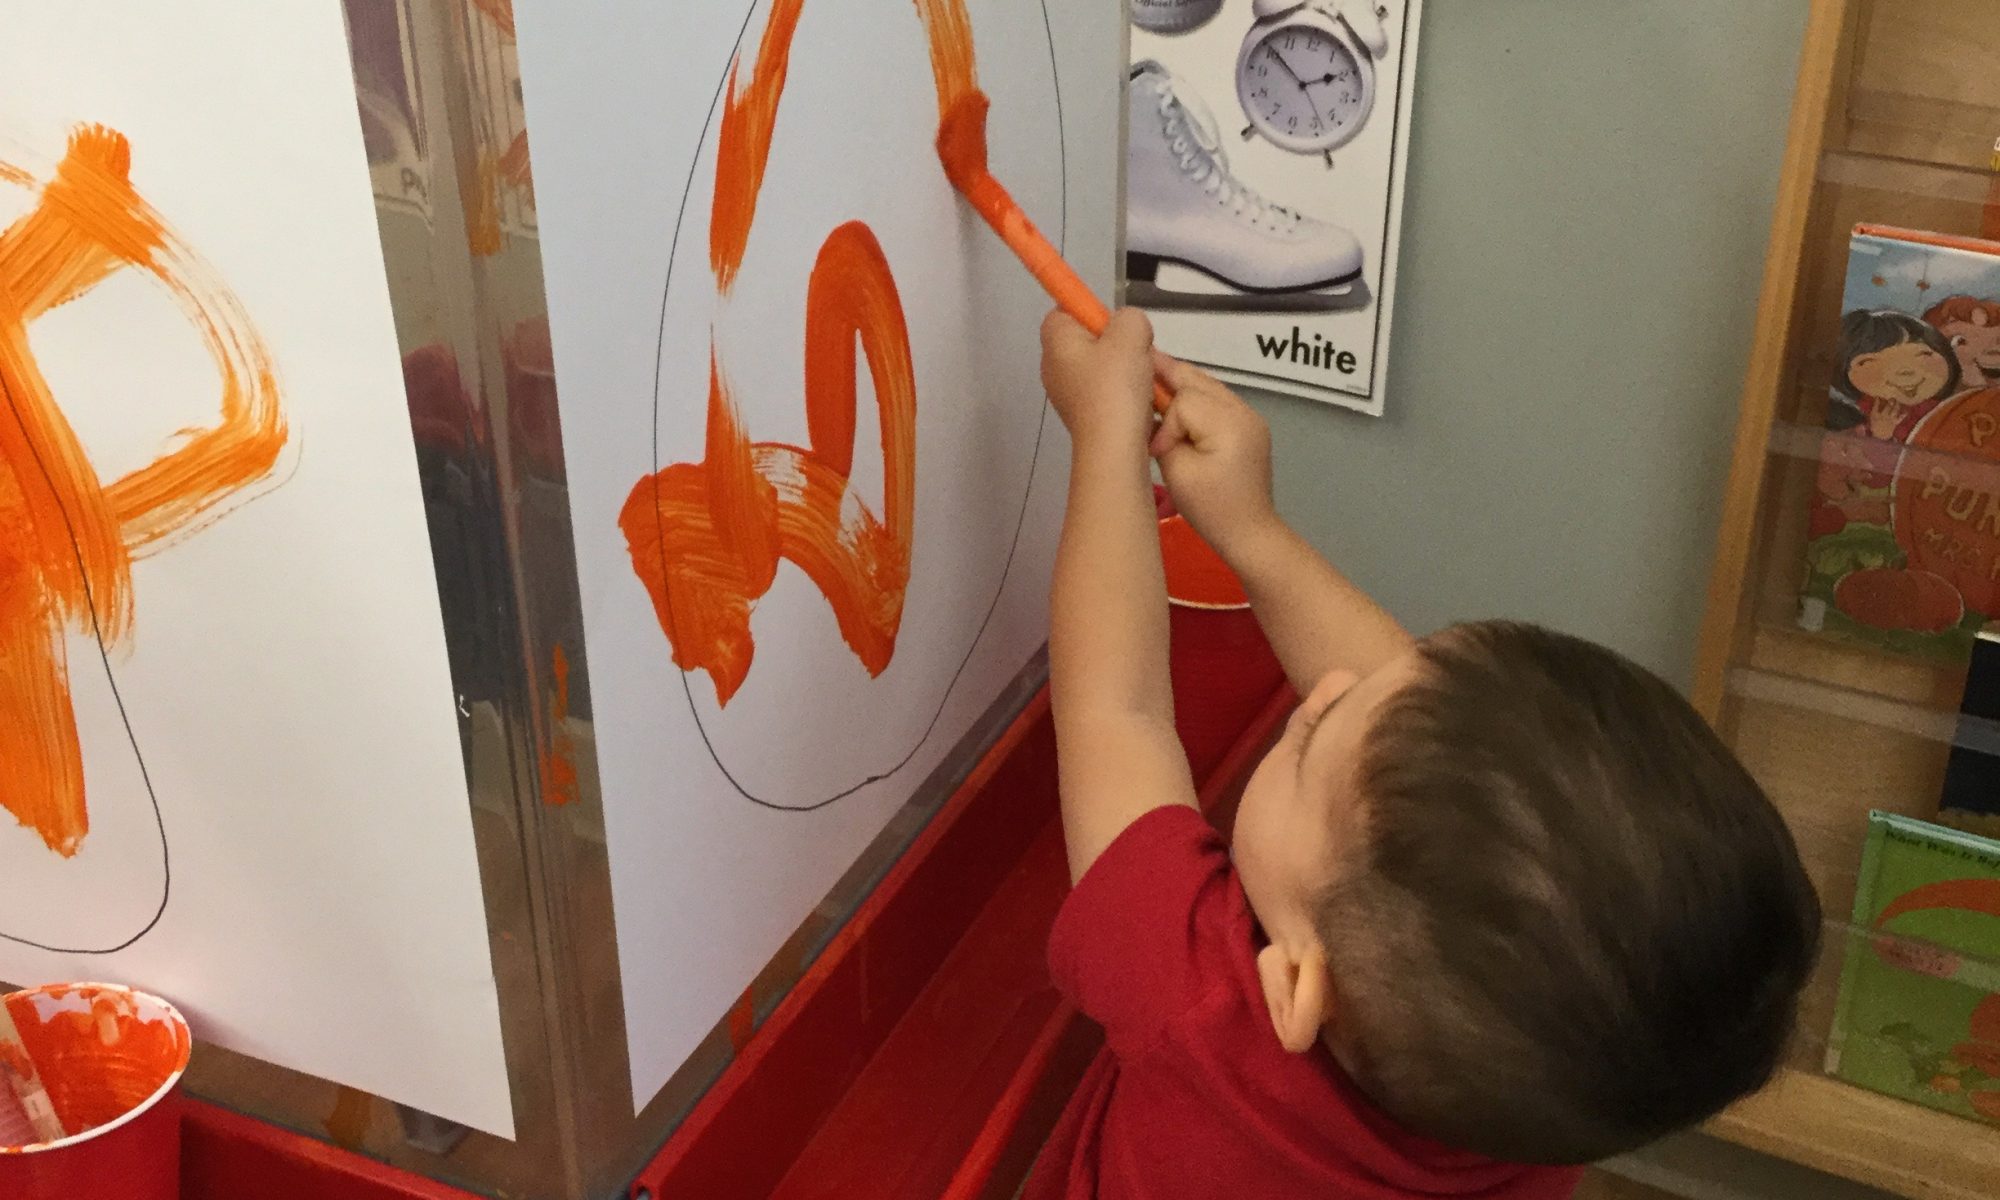
If you have an easel, clip the paper in place for painting. If you use a tabletop, tape the paper securely in place with masking tape. Hopefully, you’ve been to a pumpkin patch and your child has seen that pumpkins come in all sizes and shapes! Discuss what type of pumpkin your preschooler would like to paint (big and round, tall and skinny, bumpy, tiny, etc.) and draw it for him on the paper with the marker. Then go over the outline with your finger, explaining that for this picture, he should try to paint inside the outline you made. This requires a level of large and fine motor control that will be challenging! Encourage him to cover any white spots he sees (where there’s no paint!) It’s fine if he goes outside the outline, and you should expect as much. The idea is to get him to work at controlling where the paint should go. After he finishes, and the paint has time to dry, cut out the pumpkin shape. If desired, you can talk about what kind of a jack-o-lantern he could be, cutting shapes for eyes, nose and mouth out of black construction paper. Talk with your child about where the eyes on his face are. Use a glue stick or Elmer’s glue to glue the features in place! Remember to let your child glue the features on where he thinks they should go. It doesn’t need to be perfect—it just needs to be his!